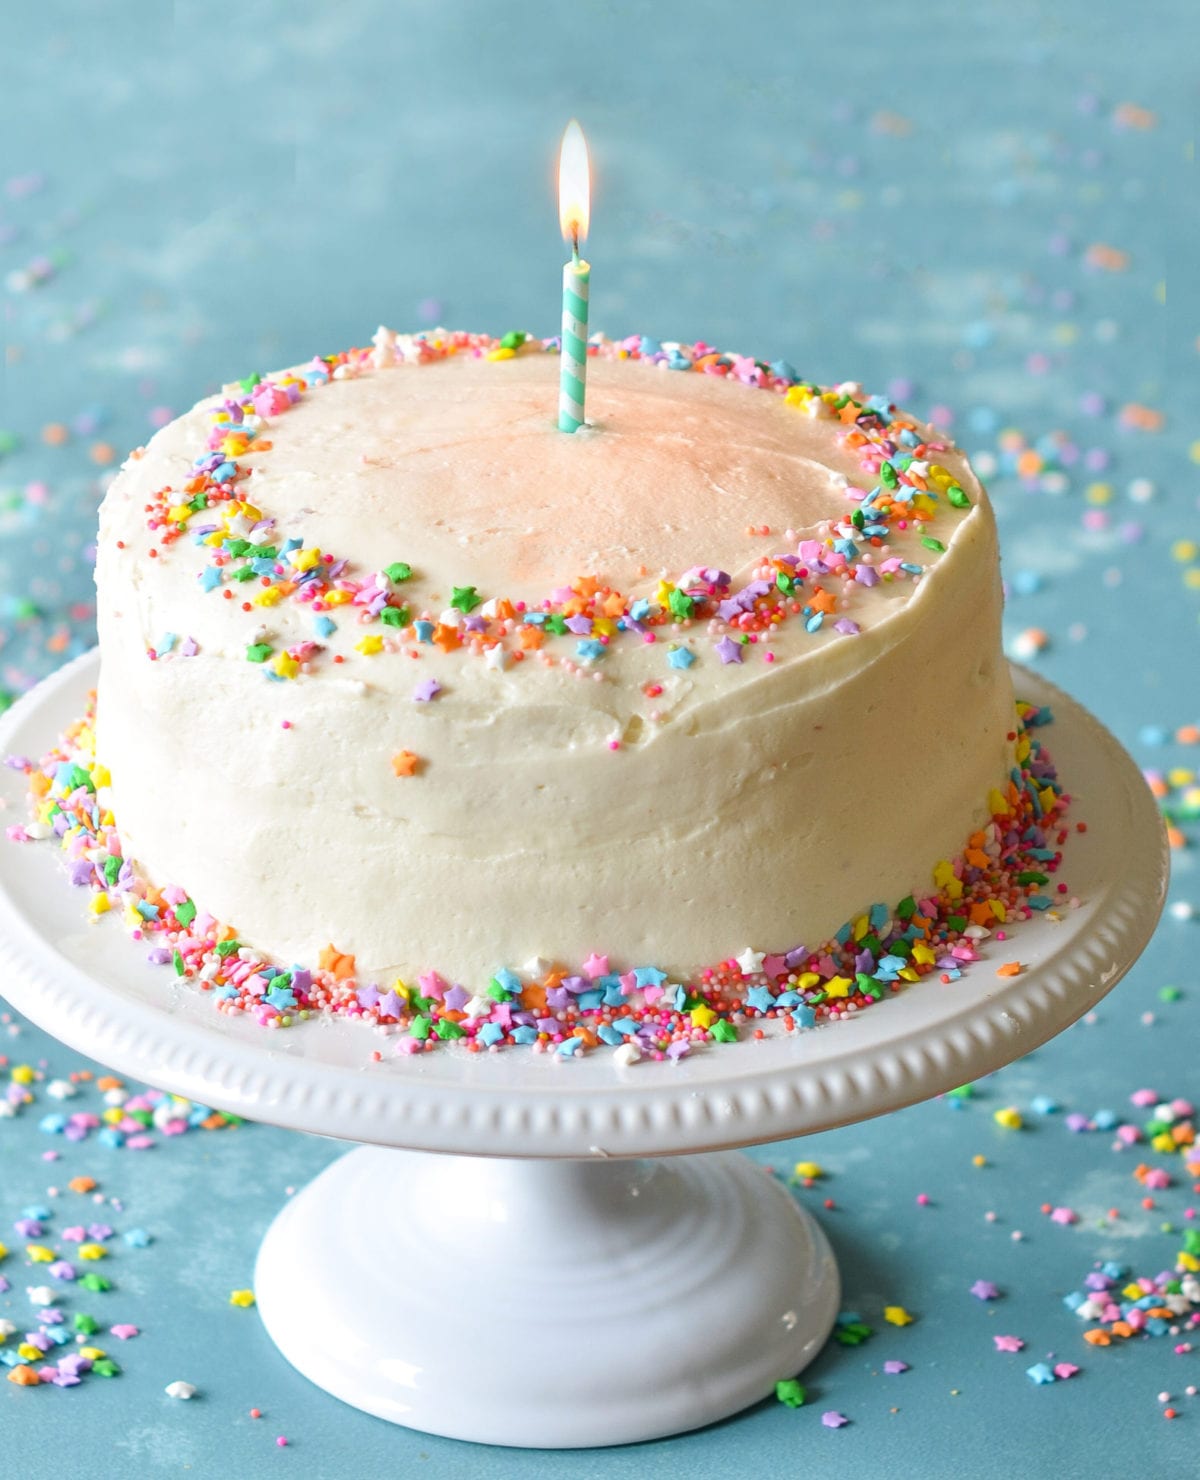
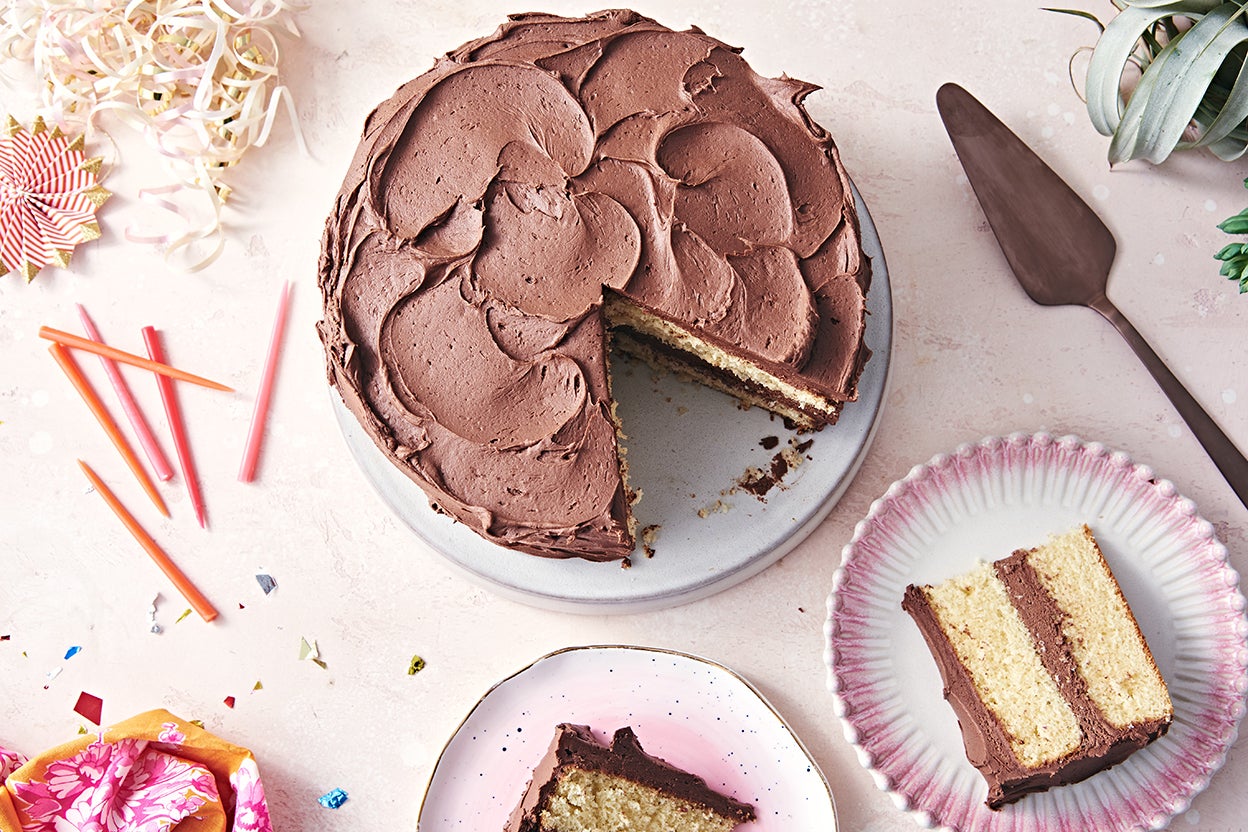
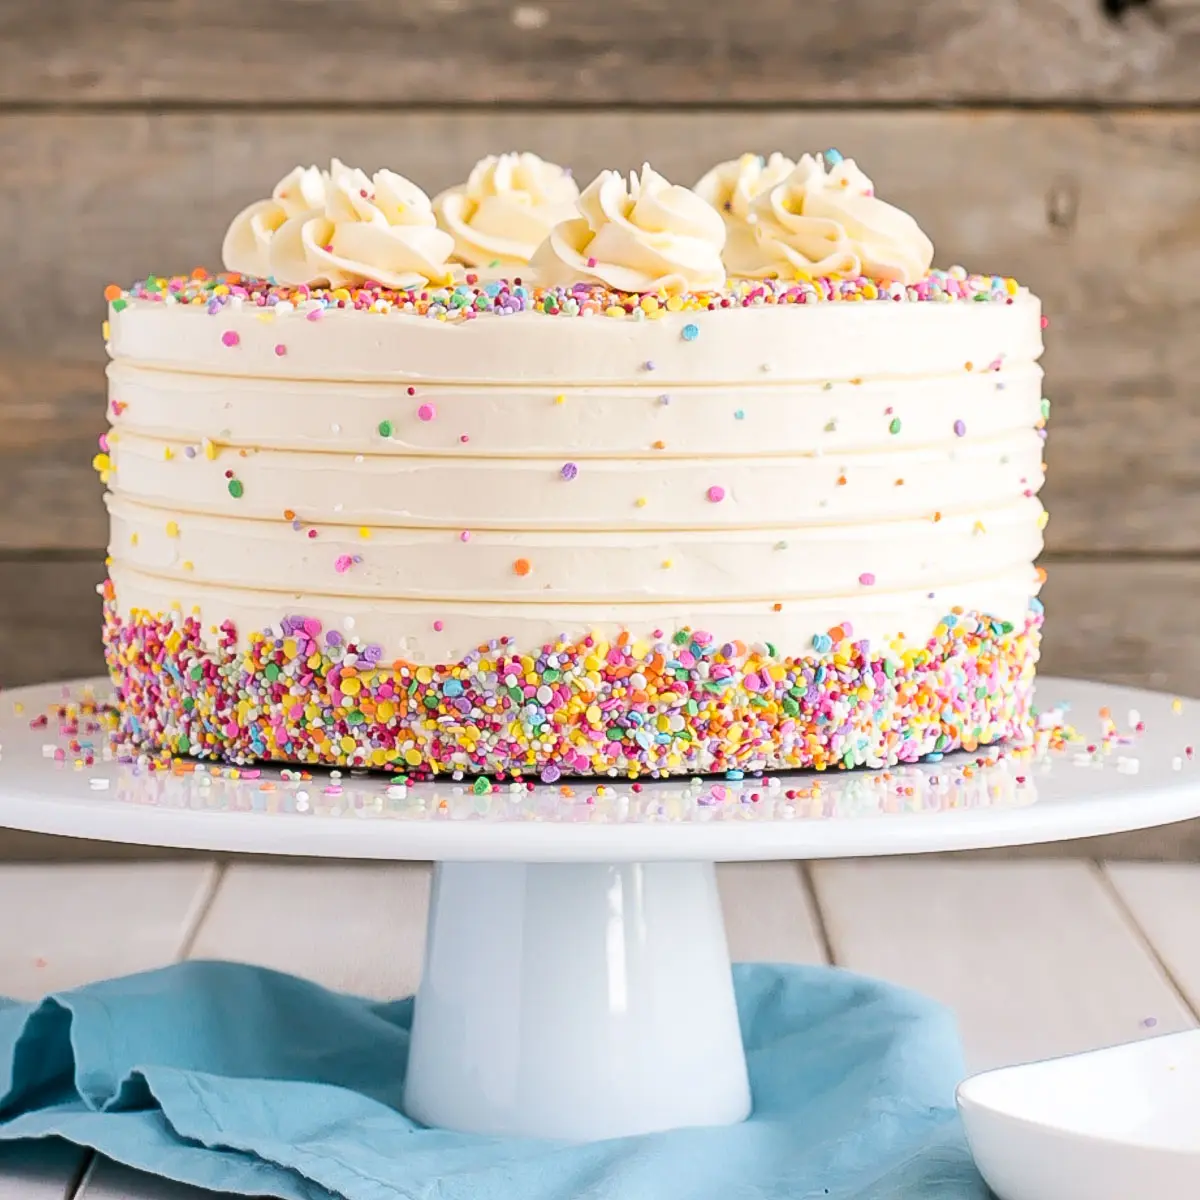
Traditional Ina Garten Birthday Cake with Vanilla Buttercream
3.3
(18)
Your folders
Your folders
Author : cakedecorist.com

Ingredients
Export 10 ingredients for grocery delivery
Instructions
Step 1
The first thing we need to do is to preheat the oven to 350ºF and prepare the pans we are going to use. We need either 2 9 inch cake pans or, if you wanted the more traditional look, 1 9 inch pan, 1 6 inch pan and 1 3 inch pan. This way, the cake will taper towards the top, looking like a small castle.
Step 2
To prepare them, butter and flour them so that it is easier to take the cake out once they are done. You could also line them with parchment paper if you prefer.
Step 3
Now to make the cake. Grab the room temperature butter and place it in a large mixing bowl with the sugar. With the help of a stand or hand mixer, cream it until fluffy on high speed with a paddle attachment. This will take approximately 5 minutes.
Step 4
Reduce the speed to medium and proceed to add the eggs in batches. We recommend no more than 2 at a time. Then mix thoroughly.
Step 5
Add in the sour cream, the vanilla extract, and the lemon zest.
Step 6
Sift together the flour, cornstarch, salt, and baking soda together to avoid any lumps and have an even mix.
Step 7
Add in the dry ingredients slowly, making sure there is no powder splash. Continue to mix after you have incorporated all of it. You will know it is done once you scrape the sides and can tell there are no butter or flour pockets in it.
Step 8
Once your batter is ready, you will need to divide it proportionately into the cake pans. If you have a scale, this will be much easier, but one way to get the measurements right with weighting is the following.
Step 9
You can, first, divide the batter into two equal parts. One of these you will need to pour into the 9-inch cake mold. Remember they need to be buttered and floured or have some sort of parchment paper lining.
Step 10
You will be left with half the batter. You must then divide this into 3 equal parts. Use one of these for the 3-inch cake pan and the other 2 for the 6-inch cake pan. See? Very easy!
Step 11
Smoothe the tops of the batter with a spatula before baking. This will help so that there is not so much of a round top to be cut off the cakes before stacking them.
Step 12
As you could have imagined, they will need different baking times as the pans are different sizes. The 9-inch will take approximately 45 minutes to be done. The 6-inch, 35 to 40 and the 3-inch 30 minutes.
Step 13
Always check them a little bit before they are due and only take them out once a stick or knife comes out clean from the center.
Step 14
Cool the pans to room temperature before unmolding them and then let them rest top sides down on a cooling rack until they are completely cool. You could even, if you have enough space, place them in the fridge. This will make it easier to frost them, cut them and stack them.
Step 15
Now let’s move on to the frosting. Go back to your electric or hand mixer and cream the butter for a few minutes.
Step 16
Once it is light and fluffy in texture, sift in the powdered sugar slowly while still mixing on low. Also, add the vanilla extract.
Step 17
Check the consistency. If it is too stiff, add in milk slowly to adjust it and make it just right. This depends on the temperature and humidity of your kitchen, so the quantities are just estimates.
Step 18
Set aside a quarter of the frosting and add food coloring as you desire. For a traditional look, we recommend you further divide this into 3 and use a bit of yellow, blue and red to make pastel colors.
Step 19
Once everything is done and the cakes are cool, check to see if their tops are level. If they are not, you will need to adjust them with a serrated knife before stacking them.
Step 20
Cut them into halves and place buttercream between them. Then stack them all together. You can chill the cake for a few hours at this point.
Step 21
Crumb coat the cake with a thin layer of frosting before proceeding to actually frost it. This will help the buttercream stay smooth and look amazing. Then pipe in some decorations as you see fit.
Top similar recipes
Curated for youYour folders
 375 views
Vanilla Birthday Cake with Old-Fash...
onceuponachef.com
4.5
(181)
Your folders
 576 views
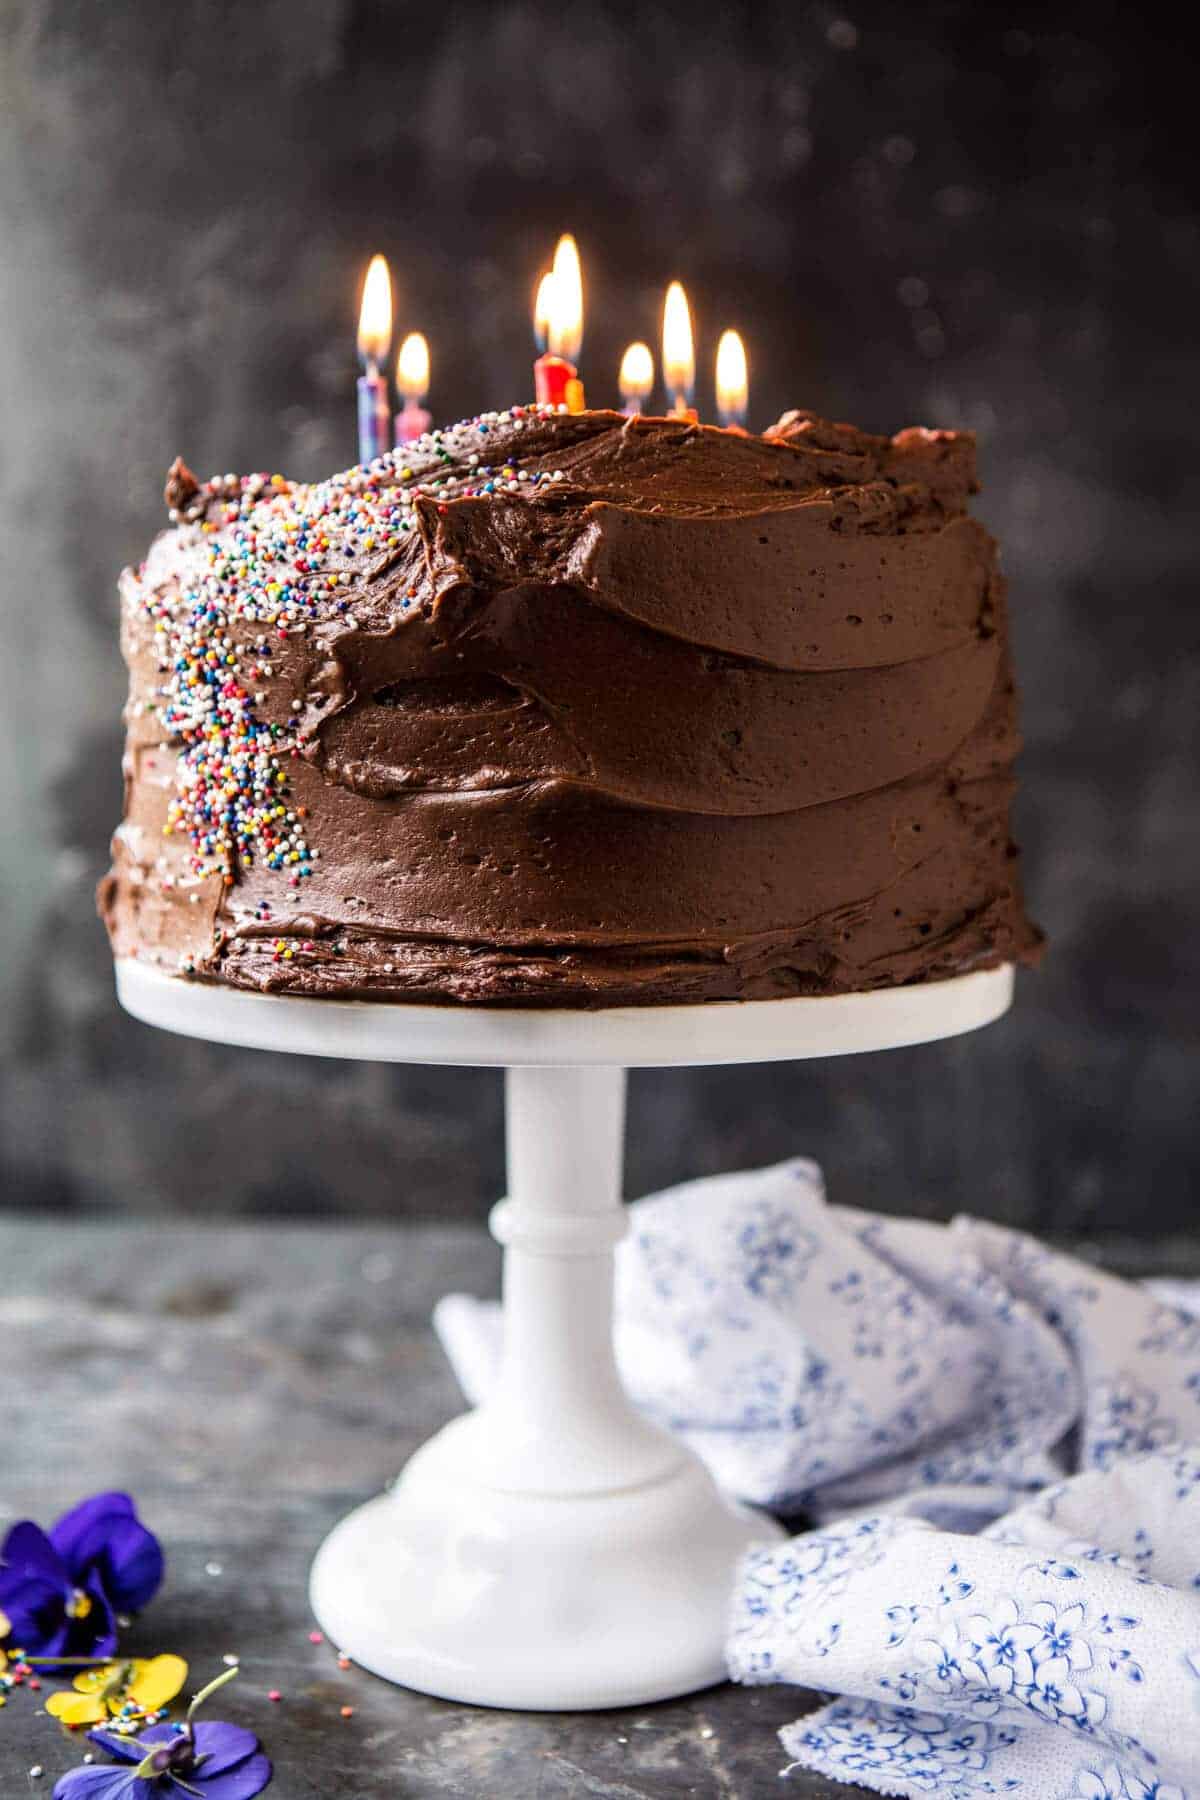
Vanilla Birthday Cake with Whipped ...
halfbakedharvest.com
4.4
(75)
30 minutes
Your folders
 321 views
Vanilla Birthday Cake + Chocolate B...
supermancooks.com
25 minutes
Your folders
 113 views
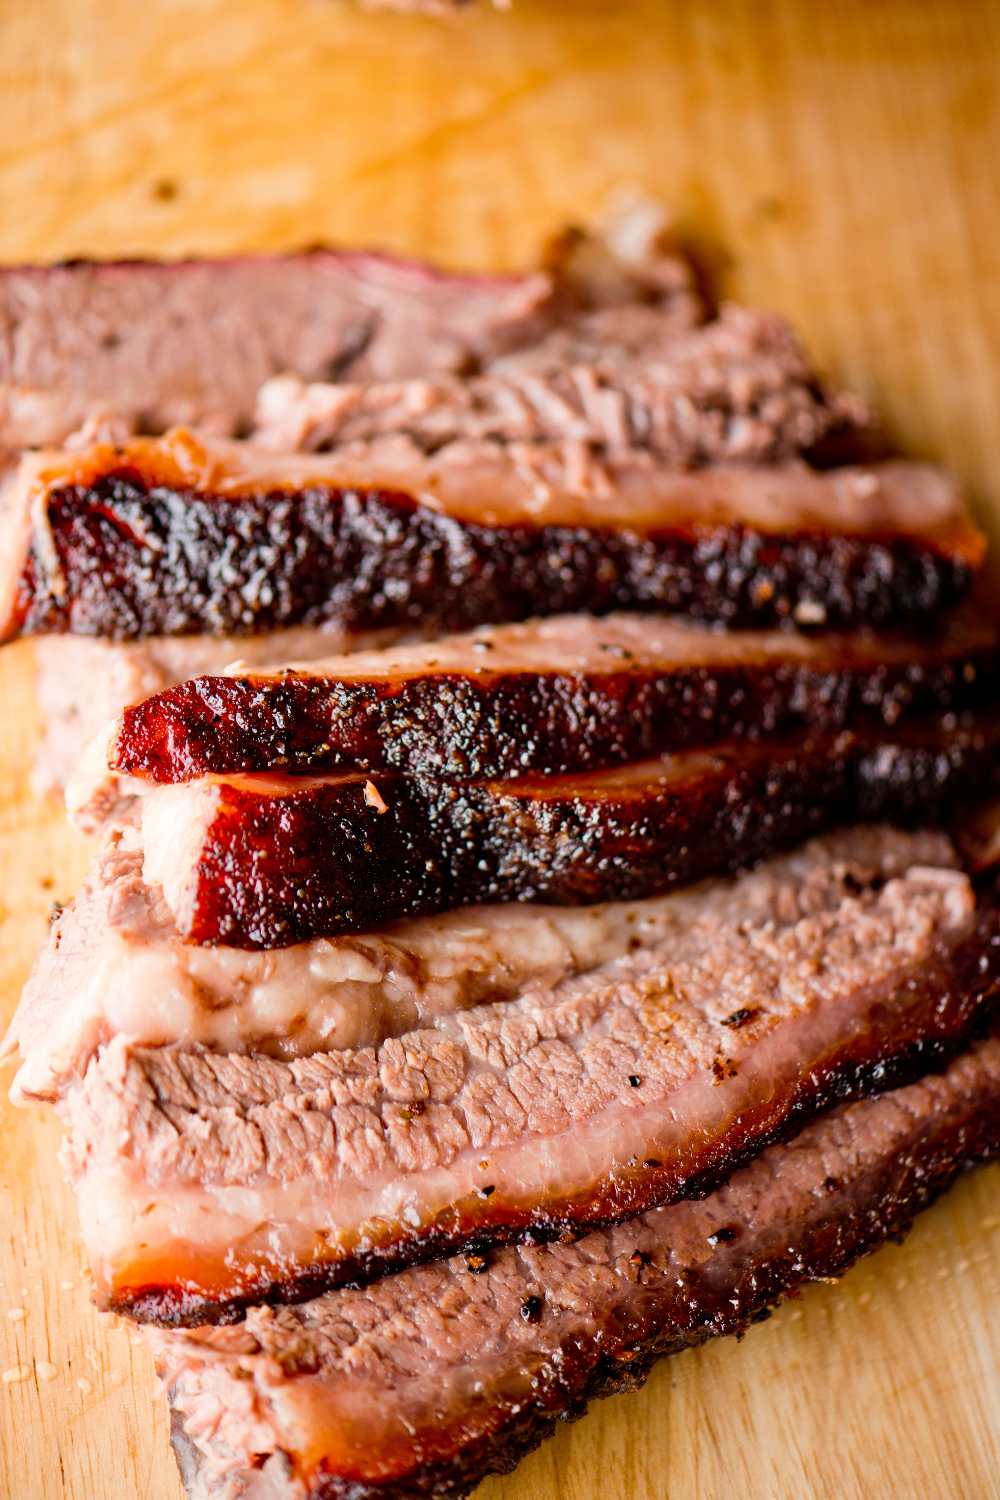
Ina Garten Brisket
ourtableforseven.com
Your folders
 232 views
Ina Garten Brisket
ourtableforseven.com
5.0
(1)
540 minutes
Your folders
 917 views
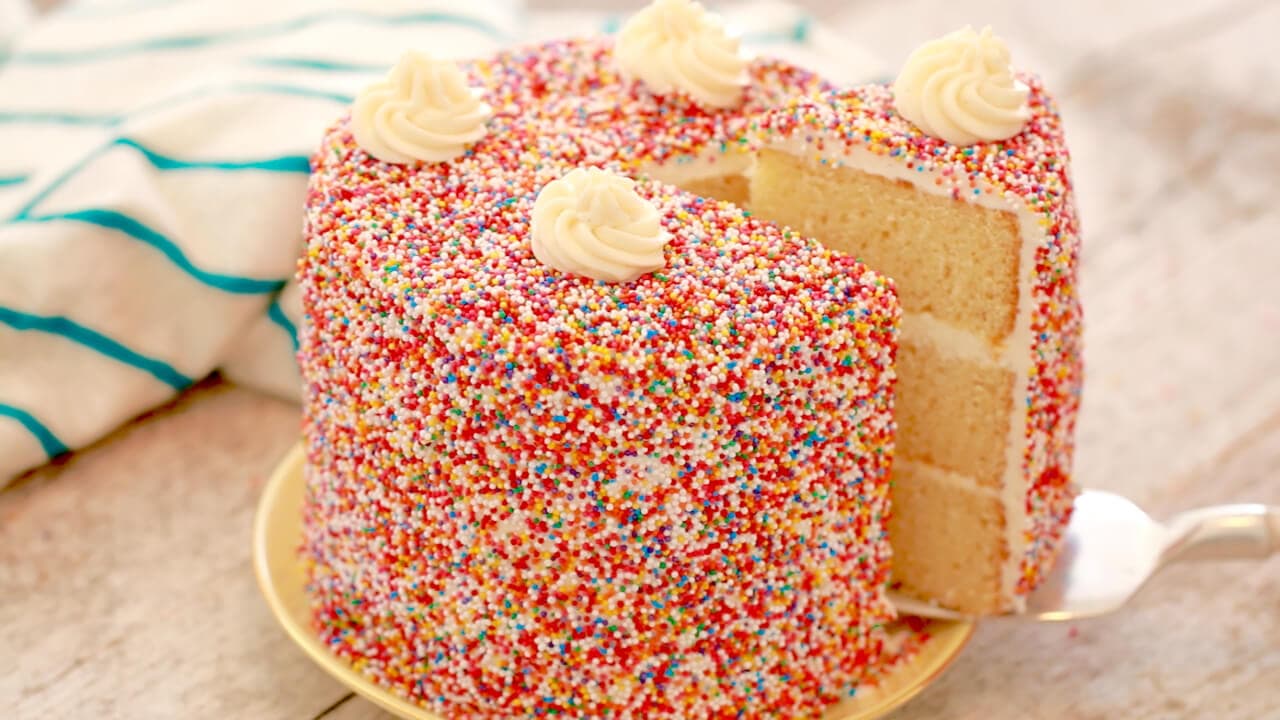
Vanilla Birthday Cake
biggerbolderbaking.com
4.5
(1.4k)
35 minutes
Your folders
 104 views
Vanilla Birthday Cake
kingarthurbaking.com
3.6
(19)
40 minutes
Your folders
 954 views
Vanilla Cake with Vanilla Buttercre...
livforcake.com
4.8
(249)
35 minutes
Your folders
 80 views
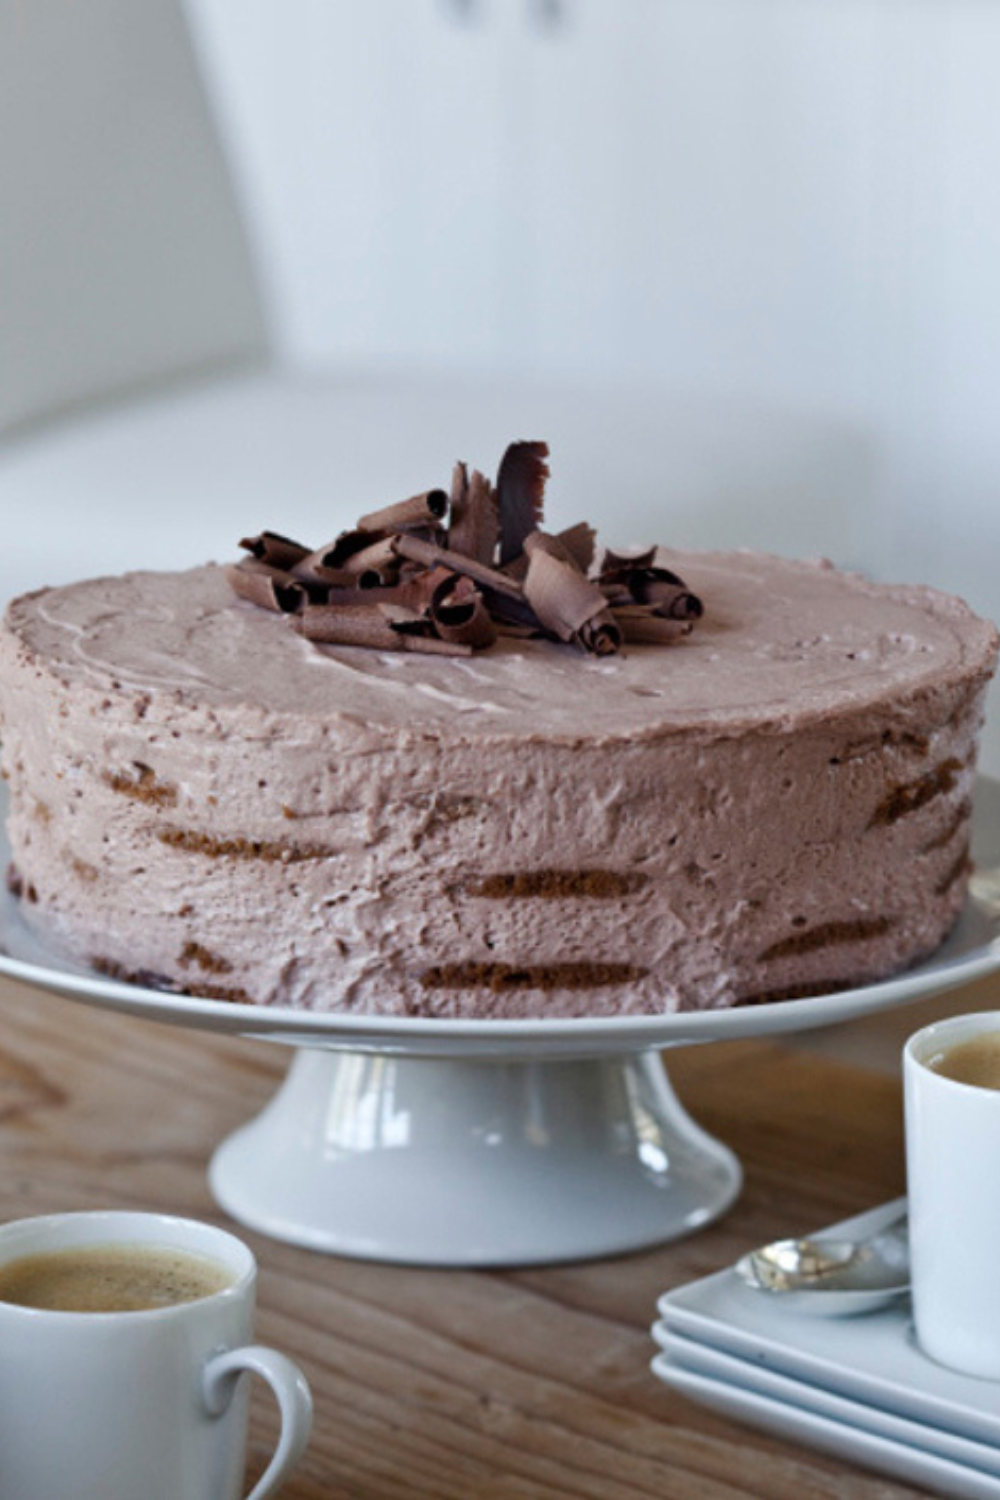
Ina Garten Mocha Chocolate Icebox C...
inagarteneats.com
40 minutes
Your folders
 271 views
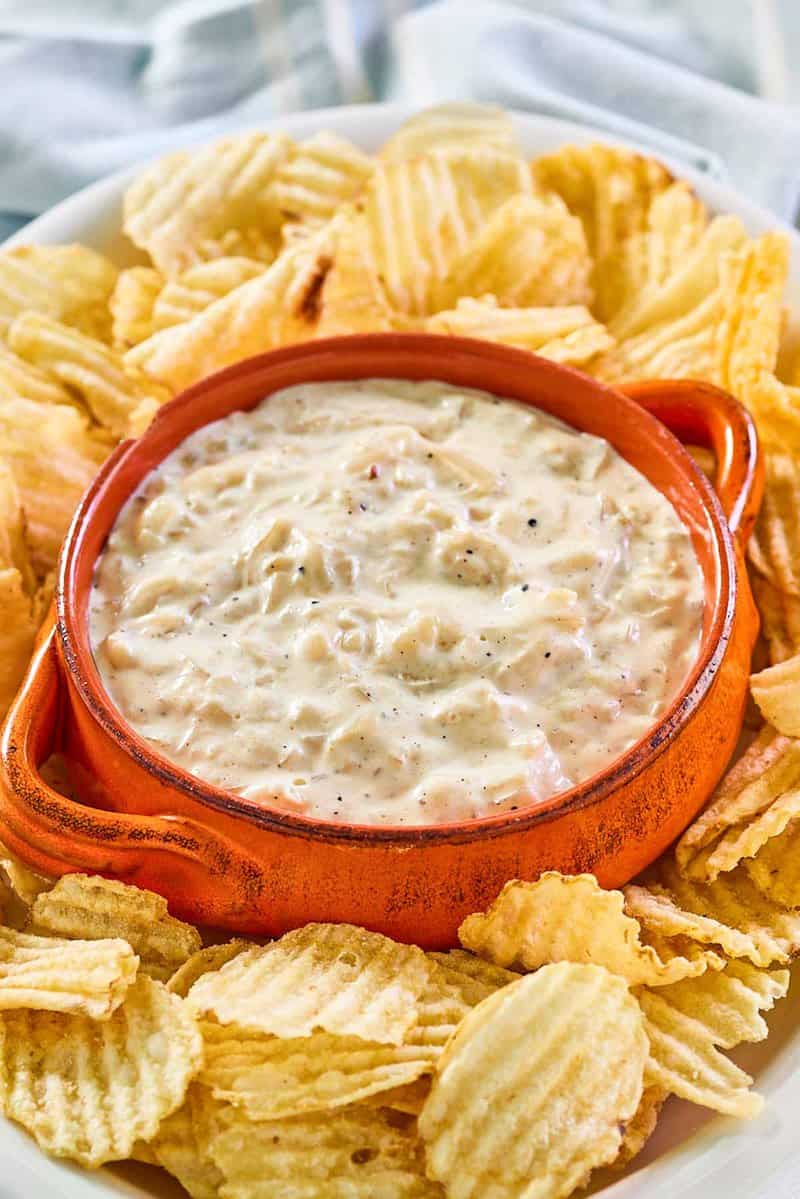
Ina Garten Onion Dip
copykat.com
5.0
(4)
20 minutes
Your folders
454 viewsIna Garten Onion Dip
copykat.com
Your folders
 325 views
Ina Garten Spinach Quiche
inagarteneats.com
1 hours, 5 minutes
Your folders
 187 views
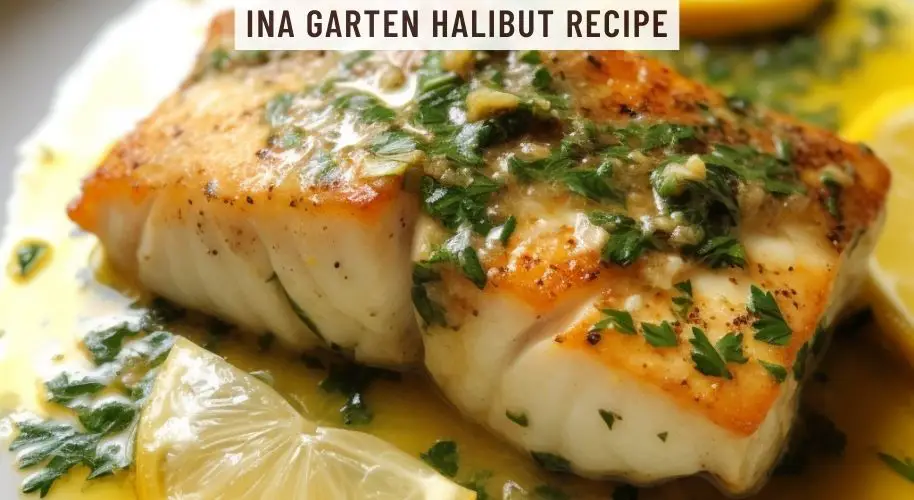
Ina Garten Halibut Recipe
easykitchenguide.com
3.9
(84)
15 minutes
Your folders
 309 views
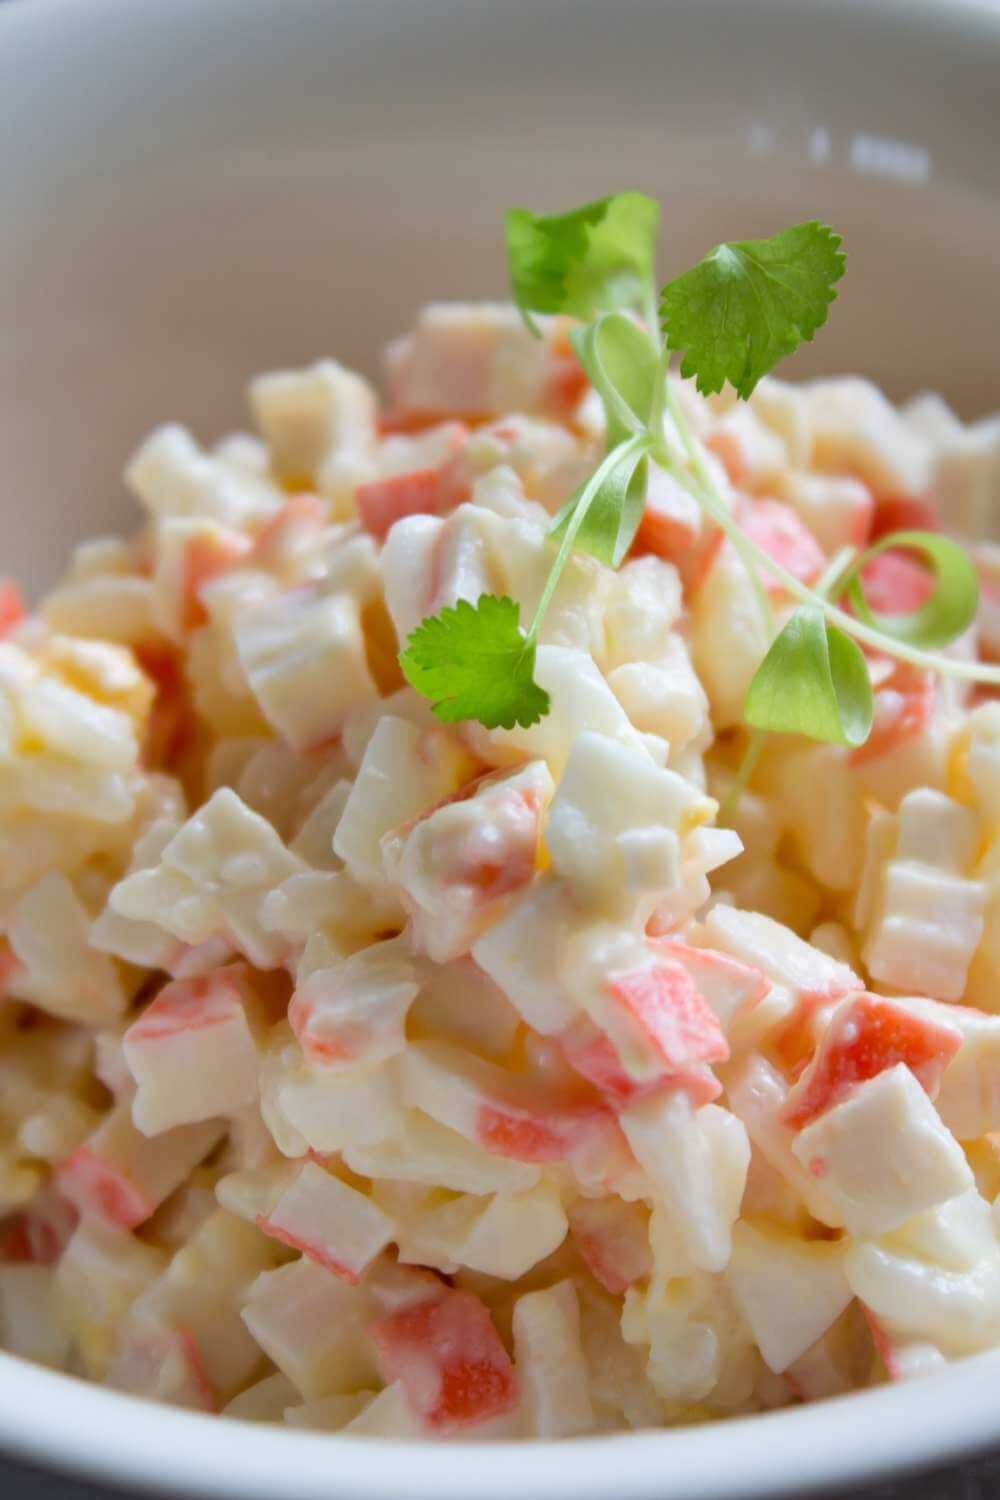
Ina Garten Crab Salad
ourtableforseven.com
5 minutes
Your folders
 291 views
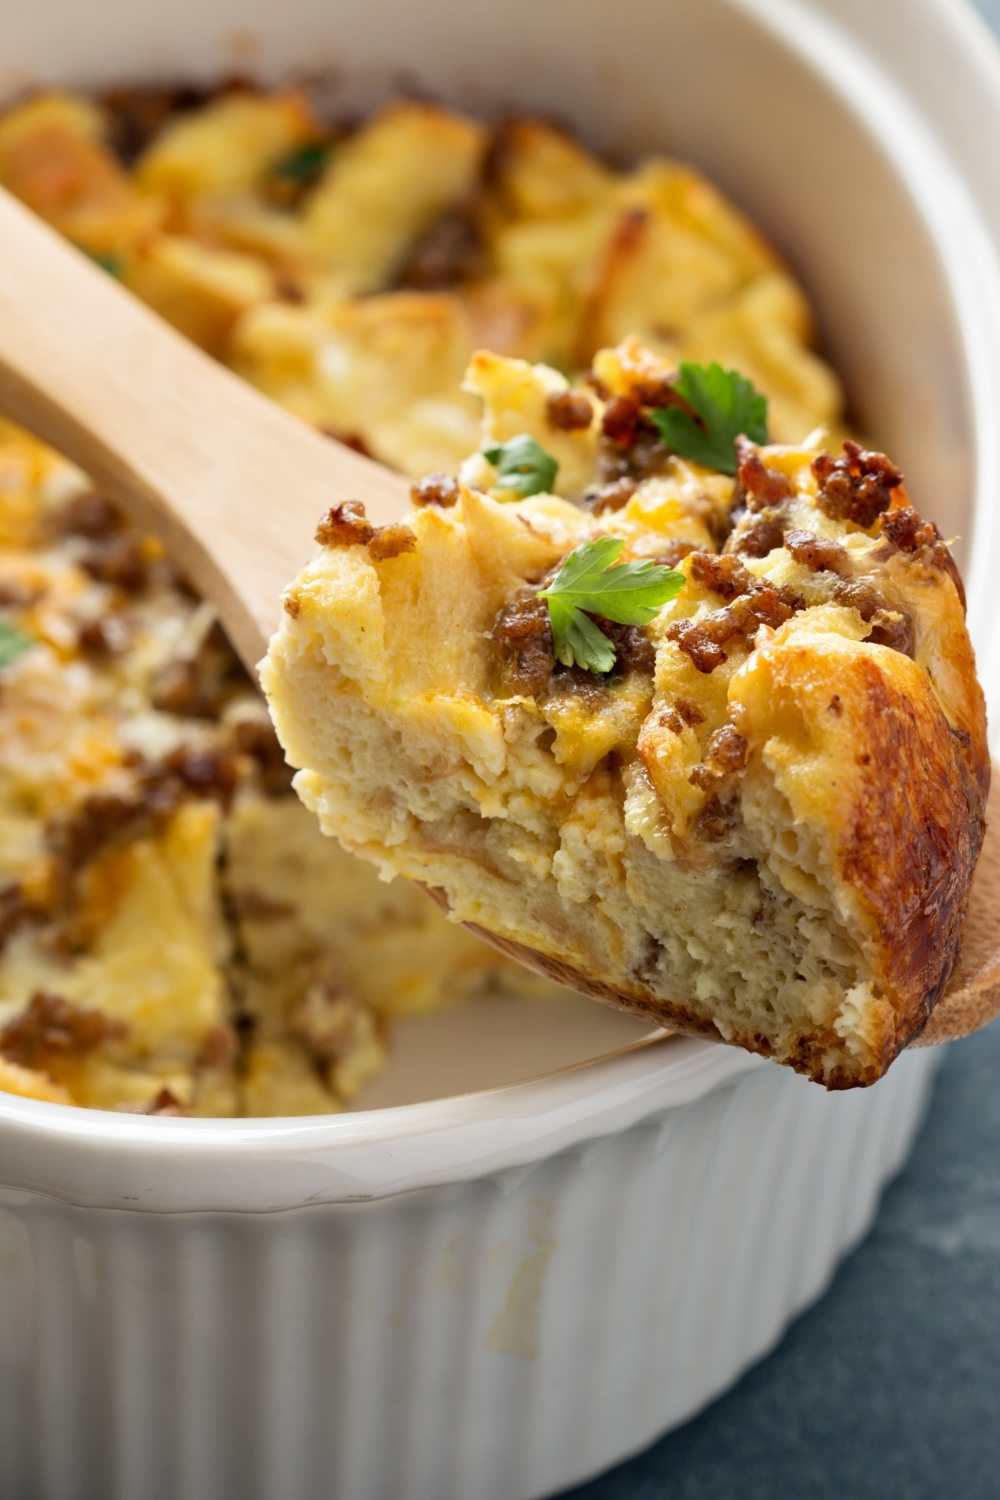
Breakfast Strata Ina Garten
ourtableforseven.com
55 minutes
Your folders
 712 views
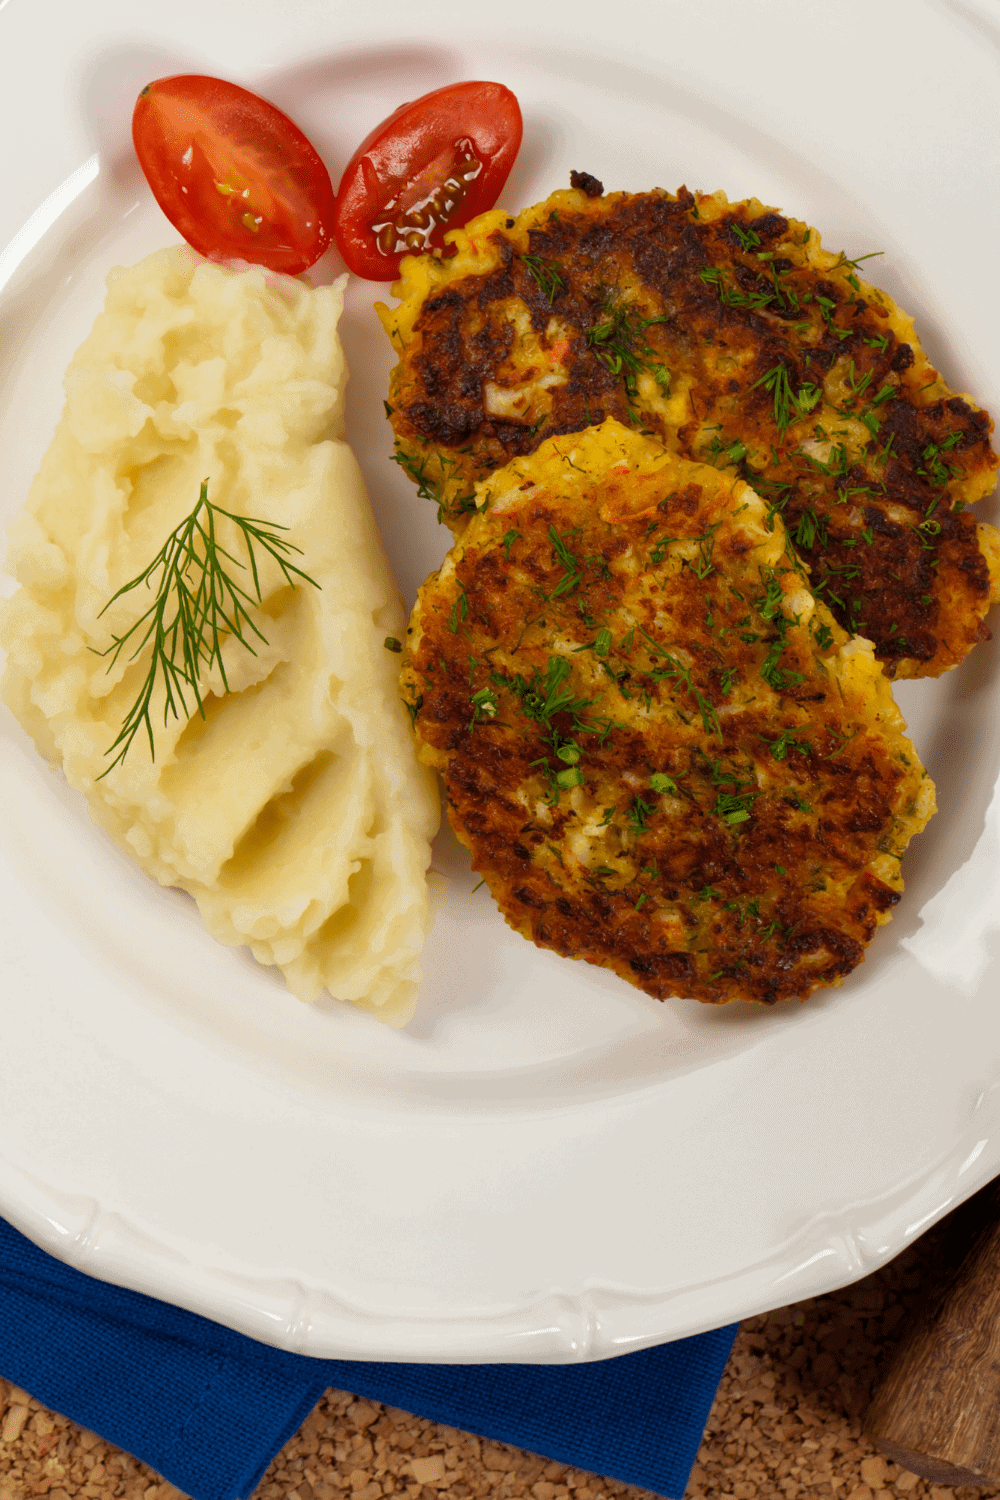
Ina Garten Crab Cakes
halfscratched.com
20 minutes
Your folders
 710 views
Ina Garten Crab Salad
chefsandrecipes.com
5 minutes
Your folders
 219 views
Spinach Gratin Ina Garten
bigoven.com
30 minutes
Your folders
 266 views
Ina Garten Spinach Gratin
womenchefs.org
40 minutes