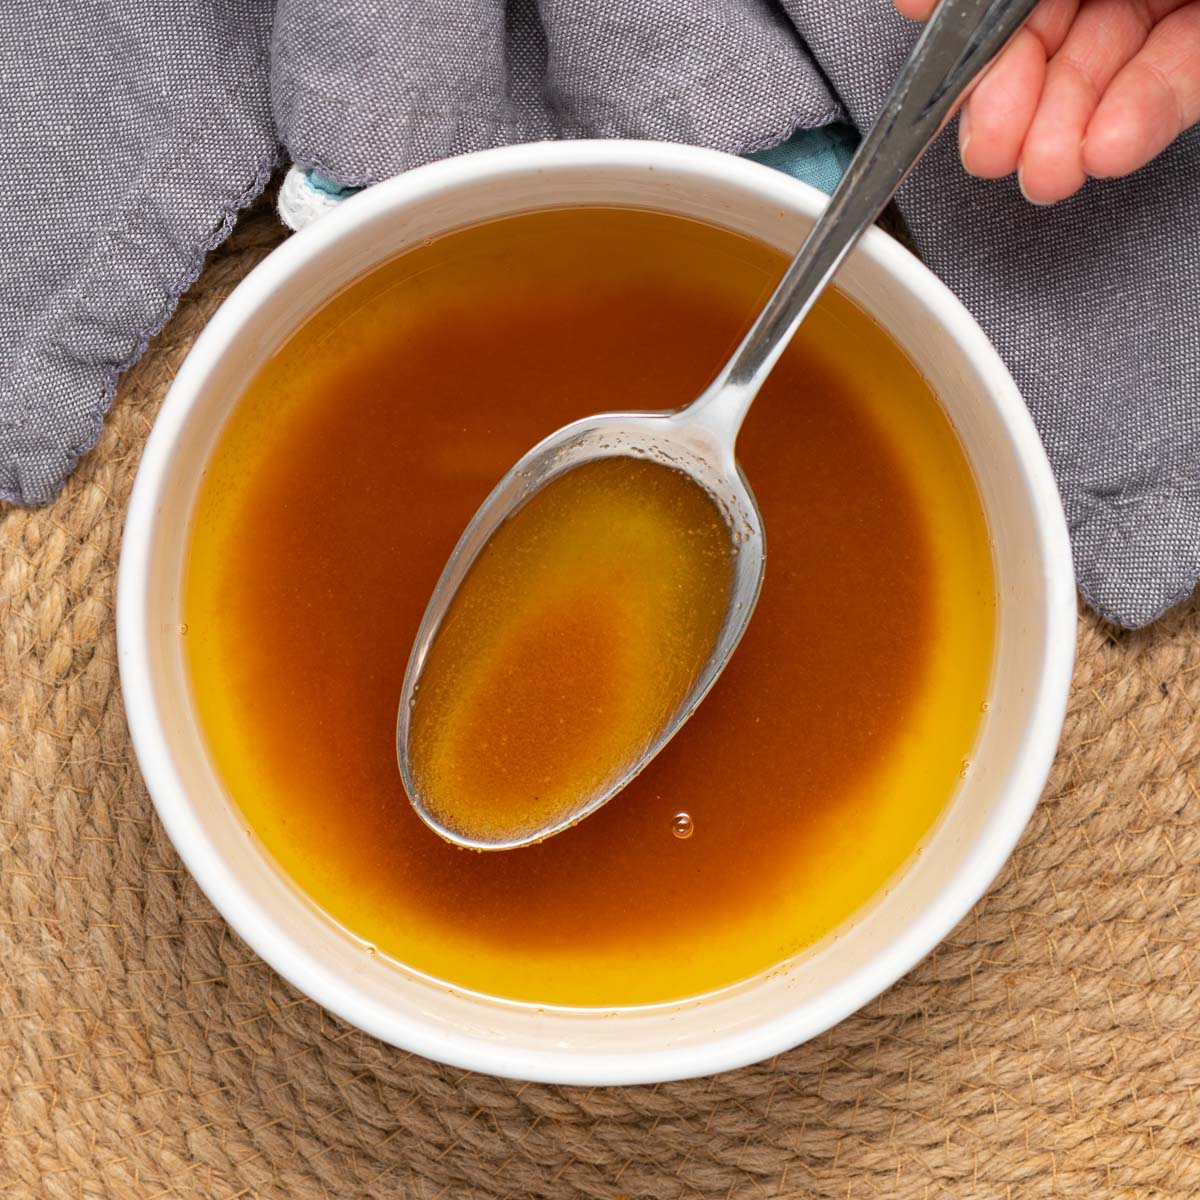
Vegan Brown Butter
5.0
(5)
Your folders
Your folders
Prep Time: 5 minutes
Cook Time: 5 minutes
Total: 10 minutes
Servings: 1
Author : Melanie McDonald

Ingredients
Export 2 ingredients for grocery delivery
Instructions
Step 1
Before starting I recommend you watch my video in the post above so you can see the steps vegan butter goes through as it browns. It will make it much easier for you to judge its progress when you come to make it.
Step 2
Add the butter and nut butter to a light coloured, wide, heavy bottom pan. Melt really gently over a very low heat. As soon as the butter is melted, turn off the heat. Whisk the mixture really well, smushing the nut butter, until it is completely combined and incorporated into the butter and you can no longer see any lumps of it.
Step 3
Have a small spoon handy next to the stove.
Step 4
Return the pan to a medium heat, whisking constantly so the browning happens evenly.
Step 5
The butter will start off really yellow and thick, then it will start to foam, bubble and maybe sizzle a bit. Keep whisking. Quite quickly (within a few minutes) it will turn clear and golden, and you will see grainy solids at the bottom of the pan beginning to toast. You will also notice the buttery smell deepening.
Step 6
It can be a little hard to see under the foam, so use the spoon you have handy to push the foam aside and scoop out a little so you can take a closer look. The longer you brown it the deeper and more complex the flavour will be, until the point when it burns that is. It can go from beautiful golden amber to black and acrid very quickly. It's better to be cautious and have it slightly underdone than accidentally go too far.
Step 7
When the solids are a deep, toasty, nutty, golden amber brown, remove the pan from the heat and pour the brown butter along with the golden toasted solids straight into a heat proof container. Don't leave it in the pan because it will continue to cook and could burn even after the heat is turned off.
Step 8
Either use immediately or allow to cool then refrigerate.