Viennese Lemon Valentines Cookies
Your folders
Your folders
Prep Time: 30 minutes
Cook Time: 9 minutes
Total: 59 minutes
Servings: 36

Ingredients
Export 6 ingredients for grocery delivery
Instructions
Step 1
For a detailed tutorial on how to make rolling cookies between waxed paper and why I prefer the paper as well as glazing the cookies, please see my posts Cut Out Cookies Using the Waxed Paper Technique and Painted Cookies.
Step 2
Preheat the oven to 350°F. Line two baking sheets with parchment paper and set aside.
Step 3
Zest the lemon using a microplaner for best results. Set aside.
Step 4
Place the almond flour in the processor and pulse several times to make sure there are no lumps.
Step 5
Add the granulated sugar and lemon zest. Process briefly to mix.
Step 6
Add the egg yolks and almond extract. Process until thoroughly mixed. The dough will not ball up.
Step 7
Remove it from the processor and shape it into a flat round.
Step 8
Place it between two large pieces of waxed paper. Indent the dough several times with a rolling pin to make it easier to roll out,. Roll out about 1/4" thick. Turn the waxed paper with the dough over several times to straighten the paper if it wrinkled. Cut the cookies out and place them on parchment lined baking sheets. Re-roll the scraps as necessary.
Step 9
Bake for 9 to 11 minutes just until barely browned on the edges. Cool completely before glazing.
Step 10
Sift the powdered sugar to remove any lumps. Add the lemon juice and stir to combine. Stir somewhat gently to reduce the air bubbles. Divide the mixture in half.
Step 11
Add the food coloring around the edges of the bowl and in the middle. Swirl the food coloring around until it looks marbelized. See the photos.
Step 12
Hold a cookie by the edges and dip the top only into the glaze. Hold it above the bowl and let the most of the excess drip back into the bowl. Place on parchment paper to dry. Move around the bowl from time to time for the most interesting finishes.
Step 13
When the bowl of glaze you are using becomes one color or the swirling is no longer evident, repeat with the second bowl of glaze.
Step 14
Dry the cookies until the glaze is completely set. This can take several or more hours. Do not rush it.
Step 15
When the glaze is dry and set, they can be stored in an airtight container almost indefinitely.
Top similar recipes
Curated for youYour folders

 165 views
Killer Valentines
ghoulatheart.com
Your folders
 435 views
Lemon and strawberry viennese whirl...
deliciousmagazine.co.uk
5.0
(4)
20 minutes
Your folders

 232 views
Lollipop Cookie Valentines
allrecipes.com
4.0
(26)
Your folders
 280 views
Viennese Whirls
savingdessert.com
4.6
(29)
12 minutes
Your folders

 555 views
Viennese whirls
bbcgoodfood.com
12 minutes
Your folders
 336 views
Viennese Crescents
365daysofbakingandmore.com
15 minutes
Your folders
 281 views
Viennese Coffee
tasteofhome.com
5.0
(2)
3 hours
Your folders
 232 views
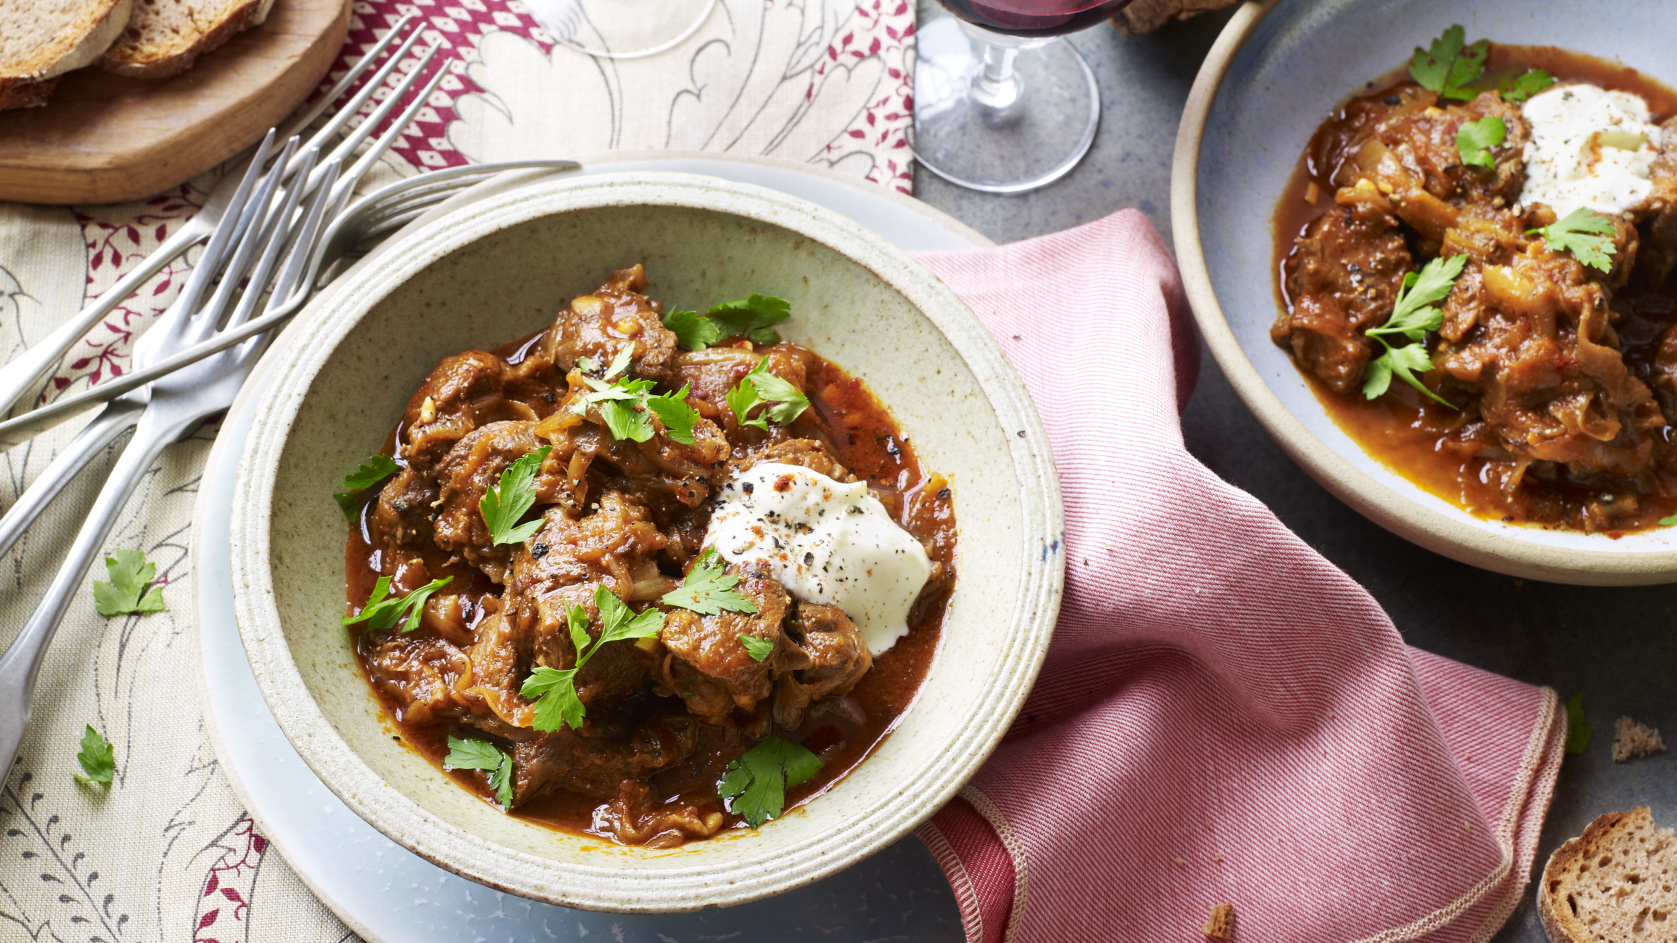
Viennese goulash
bbc.co.uk
4.2
(22)
2 hours
Your folders

 275 views
Valentines Smores with Peeps
3boysandadog.com
Your folders

 290 views
Heart Healthy Valentines Chocolates
superhealthykids.com
4.4
(8)
Your folders
 197 views
Viennese Iced Coffee
foodnetwork.com
5.0
(6)
Your folders
 340 views
Viennese Plum Cake
tasteofhome.com
4.8
(5)
50 minutes
Your folders
 236 views
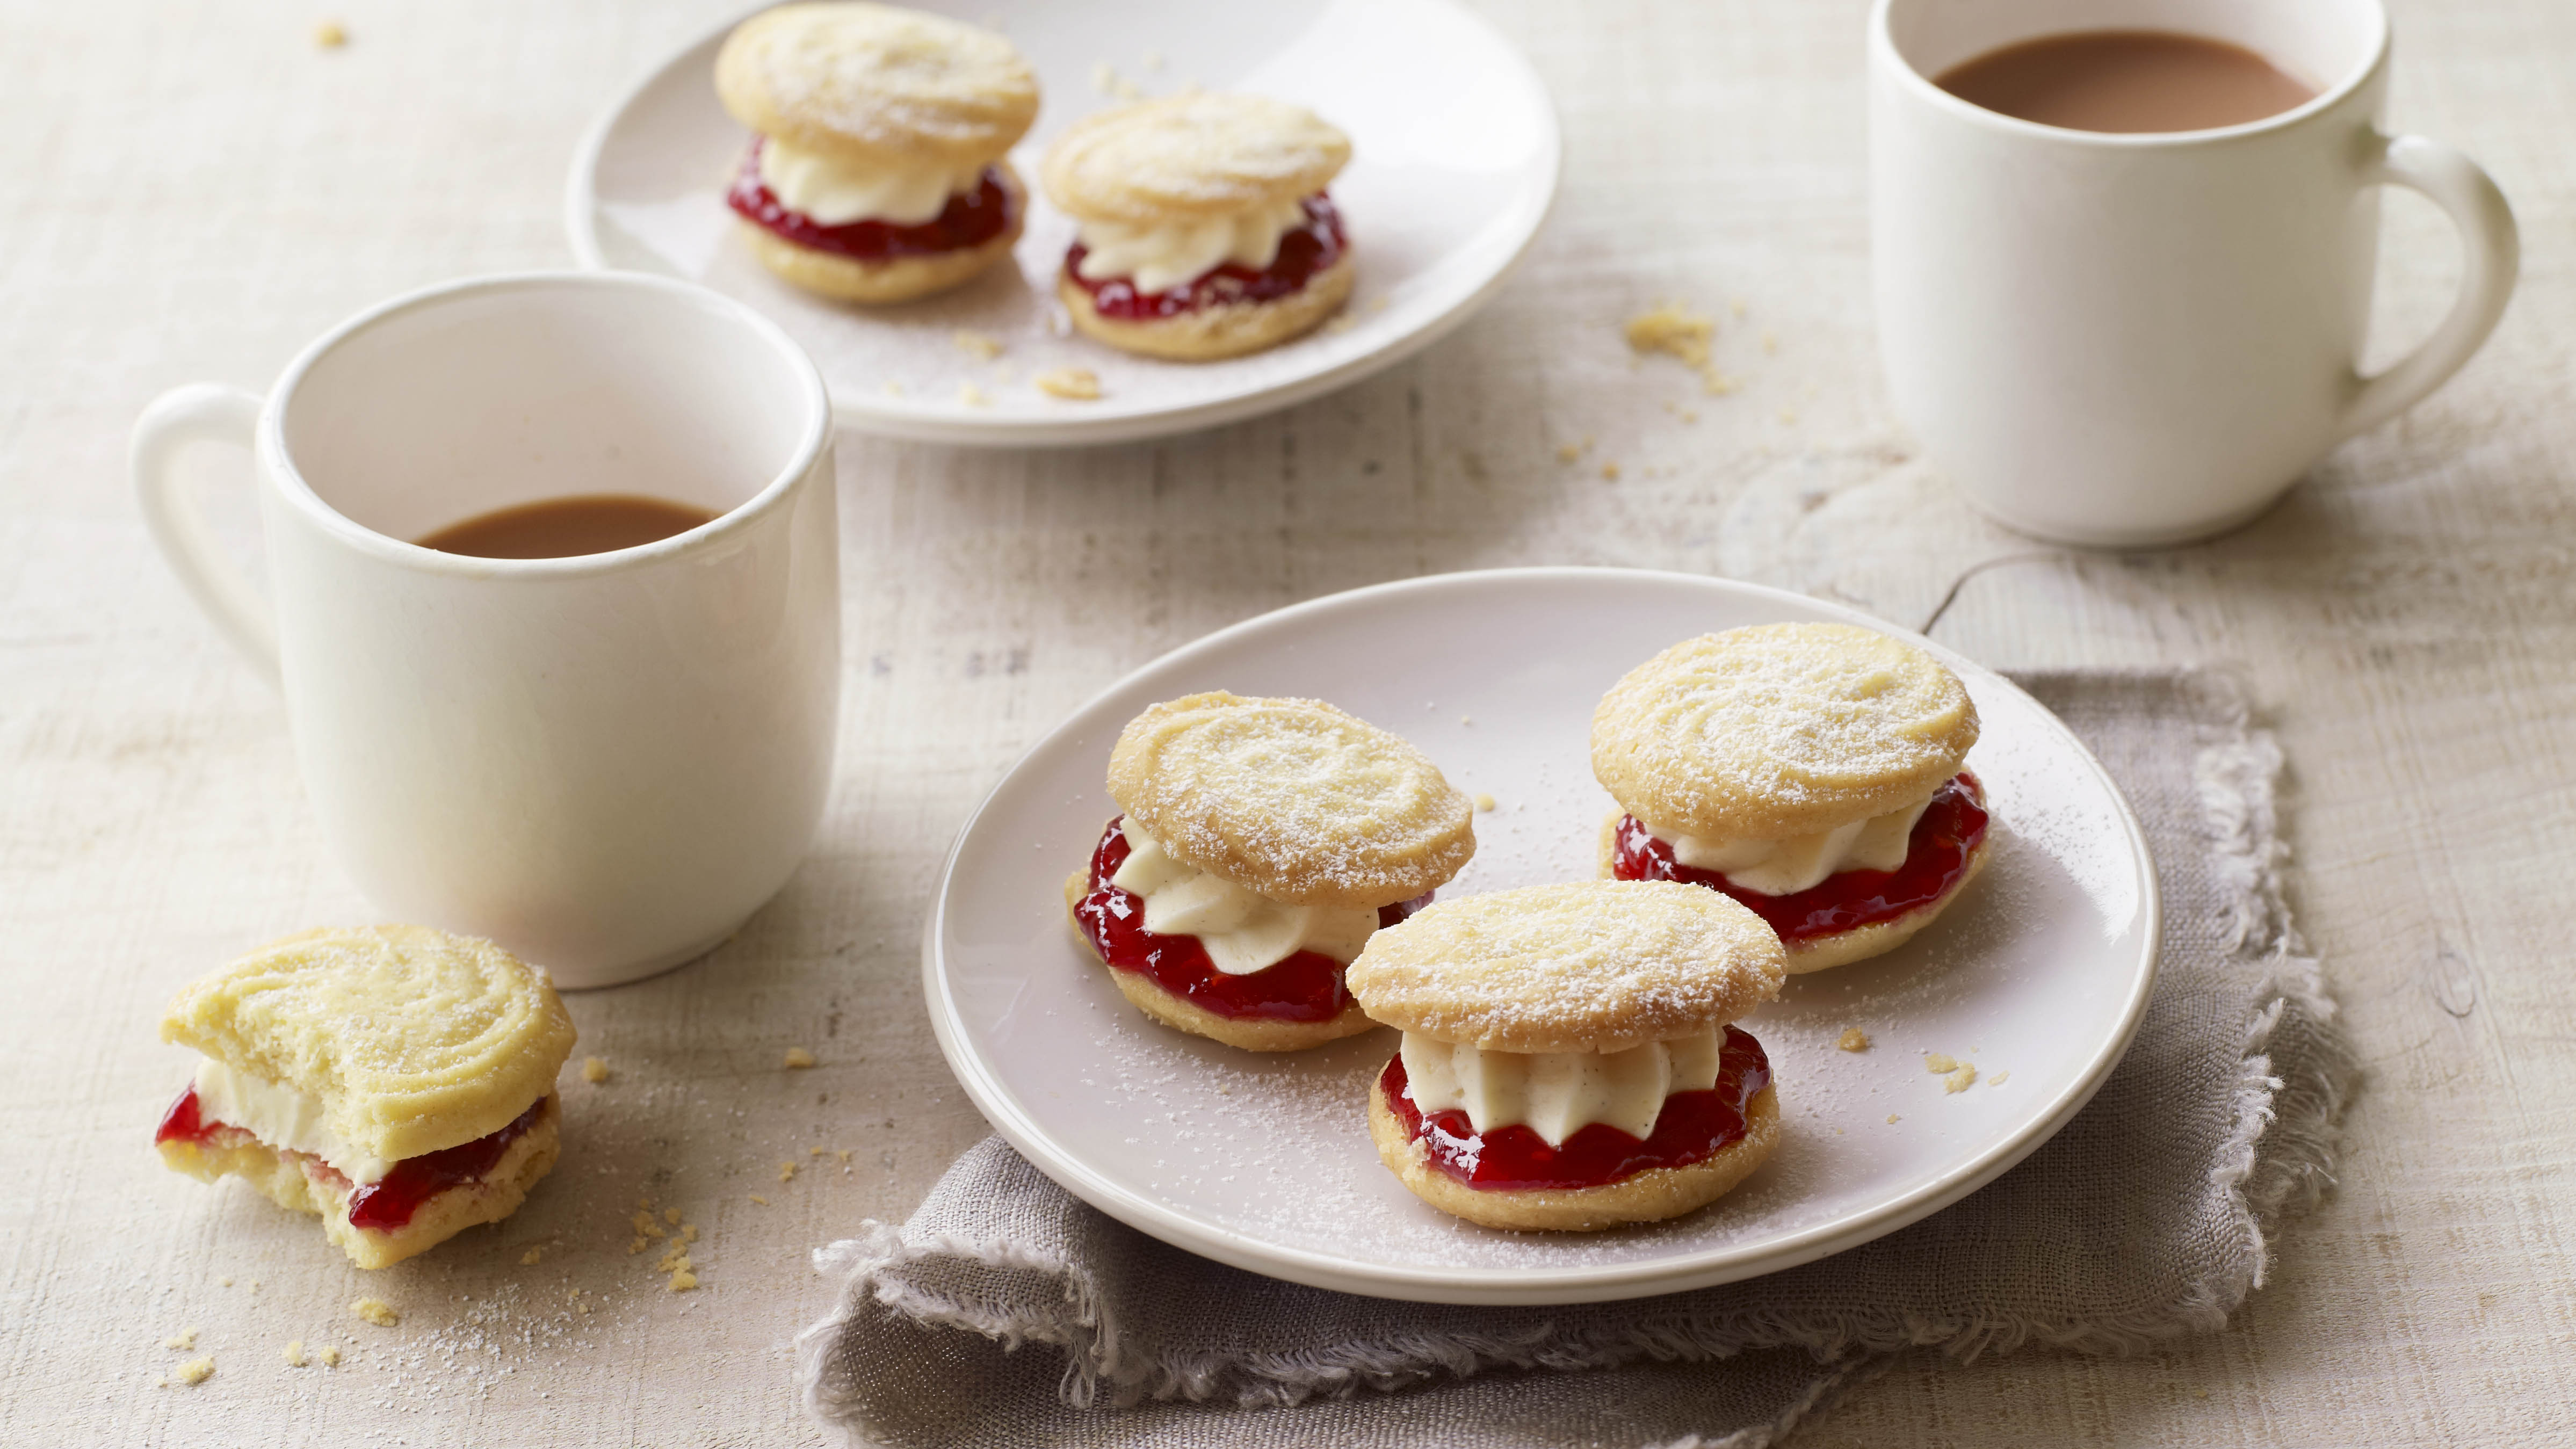
Mary’s Viennese whirls
bbc.co.uk
4.6
(13)
1 hours
Your folders

 69 views
Viennese whirls recipe
bestrecipes.com.au
12 minutes
Your folders

 291 views
Healthy Valentines Day cookie recip...
livinginhappyplace.com
12 minutes
Your folders

 164 views
Valentines Day Slime Card Craft
naturalbeachliving.com
Your folders
 171 views
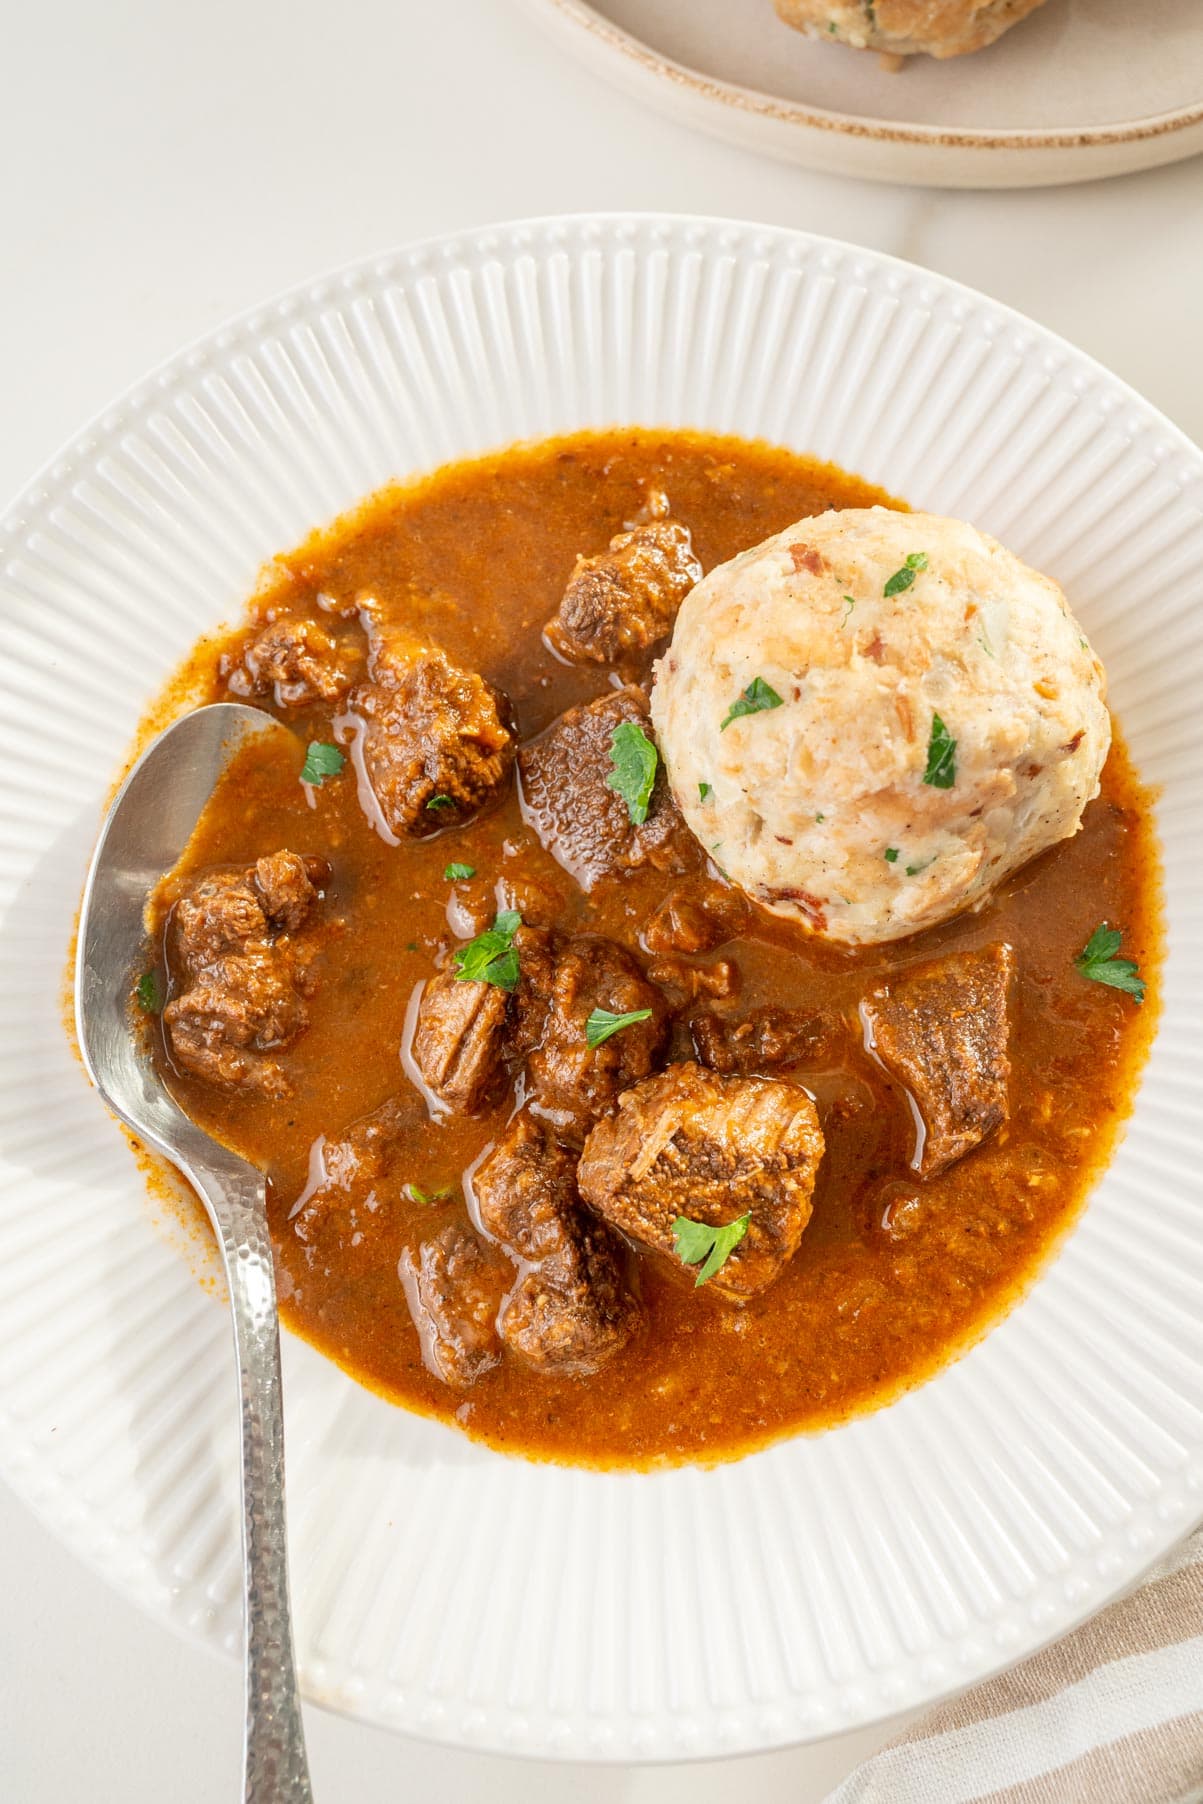
Viennese Goulash (Wiener Saftgulasc...
everyday-delicious.com
180 minutes
Your folders

 541 views
Viennese Einspänner Coffee Recipe
travelfoodatlas.com
4.5
(2)
Your folders

 284 views
Viennese coffee house - Wikipedia
en.wikipedia.org