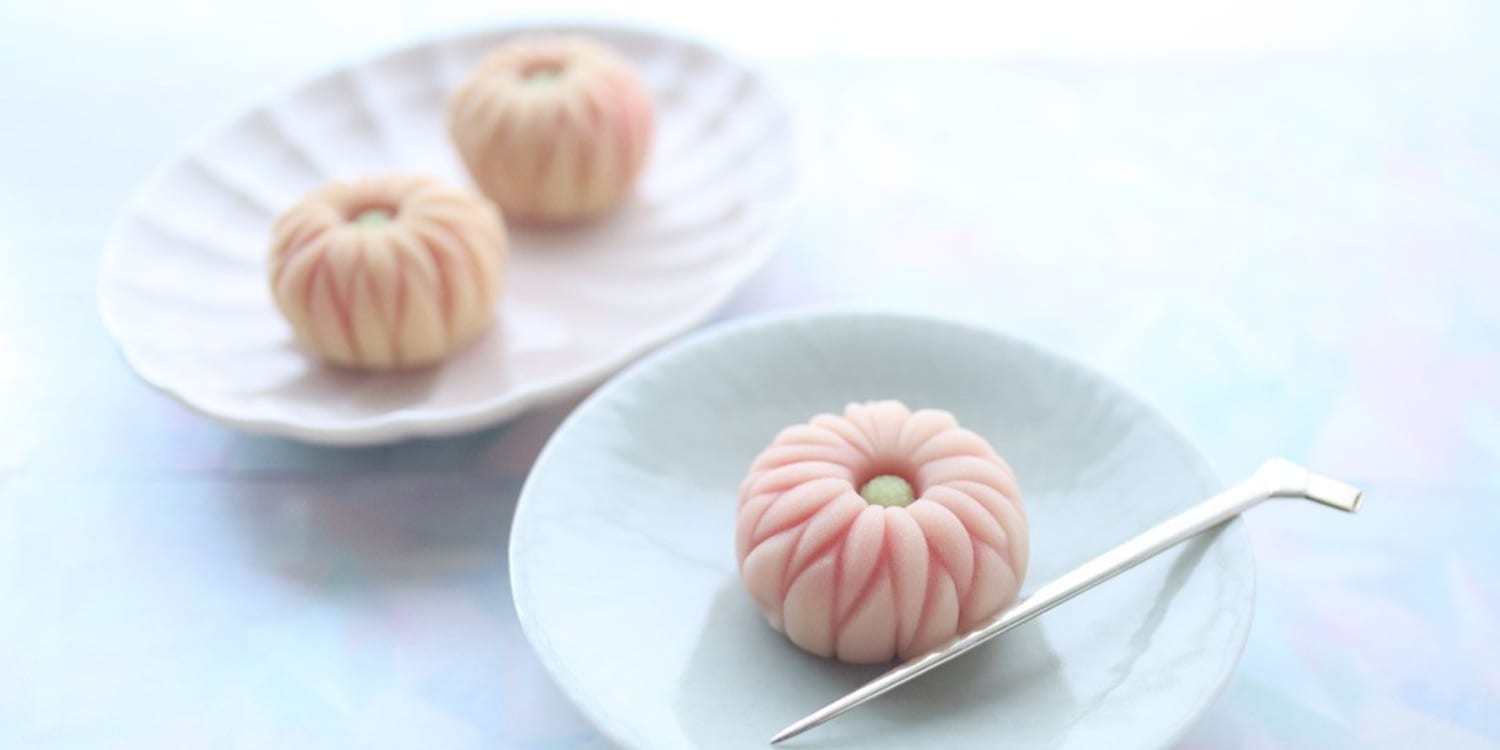
Wagashi Recipe
4.3
(19)
Your folders
Your folders
Author : Mai Irie
Ingredients
Export 3 ingredients for grocery delivery
Instructions
Step 1
For the dough:
Step 2
Mix the glutinous rice flour and sugar together and add half of the water. Stir until the sugar has been dissolved and the mixture is smooth. When there are no clumps remaining, add the rest of the water and stir until it is a smooth paste. Set aside.
Step 3
With a spatula, smooth out the white bean paste in the bottom of a microwave-safe mixing bowl and make cuts in the paste to increase the surface area. This helps it cook faster. Cook in the microwave at 500 watts (low power) for 1½ minutes. When it comes out of the microwave, it should look slightly white-ish and dried out on top but still damp on the bottom. Stir well, flatten, make more cuts and heat it in the microwave for 1½ more minutes.
Step 4
Now it should look white and dry on top. When you touch the surface, it should not be sticky. If your bean paste sticks to your finger, it should be heated longer.
Step 5
Heat the mixture of glutinous rice flour, sugar and water in the microwave for 30 seconds at 500 watts (low power). At this point, it should be partially cooked. Mix it and return it to the microwave to heat for another 30 seconds. Stir again. The mochi should now look sticky and transparent. Add this mochi to the white bean paste and stir until well combined.
Step 6
Now the dough is ready to knead. Transfer the dough on top of a damp cotton cloth. To knead it, take two opposite corners of the cotton cloth and fold the dough over. Repeat with the other two corners. Continue kneading until the dough is smooth.
Step 7
Break up the dough into small pieces to help it cool down faster. Let the dough rest for about 1 minute, but don't leave it out for too long or else the edges will start to dry and crack.
Step 8
After a minute, gather the dough in the center of the cloth and knead to combine again. The surface should be smooth.
Step 9
To check if it is ready, use the line test: With one finger, draw a line in the dough. If you don't see any clumps or cracks, the dough is ready.
Step 10
You can either use the dough right away or cover it in plastic wrap and let it rest in the fridge overnight. The next day, the dough will be more stable and easier to handle (leaving it in the fridge overnight is not mandatory).
Step 11
To shape the wagashi:
Step 12
Roll 2-teaspoon-size balls of bean paste. This will be the filling.
Step 13
Wrap the filling in the dough (about 1 tablespoon plus 2/3 teaspoon). Seal the dough.
Step 14
Roll it between your palms to make the surface smooth.
Step 15
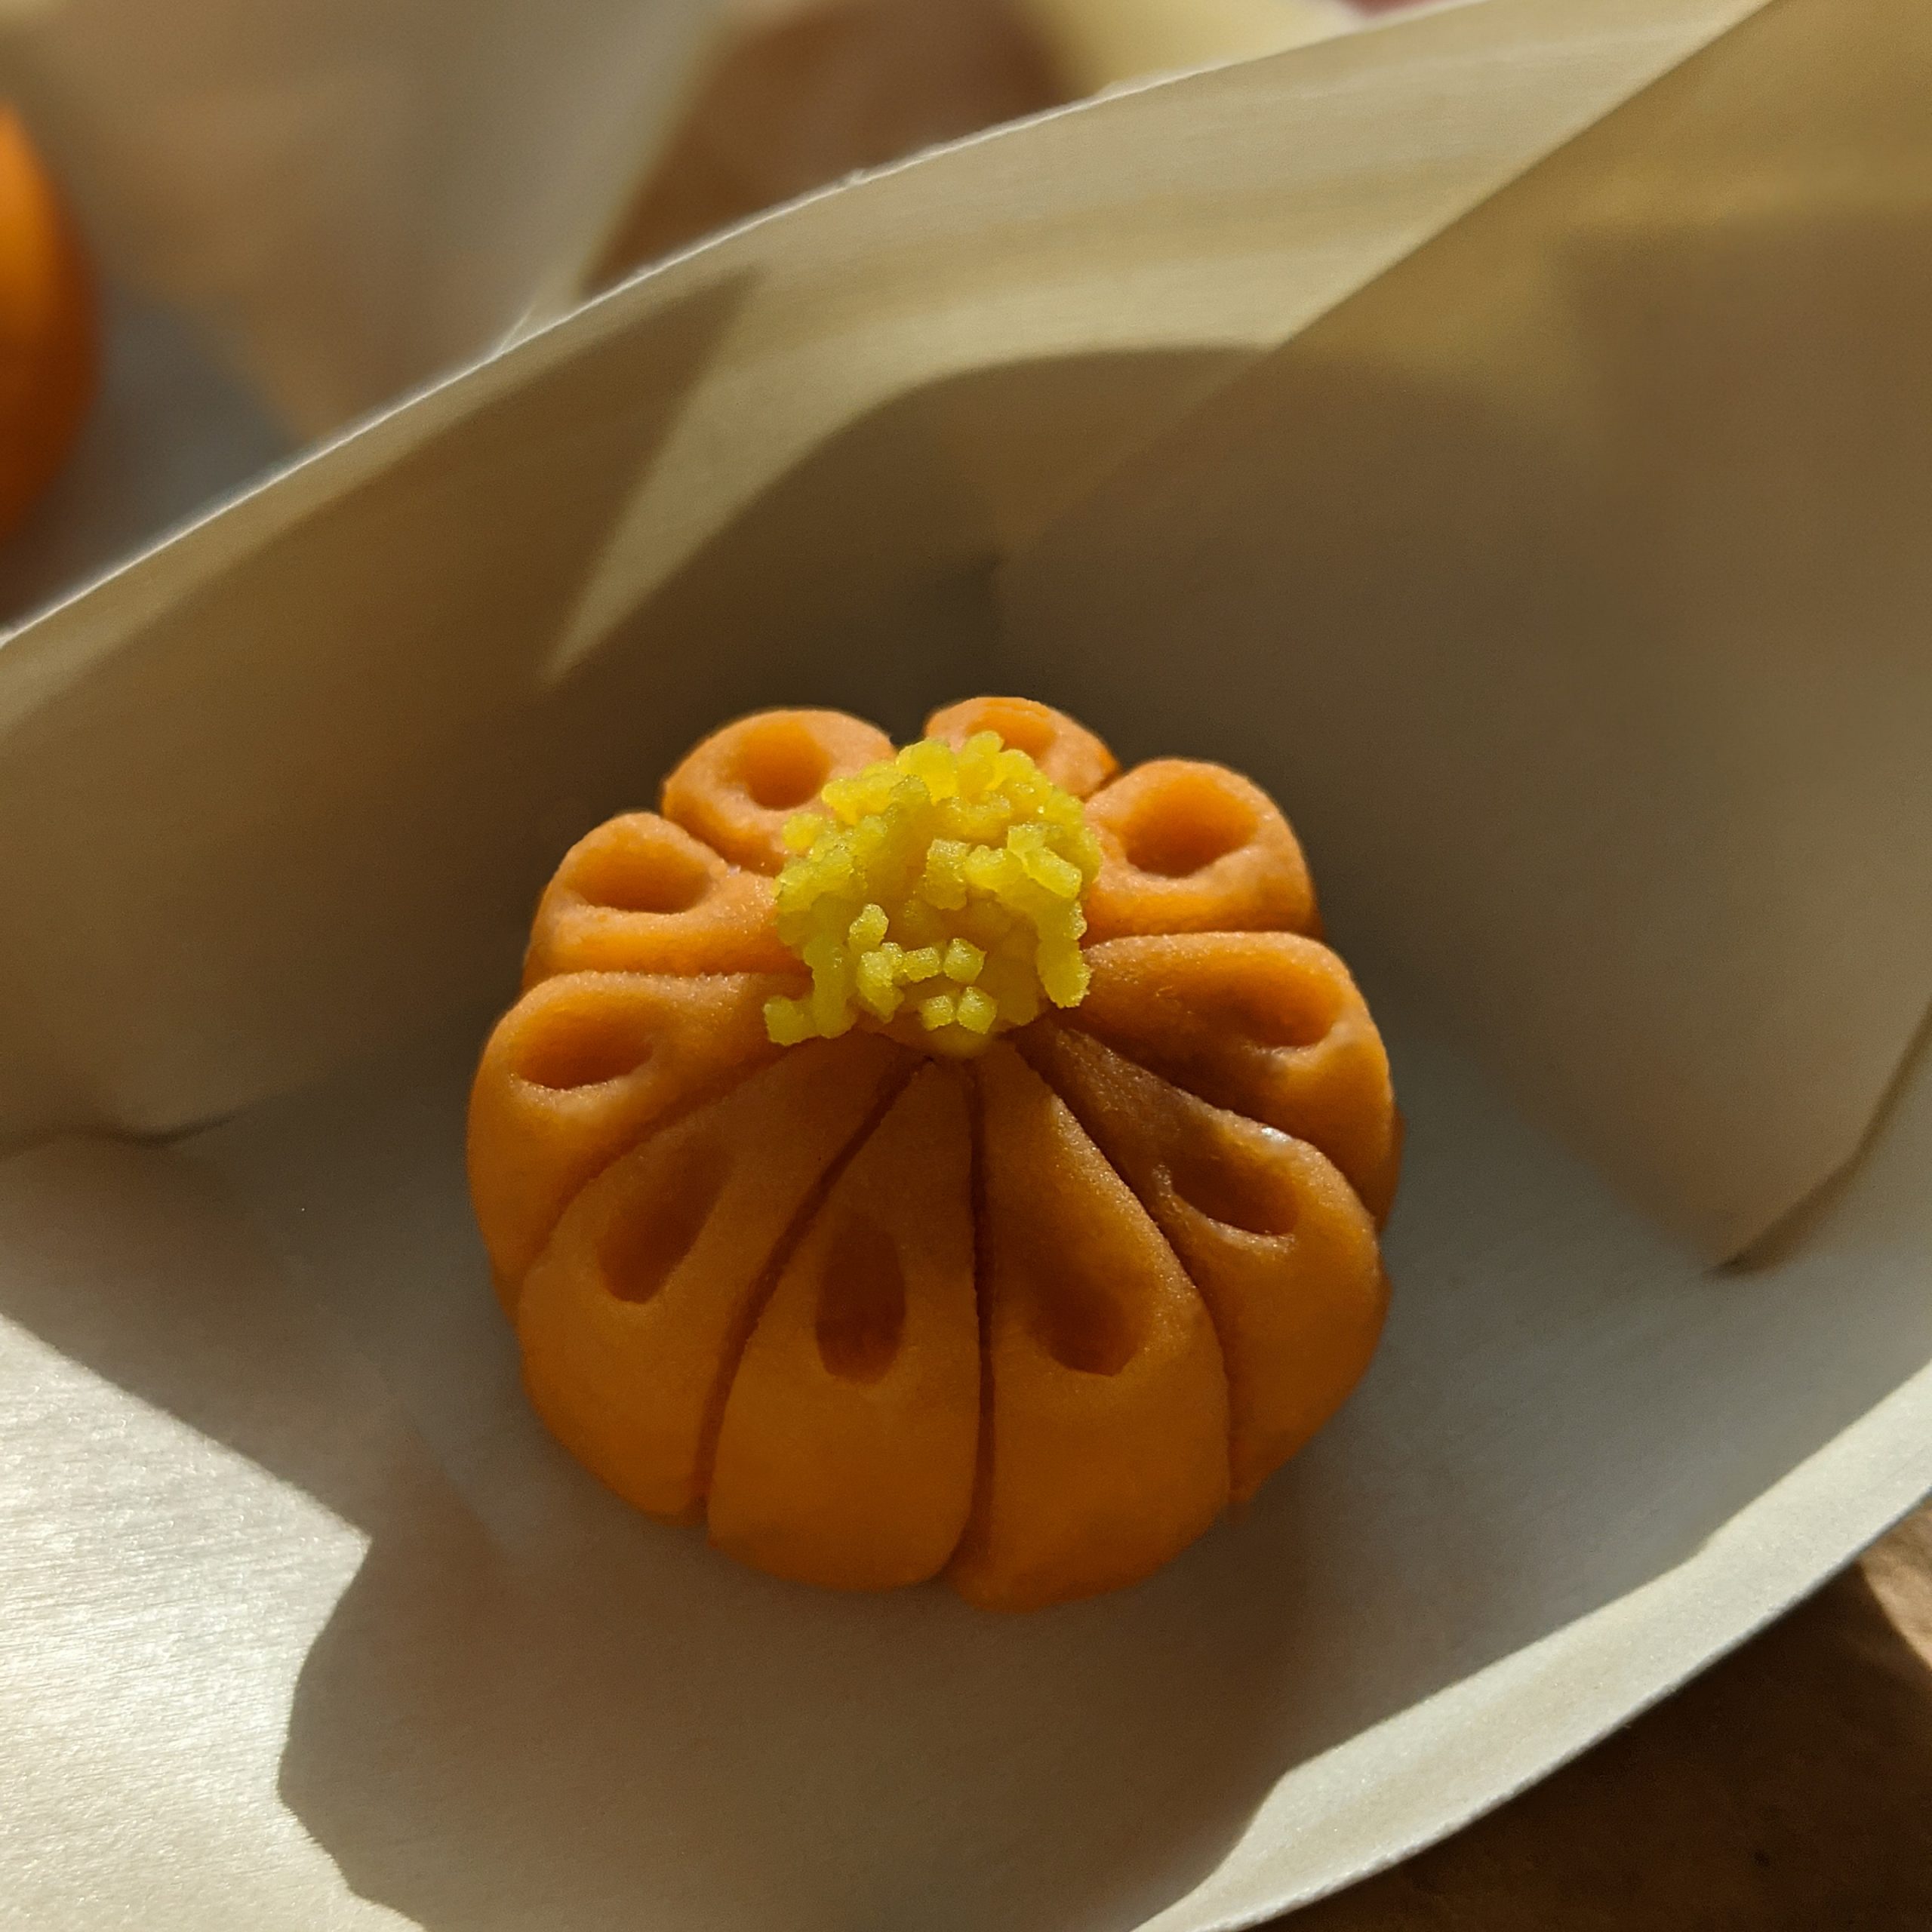
With a wooden triangular stick, draw lines to create the flower petals.
Step 16
Make the center of the flower with a small amount of yellow dough.
Top similar recipes
Curated for youYour folders
 36 views
Vegan wagashi
margodrobi.com
Your folders
 116 views
Japanese Matcha Wagashi Recipe, By ...
souschef.co.uk
Your folders
 48 views
Wagashi Cheese, A cheese from north...
foodche.com
5.0
(1)
30 minutes
Your folders
 107 views
Rainbow Color & Heart Shaped Wagash...
suncorefoods.com
Your folders
 503 views
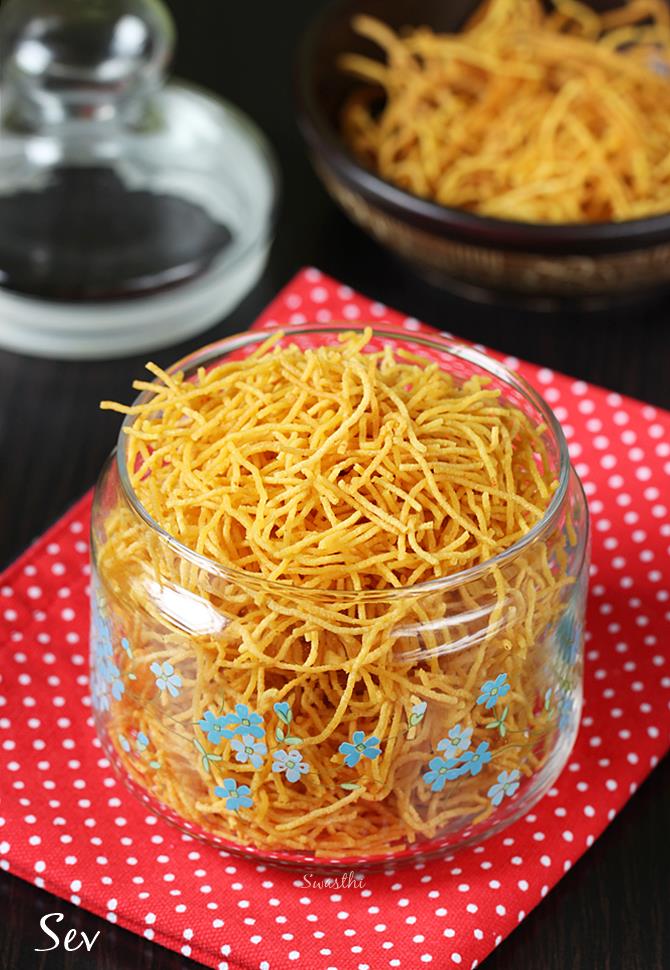
Sev recipe | Omapodi recipe | Karap...
indianhealthyrecipes.com
5.0
(15)
35 minutes
Your folders
 390 views
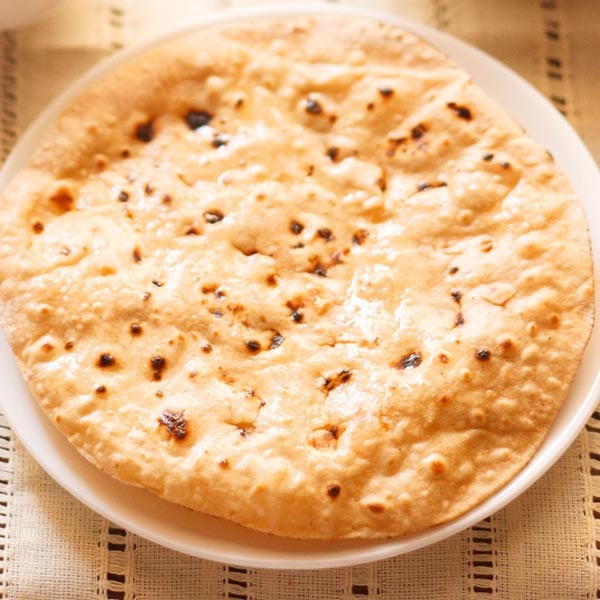
Roti Recipe | Chapati Recipe | Phul...
vegrecipesofindia.com
4.9
(30)
30 minutes
Your folders
 384 views
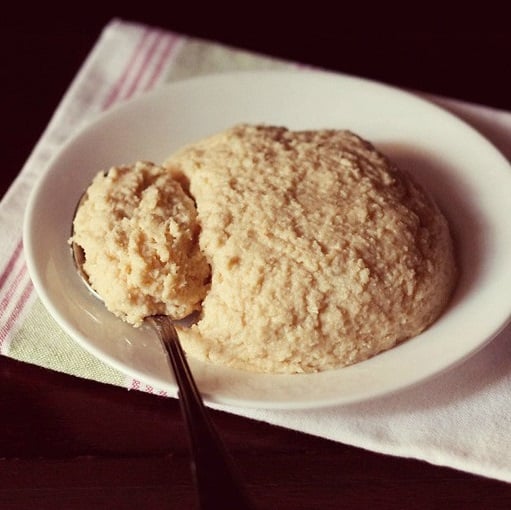
Khoya Recipe | Mawa Recipe
vegrecipesofindia.com
4.8
(19)
120 minutes
Your folders
 390 views
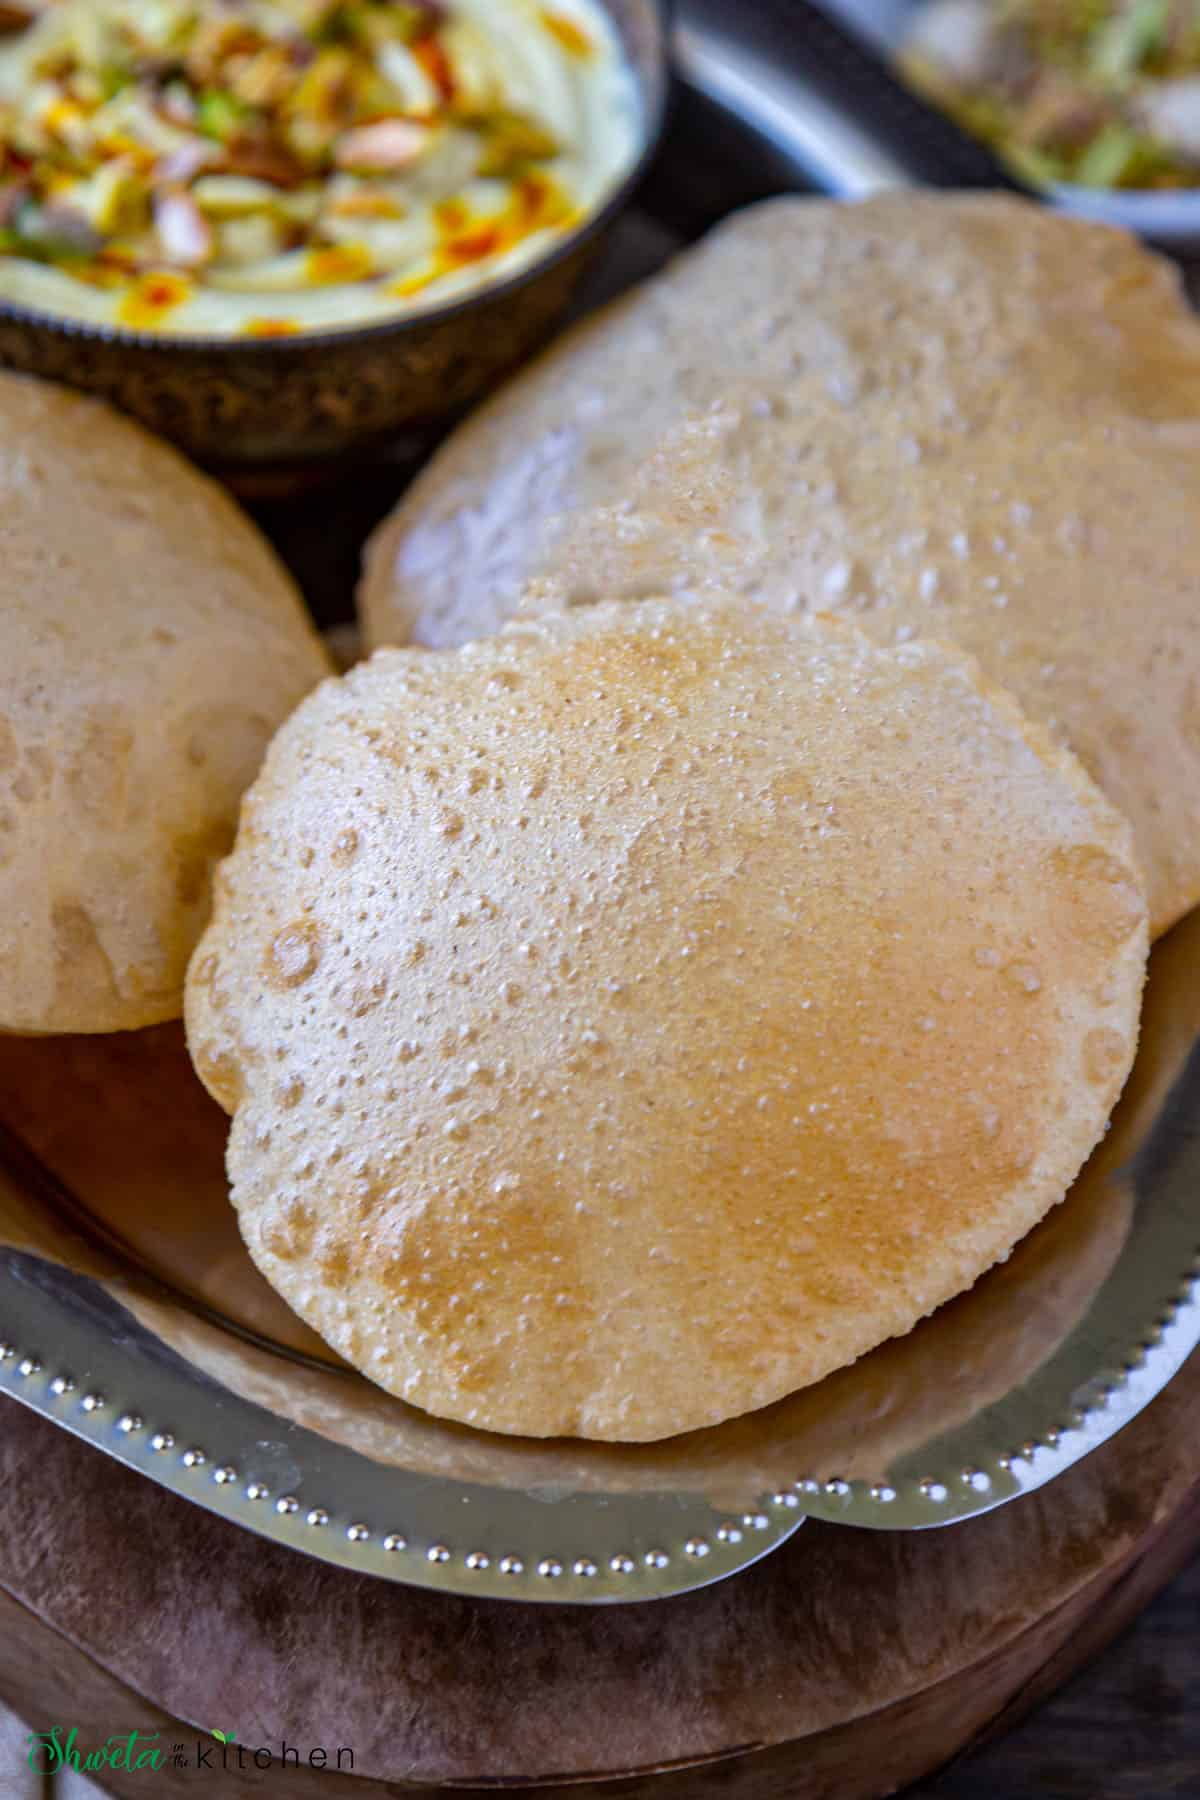
Poori Recipe (Puri recipe)
shwetainthekitchen.com
5.0
(1)
20 minutes
Your folders
 1406 views
Poori recipe | Puri recipe
indianhealthyrecipes.com
5.0
(142)
10 minutes
Your folders
 222 views
Gingerbread Loaf Recipe Recipe
cottercrunch.com
Your folders
 252 views
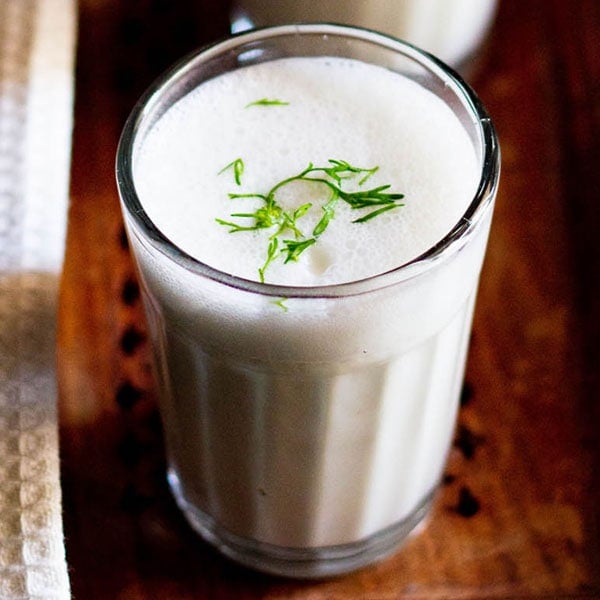
Chaas Recipe (Mattha Recipe)
vegrecipesofindia.com
4.8
(20)
Your folders
 732 views
Badam Halwa Recipe | Navratri Recip...
recipes.timesofindia.com
4.7
(4)
Your folders
 664 views
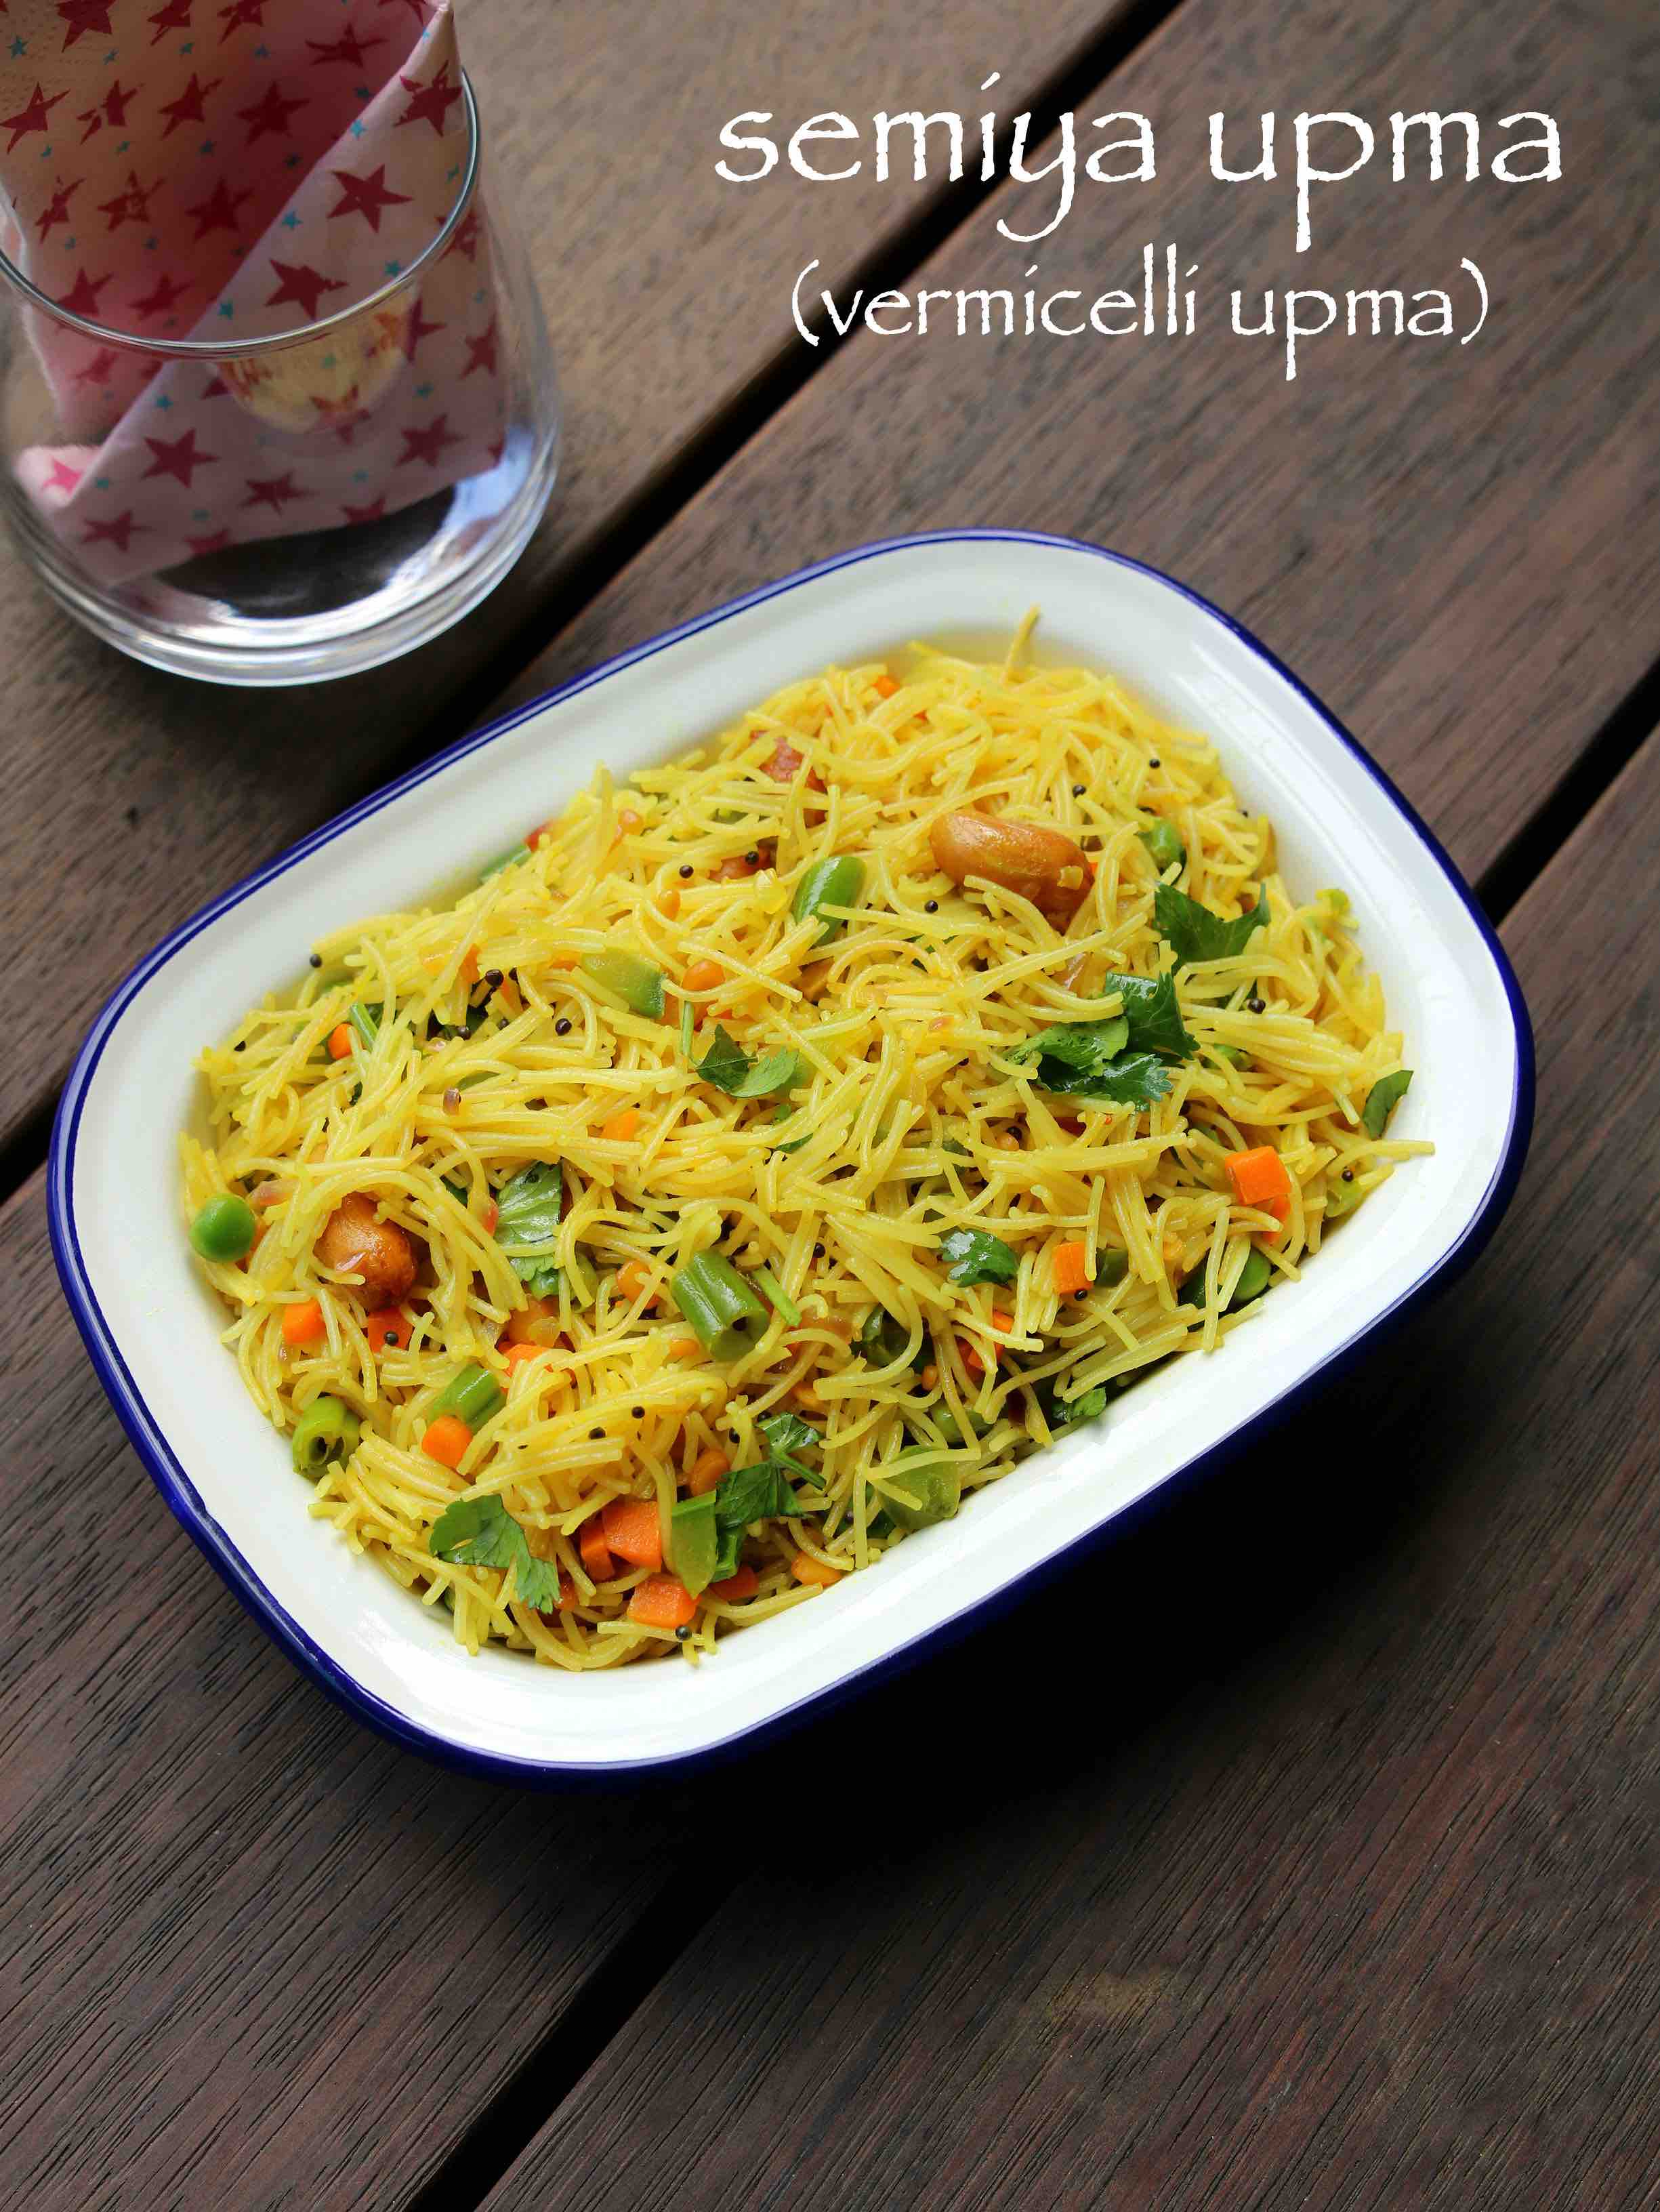
semiya upma recipe | vermicelli upm...
hebbarskitchen.com
3.9
(23)
10 minutes
Your folders
 785 views
rava kesari recipe | kesari bath re...
hebbarskitchen.com
4.8
(73)
10 minutes
Your folders
 309 views
Parotta Recipe | Kerala Paratha Rec...
yummytummyaarthi.com
4.4
(10)
30 minutes
Your folders
 349 views
Upma Recipe | Rava Upma Recipe | So...
yummytummyaarthi.com
5.0
(1)
20 minutes
Your folders
 172 views
parotta recipe | kerala paratha rec...
hebbarskitchen.com
5.0
(234)
30 minutes
Your folders
 236 views
Puliyogare Recipe | Tamarind Rice R...
indianhealthyrecipes.com
5.0
(58)
20 minutes
Your folders
 258 views
Molokhia Soup Recipe - Egyptian Rec...
healthylifetrainer.com
5.0
(8)
5 minutes