Zesty Ranch Ninja Foodi Chicken Thighs
5.0
(5)
Your folders
Your folders
Prep Time: 5 minutes
Cook Time: 25 minutes
Servings: 8
Author : admin

Ingredients
Export 7 ingredients for grocery delivery
Instructions
Step 1
Trim off any excess fat or skin from your chicken thighs. Sprinkle the chicken thighs with salt and black pepper.
Step 2
Place 4 pounds of chicken thighs (approximately 8 chicken thighs) into the Ninja Foodi. You will be using the pressure cooking setting first. Place them into the removable cooking pot with one cup of water.
Step 3
Place the pressure lid onto the Ninja Foodi. Make sure the pressure valve is set to the seal position. Hit the pressure cook setting, leave the temperature on high pressure. Set the time to 15 minutes if you are using thawed chicken thighs and 20 minutes if they are frozen.
Step 4
While the chicken thighs are cooking, prepare your dry rub by mixing all your dry seasonings together into a bowl.
Step 5
When the pressure cooking time has expired, quick release the pressure by moving the pressure release valve from seal to vent and let the pressure escape from the Ninja Foodi. When all the steam has been released, remove the pressure cooking lid.
Step 6
Using tongs, remove the chicken thighs and place onto the baking sheet. Using oven mitts to protect your hands, remove the cooking pot and drain the juice and water.
Step 7
Spray each of the chicken thighs with olive oil cooking spray while on the baking sheet.
Step 8
Roll the chicken thighs in the dry seasoning rub coating both sides of the chicken thighs.
Step 9
Replace the removable cooking pot. Place the cook and crisp basket with the detachable diffuser into the cooking pot. Add the cook and crisp layered insert.
Step 10
Spray the cook and crisp layered insert with olive oil cooking spray.
Step 11
Place the coated chicken thigh onto the rack with the skin side facing up. You should make sure the chicken thighs are now positioned in a single layer. I have the 8 quart Ninja Foodi and I was able to fit 4 chicken thighs at a time in without overlapping.
Step 12
Close the Crisping lid. Hit the air crisp button. Set the temperature to 400 degrees and the timer to 10 minutes. Check the chicken often. I like crispy skin so it took about 10 minutes for the first batch of chicken thighs and 8 minutes for the second batch after the Ninja Foodi was already hot.
Step 13
Cook until internal temperature reaches 165 degrees and the skin is golden brown
Step 14
Remove the chicken thighs with the tongs. Put in your next batch and repeat steps.
Step 15
Serve.
Top similar recipes
Curated for youYour folders

 861 views
Ninja Foodi Chicken Thighs
everydayfamilycooking.com
5.0
(5)
12 minutes
Your folders
 395 views
Ninja Foodi Grill Chicken Thighs
wendypolisi.com
5.0
(3)
25 minutes
Your folders
 265 views
Ninja Foodi Grill Chicken Thighs
wendypolisi.com
Your folders
 430 views
Ninja Foodi Chicken
thetastytravelers.com
4.8
(9)
22 minutes
Your folders
 316 views
Ninja Foodi Whole Chicken Recipe (N...
summeryule.com
5.0
(2)
60 minutes
Your folders
78 viewsNinja Foodi Whole Chicken Recipe (N...
summeryule.com
Your folders
 299 views
Ninja Foodi Whole Chicken Recipe (N...
forktospoon.com
5.0
(2)
70 minutes
Your folders
 2916 views
Ninja Foodi Roast Chicken
thesaltypot.com
4.5
(189)
30 minutes
Your folders
 214 views
Ninja Foodi Chicken Wings
recipethis.com
5.0
(2)
20 minutes
Your folders
 193 views
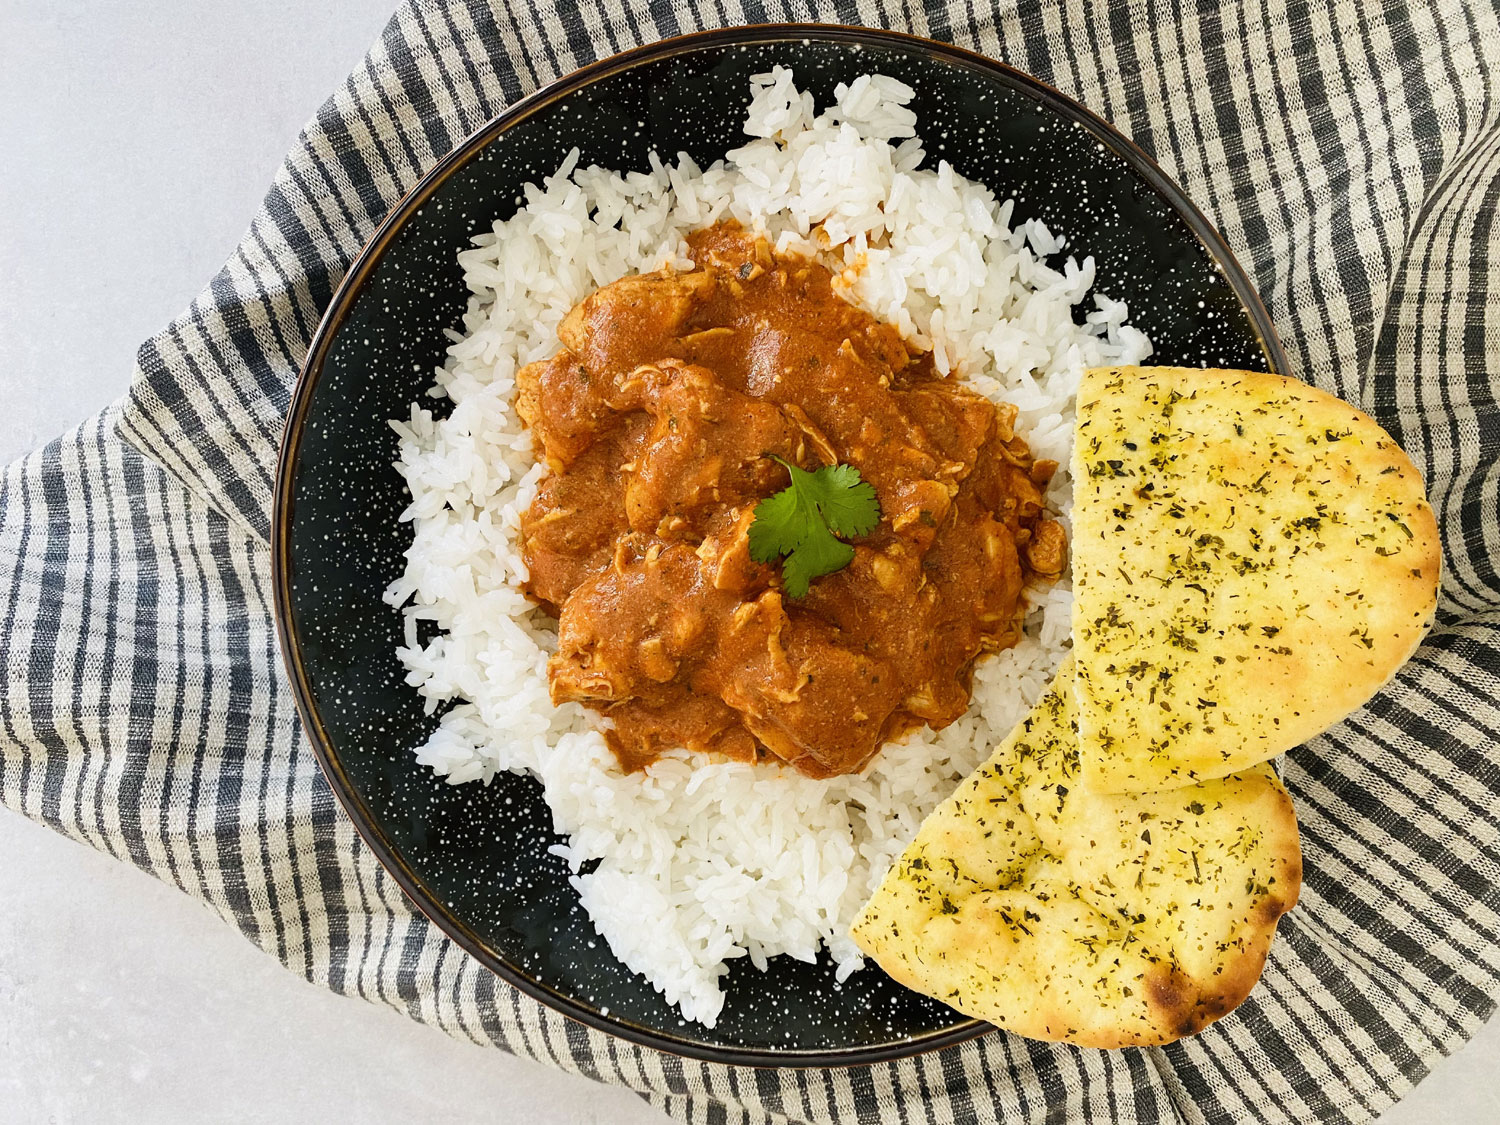
Ninja Foodi Chicken Curry
lianaskitchen.co.uk
4.5
(60)
8 minutes
Your folders
 365 views
Ninja Foodi Chicken Florentine
thetastytravelers.com
5.0
(1)
5 minutes
Your folders
 2476 views
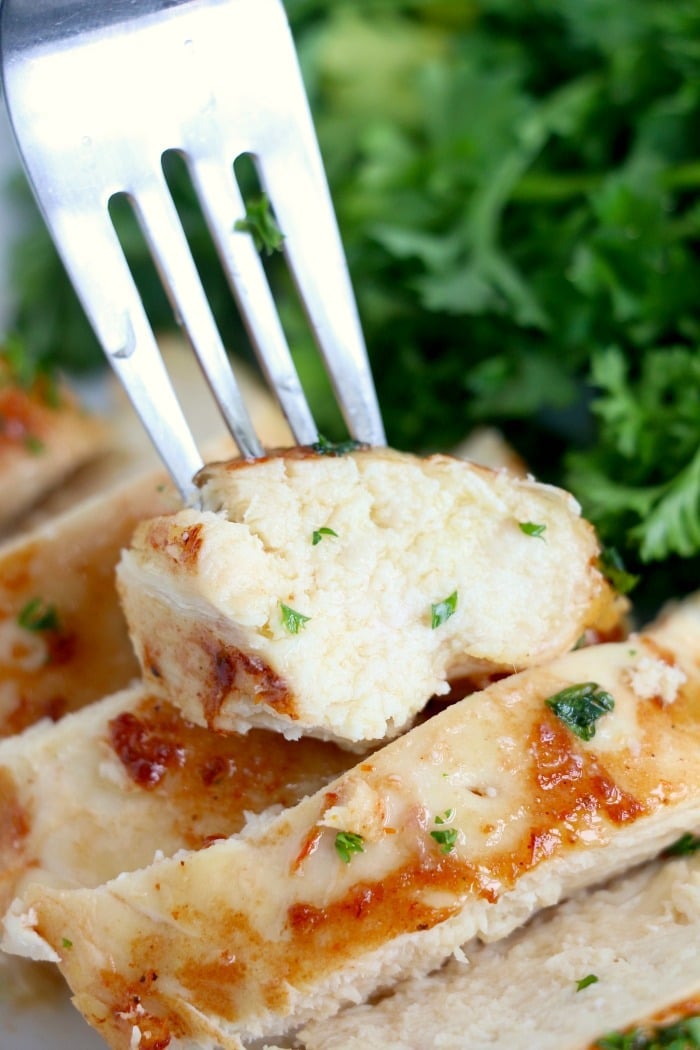
Ninja Foodi Chicken Breast
temeculablogs.com
5.0
(2)
11 minutes
Your folders
 514 views
Ninja Foodi Chicken Recipes
temeculablogs.com
4.5
(4)
16 minutes
Your folders
 277 views
Ninja Foodi Whole Chicken
airfryereats.com
5.0
(1)
60 minutes
Your folders
 161 views
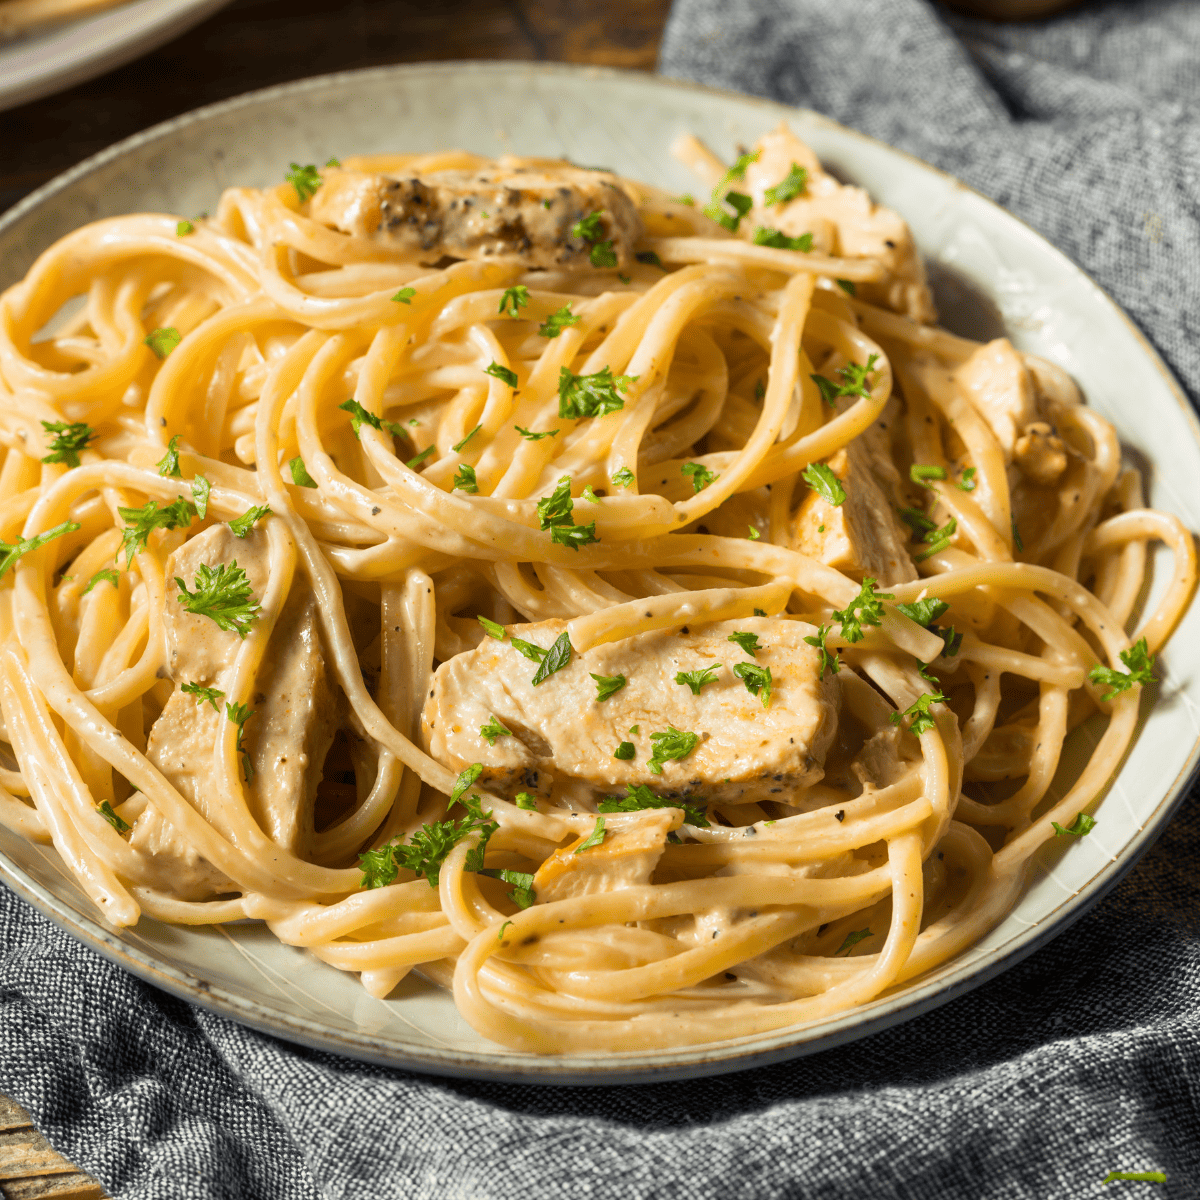
Ninja Foodi Chicken Alfredo
forktospoon.com
5.0
(4)
6 minutes
Your folders
 285 views
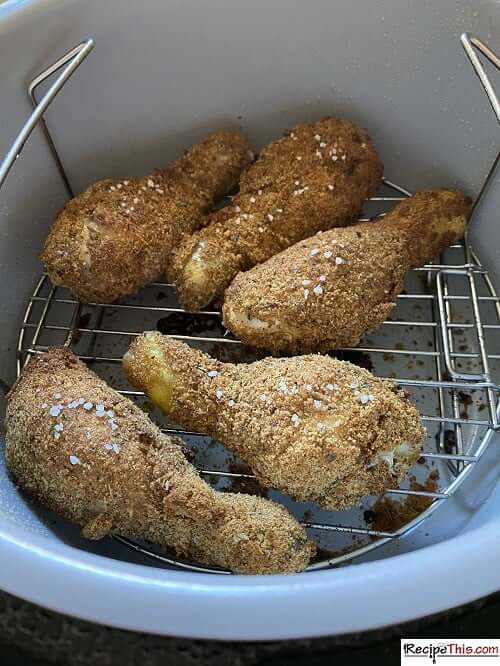
Ninja Foodi Fried Chicken
recipethis.com
4.3
(3)
20 minutes
Your folders
 324 views
Ninja Foodi Whole Chicken
recipethis.com
5.0
(2)
60 minutes
Your folders
 228 views
Ninja Foodi Chicken Legs
temeculablogs.com
5.0
(2)
22 minutes
Your folders
 338 views
Ninja foodi crack chicken
thetopmeal.com
4.7
(40)
25 minutes