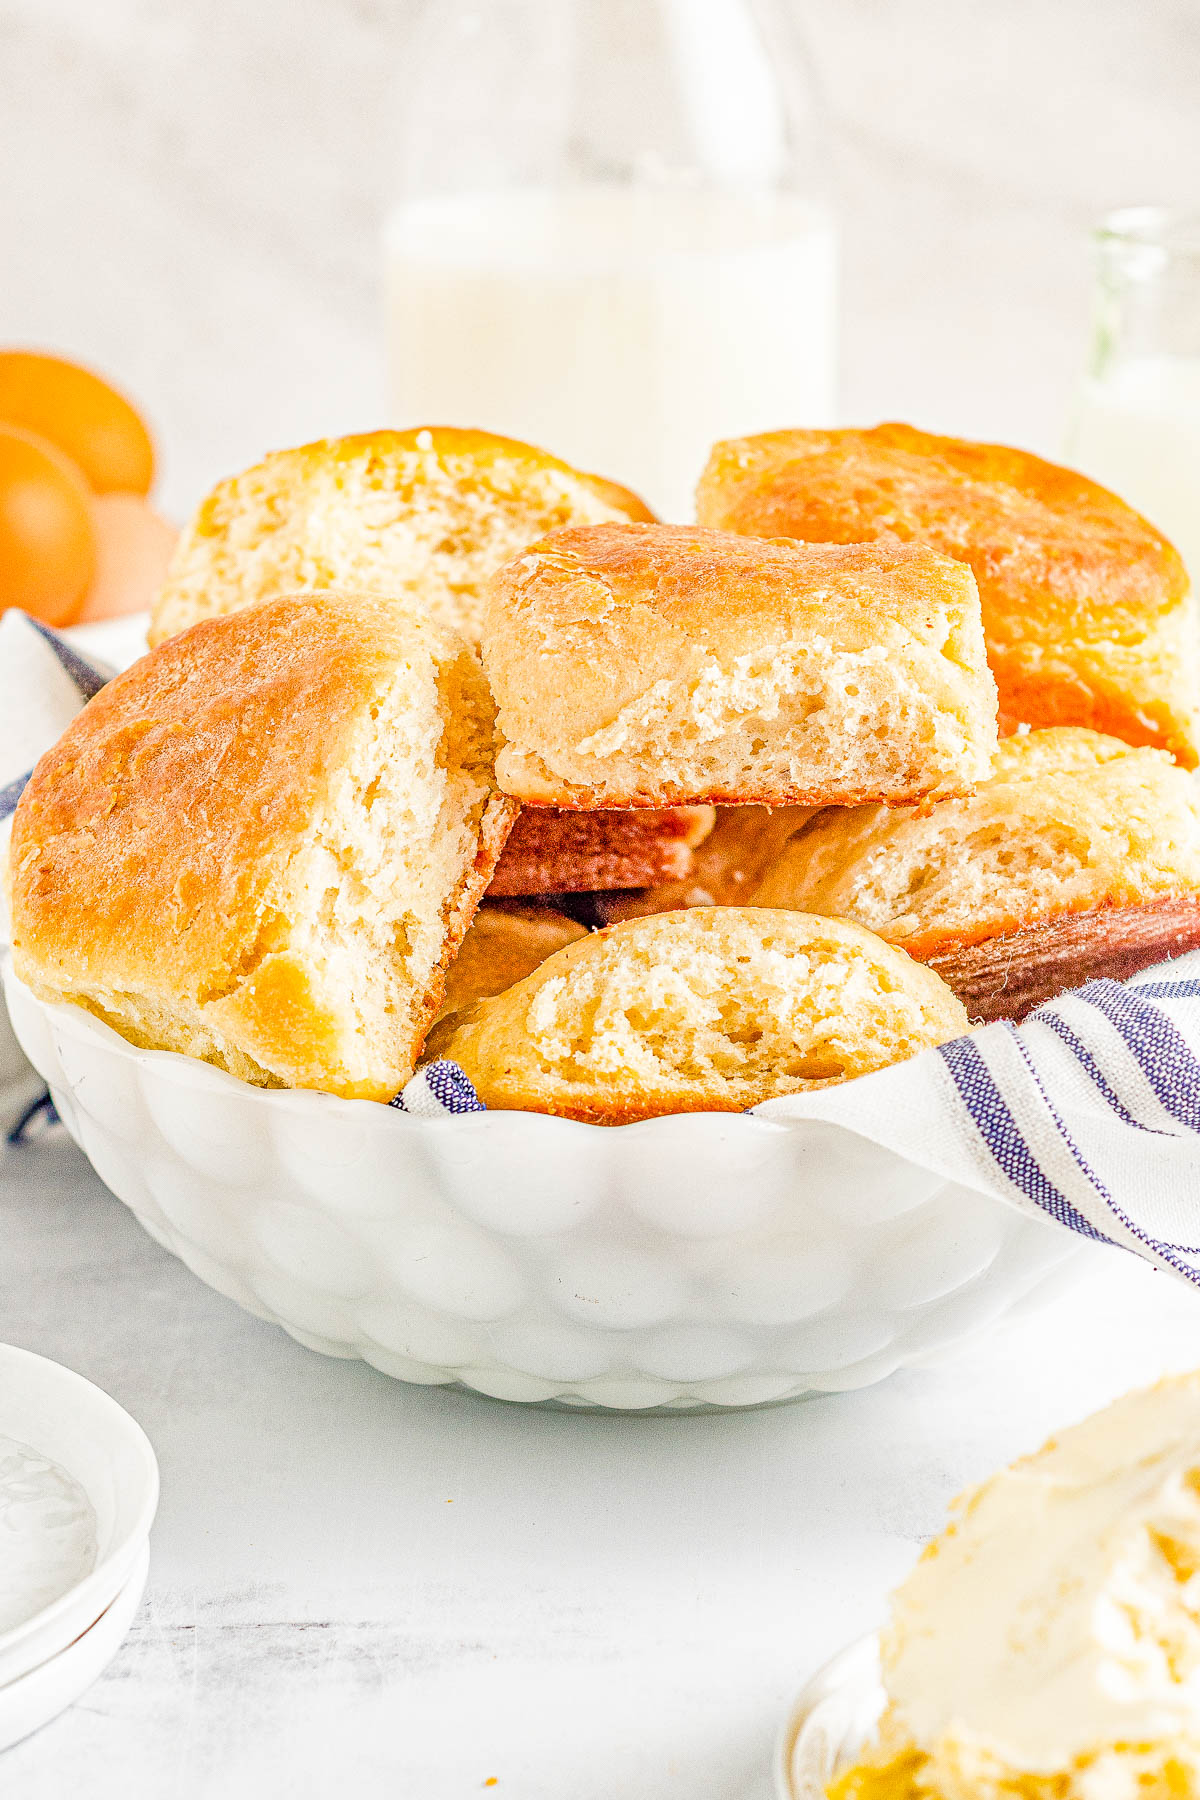
Angel Biscuits
4.6
(11)
Your folders
Your folders
Prep Time: 45 minutes
Cook Time: 18 minutes
Total: 123 minutes
Servings: 32
Author : Averie Sunshine

Ingredients
Export 10 ingredients for grocery delivery
Instructions
Step 1
To a large mixing bowl, add 1/4 cup milk, 2 teaspoons granulated sugar, all the active dry yeast (yes, it's tablespoons and not teaspoons), and whisk to combine. Tips - Warm the milk according the temperature on the package directions on the brand of yeast you're using. The temp can vary from brand to brand. For this recipe, in general I aim for between 105-110F. Check the temp with a digital thermometer and do NOT guess. Proof means "to prove" that the yeast is alive and well. You will know this if the mixture turns bubbly and frothy looking. If it does not, it means that the yeast isn't alive and your biscuits won't rise later on. So you need to start over until you see bubbles and a frothy looking mixture.
Step 2
While the yeast is proofing, in a separate medium bowl or large glass measuring cup, add the remaining 2 cups milk, lemon juice, stir to combine, and let stand for about 5 minutes, or until milk curdle. Tip - You are making buttermilk here by souring regular milk. This is an essential step for the recipe so don't skip it!
Step 3
After the yeast has proofed, add the milk/lemon juice/homemade buttermilk mixture to the yeast mixture and stir to combine.
Step 4
Add the sour cream and stir or whisk to combine; set aside momentarily.
Step 5
To a separate very large bowl, add the remaining sugar, flour, salt, baking powder, baking soda, and whisk to combine.
Step 6
Add the cold butter and shortening to the dry ingredients.
Step 7
Using a pastry cutter or two forks, cut in the butter and shortening into the flour mixture. Tips - The mixture is still going to be very dry and sandy looking after cutting in the butter and shortening, so don't presume that it's going to come together like a pie crust dough, because it's not. It's okay to leave it very crumbly and dry looking because the next step will take care of it.
Step 8
Pour the wet yeast and buttermilk mixture over the dry ingredients, and using a wooden spoon, stir to combine. It's a very wet and sloppy mixture.
Step 9
Turn the dough out onto a well-floured, clean countertop or work surface.
Step 10
Using your hands, fold the dough together until it's no longer sticky, but still soft. Tips - The dough is intended to be a very wet, sticky, and tacky dough which creates lighter and fluffier angel biscuits. However, if it's too ridiculously wet and moist to work with, you can add an additional 1/2 to 3/4 cup flour (or as needed), adding a little bit at a time and working it in, bit by bit, until the dough comes together.
Step 11
Once the dough is no longer sticky, using your fingertips, press it out into a 1/2-inch thick large rectangle.
Step 12
Use a 3-inch biscuit cutter (or 4-inch, noting you'll yield about a dozen less biscuits), and cut the biscuits out as close together as possible.
Step 13
Place the cut biscuits on a well-sprayed, large baking sheet with a lip or two smaller baking sheets. Tip - Make sure it has a bit of a lip or edge, something that prevents the biscuits from sliding off.
Step 14
Fold the remaining dough together with your hands and press it out, then cut out the final biscuits from the remaining dough. You should get about 32 biscuits total. Tip - It's okay if they're very close together and touching.
Step 15
Cover the baking sheet(s) with plastic wrap. Tips - Spray the underside or the side that comes in contact with the biscuits with cooking spray so it doesn't stick, and allow for them to rise for 1 hour. They'll rise faster/better if your kitchen is on the warmer side. If it's colder, you may want to give them an extra 15 minutes or so.
Step 16
In the final 20 minutes or so of rising, preheat your oven to 400F.
Step 17
Before baking, using a pastry brush, brush the tops of the biscuits evenly with the heavy cream.
Step 18
Bake the biscuits on the center rack of your oven for about 18 minutes, or until lightly golden browned. Tip - Rotate your pan once midway through baking for more even baking and better results. Because this is a hot oven and a delicate dough, start checking at 15 minutes to make sure they're not done early, just in case.
Step 19
Optionally brush baked biscuits with melted butter.
Step 20
Allow biscuits to cool sufficiently to serve immediately, or cool them completely on a wire rack. Extra biscuits will keep airtight at room temp for up to 3 days, or in the freezer for up to 3 months. I do not recommend storing them in the fridge as they will just dry out and harden prematurely.