Apple Cider Vinegar from Scraps
4.8
(8)
Your folders
Your folders
Prep Time: 10 minutes
Cook Time: 672 hours
Total: 672 hours, 10 minutes
Author : The Prairie Homestead

Ingredients
Export 3 ingredients for grocery delivery
Instructions
Step 1
Fill the glass jar ¾ of the way with the apple peels and cores.
Step 2
Stir the sugar into the water until it’s mostly dissolved, and pour over the apple scraps until they are completely covered. (Leave a few inches of room at the top of the jar.)
Step 3
Cover loosely (I recommend a coffee filter or fabric scrap secured with a rubber band) and set in a warm, dark place for around two weeks.
Step 4
You can give it a stir every few days, if you like. If any brownish/greyish scum develops on the top, simply skim it off.
Step 5
Once two weeks has passed, strain the scraps from the liquid.
Step 6
At this point, my vinegar usually has a pleasantly sweet apple cider smell, but is still missing that unmistakable tang.
Step 7
Discard the scraps (or feed them to your chickens!), and set the strained liquid aside for another 2-4 weeks.
Step 8
You’ll know your apple cider vinegar is complete once it has that unmistakable vinegary smell and taste. If it’s not quite there yet, simply allow it to sit a while longer.
Step 9
Once you are happy with the taste of your vinegar, simply cap and store it as long as you like. It won’t go bad.
Step 10
If a gelatinous blob develops on the top of your vinegar, congratulations! You have created a vinegar “mother”. This mother can be use to jump-start future vinegar batches. You can remove it and store it separately, but I usually just allow mine to float around in the vinegar as I store it.
Step 11
Use your homemade vinegar just like you would storebought vinegar– for cooking, cleaning and everything in between!
Top similar recipes
Curated for youYour folders

 506 views
Apple Cider Vinegar Tonic
eatingwell.com
5.0
(2)
Your folders

 775 views
Homemade Apple Cider Vinegar
realfoodrealdeals.com
5.0
(1)
Your folders
 363 views
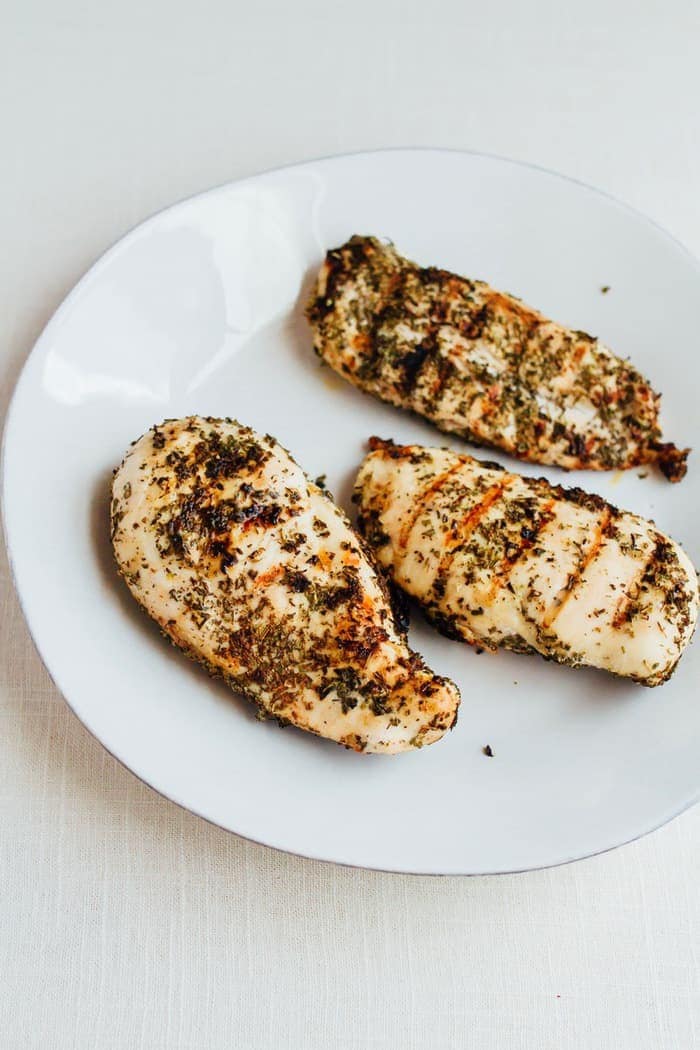
Apple Cider Vinegar Chicken
eatingbirdfood.com
4.4
(33)
15 minutes
Your folders
 387 views
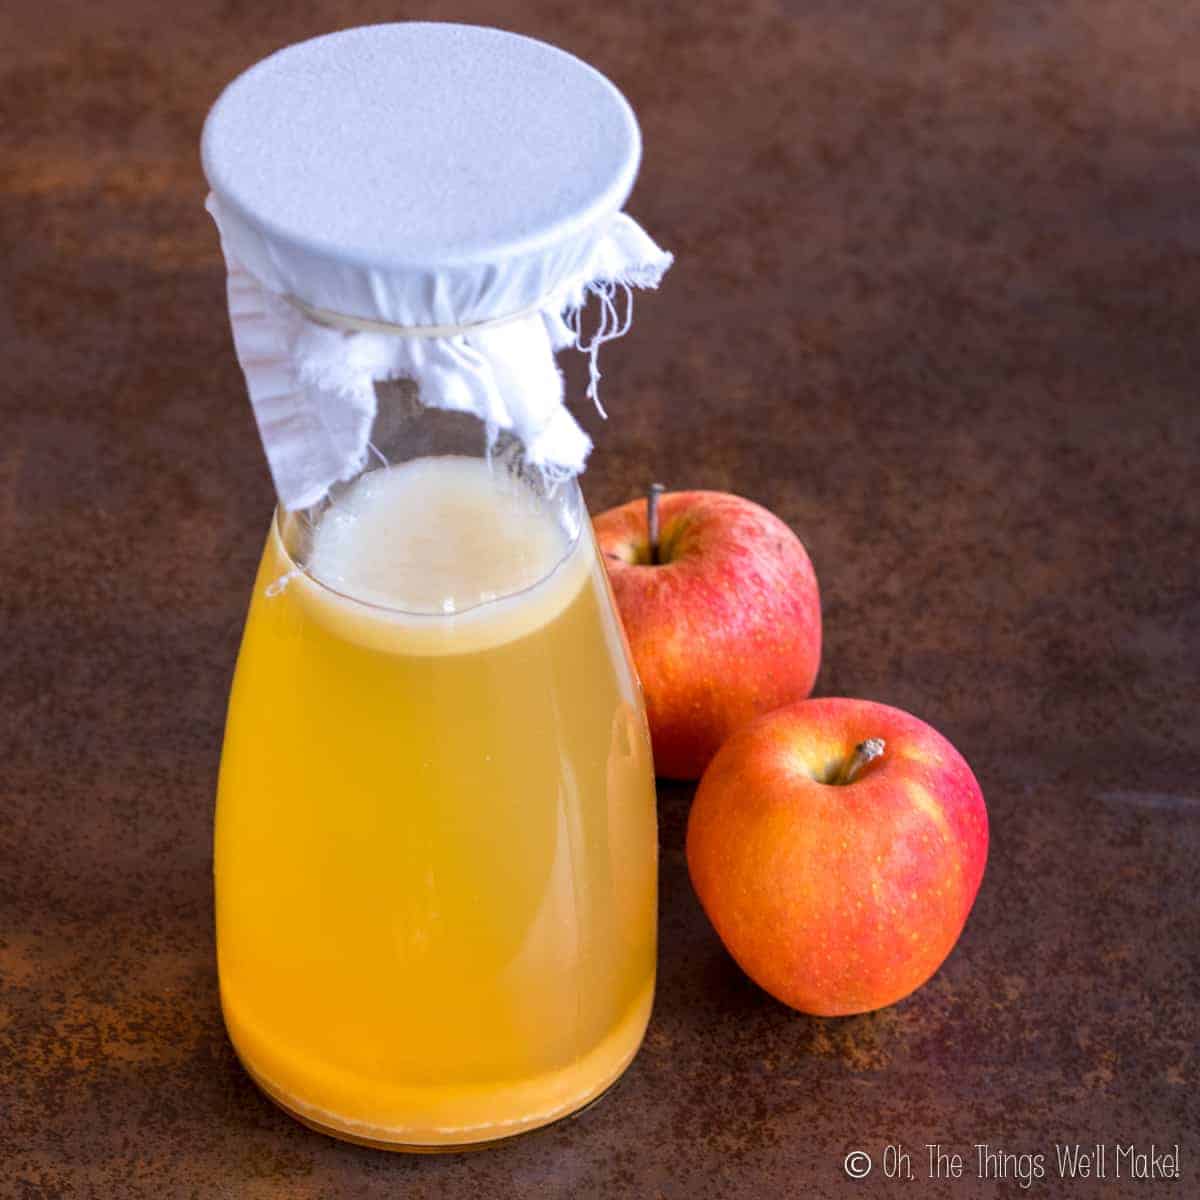
Homemade Apple Cider Vinegar
thethingswellmake.com
5.0
(2)
Your folders

 846 views
Apple Cider Vinegar Dressing
loveandlemons.com
5.0
(2)
Your folders

 289 views
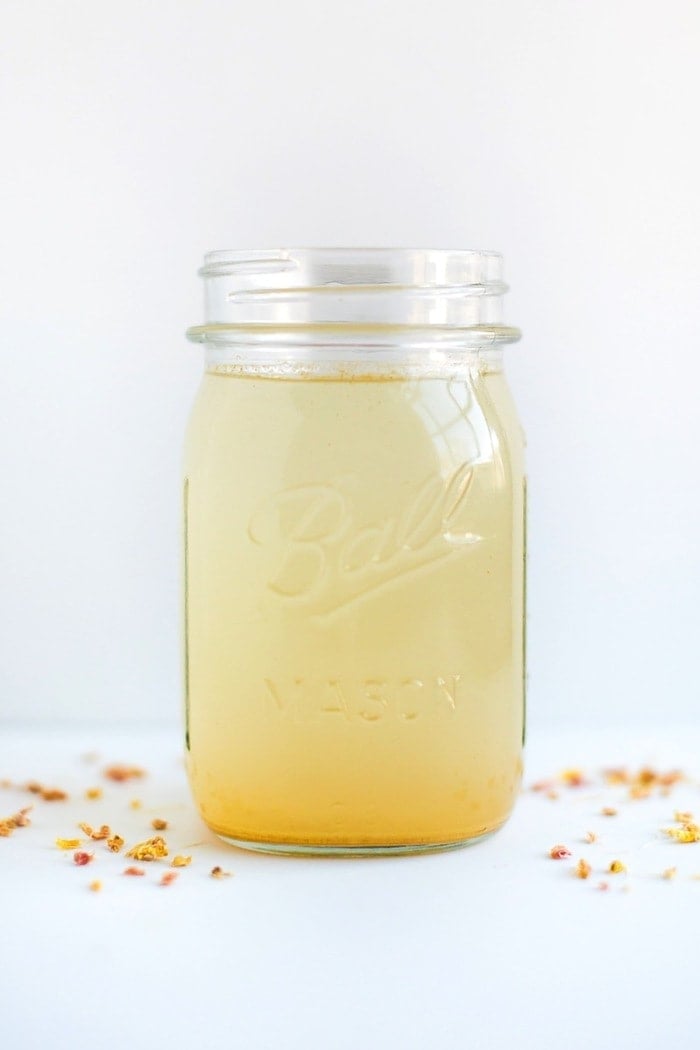
Apple Cider Vinegar Drinks
darngoodveggies.com
5.0
(4)
Your folders
 310 views
Apple Cider Vinegar Drink
eatingbirdfood.com
4.1
(82)
Your folders

 246 views
Homemade Apple Cider Vinegar
plantyou.com
5.0
(4)
Your folders

 334 views
Homemade Apple Cider Vinegar
homesteadandchill.com
4.8
(99)
Your folders
 123 views
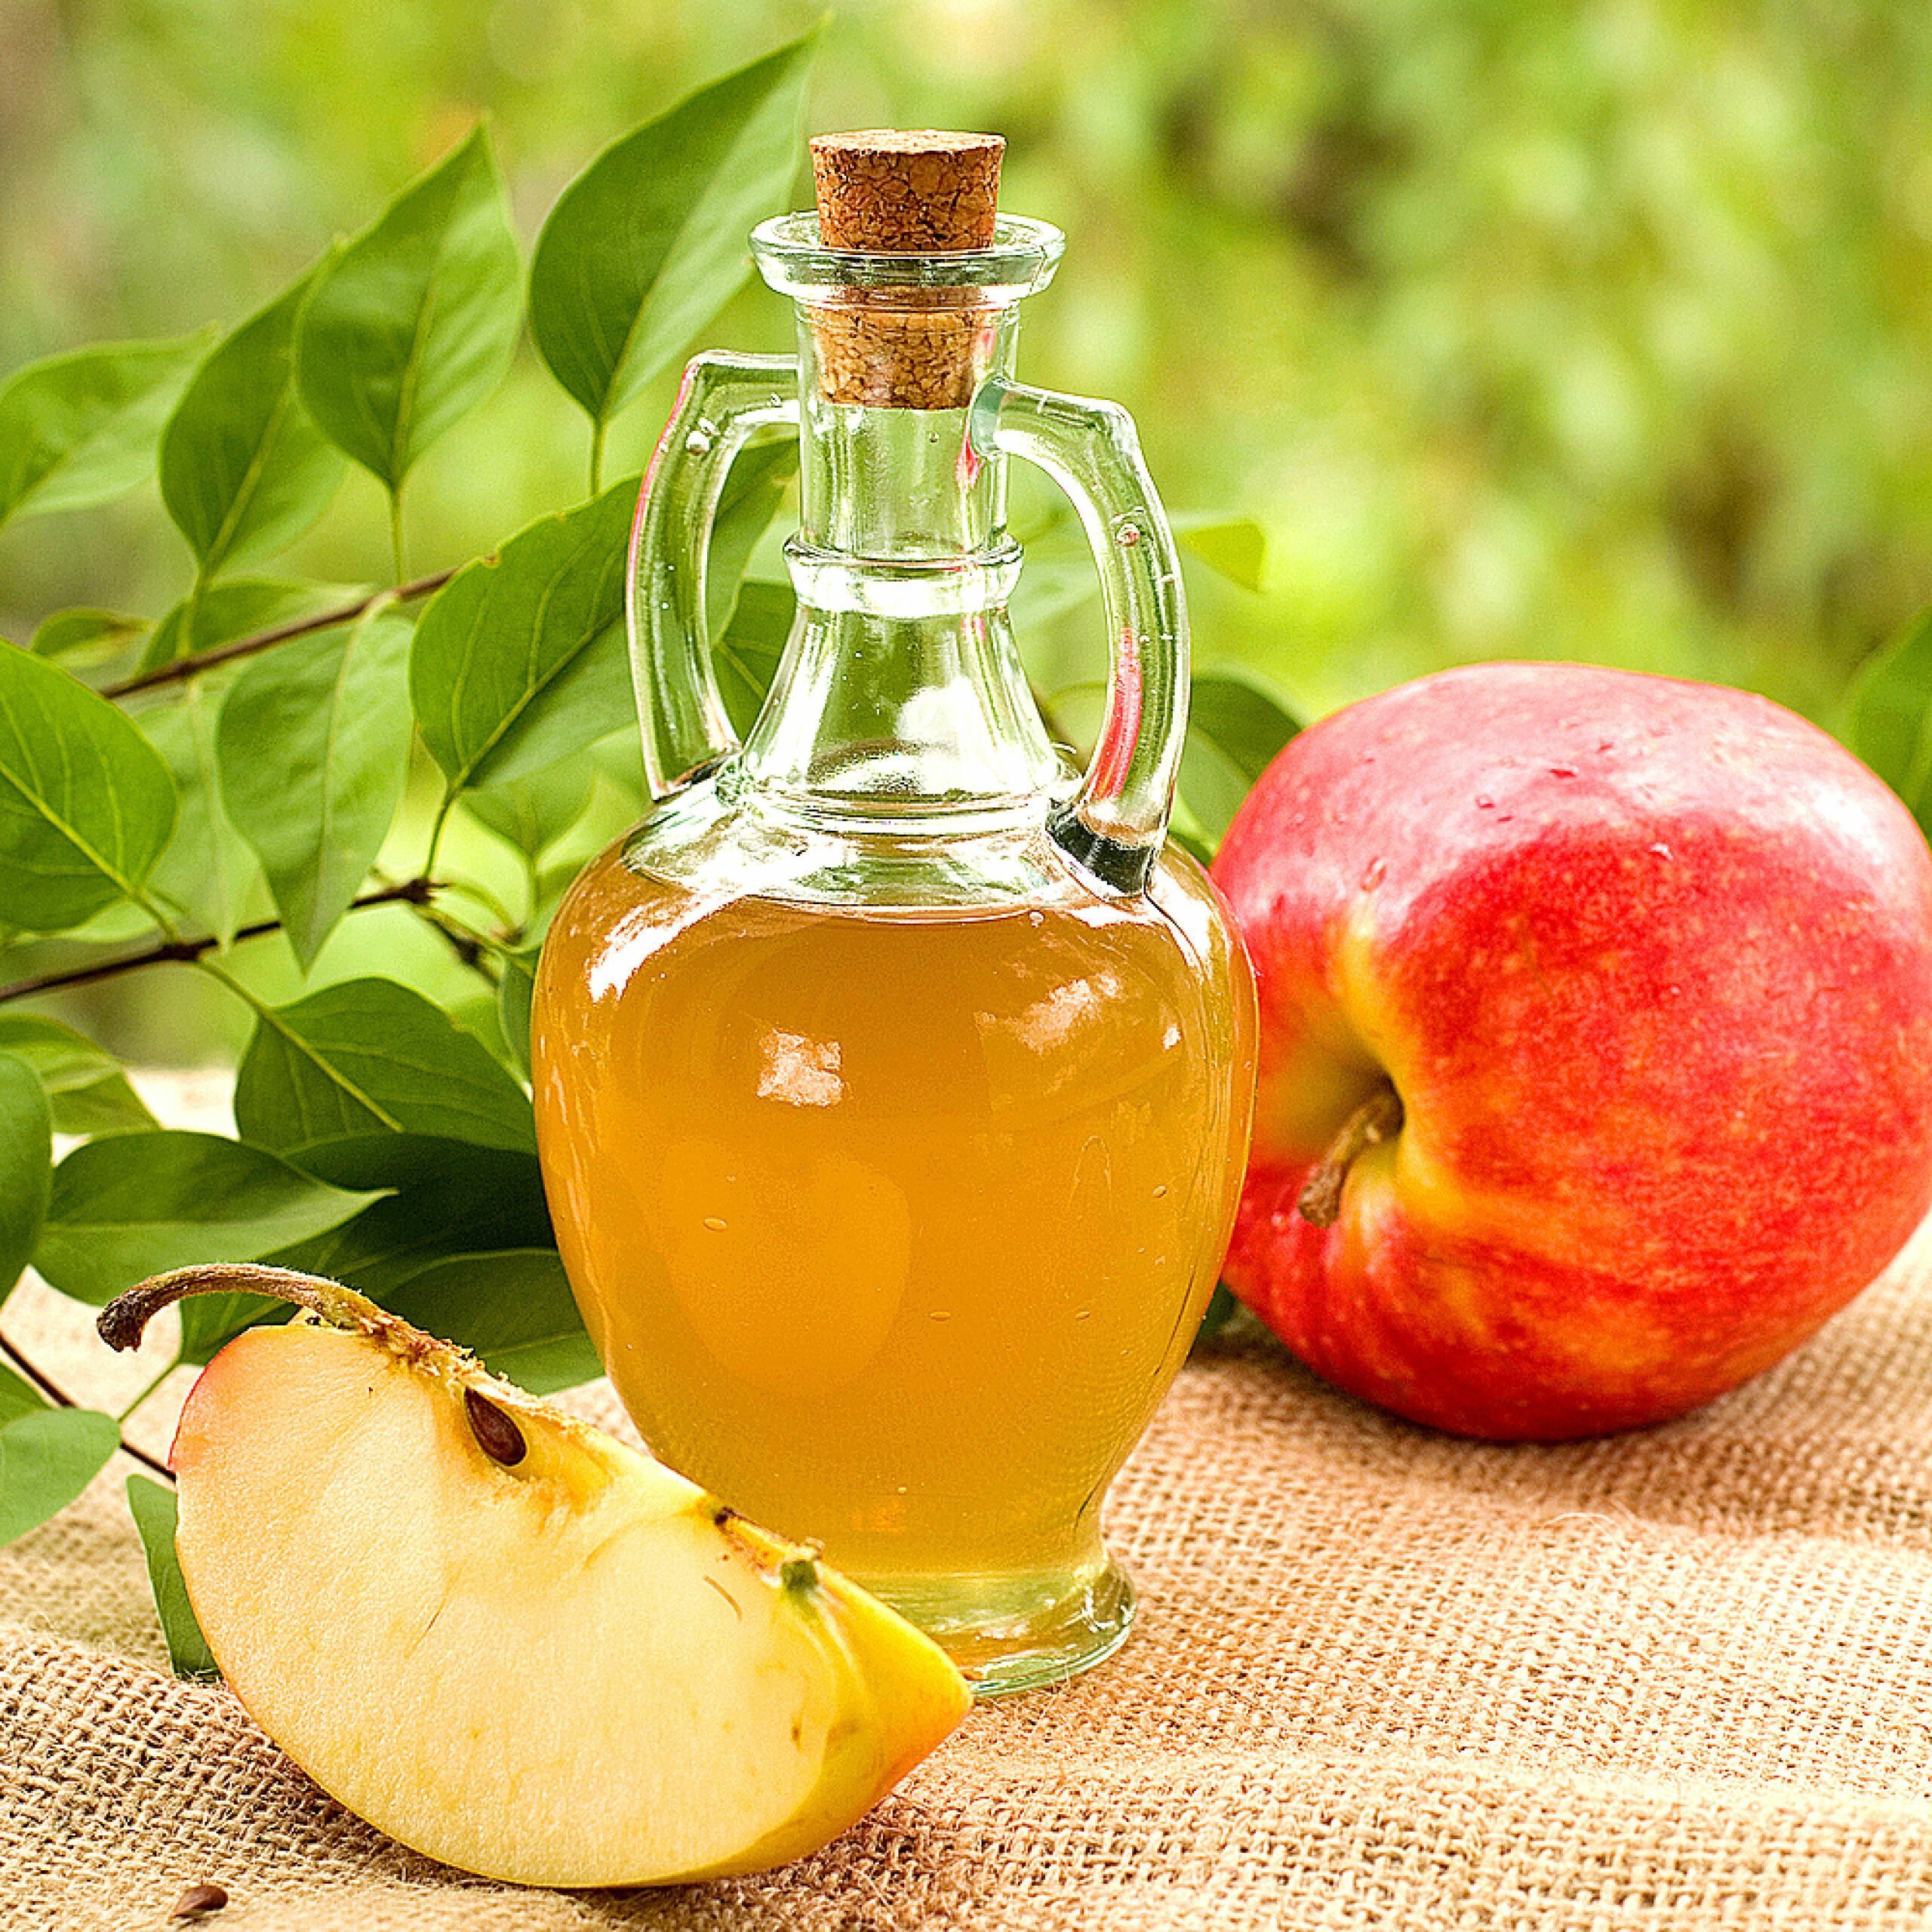
Homemade Apple Cider Vinegar
nourishingjoy.com
Your folders

 580 views
Apple Cider Vinegar Salad Dressing
healthyseasonalrecipes.com
5.0
(48)
Your folders

 584 views
Apple Cider Vinegar Salad Dressing
cooktoria.com
4.7
(87)
Your folders

 165 views
Apple Cider Vinegar Smoothie Recipe
thecoconutmama.com
1 minutes
Your folders

 178 views
Apple Cider Vinegar Smoothie Recipe
thecoconutmama.com
1 minutes
Your folders

 304 views
Grilled Apple Cider Vinegar Chicken
foodnetwork.com
25 minutes
Your folders

 261 views
Apple Cider Vinegar Turkey Brine
simplymeatsmoking.com
20 minutes
Your folders
 260 views
Apple Cider Vinegar Dressing (Easy!...
acouplecooks.com
Your folders

 297 views
Apple Cider Vinegar Dressing (Easy!...
acouplecooks.com
Your folders

 373 views
Homemade Apple Cider Vinegar Recipe
afarmgirlinthemaking.com
5.0
(7)