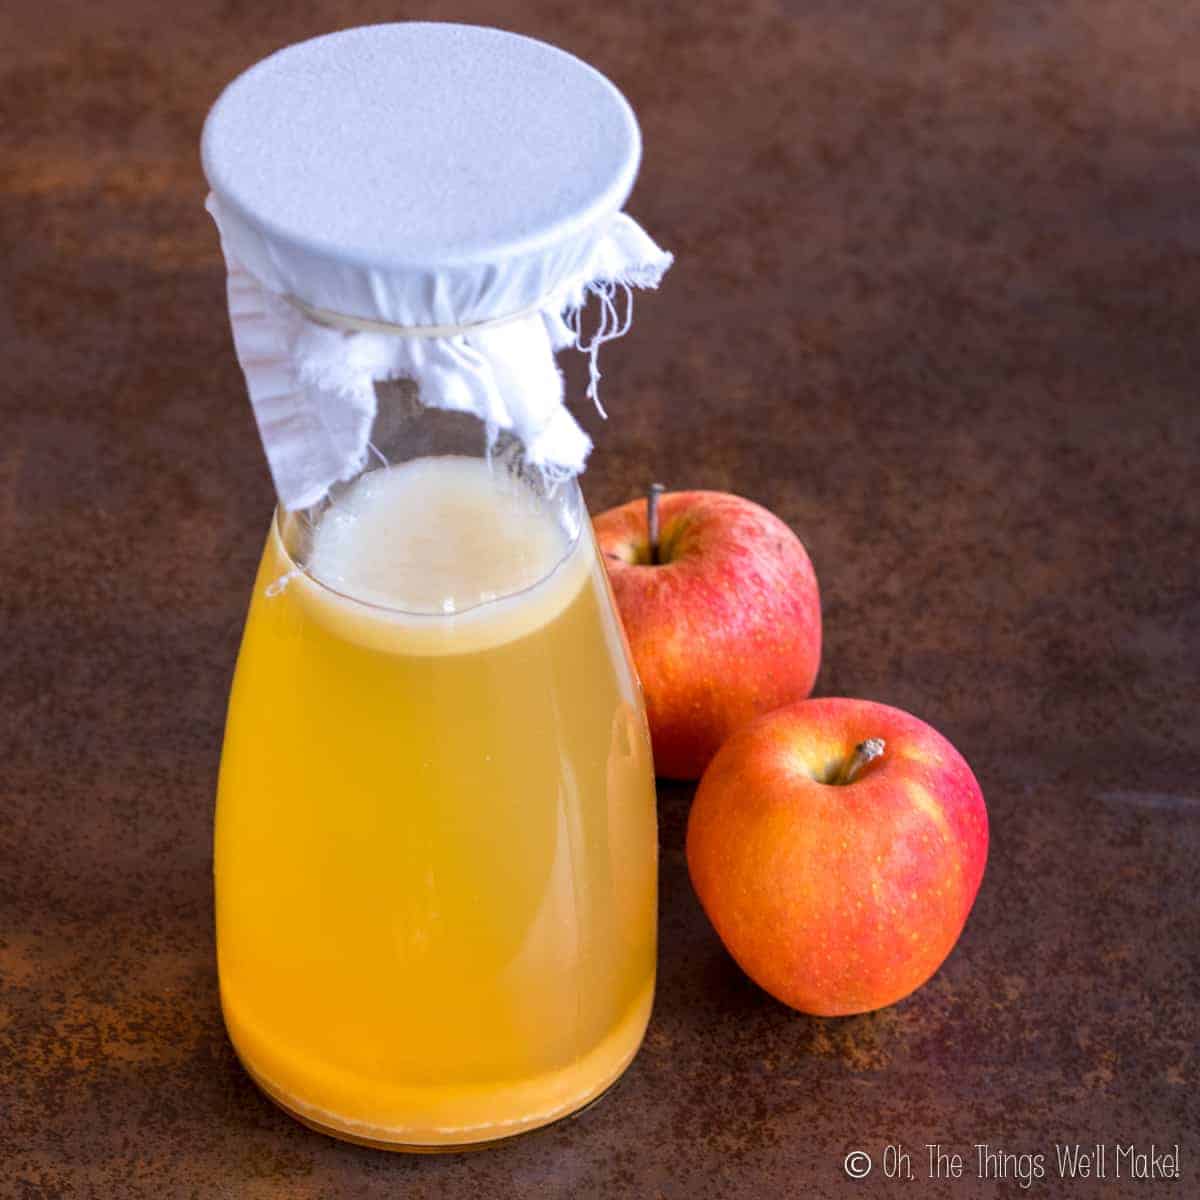
Homemade Apple Cider Vinegar
5.0
(2)
Your folders
Your folders
Prep Time: 15 minutes
Total: 64815 minutes
Servings: 150
Author : Tracy Ariza, DDS

Ingredients
Export 3 ingredients for grocery delivery
Instructions
Step 1
Rinse and dry the apples and remove any rotten areas and the stems. (You can also remove the seeds.)
Step 2
Cut the apples into small pieces and place them in the bottom of the glass jar.
Step 3
Add around 1 tsp. sugar for each apple used. Mix together.
Step 4
Cover the apples and sugar with water until they are fully covered.
Step 5
If you will be using a brewer's yeast and want to kill off any competing wild yeasts, heat the mixture to above 160ºF for a few minutes. Allow the mixture to cool and then add in the yeast of choice.
Step 6
Optionally add a dash of vinegar to help quick-start the process and help prevent unwanted molds and bacteria from forming.
Step 7
Ideally, the apples should stay under the surface of the water to help prevent mold from forming. You can press down on them with a bowl or use a fermentation disk to weigh them down. Cover the mixture with a clean cloth, coffee filter, or paper towels to allow air through but to keep insects away.
Step 8
For the first days, remove the cloth and stir the mixture several times per day. (Make sure to cover it again as soon as you are finished each time.)
Step 9
When the mixture begins to bubble, you can add in a vinegar mother to help speed up the fermentation process.
Step 10
Once the apples fall to the bottom of the jar, you no longer need to stir the mixture.
Step 11
Days later, when the mixture stops bubbling, you can strain out the apples if you like. If a mother has begun to form on the surface, you may choose to leave the apples so as not to disturb the mother.
Step 12
After several weeks, you can begin to taste test the vinegar. When you are happy with the flavor, you can bottle the vinegar.
Step 13
Remove the apple solids by pouring the mixture through a funnel with a strainer into glass bottles.
Step 14
To obtain more of the vinegar from the apples, pour the apples into a cloth-lined bowl. Pick up the ends of the cloth and wring it, pressing out any excess vinegar.
Step 15
Vinegar is best stored in a cool, dark place. You can store it in the refrigerator, but it's not necessary. Cool temperatures help prevent further fermentation.To age vinegar properly, you want as little airspace as possible. That's why bottles are ideal (vs. jars). This will help prevent another mother from forming and, again, further fermentation).