Autumn Leaves Apple Pie
Your folders
Your folders
Prep Time: 45 minutes
Cook Time: 50 minutes
Servings: 8
Author : Ashley

Ingredients
Export 11 ingredients for grocery delivery
Instructions
Step 1
Combine flour, sugar, cinnamon, and nutmeg in a medium sized mixing bowl. Add sliced apples and mix until apples are all coated with the sugar/flour mixture. Set aside.
Step 2
Preheat oven to 350 degrees.
Step 3
In a large mixing bowl, mix salt into the three cups of flour.
Step 4
Using a fork or pastry blender, cut in one cup of butter flavored Crisco until well incorporated and the dough forms small pea-sized crumbles. See photo for reference.
Step 5
Next, add cold water a little bit at a time. I typically use anywhere from 3/4 cup to a whole cup, depending on the consistency of the dough. You want all the dough to stick together without crumbling, but you don't want it to be sticky. Use your hands to mix and mold the dough together. If you add too much water and the dough becomes sticky, add a tiny bit of flour back in until it's no longer sticky. If it's too sticky, it will stick to your rolling pin and/or work space. Once your dough is all molded together, divide the dough into two balls.
Step 6
Lightly flour a clean work surface. Place your first ball of dough in the center of your work surface and press to flatten, then sprinkle a little flour over the top. Using a rolling pin, roll out ball of dough; about 1/8th inch thick. Carefully transfer rolled out dough into your pie dish (I usually do this by rolling it around my rolling pin and then rolling it back out over the pie dish).
Step 7
Pour pie filling into the bottom pie crust and roll edges of crust forming outer crust. If you are a little short on dough in areas, you can take any excess dough from other areas (or left over dough after making the leaves) and press into the edges. If the added dough is not sticking well, wet your fingers a little with the ice cold water and gently patch the dough in. Press two fingers into the outer crust, lightly pinching the dough between your fingers to mold the crust edge. Repeat this all the way around the pie until the edges of the pie are all indented.
Step 8
Re-flour your work space, press other ball of dough flat, and roll out dough to about the same thickness. Using your leaf cookie cutters, cut several leaves out of the dough, spacing them as close together as possible so as to make the best use of the dough. I was able to get about 18 leaves out of my dough with a little bit of dough leftover. If you need more leaves, you can mold the dough scraps back together, wetting your hands with the ice cold water if it's not sticking together well, and roll it out again to cut more leaves. It took 16-19 leaves to cover the top of the pie, depending on how I placed them.
Step 9
Using a butter knife, lightly draw veining in the dough leaves, starting with a line down the middle. Next, lightly draw lines from the outer edges of the leaves to the center line. This process should be random and overlapping in spots and does not need to be exact. Try not to press too hard when drawing the lines, as you don't want the dough to break. See photo for reference.
Step 10
In a small cup or bowl, mix three tablespoons of water and two drops of red food coloring. In another small cup or bowl, mix three tablespoons of water and two drops of yellow food coloring. In a third small cup or bowl, mix three tablespoons of water, one drop of yellow food coloring, and one drop of red food coloring; creating an orange color.
Step 11
Using a pastry brush or clean paint brush, paint about a third of the tops of the leaves with the red food coloring mixture. Repeat this process with the orange and yellow food coloring mixtures. After all the leaves are painted, you can go back and paint red on some of the orange and yellow leaf tips and orange on some of the yellow leaf tips and edges to give the leaves a little more of a realistic look. Don't be afraid to get creative with painting the leaves, but be careful not to make them all too close in color. A little contrast will help the leaves stand out on top of the pie. Once all the leaves are painted how you want them, let them dry a little so they aren't dripping wet.
Step 12
When your leaves have dried a little (this should only take a few minutes), you can begin placing them on top of your pie. Start by randomly placing the leaves around the edge, rotating the directions the leaves are placed and alternating colors. Place some of the leaves with the tops together, some with the stems together, and in a completely random order, as if the leaves had fallen there. Continue to place the leaves this way until you have filled the top of the pie. You should have small gaps or holes between the leaves in spots. Your leaves should overlap each other in places, but be sure to leave a few leaves fully uncovered on the top.
Step 13
Once all your leaves are placed how you want them on top of the pie, bake the pie for 50-60 minutes at 350 degrees, or until the edges of the pie start to turn a light golden brown and visible pie filling is lightly bubbling.
Step 14
After removing the pie from the oven, brush melted butter over the top of the pie and lightly sprinkle a light coating of the cinnamon sugar mixture over top. Lightly brush a tiny bit more of the melted butter over the top, just enough to even out the cinnamon sugar mixture some. Let the pie cool. Next, cut yourself a slice of pie and serve with a scoop of ice cream if you like!
Top similar recipes
Curated for youYour folders
 418 views
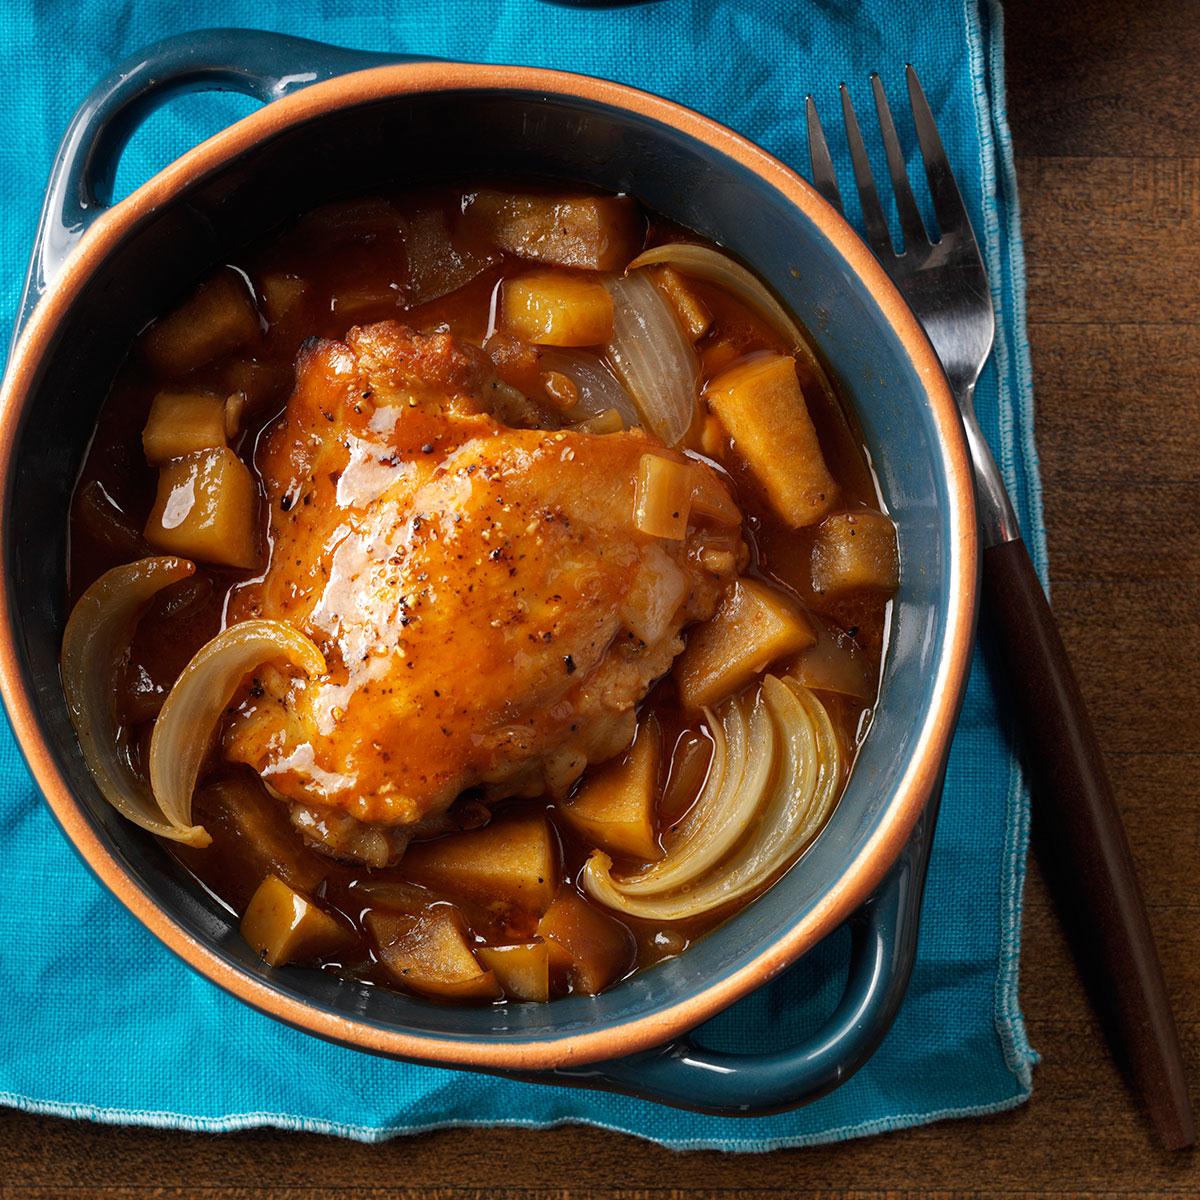
Autumn Apple Chicken
tasteofhome.com
3.7
(9)
3 hours, 30 minutes
Your folders
 295 views
Autumn Apple Cake
tasteofhome.com
4.0
(2)
45 minutes
Your folders
 253 views
Autumn Apple Salad II
allrecipes.com
Your folders
 328 views
Apple Cider Autumn Sangria
sallysbakingaddiction.com
Your folders
 244 views
Autumn Apple Rosé Sangria
wholefully.com
4.5
(226)
Your folders
 85 views
Apple Cider Autumn Sangria
sallysbakingaddiction.com
5.0
(1)
Your folders
 81 views
Autumn Apple & Pear Porridge
madeleineolivia.co.uk
5.0
(3)
10 minutes
Your folders
 144 views
Autumn Harvest Pumpkin Pie
readersdigest.ca
Your folders
 333 views
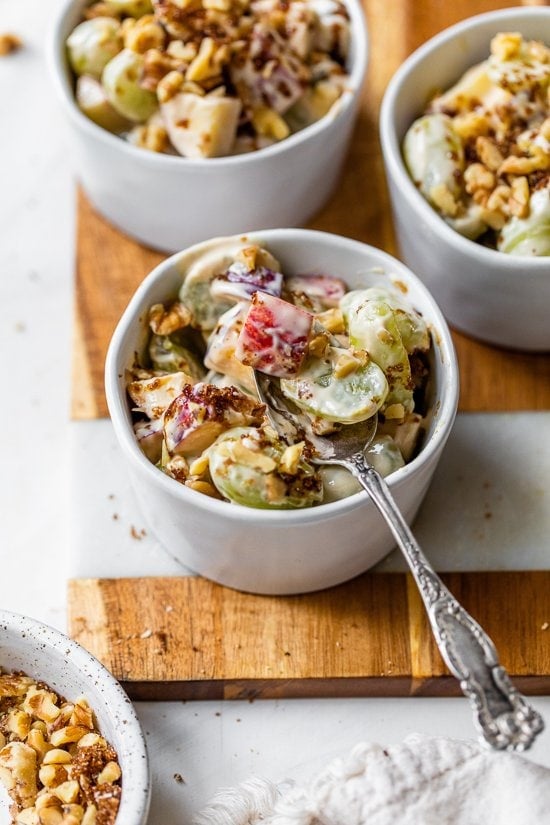
Autumn Apple and Grape Medley
skinnytaste.com
Your folders
 153 views
Pressure-Cooker Autumn Apple Chicke...
tasteofhome.com
5.0
(3)
20 minutes
Your folders
234 viewsPressure-Cooker Autumn Apple Chicke...
tasteofhome.com
5.0
(3)
20 minutes
Your folders
 439 views
Autumn Kale and Apple Salad
budgetbytes.com
5.0
(10)
5 minutes
Your folders
 148 views
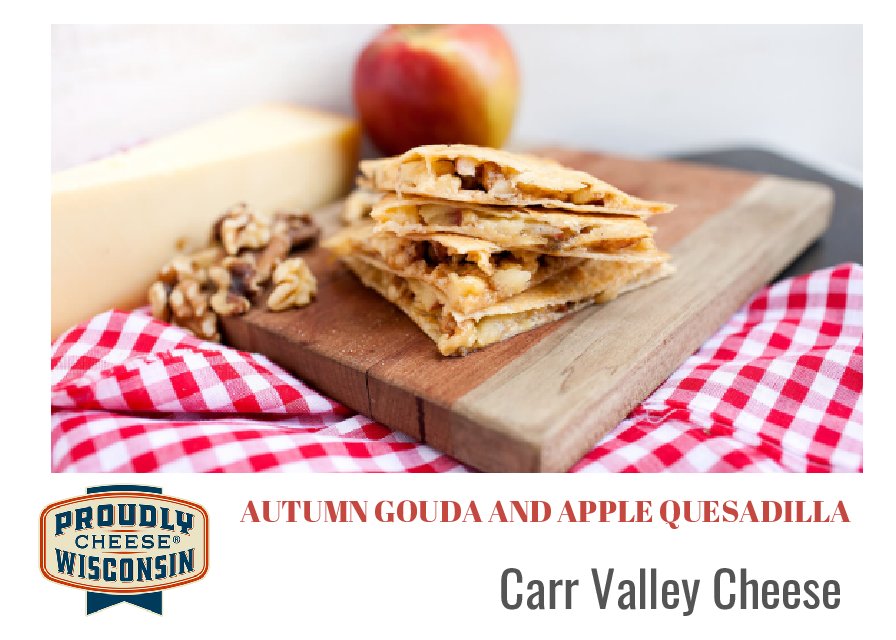
Autumn Gouda and Apple Quesadilla
carrvalleycheese.com
Your folders
 54 views
Autumn Gouda and Apple Quesadilla
carrvalleycheese.com
Your folders
 204 views
Autumn Salad with Apple Cider Vinai...
thrivinghomeblog.com
4.9
(43)
Your folders
 361 views
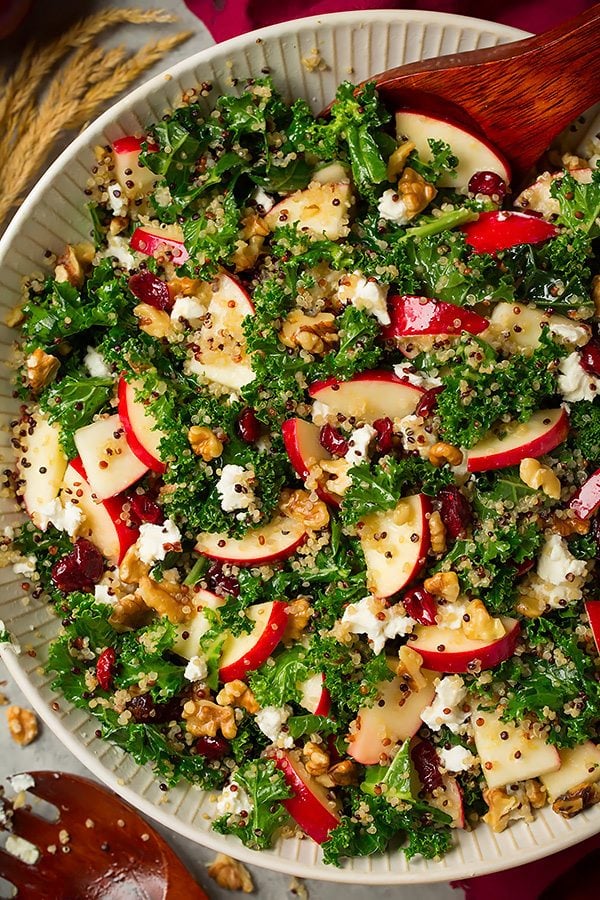
Autumn Kale Apple and Quinoa Salad
cookingclassy.com
5.0
(23)
15 minutes
Your folders
 377 views
Apple pie
taste.com.au
4.4
(41)
50 minutes
Your folders
 313 views
Apple pie
taste.com.au
4.5
(146)
55 minutes
Your folders
 5912 views
Apple Pie
cooking.nytimes.com