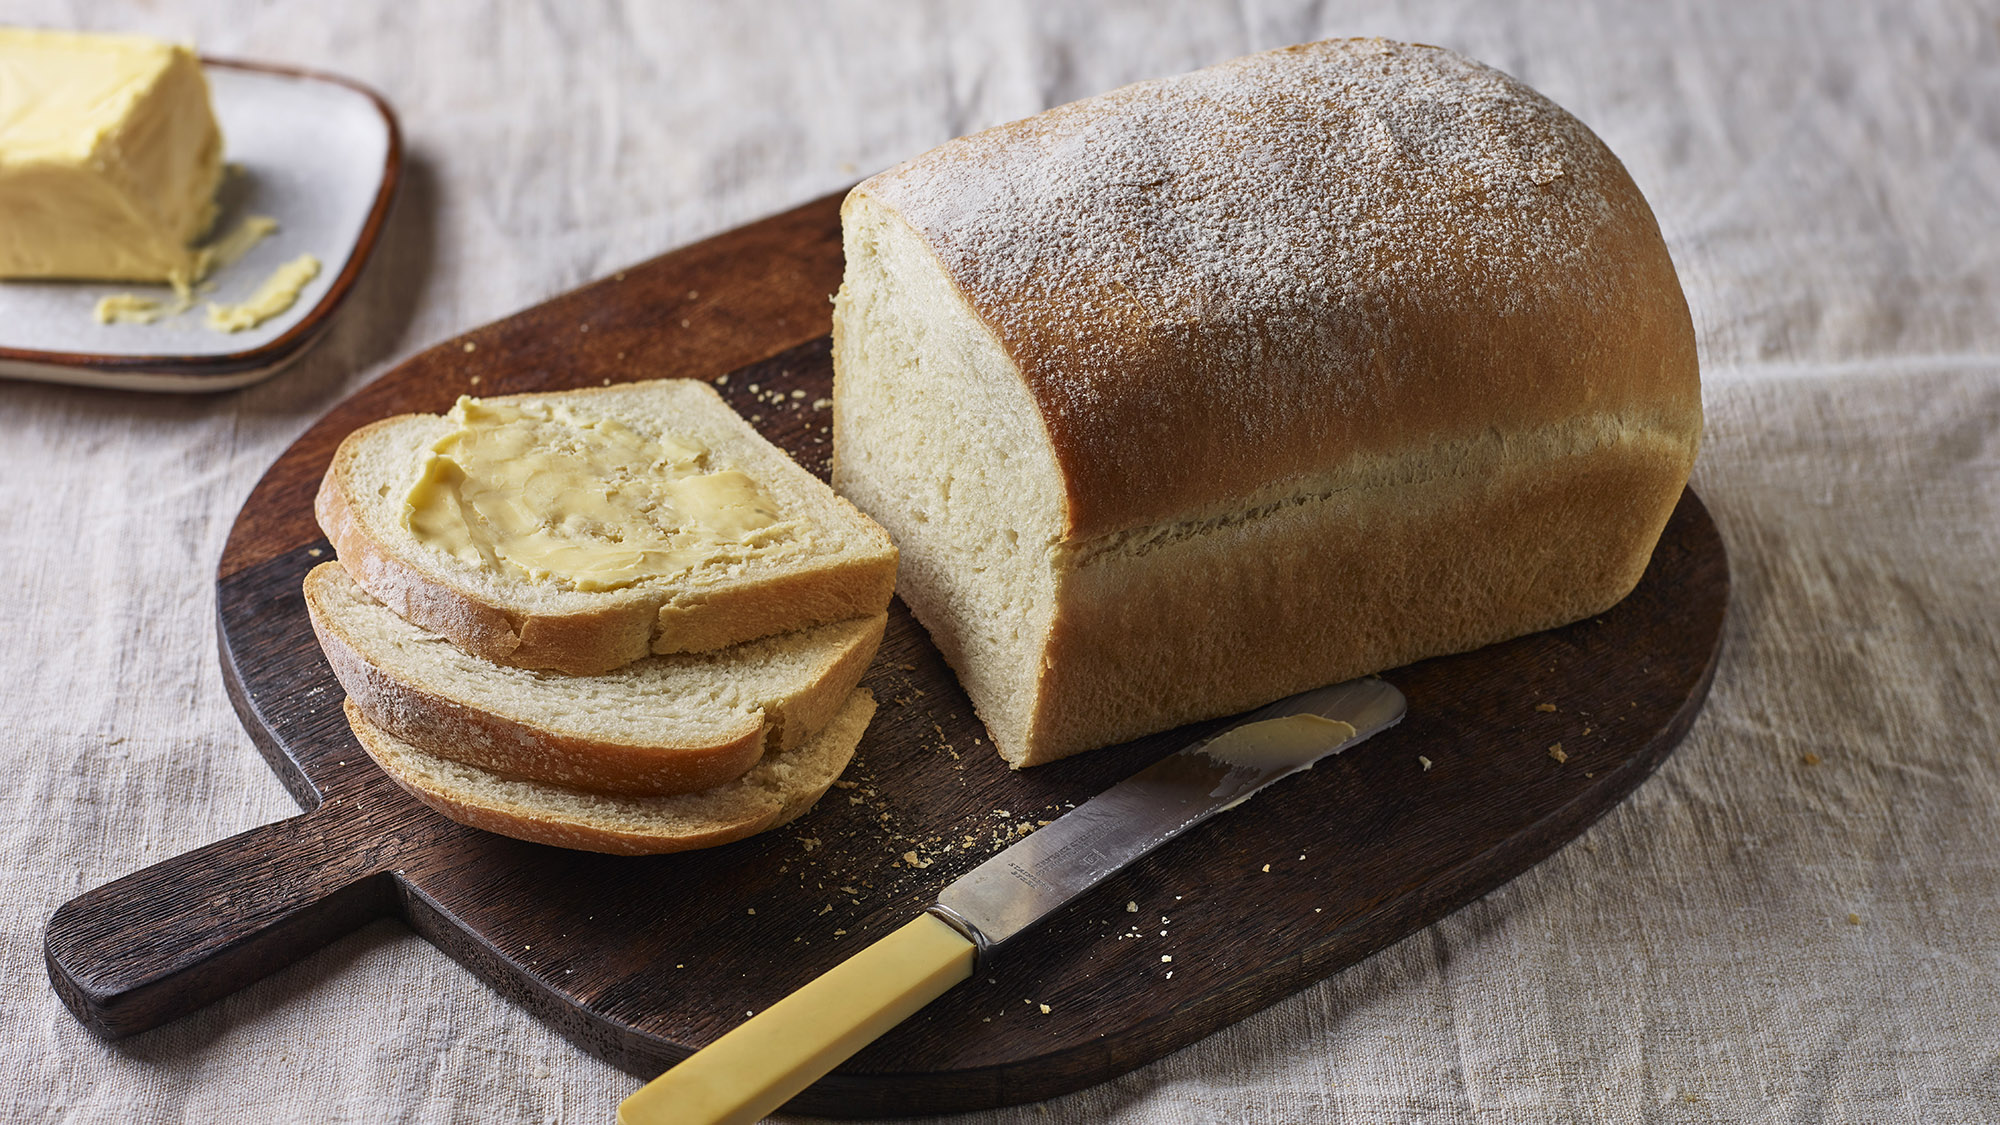
Basic white bread
4.3
(6)
Your folders
Your folders
Prep Time: 2 hours
Cook Time: 1 hours
Servings: 5.5
Author : Edd Kimber
Ingredients
Export 4 ingredients for grocery delivery
Instructions
Step 1
To make the dough, place the flour in a large bowl. Toss the butter through the flour, if using. Rub the butter into the flour until it resembles fine breadcrumbs. Add the yeast and salt and mix into the flour mixture with your hands. Make a well in the centre of the flour mixture and pour in the water and honey, if using. Using your hands or the dough hook in a stand mixer, mix to form a rough, shaggy dough.
Step 2
If using a stand mixer, knead the dough on a low–medium speed for about 10–15 minutes or until the dough is smooth and elastic and no longer sticks to the side of the bowl. If kneading by hand, tip the dough out onto a work surface and knead for about 15–20 minutes. The dough should end up smooth and elastic. When pressed, the dough should spring back to show the gluten has been nicely developed.
Step 3
Place the dough in a clean bowl and cover with cling film, a damp cloth or a reusable bowl cover (see tip). Set the dough aside somewhere warm and leave for about 1 hour or until doubled in size. The proving time will depend on the temperature of the room – 1 hour is a rough guide.
Step 4
Tip the risen dough out onto a very lightly floured work surface and press to deflate. When shaping bread, it is important to use a minimal amount of flour. Too much flour can mean the dough slips and slides around, making it hard to handle. It also means extra flour is incorporated into the dough which we want to avoid.
Step 5
To bake as a loaf, press the dough into a rectangle that is a little narrower than the width of a 900g/2lb loaf tin. Roll up like a Swiss roll, making the roll nice and tight, and place into the tin, seam-side down. Cover the loaf tin, as you previously covered the bowl, and set aside somewhere warm to prove.
Step 6
To bake as a free form loaf, known as a boule, directly on a baking tray, press the dough into a round. Take the left and right sides of the dough and fold them into the middle. Repeat with the top and bottom sides of the dough and repeat a couple of times until the dough feels taut. Flip the dough over and lightly drag across the work surface to create additional tension, carefully lifting onto a baking tray. Set aside somewhere warm to prove.
Step 7
To bake as rolls, weigh the dough and divide into 10 equal pieces. Press each piece into a round and then repeat the shaping process for making a boule. Place the rolls on two baking trays lined with baking paper, placing them seam-side down. Lightly cover the rolls with a damp kitchen towel or cling film and set aside somewhere warm to prove.
Step 8
The bread will now take about 1 hour to prove. Knowing the dough is ready to bake can be tricky but a good indicator is the ‘poke test’. Lightly press a floured finger into the dough, making an indent. If the indent springs back quickly and completely, the dough still needs to rise for a little longer. If the indent holds its shape without springing back, the dough is overproved and needs baking immediately before it starts to collapse. If the indent springs back slowly and does not fill in completely, it is proved and ready to bake.
Step 9
Whilst the bread proves, preheat the oven to 220C/200C Fan/Gas To give the bread a nice crusty finish, add a baking tray to the bottom of the oven and add a couple of ice cubes as you put the bread in the oven.
Step 10
To finish the loaf, dust a little flour on the top of the dough for a rustic look. For the free form loaf, use a very sharp serrated knife to score the loaf in the style of a noughts and crosses board, with two horizontal lines and two vertical lines. To finish the rolls, either dust with a little flour or brush with a little egg wash. Egg wash gives a shine and creates a softer crust than dusting with flour. (It also acts as an adhesive should you wish to sprinkle the rolls with seeds.)
Step 11
For the tin loaf and free form loaf, bake the bread for about 45 minutes until it is a deep brown colour. The boule should feel hollow when you tap the underside of the bread. If you tip the tin loaf out of the tin, it should also sound hollow on the bottom. For the bread rolls, bake for about 18–20 minutes or until golden-brown.
Step 12
Leave the bread to cool on a wire rack for at least 1 hour before serving. If bread is sliced too early before it has had time to cool properly, it can have a gummy texture.