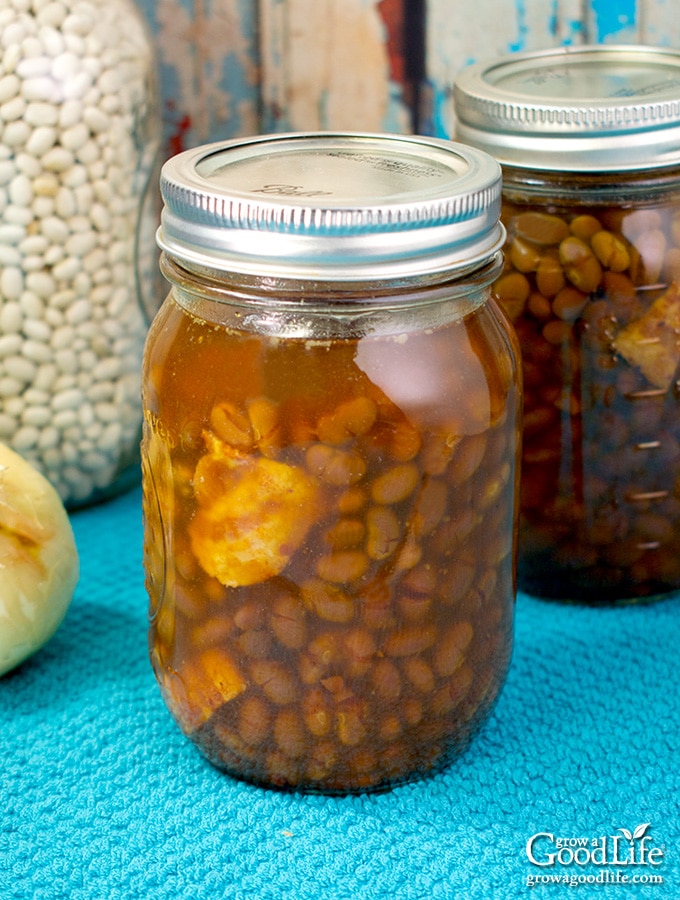
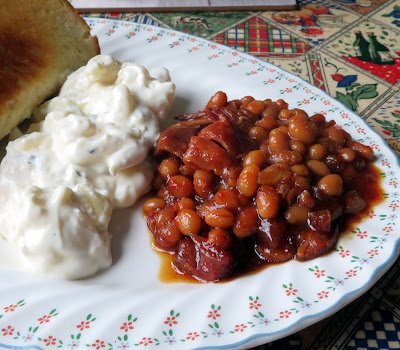
Boston Baked Beans Canning Recipe
Your folders
Your folders
Prep Time: 150 minutes
Cook Time: 360 minutes
Total: 510 minutes
Servings: 12
Author : Grow a Good Life
Ingredients
Export 5 ingredients for grocery delivery
Instructions
Step 1
Sort through the dry beans and pick out stones or damaged beans. Rinse the beans well and rehydrate the beans using one of the following methods:
Step 2
Quick Soak: Bring a large pot of water to boil over high heat, add the dried beans, and boil for 2 minutes. Remove the pot from the heat and let the beans soak for 1 hour.
Step 3
Overnight Soak: Add the beans to a large pot and fill with enough water to cover the beans by about 2-inches. Cover the pot, place it in the refrigerator, and soak the beans in a cool area for 12 to 18 hours.
Step 4
After soaking, drain the beans and rinse well. Rinse the pot and add the beans back into the pot. Fill the pot with fresh water to cover about 2-inches above the soaked beans.
Step 5
Place the pot on the stove, and bring the beans to a boil over high heat. Reduce the heat to low and let the beans simmer until the skins begin to crack, about 30 minutes. Stir the beans occasionally to prevent sticking and add warm water if needed to keep the beans covered.
Step 6
Preheat the oven to 350˚F.
Step 7
Drain the beans saving the cooking liquid. Add the drained beans to an 8-quart Dutch oven, or divide into two large 13 x 9 x 2 inch-baking pans.
Step 8
Spread the salt pork or bacon, onions, and bay leaves over the beans.
Step 9
In a large bowl, combine 4 cups of the bean water (add water if needed), molasses, brown sugar, dry mustard, and up to 2 teaspoons salt, if using. Pour over the beans.
Step 10
Cover and bake in a preheated oven for 3 1/2 hours. Stir every hour or so, and add water if needed to keep the beans soupy.
Step 11
Wash the jars, lids, and rings in hot soapy water and rinse thoroughly. Set the lids and rings aside until you are ready to use them.
Step 12
Place the jar rack into the pressure canner, and fill with water per your pressure canner manufacturer's instructions: Presto is 3 quarts, Mirro is 2 quarts, and All American is 2 to 3 inches.
Step 13
Fill the jars halfway with hot water, and then place them on the rack in the canner. Bring the canner to a simmer for 10 minutes (180˚F). Keep hot until you are ready to fill them.
Step 14
Remove the baked beans from the oven and give everything a good stir to combine. Pluck out and discard the bay leaves. The beans should be soupy in order for the heat to penetrate evenly though the jar. If you need to add water, use the hot water from the canner.
Step 15
Spread a kitchen towel on the counter. Use your jar lifter to remove a jar from the canner. Pour out the water (save it for washing dishes), and place the jar on the towel. Keep the remaining jars in the canner, so they stay hot.
Step 16
Place the canning funnel on the jar. Use a slotted spoon to remove the beans from the pan and fill the jar with beans to about 3/4 full. Ladle hot cooking liquid over the beans while maintain a 1-inch headspace. Remove air bubbles with the bubble popper, and wipe the rim with a damp towel.
Step 17
Center a lid on the jar, place the band over the lid, and screw it on until fingertip tight. Use the jar lifter, and place the jar back on the rack in the canner. Repeat with the rest of the jars until the canner is filled, or you run out of beans.
Step 18
Close the pressure canner and secure the lid. Leave the vent open, adjust the heat to medium-high, and bring the canner to a boil. Allow the pressure canner to vent for 10 minutes, then place weight on the vent.
Step 19
Once the canner has reached the correct pressure (10 pounds for weighted gauge canner, and 11 pounds for dial gauge canners.), set a timer, and process pints for 80 minutes (1 hour and 20 minutes), and quarts for 95 minutes (1 hour and 35 minutes) at altitudes of less than 1,000 ft. Adjust for your altitude if necessary (see table below).
Step 20
Adjust the heat as needed to maintain a steady pressure. When the processing time is complete, turn off the heat and allow pressure canner to de-pressure on its own (approximately 1 hour).
Step 21
Once the canner is at zero pressure, wait 5 minutes, unlock, and remove the cover by tilting the lid away from you so that steam does not burn your face. Let the canner set for another 10 minutes to adjust to the change in pressure.
Step 22
Spread a dry kitchen towel on the counter, and use the jar lifter to lift jars from canner and place on the towel. Keep upright, and don't tighten bands or check the seals yet. Let sit undisturbed for 12 to 24-hours to cool.
Step 23
After 12 to 24-hours, check to be sure jar lids have sealed by pushing on the center. The lid should not pop up. If the lid flexes up and down when the center is pressed, it did not seal. Refrigerate the jar and use up within a few days.
Step 24
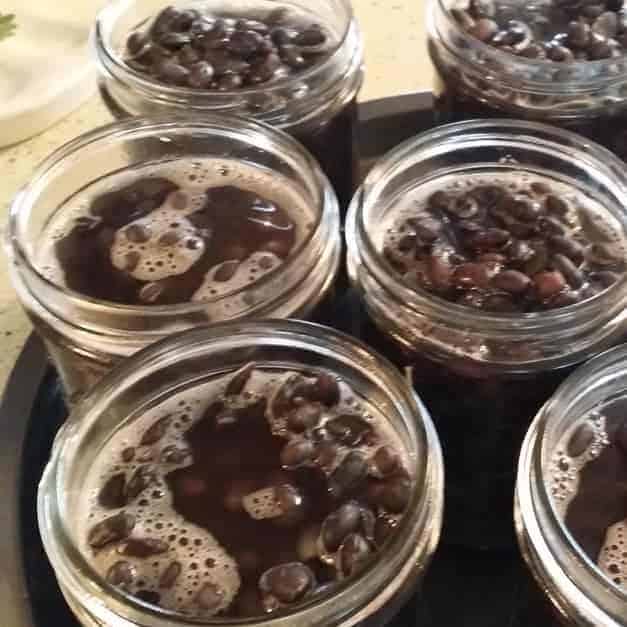
Remove the ring bands, wash, label, date, and store in a cool, dark location (50 to 70 degrees F). Use within a year for the best quality. Yields 6 pints, or 3 quarts.
Top similar recipes
Curated for youYour folders

 402 views
Boston Baked Beans Canning Recipe
growagoodlife.com
Your folders
 304 views
Canning Boston Baked Beans
creativecanning.com
4.4
(18)
4 hours
Your folders
 269 views
Boston Baked Beans
marthastewart.com
3.4
(147)
Your folders
 355 views
Boston Baked Beans
allrecipes.com
4.6
(1.3k)
4 hours
Your folders
 173 views
Boston baked beans
bbc.co.uk
4.0
(12)
2 hours
Your folders
 41 views
BBQ Baked Beans Canning Recipe
greatlakescountry.com
4.9
(160)
1 hours, 45 minutes
Your folders
 199 views
Easy Boston Baked Beans
theenglishkitchen.co
Your folders
 269 views
Boston baked beans - Wikipedia
en.wikipedia.org
Your folders
 291 views
Slow Cooker Boston Baked Beans Reci...
foodfolksandfun.net
4.8
(20)
720 minutes
Your folders
 331 views
Instant-Pot Boston Baked Beans
purewow.com
5.0
(1)
45 minutes
Your folders
/homemade-baked-beans-2217291-step-11-49fe414bf7cd483a9ac3cc289d24846f.jpg) 357 views
357 viewsPerfectly Homemade Boston Baked Bea...
thespruceeats.com
Your folders
 215 views
Chef John's Boston Baked Beans
allrecipes.com
4.6
(84)
2 hours, 30 minutes
Your folders
 252 views
Slow Cooker Boston Baked Beans
thelemonbowl.com
3.7
(59)
480 minutes
Your folders
 140 views
Boston baked beans with bacon
bbc.co.uk
4.3
(12)
2 hours
Your folders
 289 views
Canning Beans
practicalselfreliance.com
4.6
(14)
30 minutes
Your folders
![Homemade Vegan Baked Beans [Boston Style]-image](https://plantbasedonabudget.com/wp-content/uploads/2022/11/9-Homestyle-Baked-Beans-Plant-Based-on-a-Budget-1-2.jpg) 186 views
186 viewsHomemade Vegan Baked Beans [Boston ...
plantbasedonabudget.com
5.0
(32)
40 minutes
Your folders
 554 views
Canning Black Beans
backtoourroots.net
90 minutes
Your folders
 295 views
Canning Chili Beans
thehomeinhomestead.com
1 hours, 15 minutes
Your folders
 373 views
Canning Green Beans
amodernhomestead.com
4.6
(19)
25 minutes