Cannabis Infused Chocolate Peanut Butter Cereal Bars
5.0
(1)
Your folders
Your folders
Prep Time: 4 hours, 20 minutes
Cook Time: 30 minutes
Total: 4 hours, 50 minutes
Servings: 12
Cost: $1.28 /serving
Author : InfusedEats

Ingredients
Export 5 ingredients for grocery delivery
Instructions
Step 1
STEP DECARBOXYLATE CANNABIS
Step 2
Like most cannabis infused recipes we will begin by processing and decarboxylating the cannabis. This will activate the cannabinoids such as THC in the plant to give us the medicated feeling that we are all probably looking for. So first weigh out and grind the cannabis into a course meal consistency. Use a grinder if you have one or you can also chop it with a knife. Remove any large stems and seeds of course. I find using a piece of parchment paper creased with a fold down the center on a baking sheet is perfect for decarbing. Set your oven to 225• F and your timer for 1 hour and 50 minutes. You could also use the traditional 220• F for 2 hours but my oven has a minimum of 225• F so I offset the time. You could also use even higher temperatures for shorter time but this long and low method of decarbing has a less chance of error. If you really know your stuff, you can just use your eyes and smell to tell when it’s activated. When it’s finished it will be noticeably darker or browner and have a very pungent and aromatic aroma that will fill your entire house. This recipe will not include any prolonged heat or cooking for the cannabis so we need to fully activate the THC in this first very important step.
Step 3
STEP CLARIFY BUTTER
Step 4
The next step is to clarify your butter and you can do this in advance or as your cannabis is activating. You could skip this step but it will show off the recipe quantities as we will lose about 1/3 of the initial butter weight so if you skip this step you need to use 1/3 less butter than the recipe calls for. First cube your butter and put it in a medium sauce pan over med heat. Heat it until the white milk solids begin to separate from the oil and float to the top in a foamy white layer that you can carefully scoop out. this can be used for popcorn or something but I usually just discard it. What we are doing is removing the water by evaporation as well as the milk solids so that we will be left with the fat and oils only that will help make our canna butter more bioavailable and our cereal bars more shelf stable. You can also use a coffee filter to fine filter the butter oil but this can take a while and you need to be careful as the oils every hot. But once you have finished your oil will be golden and clear and will be an almost perfect vehicle for our cannabis.
Step 5
STEP INFUSE CANNABIS & BUTTER
Step 6
Now we will combine the clarified butter and the activated cannabis in the top of a double boiler set up. If you used the pre-creased piece of parchment in the decarboxylation of the cannabis you will see now why it is helpful. It funnels easily and you can brush off the remaining kief and trichomes that have fallen off in the heating process. In this process we will infuse the activated cannabis into the clarified butter so that the saturated fats in the butter oil will acquire the THC and therefore facilitate the digestive system in transferring the cannabinoids into the bloodstream where it will finally meet it’s destiny in the eagerly awaiting Endocannabinoid system that our body depends on daily to regulate pain, hunger, sleep and so many other natural human functions. The infusion can go in 30 minute or so increments to check the water level of the double boiler and stir the mixture for a minimum of 1 hour to a maximum of 3 hours or so to be sufficient in the transfusion of the the into the oil though you could go longer or even less time if you want. Once the infusion is complete the butter will be noticeably darker and green. Now filter it through several layers of cheesecloth or a fine mesh screen. Squeeze out as much of the infused butter oil as possible and the resulting canna butter will be ready to get you flying as it is but now we are going to make our crispy cereal bars.
Step 7
STEP MAKE CEREAL TREATS
Step 8
The next step is to separate the canna butter. We need to put 1 full tablespoon into our double boiler top bowl and a second tablespoon should be reserved back for buttering a 9X13 dish we will use to form the bars in the last step. You can go ahead and spread that butter evenly while it is still warm to be easier. Then the remaining butter will go into a large saucepan over med-low heat. To this butter will will add in the marshmallows. Let the mixture heat of med-low as long as it is needed for the marshmallows to fully melt. Keep stirring until the mixture is fully incorporated and the butter no longer separates from the marshmallow cream. After the mixture is boiling fully let it cook another few minutes but do not let it get too hot or your cereal bars will be so hard they will break your teeth. Now remove it from the heat and pour your cereal in while it is still hot and mix it fully. Keep mixing until the cereal is all evenly and fully coated. Now transfer the mixture into the pre-buttered 9X13 pan. It will get stiff as is cools pretty quickly so keep moving as you flatten the bars into the pan. Take a big piece of wax or parchment paper and press the bars very firmly into the shape of the pan. Even them out as best as you can and press the m in as hard as you can without breaking the dish or table. When you pull of the paper your surface should be flat and smooth like this.
Step 9
STEP TOP WITH CHOCOLATE
Step 10
This step is optional but it’s good way to use the leftover butter and the chocolate and peanut butter complement very nicely as everyone knows. So add the candy bar, broken into pieces to the double boiler with our tablespoon of infused butter and let it melt. After 5 minutes or so it should be melted enough so that you can mix it and make it glossy. Then you can simply use a spoon ti drizzle it back and forth across the top of your bars. You could easily get creative with this step and make designs or a smooth coating but I’ll leave that up to you. For me it’s perfect to let it melt down into the top adding a milky sweet extra dose of THC to the mix. Now who’s gonna complain about that?
Step 12
Let them cool completely before you cut them into at least 12 pieces and you will get a much cleaner and sharper edge but really, who can ever wait for crispy cereal bars to cool off before you dig in. These crispy cereal tarts are delicious while still a little warm or perfect to wrap and keep right on the cabinet for 2 - 3 days or frozen for a couple of months. And do not be afraid to experiment around with the flavors. Say Fruity Pebbles with White Chocolate or Golden Grahams with Dark chocolate, the possibilities are endless.
Top similar recipes
Curated for youYour folders

 195 views
Peanut Butter Chocolate Cereal Trea...
dailydishrecipes.com
4.7
(15)
Your folders
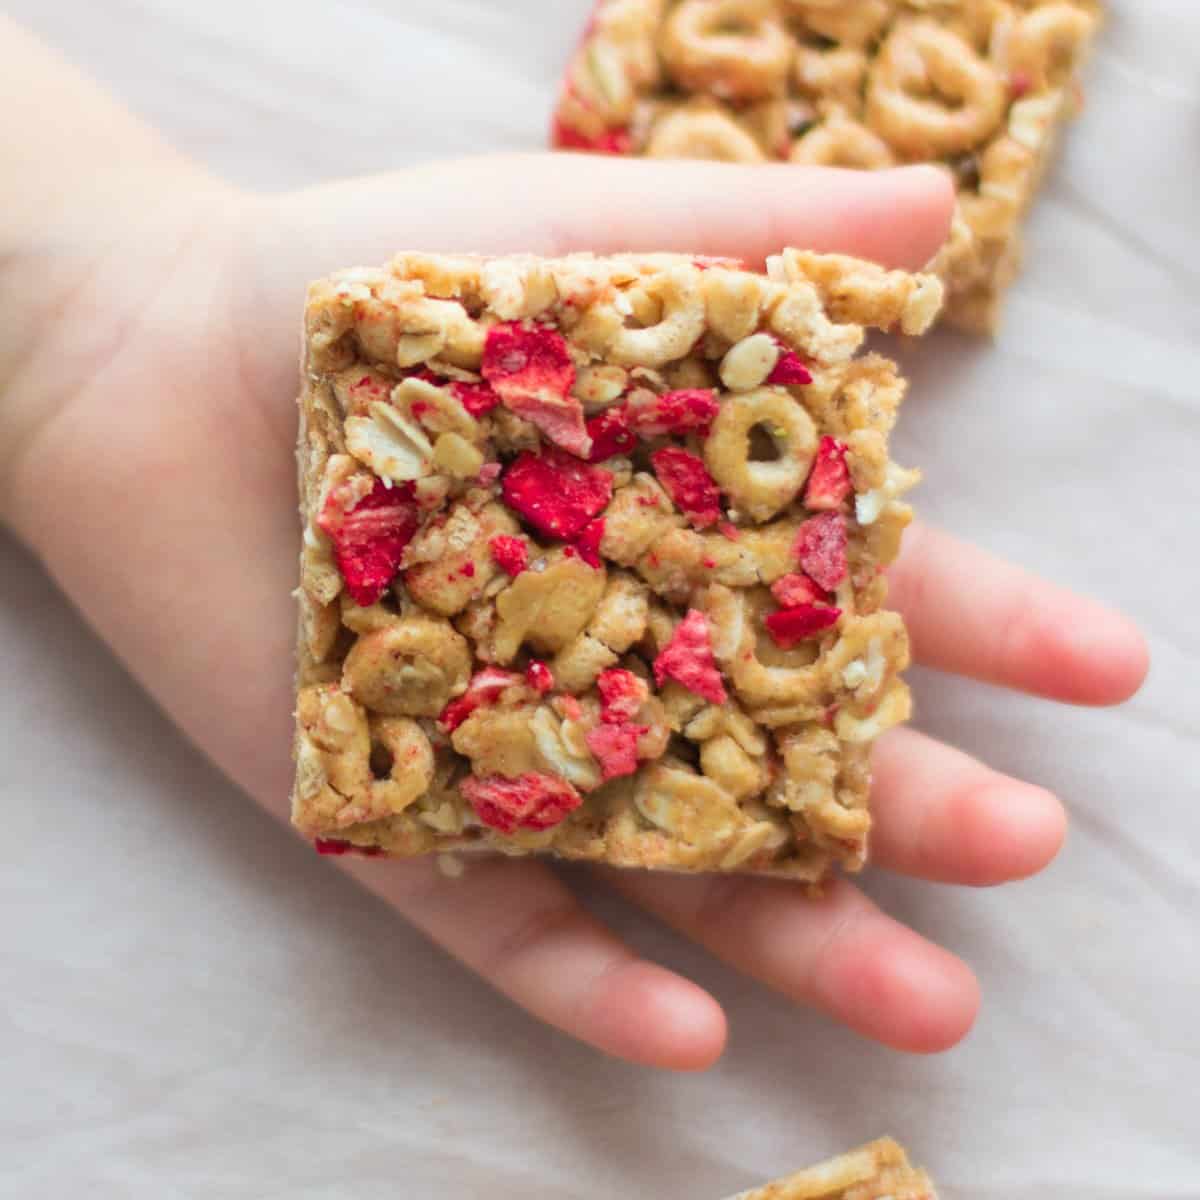
 211 views
Peanut Butter Cheerio Cereal Bars
mjandhungryman.com
5.0
(21)
Your folders

 353 views
Cannabis Infused Milk Chocolate
infusedeats.com
3.0
(3)
1 hours
Your folders

 239 views
Cannabis Infused S'mores Cookie Bar...
laurengaw.com
25 minutes
Your folders

 139 views
Homemade Chocolate Peanut Butter Ce...
fullofplants.com
5.0
(8)
Your folders

 4155 views
Cannabis Infused Gummies
stonerscookbook.ca
4.7
(55)
10 minutes
Your folders

 943 views
Cannabis infused chocolates
cannigma.com
4.5
(569)
15 minutes
Your folders
 1043 views
Cannabis Infused Sushi
cannadish.net
Your folders
 80 views
Cannabis Infused Gummies
stonerscookbook.ca
Your folders
 8765 views
Cannabis infused vodka.
cannadish.net
5.0
(3)
45 minutes
Your folders

 649 views
Cannabis-Infused Sugar
emilykylenutrition.com
4.7
(142)
Your folders
 376 views
Peanut Butter and Chocolate Cereal ...
foodnetwork.com
4.9
(8)
15 minutes
Your folders

 322 views
Low Fat Peanut Butter Protein Cerea...
haylskitchen.com
5.0
(1)
15 minutes
Your folders
 257 views
Chocolate Peanut Butter Bars
feelgoodfoodie.net
5.0
(192)
Your folders

 288 views
Browned Butter Cereal Bars
tasteofhome.com
5.0
(1)
20 minutes
Your folders
 327 views
Peanut Butter Cereal Bites
chelseasmessyapron.com
Your folders
 219 views
Peanut Butter Cereal Treats
tasteofhome.com
4.8
(23)
10 minutes
Your folders
 247 views
Peanut Butter Cereal Bites
onelittleproject.com
4.8
(5)
Your folders
 85 views
Peanut Butter Cereal Bites
onelittleproject.com