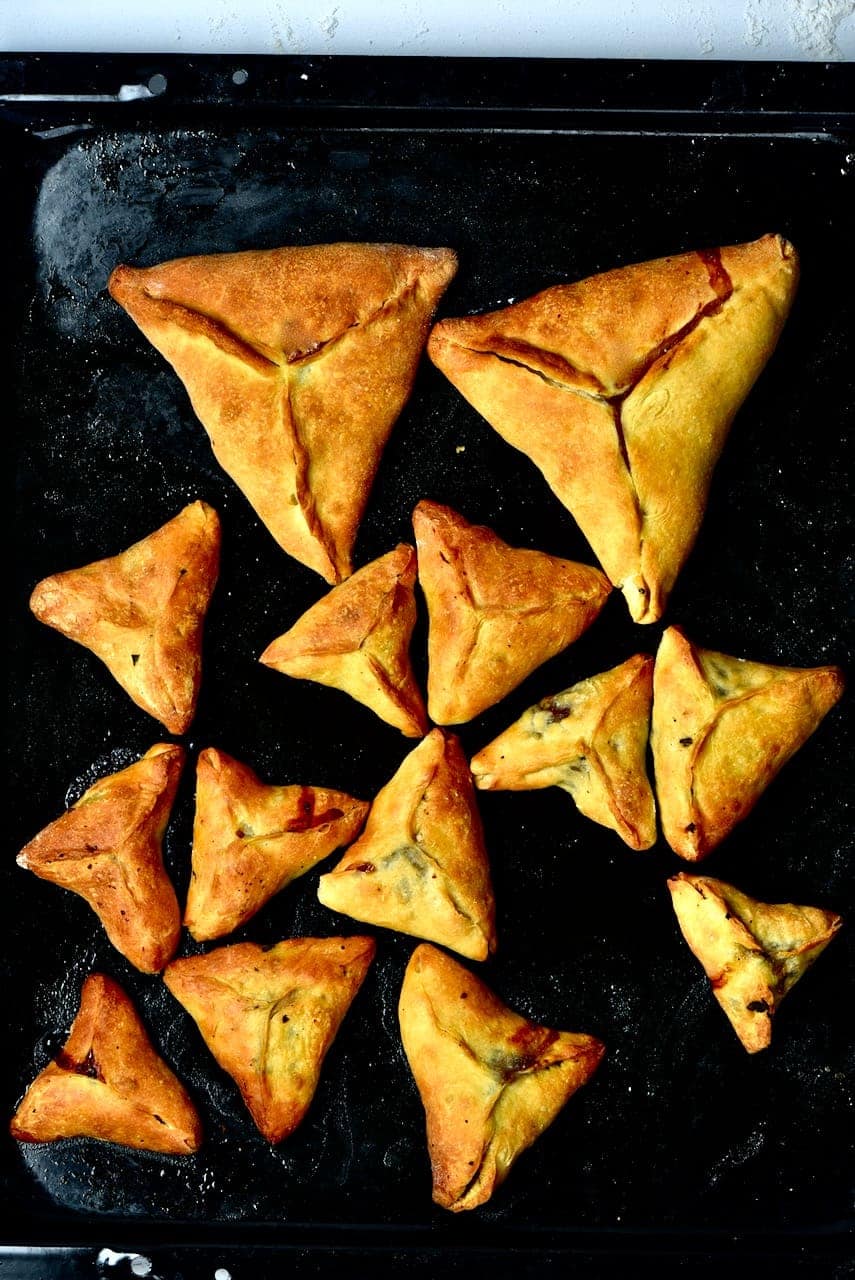
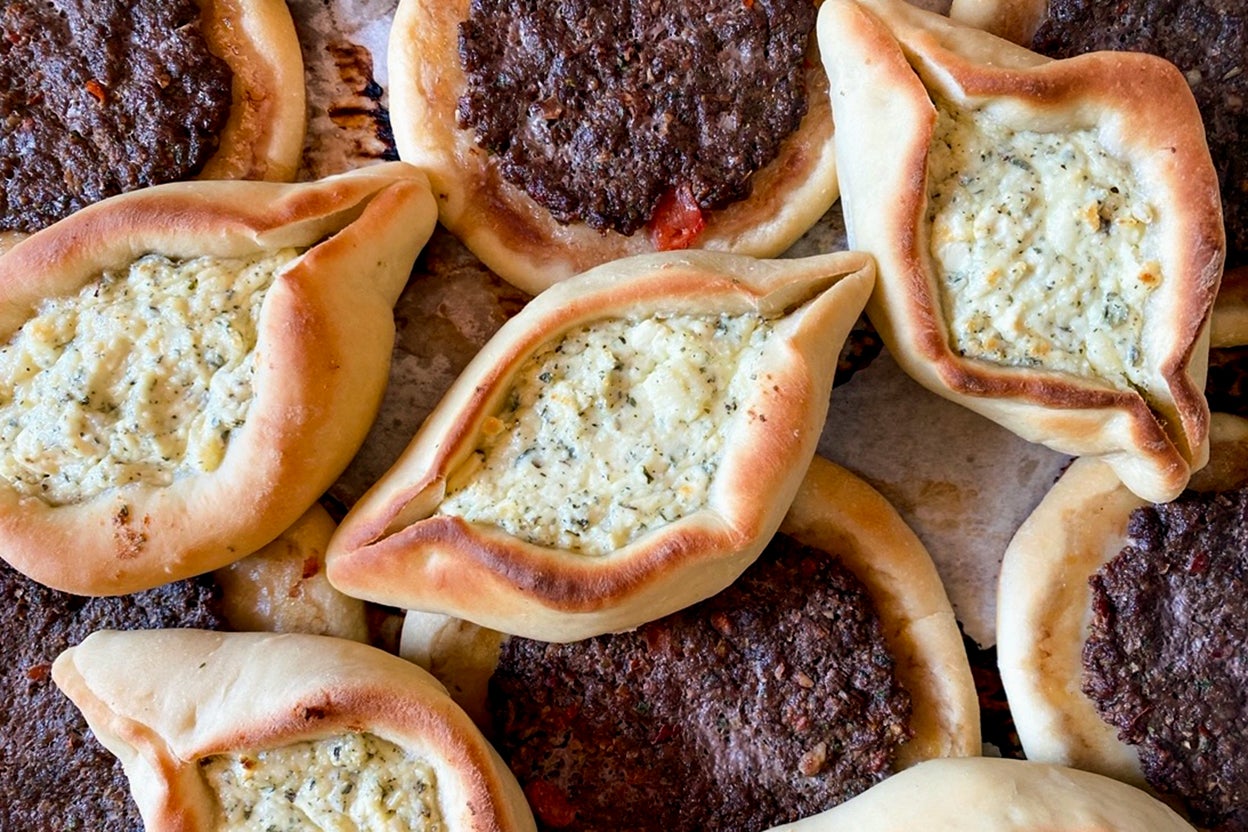
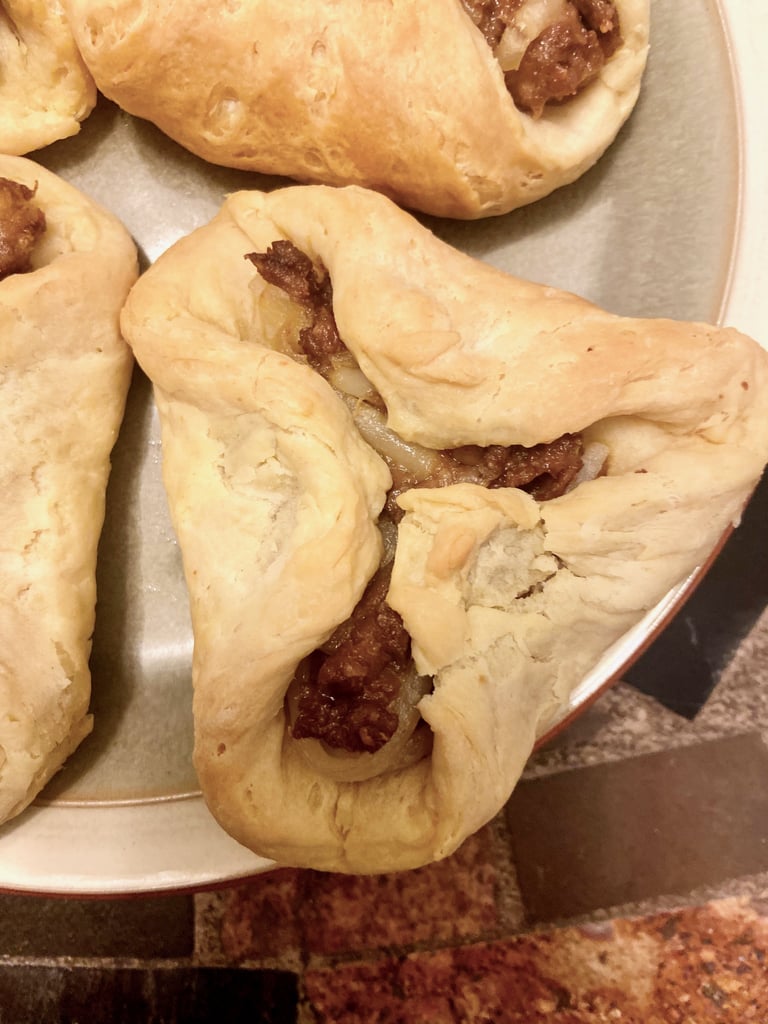
Cheese Fatayer
5.0
(10)
Your folders
Your folders
Prep Time: 60 minutes
Servings: 10
Author : Mariam

Ingredients
Export 10 ingredients for grocery delivery
Instructions
Step 1
Mix together your yeast, sugar, warm water, and flour in a bowl. Cover with a damp paper towel, and allow to sit for 10 minutes.
Step 2
After 10 minutes, add the rest of your flour (1 1/2 cups), salt, and olive oil to your sponge.
Step 3
Take a large wooden spoon and roughly combine dough ingredients.
Step 4
Now, you can use a stand mixer - but if you don't have one, with lightly oiled hands, knead your dough for 8-10 minutes on a clean and oiled work surface until smooth.
Step 5
Don't add any extra flour to this recipe. The dough will start off quite sticky, but after several minutes of kneading the dough on an oiled work surface - it will eventually come together beautifully.
Step 6
By limiting the amount of extra flour we add to the dough, we will be able to create a very fluffy, as well as airy bread for our cheese pies.
Step 7
Next, separate your dough into 10 dough balls (each around 62-65 grams in weight). Cover with a damp towel and allow to rest for 10 minutes.
Step 8
After 10 minutes, lightly sprinkle flour on your work surface. Roll out each dough ball about a half an inch thick.
Step 9
Once you've rolled out your dough - its time to build the crust.
Step 10
Add a light amount of freshly grated mozzarella to the edges of your dough ( just plain mozzarella, not the filling we made). Start folding your dough over the mozzarella, pressing down to seal the edges. Watch video above for guidance.
Step 11
Fold the edges of your crust into a diamond shape, pinching the top and bottom of your dough to enforce the shape even more.
Step 12
Preheat oven to 425°f (218°C)
Step 13
Add your stuffed, and shaped dough to a lined baking sheet.
Step 14
Brush egg wash on your crust, and brush garlic butter in the center of your dough.
Step 15
Fill your cheese pies with your cheese filling. Be generous! Your cheese mixture should be completely used up after filling your last cheese pie.
Step 16
Bake for 25-30 minutes. Every oven preforms differently, keep a close eye on them. You want the bottom of your pies, as well as your crust, to be beautifully golden.
Step 17
Remove from the oven and allow your Cheese Fatayer to cool for a couple minutes.
Step 18
Serve fresh with a nice cup of tea, and anything else you may enjoy!
Step 19
Cover any left over cheese pies tightly, or store them in an airtight container. Store at room temperature for a couple days, or in the refrigerator for about a week.
Top similar recipes
Curated for youYour folders

 334 views
Fatayer bi jibneh - Cheese Pies
dinas-kitchen.com
5.0
(3)
30 minutes
Your folders
 293 views
Lebanese Cheese Fatayer Recipe Card
ethnicspoon.com
5.0
(3)
20 minutes
Your folders
 126 views
Authentic Homemade Fatayer (Spinach...
hungrypaprikas.com
4.9
(23)
15 minutes
Your folders
 68 views
Tony Shalhoub's Spinach Fatayer
foodnetwork.com
45 minutes
Your folders
 911 views
Spinach Fatayer (Lebanese spinach p...
alphafoodie.com
5.0
(30)
30 minutes
Your folders
 610 views
Fatayer (Middle Eastern Savory Hand...
kingarthurbaking.com
5.0
(4)
20 minutes
Your folders
 134 views
Impress Your Entire Household With ...
popsugar.com
3.0
(327)
Your folders
 463 views
Cheese Fondue Mac & Cheese
tasteofhome.com
25 minutes
Your folders
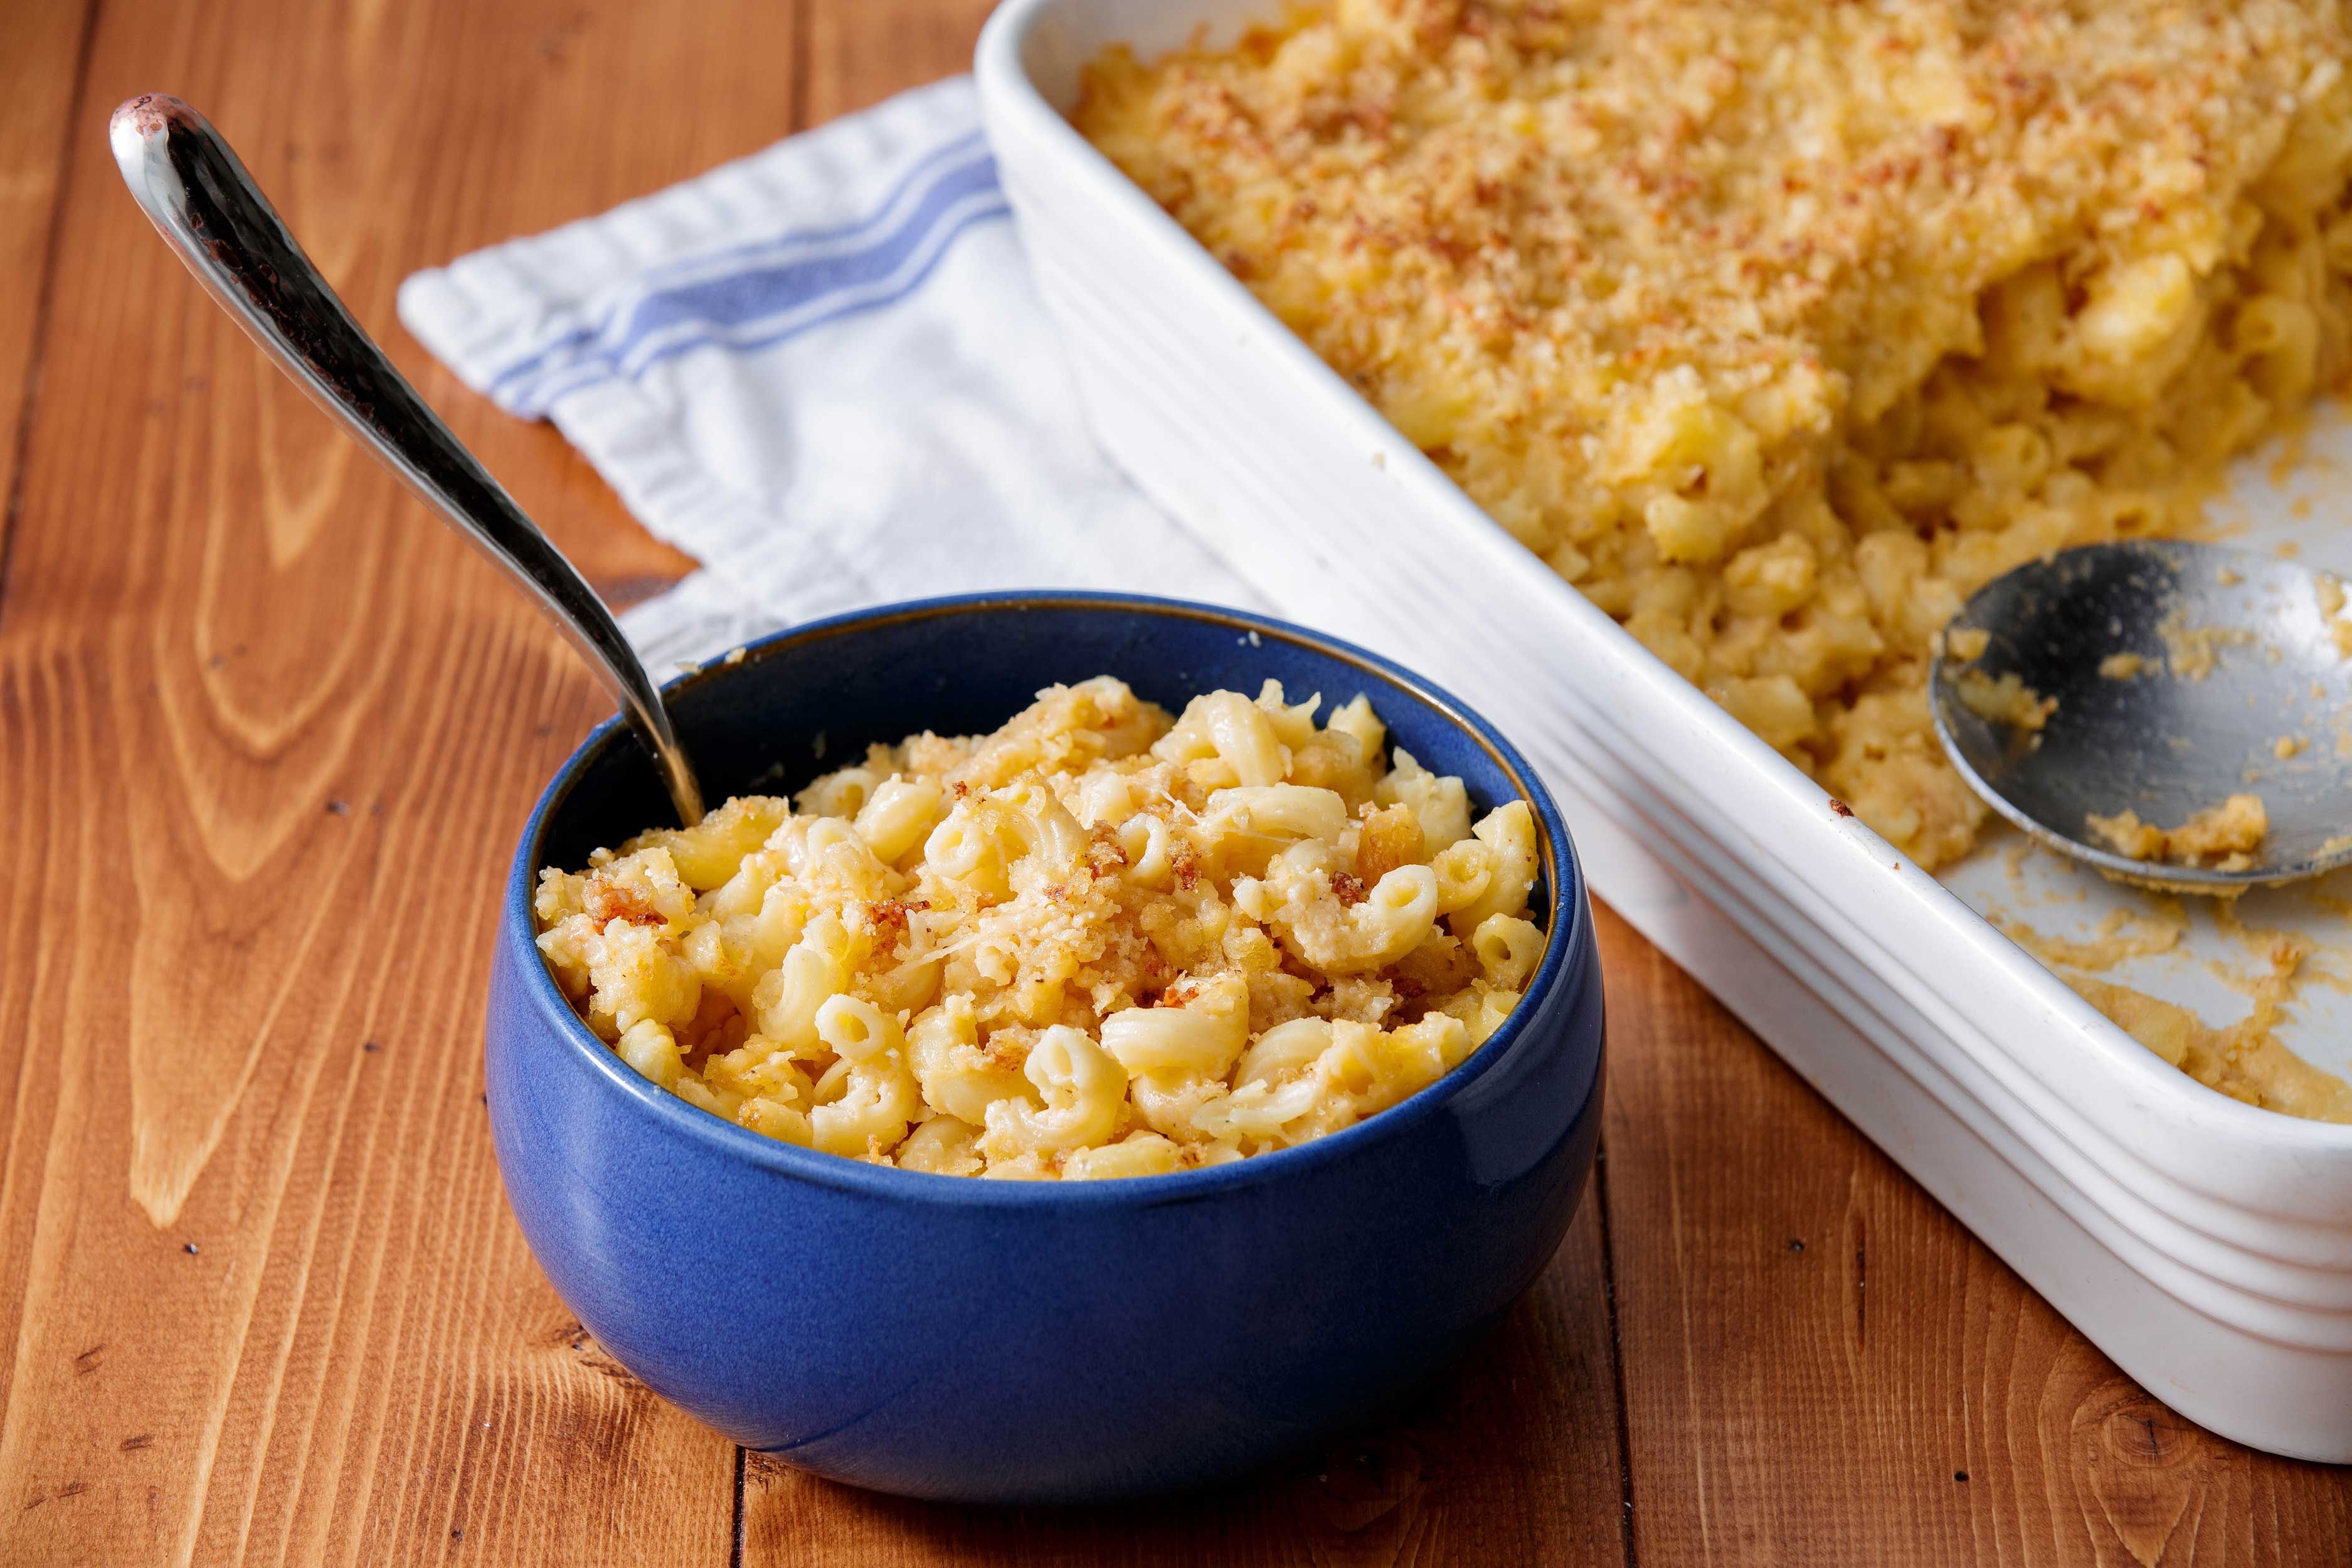 676 views
3 Cheese Mac & Cheese
delish.com
5.0
(2)
Your folders
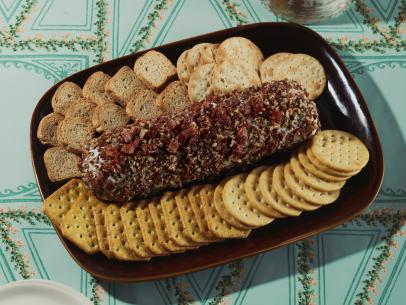 362 views
Blue Cheese Cheese Log
foodnetwork.com
45 minutes
Your folders
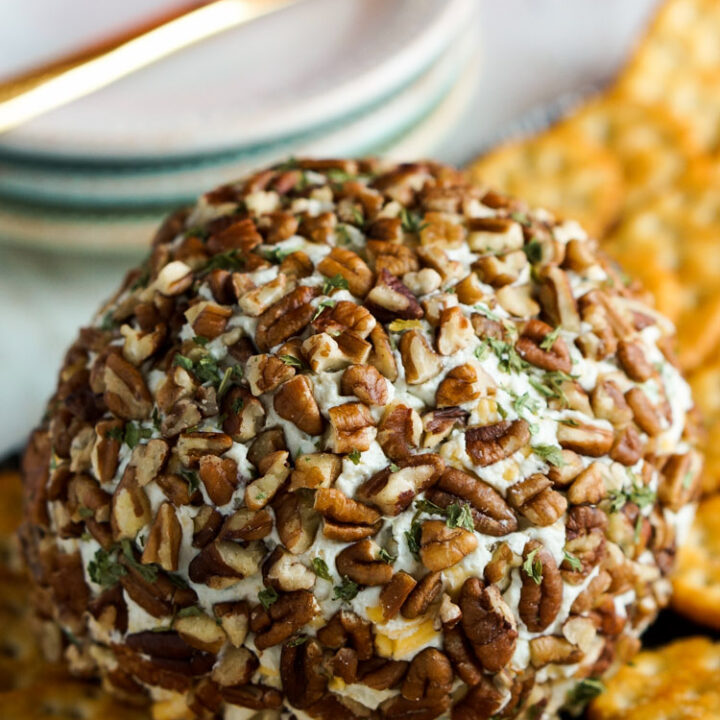 395 views
Blue Cheese Cheese Ball
accidentalhappybaker.com
4.1
(27)
Your folders
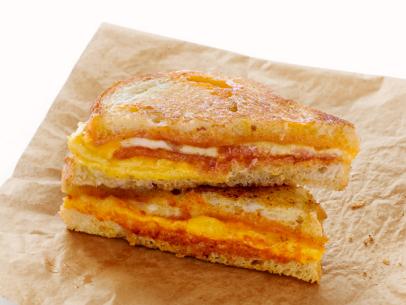 360 views
Three-Cheese Grilled Cheese
foodnetwork.com
10 minutes
Your folders
 437 views
Three-Cheese Pimiento Cheese
stevehacks.com
5.0
Your folders
 78 views
Bacon and Five Cheese Macaroni & Ch...
easyrecipesapp.org
Your folders
 359 views
3-Cheese Macaroni and Cheese
foodnetwork.com
4.4
(78)
25 minutes
Your folders
 526 views
Hot Cheese Crunchy Mac & Cheese
foodnetwork.com
5.0
(4)
40 minutes
Your folders
240 viewsGoat Cheese ButterGoat Cheese Butte...
rieglpalate.com
Your folders
 281 views
Cottage Cheese Mac and Cheese
skinnyfitalicious.com
5.0
(2)
15 minutes
Your folders
 297 views
Cottage Cheese Mac and Cheese
iheartvegetables.com
5.0
(27)
10 minutes