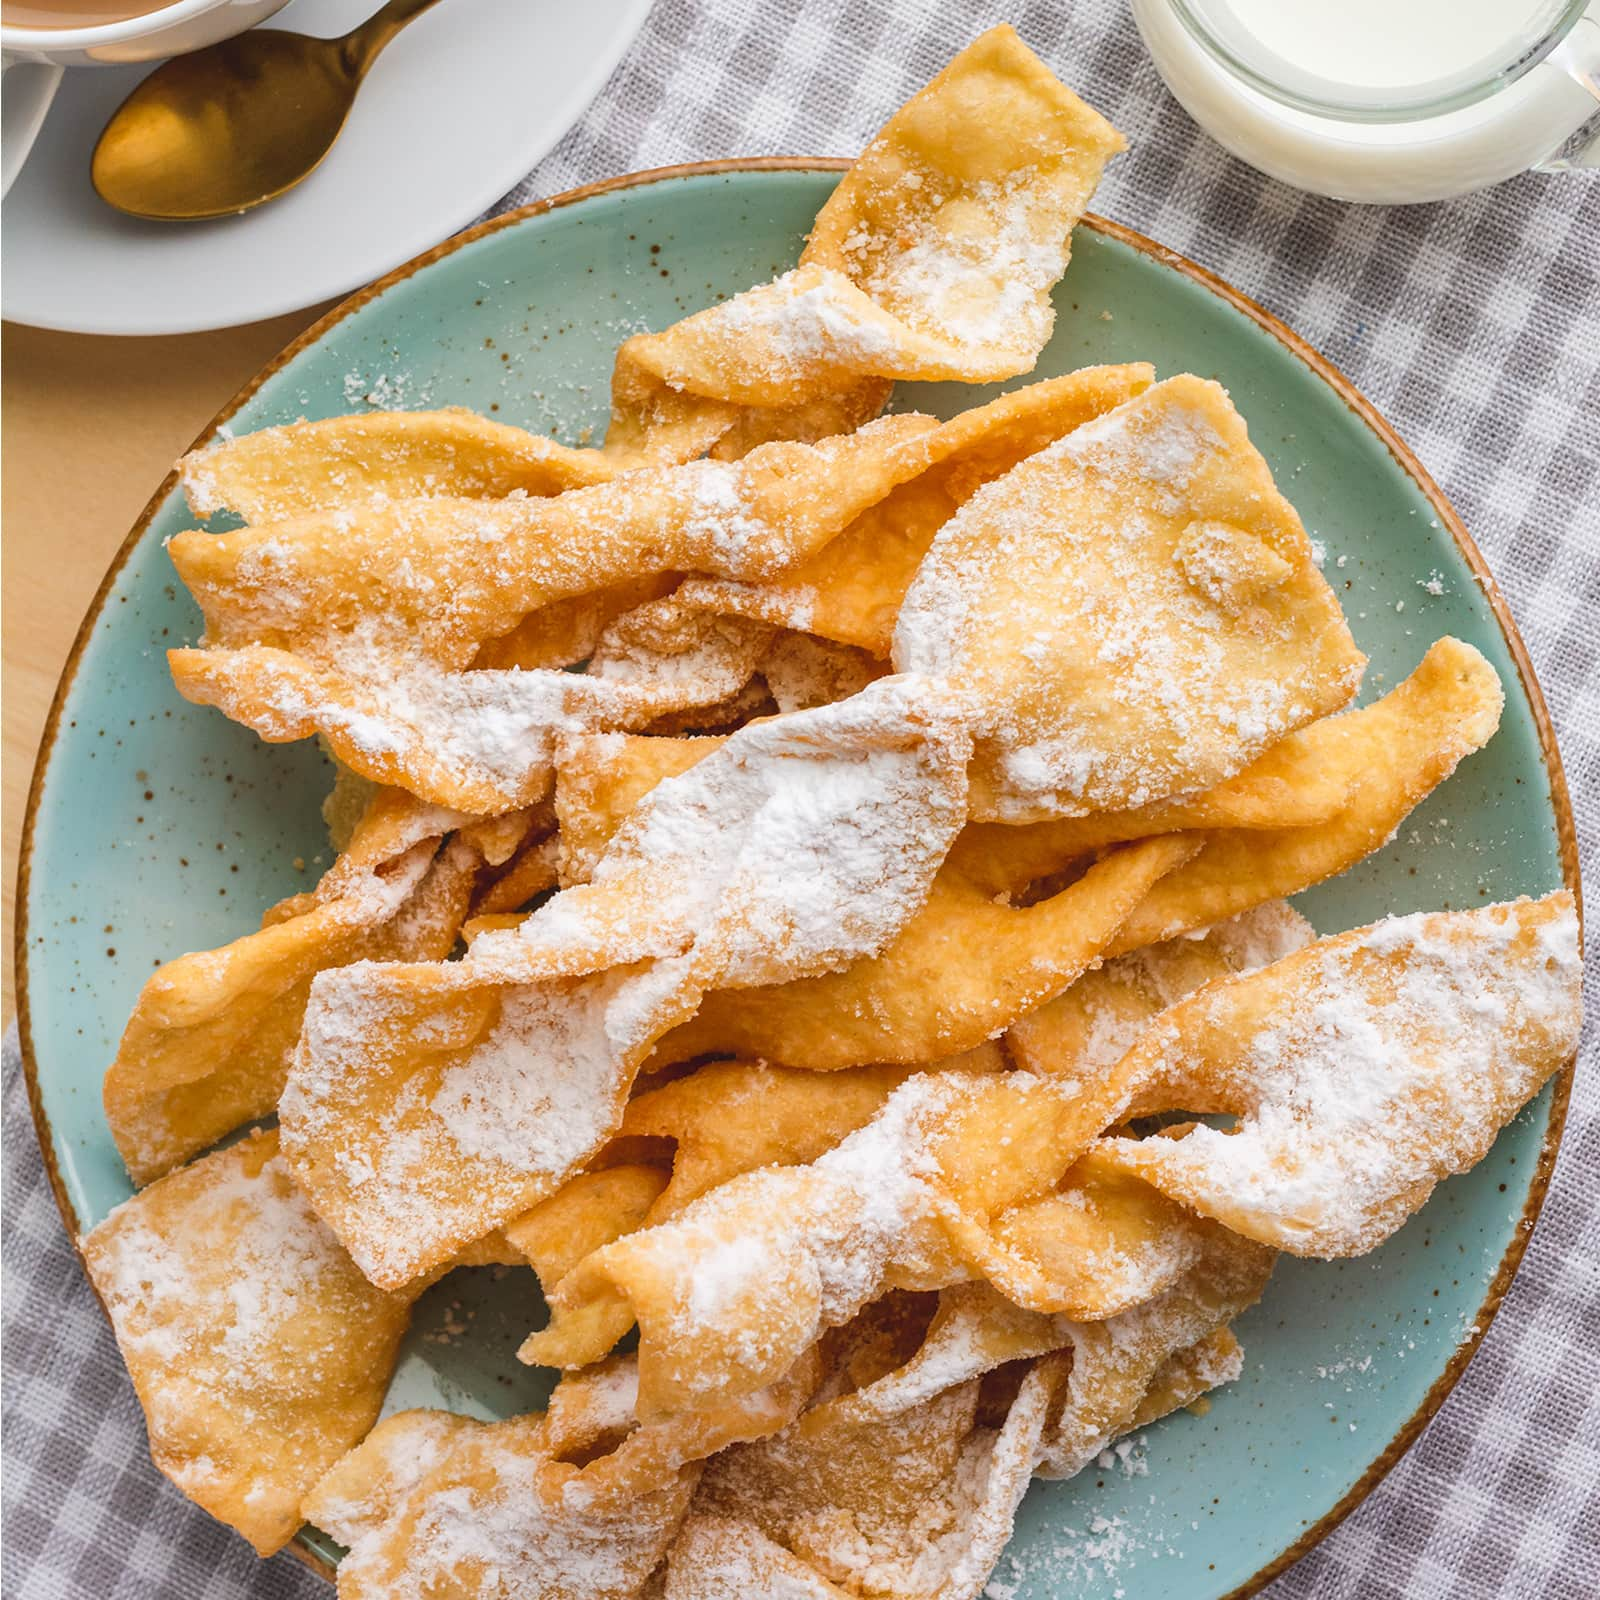
Chruściki, Chrusty, Faworki: Polish-style Angel Wings
4.5
(2)
Your folders
Your folders
Prep Time: 30 minutes
Cook Time: 6 minutes
Total: 56 minutes
Servings: 30
Cost: $0.52 /serving
Author : Polonist
Ingredients
Export 5 ingredients for grocery delivery
Instructions
Step 1
Sift flour, caster sugar and salt into a bowl. Add egg yolks, vodka and sour cream.
Step 2
Knead together by hand (grease your hands first!), or use a stand mixer with a dough hook. Form a smooth dough ball.Pro tip: Some recipes suggest placing a dough ball into a bowl, covering it with a cloth (or cling film) and resting it for 45-60 minutes in the refrigerator. By some accounts, the resting time improves dough plasticity. That said, this recipe was tested without resting, and it worked out just fine.
Step 3
Move the dough onto the worktop. Begin folding the dough over itself, giving a quarter-turn of the dough between each fold.
Step 4
“Beat up” the dough on each side with a rolling pin, the more violent you are - the better. As you do this, you will feel the dough become pliable and and easier to work with. Traditional recipes call for at least 20 minutes of such treatment, but let’s be realistic here - try to do as much as you can.Pro tip: Do you own a meat grinder? Push the dough through 3 times, using the largest holes. Anecdotally, this process allows to skip the whole “dough beating” described above.
Step 5
Lightly dust the worktop with flour. Divide the dough into 2 or 3 equal parts, and roll one of them out - as thinly as possible. If you own a pasta maker, it will provide very useful here. Cover the remaining dough parts with a cloth, to prevent it from drying out.
Step 6
Using a knife or a pizza/pasta cutter wheel, cut out long strips, approx. 1.2-1.5’’ (3-4 cm) wide. Then, cut them into shorter pieces - around 3.5-4’’ (9-10 cm) long - cut straight or diagonally at the ends.
Step 7
Make a 0.8’’ (2 cm) incision in the middle of each strip. Then pull one end through that hole to form a bow. Grab the ends, shake and pull them gently and set aside. Continue until you’re out of strips.
Step 8
In a wide cooking pot or a large, deep skillet, heat up lard or neutral cooking oil. If you own a kitchen thermometer, aim for 350-355°F (180°C). If you don’t, throw in a small piece of dough - if it rises and flows, that means it’s hot enough.
Step 9
Fry only a few chruściki at a time, until they turn lightly golden - around 30-60 seconds per side. Watch them like a hawk, they’re fried very quickly.
Step 10
Retrieve faworki with a slotted spoon and onto a paper towel. Dust them generously with icing sugar, as soon as possible. Don’t wait for them to cool completely, sugar tends to stick better to warm pastries.