DIY Rug: How to make a DIY rug (large scale) with cotton piping
Your folders
Your folders
Servings: 1

Ingredients
Export 4 ingredients for grocery delivery
Instructions
Step 1
Determine what length you’d like your rug to be. In my case, I wanted a 5x8 rug for underneath the couch.My roll of netting is smaller than that, so I did some quick math to determine how many pieces I would need to cut to make a 5X8 rug (3 pieces that are 8 feet long, since the netting is 2 feet wide), and I would have an extra foot leftover from the width, that I could cut off of the mesh before getting started, etc.Once you have that figured out, roll out the length of the netting you need and cut the pieces with a pair of scissors.
Step 2
Next, start cutting pieces of cotton piping that are 3-4 inches long (each). *The shorter the pieces used, the less height or thickness your rug will have when finished. *You want them all to be roughly the same length, so that the rug looks relatively even when its completed, while also having a little bit of variation, so you can more of a textured feel that looks handmade (and not manufactured). Note: Depending on the size of your rug, you’re going to need a lot more cotton piping than you might expect. To give you a better idea of what I’m talking about…we used more than 200 yards of cotton piping for an 5x8 rug. That’s a lot of cotton!But cotton piping is pretty affordable, so it’s still relatively budget-friendly, when you consider the cost of a thick handmade rug like this one would cost thousands of dollars to purchase in store. The cost of materials for a 5x8 rug totaled about $300.
Step 3
Next, weave the cut cotton pieces in between the netting grid, as shown in the photo. Then, pull the pieces upward and tie them together with a rubber band (again, as shown in the photo). Once secured with a rubber band, fluff out the piping pieces so they have more of a fuzzy pom-pom shape.
Step 4
Repeat steps 2 and 3 above until you’ve completely covered the netting pieces.
Step 5
Then it’s time to assemble the pieces into one single unit. This may not apply if you’re making a small rug or a runner.The process is the pretty much the same as step #3, but this time, you’ll be weaving pieces though the ends of each separate piece of mesh to bring them together as one. Securing them together in the 'pom-pom form' (for lack of a better term) with rubber bands, and fluffing them out once secure.
Step 6
Repeat this process along the edge of all pieces that need to be joined together until completed.
Step 7
Lastly, trim any edge or interior pieces that feel like they need it, with a pair of sharp sicissors.I like to trim the outer edges all the way around to make them even to one another and then occasionally, there will be an interior pieces that needs a trim because it's way longer than the others.
Top similar recipes
Curated for youYour folders
 78 views
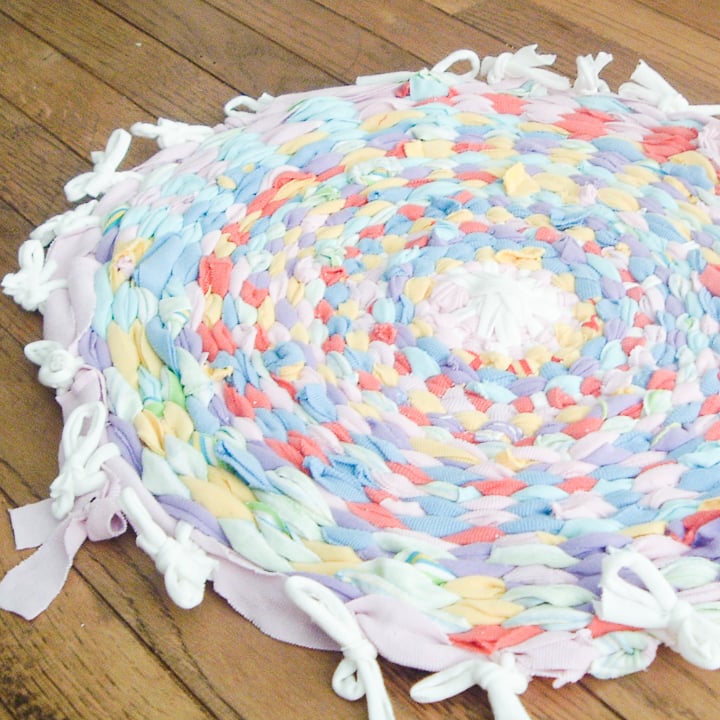
How to Make a Rag Rug
thecountrychiccottage.net
Your folders
 288 views
Mug Rug Pattern
blog.treasurie.com
Your folders
 135 views
DIY Large Gnome
simplemadepretty.com
Your folders
 68 views
DIY Large Gnome
simplemadepretty.com
Your folders
 270 views
How to Make a DIY Tumbler Turner
thecountrychiccottage.net
Your folders
 293 views
How to Make a DIY Taco Bar
makeandtakes.com
Your folders
 287 views
How to Make DIY Ollas
lovelygreens.com
Your folders
 348 views
How to Make DIY Backpacks
thecountrychiccottage.net
Your folders
 226 views
How to Make a DIY Caramel Apple Bar
glitterinc.com
5.0
(1)
Your folders
 313 views
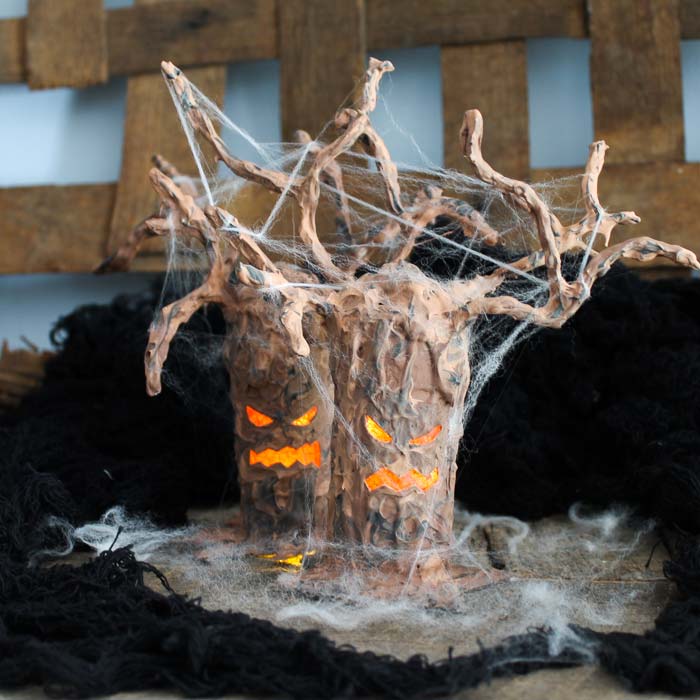
How to Make a Spooky DIY Halloween ...
thecountrychiccottage.net
Your folders
 247 views
How to Make a DIY Patriotic Wooden ...
thecountrychiccottage.net
Your folders
 94 views
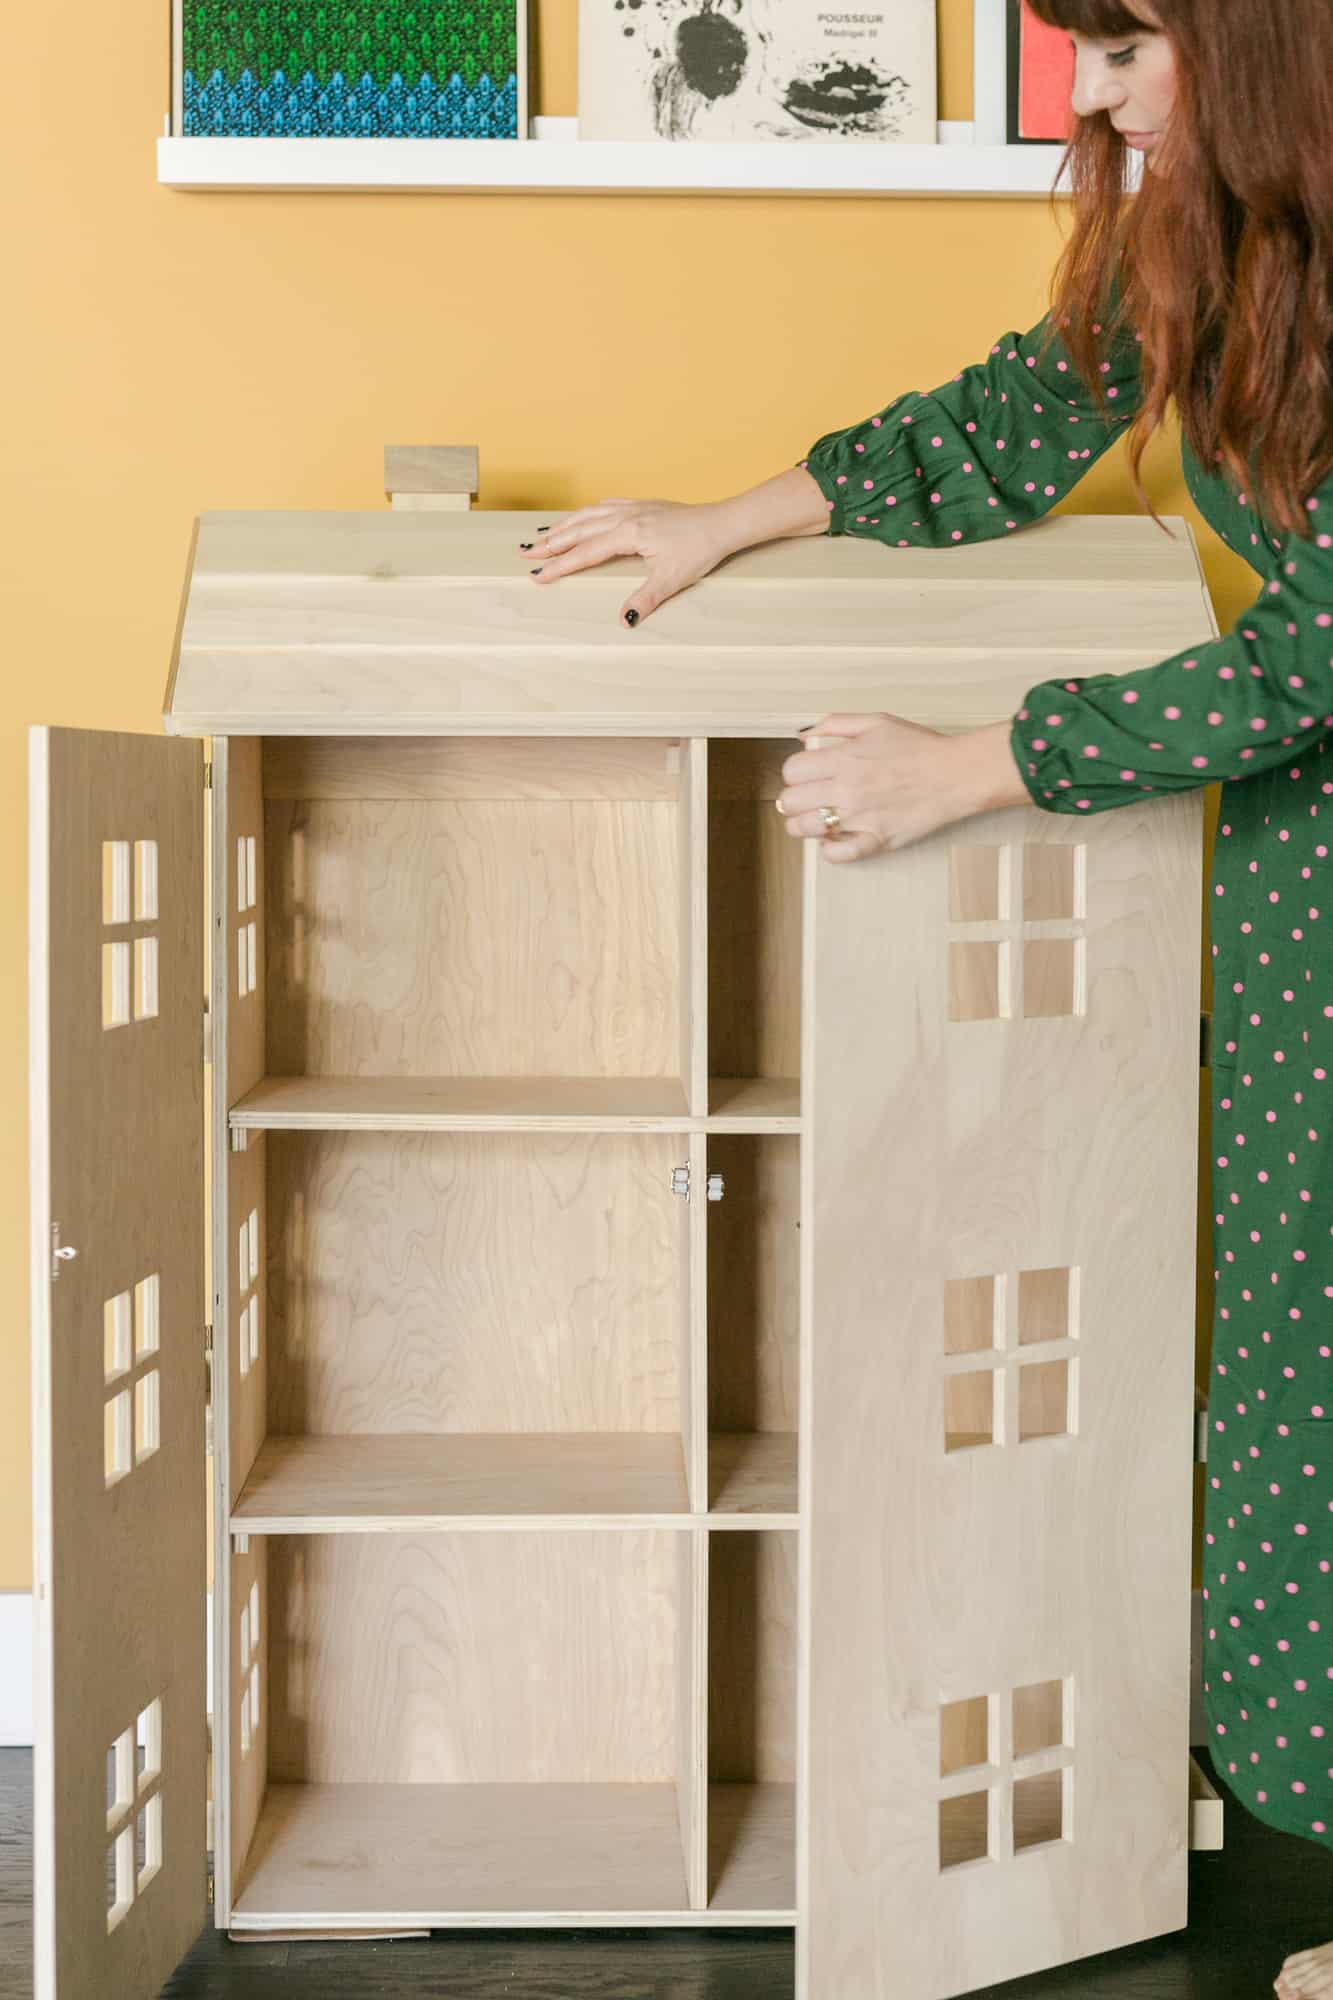
How to Build a DIY Dollhouse
abeautifulmess.com
Your folders
 206 views
DIY: How to make Vanilla Powder
alphafoodie.com
4.9
(49)
90 minutes
Your folders
216 viewsDIY: How to make Vanilla Powder
alphafoodie.com
4.9
(49)
90 minutes
Your folders
 163 views
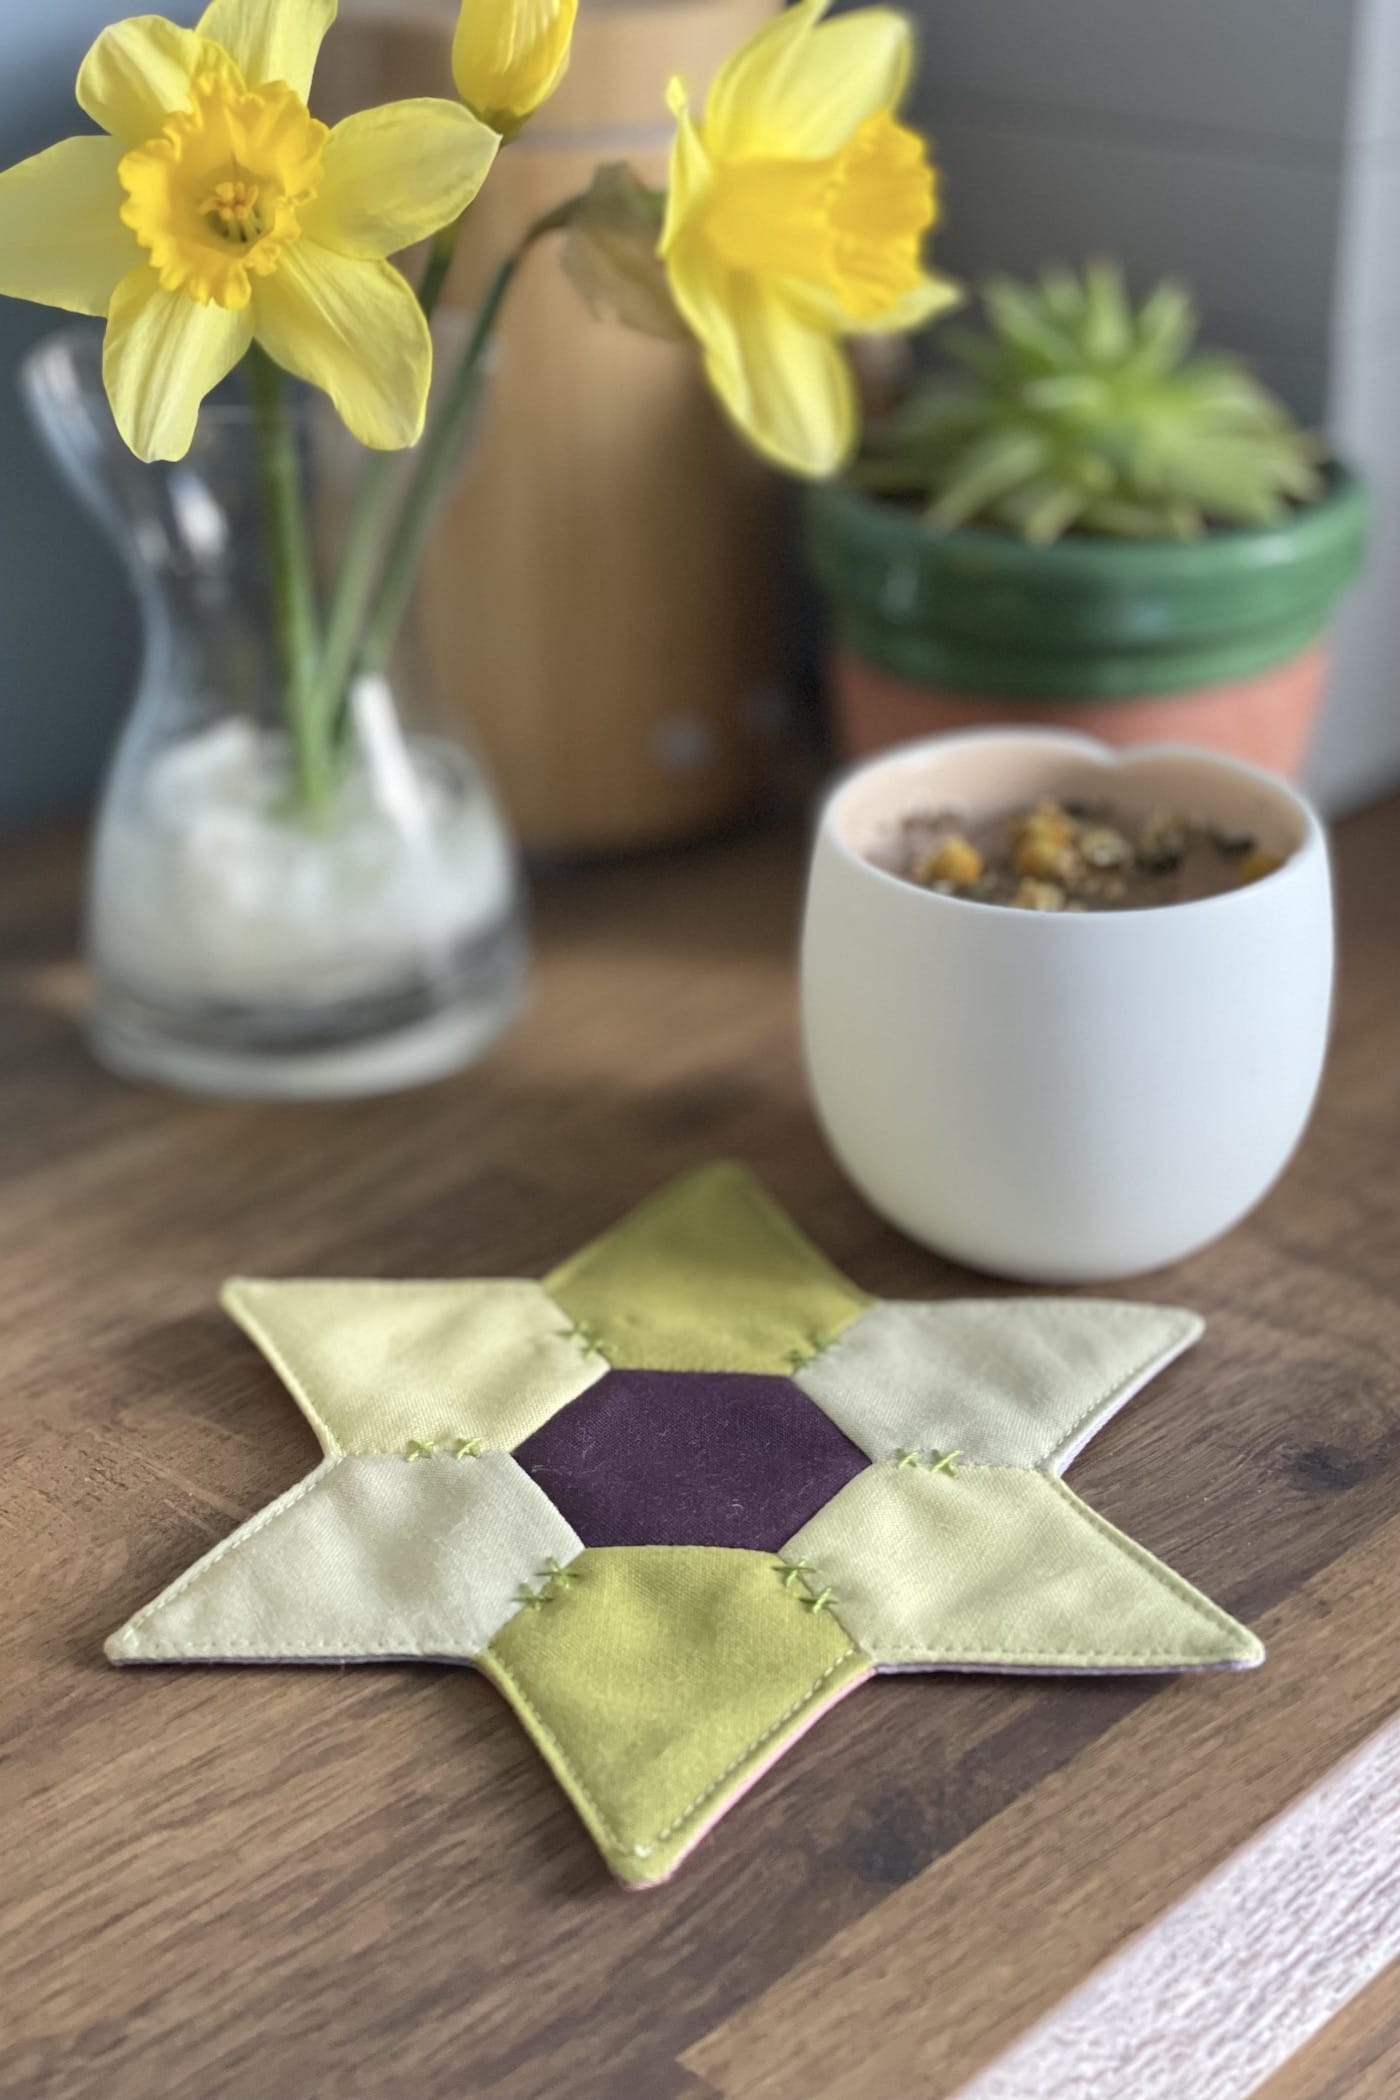
Solar System Mug Rug Pattern
polkadotchair.com
Your folders
 76 views
English Bloom Mug Rug Pattern
polkadotchair.com
Your folders
 230 views
How to make DIY polymer clay jewelr...
everydaydishes.com
Your folders
 315 views
How To Make A Fall-Themed DIY Desse...
thecountrychiccottage.net
Your folders
192 viewsHow To Make DIY Instant Oatmeal Cup...
thekitchn.com
4.2
(5)