DIY Woven Stool
Your folders
Your folders
Total: 480
Author : Ashley handcrafts Mike Sugar & Cloth Arrow Fastener Sugar & Cloth Holly Jenn Mj Mary C Ashley Patricia Sheridan Ashley Karening4 Ashley PJ | A Girl Named pj Ashley Miriam Ashley Amy | Delineate Your Dwelling Ashley Michele Ashley marwa | Enthralling gumption Ashley Hannah Ashley Monique | WritingMonique Ashley Paige Flamm Ashley Mary Ashley

Ingredients
Export 8 ingredients for grocery delivery
Instructions
Step 1
Cut the faux leather in 4” wide strips at 2 different lengths. You’ll need 7 strips at 29” long and 10 strips at 18” long.
Step 2
Cut cording into 7 strips at 26” length and 10 strips at 15” length.
Step 3
Once the faux leather and cording is cut, start encasing the cording in the leather strips.
Step 4
Center the short cording strips on the short faux leather strips and fold the faux leather in half (around the casing).
Step 5
Pin into place.
Step 6
Do the same with the longer faux leather & cording.
Step 7
Next, thread your machine, and move your needle all the way over so it’s as close to the leather cording as possible. (We used a contrasting thread.)
Step 8
Sew a straight stitch along the length of the cording, removing pins as you go.
Step 9
Repeat with all cordings.
Step 10
Position the angled leg brackets at each corner of the board.
Step 11
Mark with a pencil and the pre-drill holes for where the legs will sit.
Step 12
Flip the board over.
Step 13
Cut 4 layers of batting the same size as the board and attach onto the board with a staple in each corner.
Step 14
Next, begin stapling the long leather strips along the underside of the shorter edge of the board, and the short leather strips along the underside of the longer edge of the board.
Step 15
Next, flip the board over and lay the long strips over the length of the board. If you’re familiar with weaving, think of the long strips as your warp (running lengthwise) and your shorter strips as your weft (running right to left).
Step 16
If you’re familiar with weaving, think of the long strips as your warp (running lengthwise) and your shorter strips as your weft (running right to left).
Step 17
Begin weaving the strips together with a basket type weave comprised of ‘over one, under one.’ Make sure to push the shorter strips back up towards the top, and pull everything very tight as you go.
Step 18
As soon as you’ve woven in about 3 short strips, staple those 3 weft cords on the bottom side of the board towards the edge. x
Step 19
I didn’t worry too much about the contrast stitching showing, as I liked the handmade quality it added.
Step 20
Continue weaving until the entire top of the stool is woven.
Step 21
Finish by stapling the long warp strips to the bottom side of the board.
Step 22
Then, cut back any strips (& re-staple, if necessary) any that cover up your pre-drilled bracket holes.
Step 23
At this point, you may want to conceal the craziness on the bottom of the stool with lightweight cotton fabric.
Step 24
This step is totally optional, but we think it creates a more finished looking piece.
Step 25
Cut a piece of lightweight cotton 1-2” larger than the size of the board.
Step 26
Fold raw edges under so that it’s the size of the board and iron to keep in place.
Step 27
Lay the fabric over the bottom of the stool and staple one edge into place.
Step 28
Mark pre-drilled bracket holes on the surface of the fabric with a white colored pencil.
Step 29
Staple the remaining sides of the fabric into place
Step 30
Screw brackets into place and screw in legs.
Top similar recipes
Curated for youYour folders

 31 views
Step Stool - Official Terraria Wiki
terraria.wiki.gg
Your folders
 260 views
Vegan Bánh Hỏi (Vietnamese Rice Ver...
fullofplants.com
10 minutes
Your folders
47 viewsVegan Bánh Hỏi (Vietnamese Rice Ver...
fullofplants.com
Your folders
 656 views
DIY Latte
amindfullmom.com
5.0
(36)
1 minutes
Your folders
 157 views
DIY pizza
taste.com.au
4.6
(3)
10 minutes
Your folders
 283 views
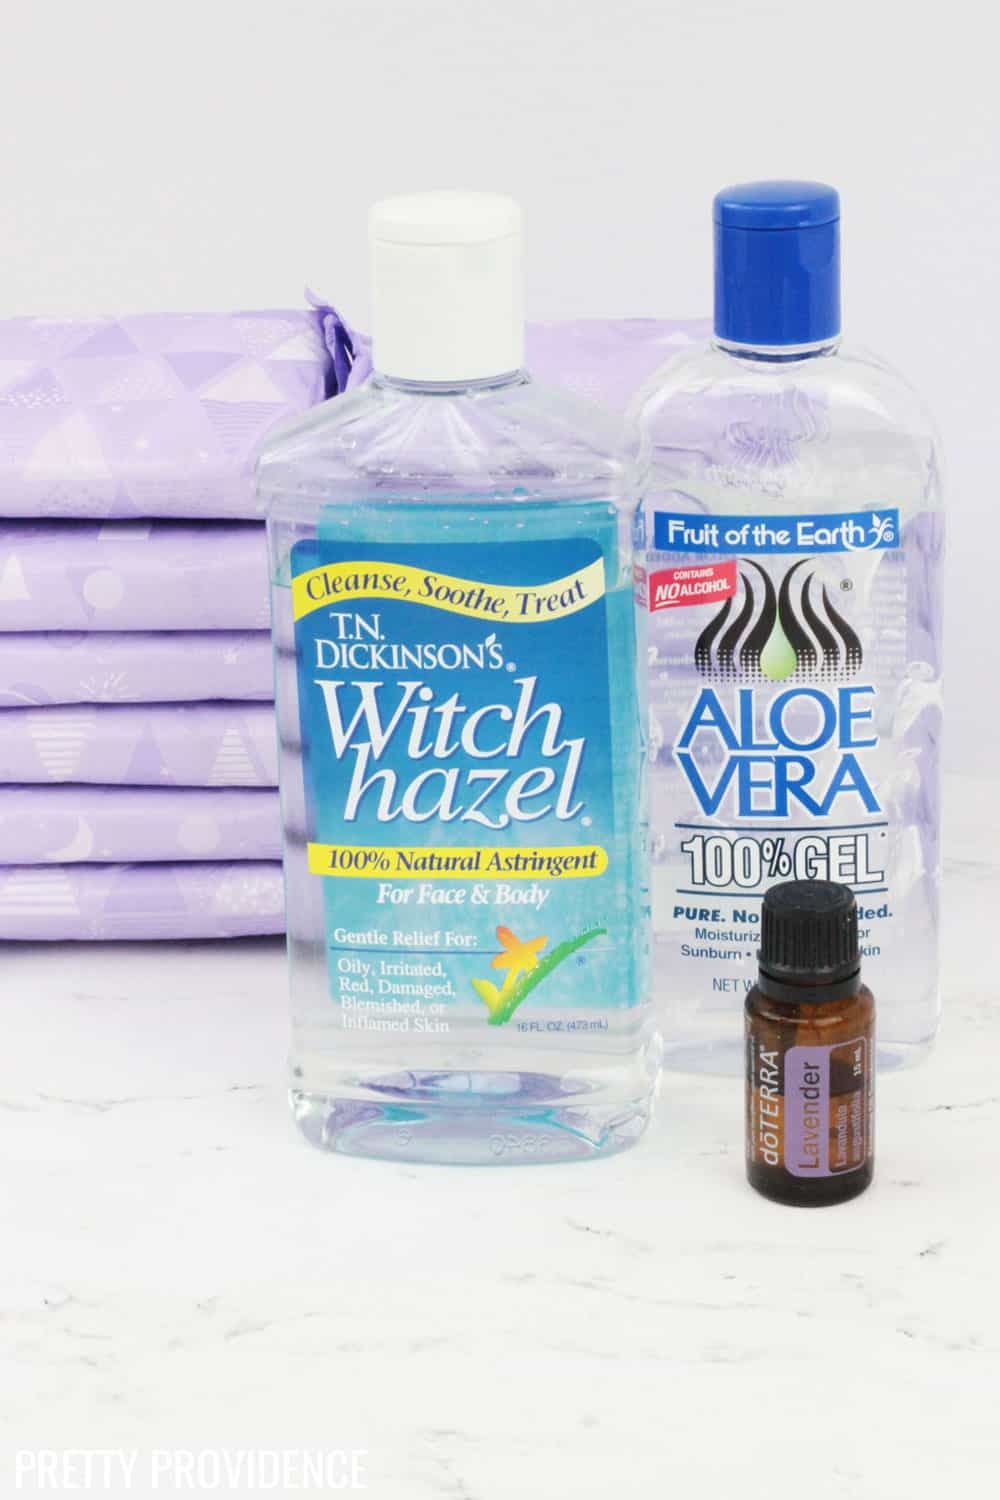
DIY Padiscles
prettyprovidence.com
Your folders
 386 views
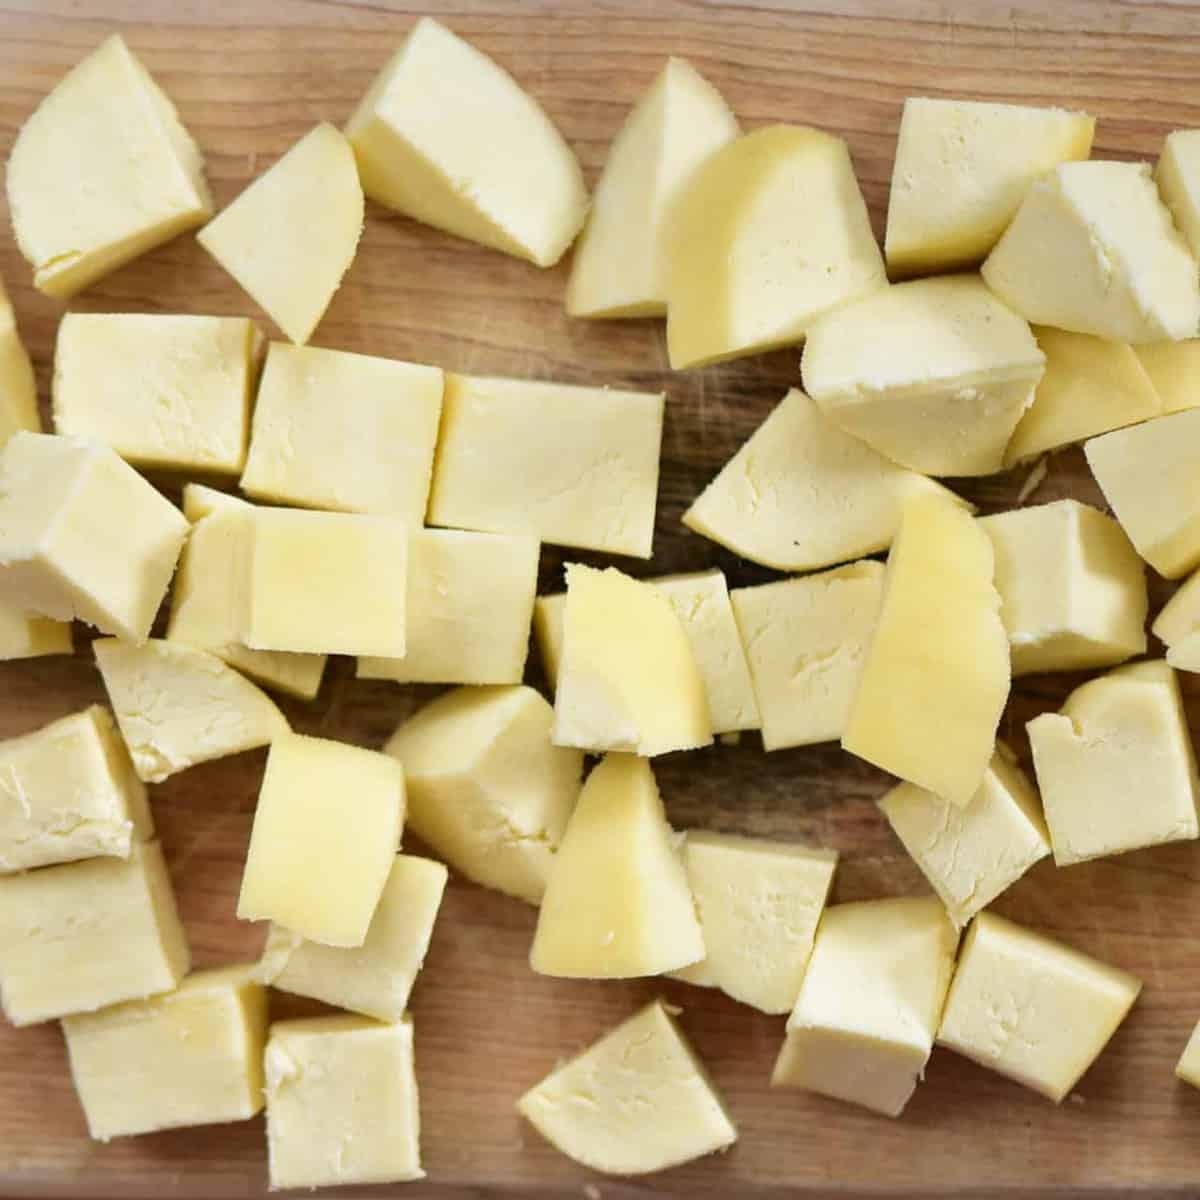
Paneer DIY
alphafoodie.com
4.9
(16)
20 minutes
Your folders
 318 views
DIY Notebooks
papernstitchblog.com
Your folders
 313 views
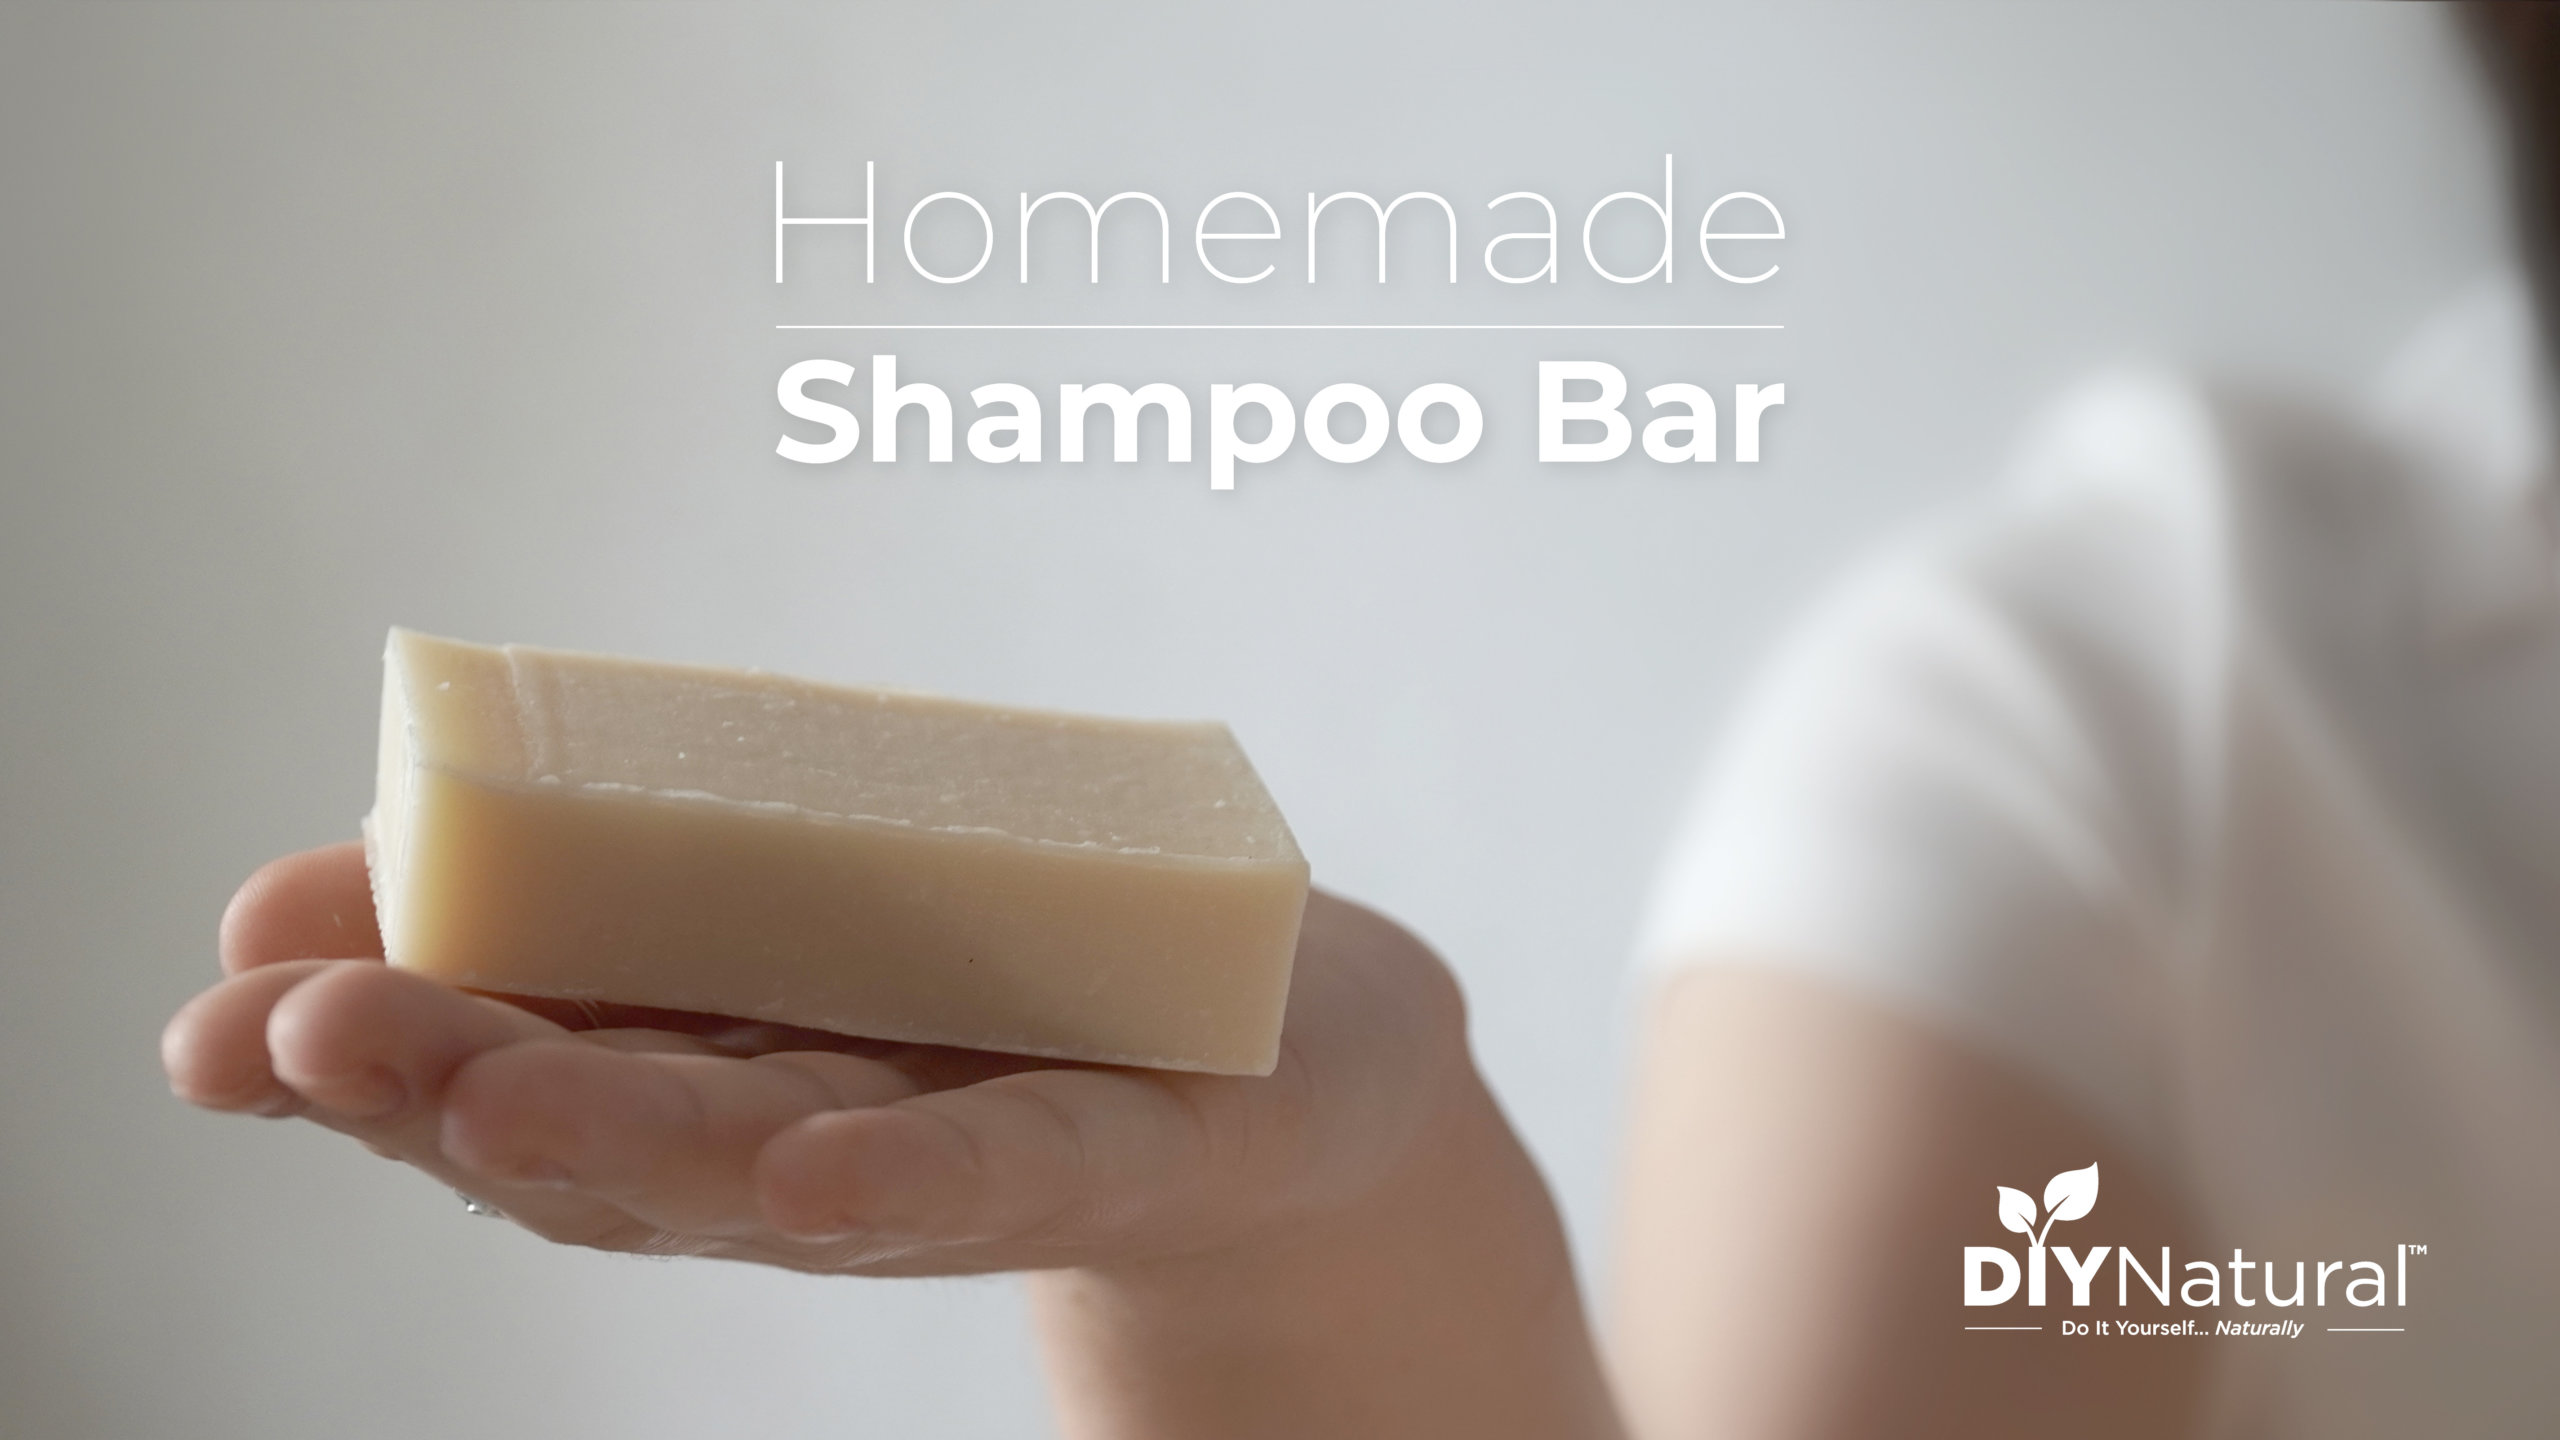
Homemade DIY Shampoo Bar | DIY Natu...
diynatural.com
Your folders
 224 views
DIY Yarn Wreath
abeautifulmess.com
Your folders
 458 views
DIY Body Lotion
theearthlyedit.com
Your folders
 140 views
DIY Large Gnome
simplemadepretty.com
Your folders
76 viewsDIY Large Gnome
simplemadepretty.com
Your folders
 677 views
DIY Black Garlic
sidechef.com
Your folders
 472 views
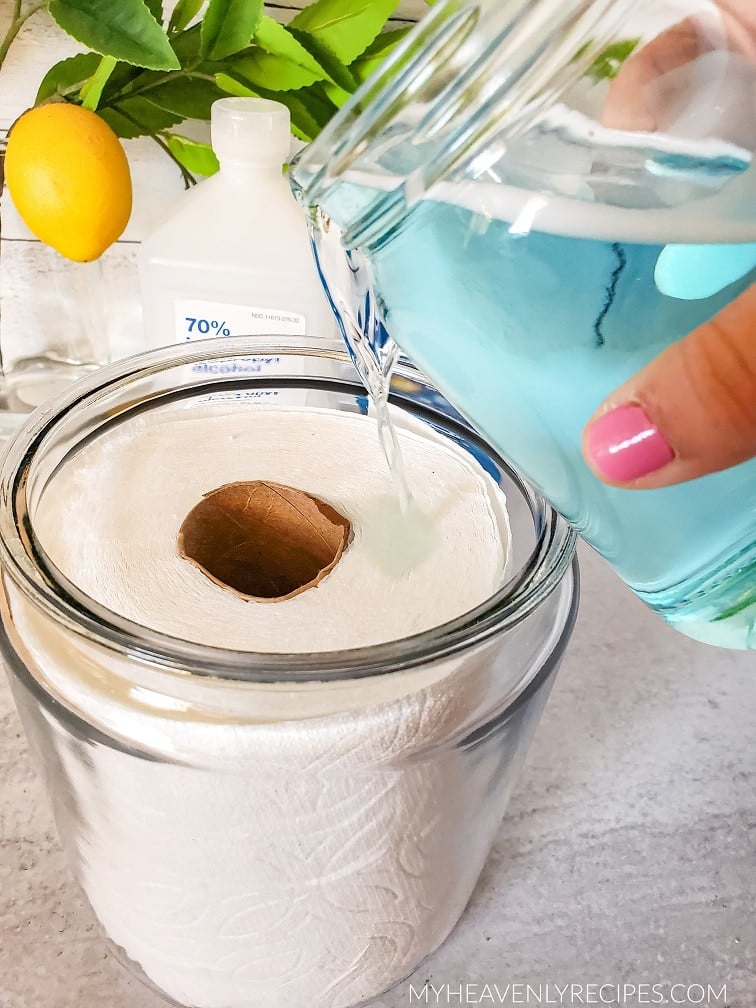
DIY Disinfecting Wipes
myheavenlyrecipes.com
Your folders
468 viewsDIY Oil Lamp
modernsurvivalonline.com
Your folders
 461 views
Diy Popcorn Seasonings
amandascookin.com
5.0
(1)
3 minutes
Your folders
 212 views
Diy Fresh Yogurt
food.com
5.0
(2)
24 hours
Your folders
 462 views
Diy Curry Powder
minimalistbaker.com
4.8
(27)