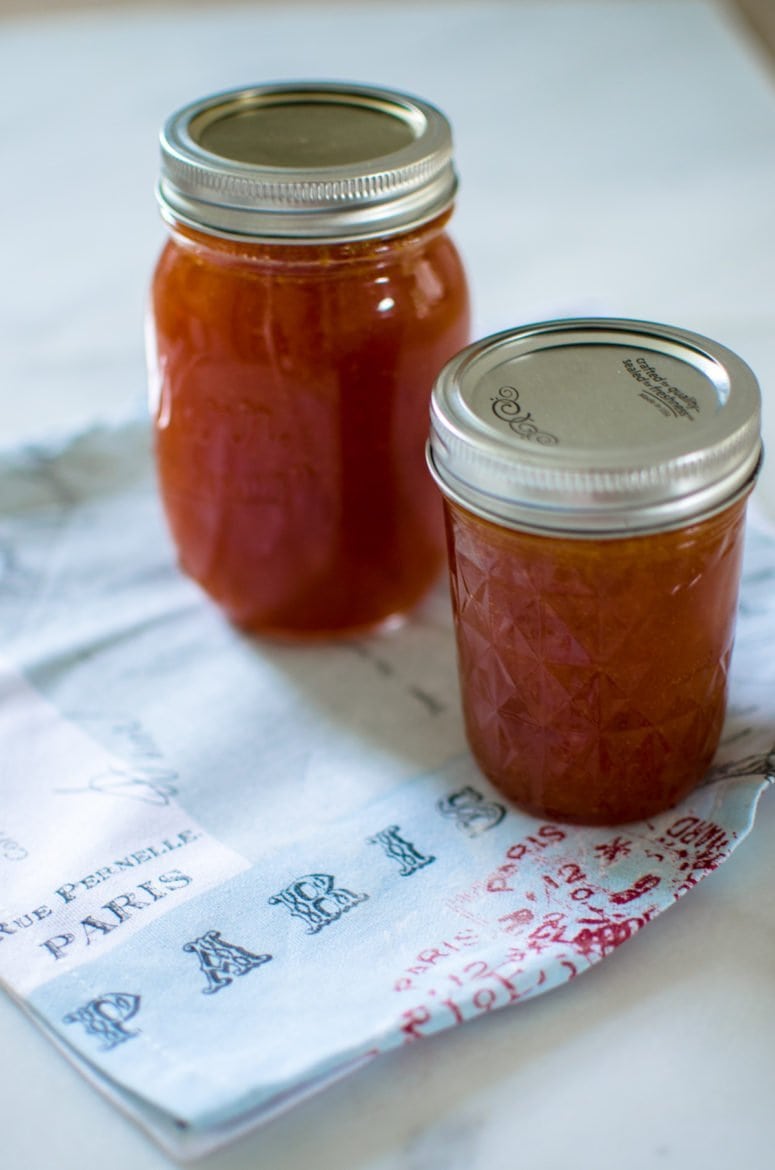
Easy Apricot Jam for a Canning & Preserving Novice
5.0
(1)
Your folders
Your folders
Prep Time: 10 minutes
Cook Time: 60 minutes
Total: 70 minutes
Servings: 4
Cost: $1.19 /serving
Author : Whitney Reist

Ingredients
Export 8 ingredients for grocery delivery
Instructions
Step 1
Place a small plate in the freezer while you make the jam.
Step 2
Place the apricot halves and the water in a large non-reactive pot or a Dutch oven. Cover with a lid and cook over medium heat, stirring often, until the apricots are tender and cooked through.
Step 3
Add the sugar to the apricots and cook/simmer over medium heat, uncovered, until the mixture becomes thick and jam-like. Be sure to stir the fruit often as it cooks to prevent burning, and skim off any foam that rises to the surface while cooking.
Step 4
While the jam cooks, fill a large canning pot with water. Add the glass jars you plan to use to the water and bring the entire pot to a boil. Add the jar lids and rings to a shallow dish. Boil the jars for 10 minutes, then carefully remove them with a potholder and tongs. Transfer the jars to a wire rack and let them dry upside down. Transfer a few ladle fulls of boiling water to the shallow dish with the lids and rings. Add enough water to cover them and set aside. Keep your large pot of water warm over low heat while you finish the jam.
Step 5
Once the fruit mixture has thickened and become jam-like, remove your plate from the freezer and add a small dollop of the jam to it. Place the plate back in the freezer for 5 minutes. Remove from the freezer and gently nudge the jam with your finger (see photo above). If the surface wrinkles, the jam is ready to can. If it does not wrinkle and remains loose, continue cooking the jam and try this test again after 5 minute increments of additional cooking.
Step 6
Once the jam is ready, stir in the lemon juice (or cider vinegar) and bring your large pot of water back to a boil over high heat.
Step 7
While the water heats, carefully ladle the jam into your canning jars, leaving a ½ inch of space at the top of the jar (a funnel will help you do this safely and easily). Remove the canning lids from the dish with water and carefully pat dry with a towel. Place a lid on each jar, followed by the ring. Place the ring on top and screw it on just enough to close - don’t turn it too tightly or the lids will not seal properly!
Step 8
Carefully place the jars into the boiling water with your tongs. You want the water to cover the jars with about an inch of water over the tops. Boil for 5 minutes. Carefully remove the jars with your tongs and a potholder and place them on top of a kitchen towel. Let them cool, undisturbed, for an hour. Then check to see if the jars have sealed by carefully pressing on top of the lid. If it doesn’t spring back or make a popping sound when you press on it, congratulations! You have a proper seal. If it does spring back, immediately place the jars in the refrigerator and enjoy your jam over the next couple months. You can still enjoy the jam even if the jars did not seal properly. Let your sealed jars rest on the towel for 24 hours before storing in your pantry or opening for use.
Step 9
Date and label your sealed jars and enjoy the fact that you just made your own delicious homemade jam!