Easy Fish Dog Treat Recipe: Homemade Training Treats | Salmon and White Fish
4.8
(9)
Your folders
Your folders
Prep Time: 15 minutes
Total: 15 minutes
Author : Katy Willis

Ingredients
Export 8 ingredients for grocery delivery
Instructions
Step 1
Cook all the fish in a pan of hot water over medium heat. In a fairly large pan with boiling water, this takes around 15 to 20 minutes.
Step 2
Once the fish is cooked through, turn off the heat and leave the pan to cool a bit.
Step 3
Preheat the oven to 350F (180C).
Step 4
Add the pumpkin, fish, and fish stock to the bowl of your food processor and blend until you've got a nice, smooth fishy paste. If you find its a bit too stiff and dry, add more fish stock, a tablespoon at a time. Or you can add more pumpkin. If it's a little too wet, that's okay - you can always add more flour at a later step.
Step 5
Reserve the rest of the fish stock in case you need it later in the recipe.
Step 6
Add the dry ingredients to a large bowl and mix thoroughly. This is the point at which you also add in any dry supplements.
Step 7
Next, pour the salmon and pollock paste into the dry ingredients. Add the eggs and beat the whole thing together. I do it by hand as it's pretty quick and easy.
Step 8
If it's too dry, add a little more fish water and/or pumpkin, a tablespoon at a time. If it's a little too wet, increase the flour. Remember, it should have a very thick, grainy batter consistency. Sort of a cross between a batter and a dough. It shouldn't be runny, but it should be stiffly spreadable.
Step 9
Once you're happy with your fishy dough-batter, it's time to fill the molds. I use a pastry brush to brush a little olive oil into each well in the tray.
Step 10
Then grab your palette knife and use it to spread the mixture and fill the molds. It'll likely be a bit stiff, so it'll take you a few minutes to do this bit. But that's fine - keep at it! And it doesn't matter if you see a little mixture outside the wells - it'll just form a little extra crispy wafer that your dog will gobble right up!
Step 11
Now whack the filled trays in the preheated oven for about 10 minutes. Depending on the temperature of your oven and the size of the wells, you may need to increase cooking time to 15 or even 20 minutes. When they're cooked they'll be a pretty golden orange-yellow color and will be lightly crisped on the outside.
Step 12
They'll still likely be a little soft and squishy, but that's fine. Firstly, they firm up a little as they cool, and secondly, you're going to dehydrate them to fully dry them out.
Step 13
Once they're out of the oven and cool enough to handle, unmold them onto dehydrator trays (or a large baking sheet if you don't have a dehydrator).
Step 14
For a dehydrator: Load them into the dehydrator and set it to dry on its lowest setting for about 3 hours. Check them after three hours and if they're still a little moist, dehydrate again for another 3 hours. Honestly, I often just leave mine in my trusty Excalibur overnight and they're beautifully crisp by the next morning.
Step 15
For drying in the oven: Spread the treats out on a baking tray. You can use parchment paper to line it if you like, but don't use a silicon mat because it traps moisture. Set the oven to its lowest setting, place the treats inside, and prop the door open with a heatproof spoon, pot, pot lid, trivet or similar, and let them dry overnight.
Step 16
Once dry, let the treats cool on the tray and reassure your ravenous dog that they'll get a bite soon!
Step 17
Once completely cool, transfer to an airtight container to store.
Top similar recipes
Curated for youYour folders
 163 views
Hot Dog Training Treats
dogtipper.com
4.3
(49)
Your folders

 367 views
Homemade Dehydrated Fish Chew Dog T...
kolchakpuggle.com
8 hours
Your folders
 103 views
Easy Soft Training Treats
theartofdoingstuff.com
30 minutes
Your folders
 358 views
Easy Homemade Dog Treats!
itdoesnttastelikechicken.com
4.9
(9)
30 minutes
Your folders
 809 views
Homemade Dog Treats Recipe
showmetheyummy.com
5.0
(36)
3 minutes
Your folders

 151 views
Salmon and white bean fish cakes
womensweeklyfood.com.au
10 minutes
Your folders
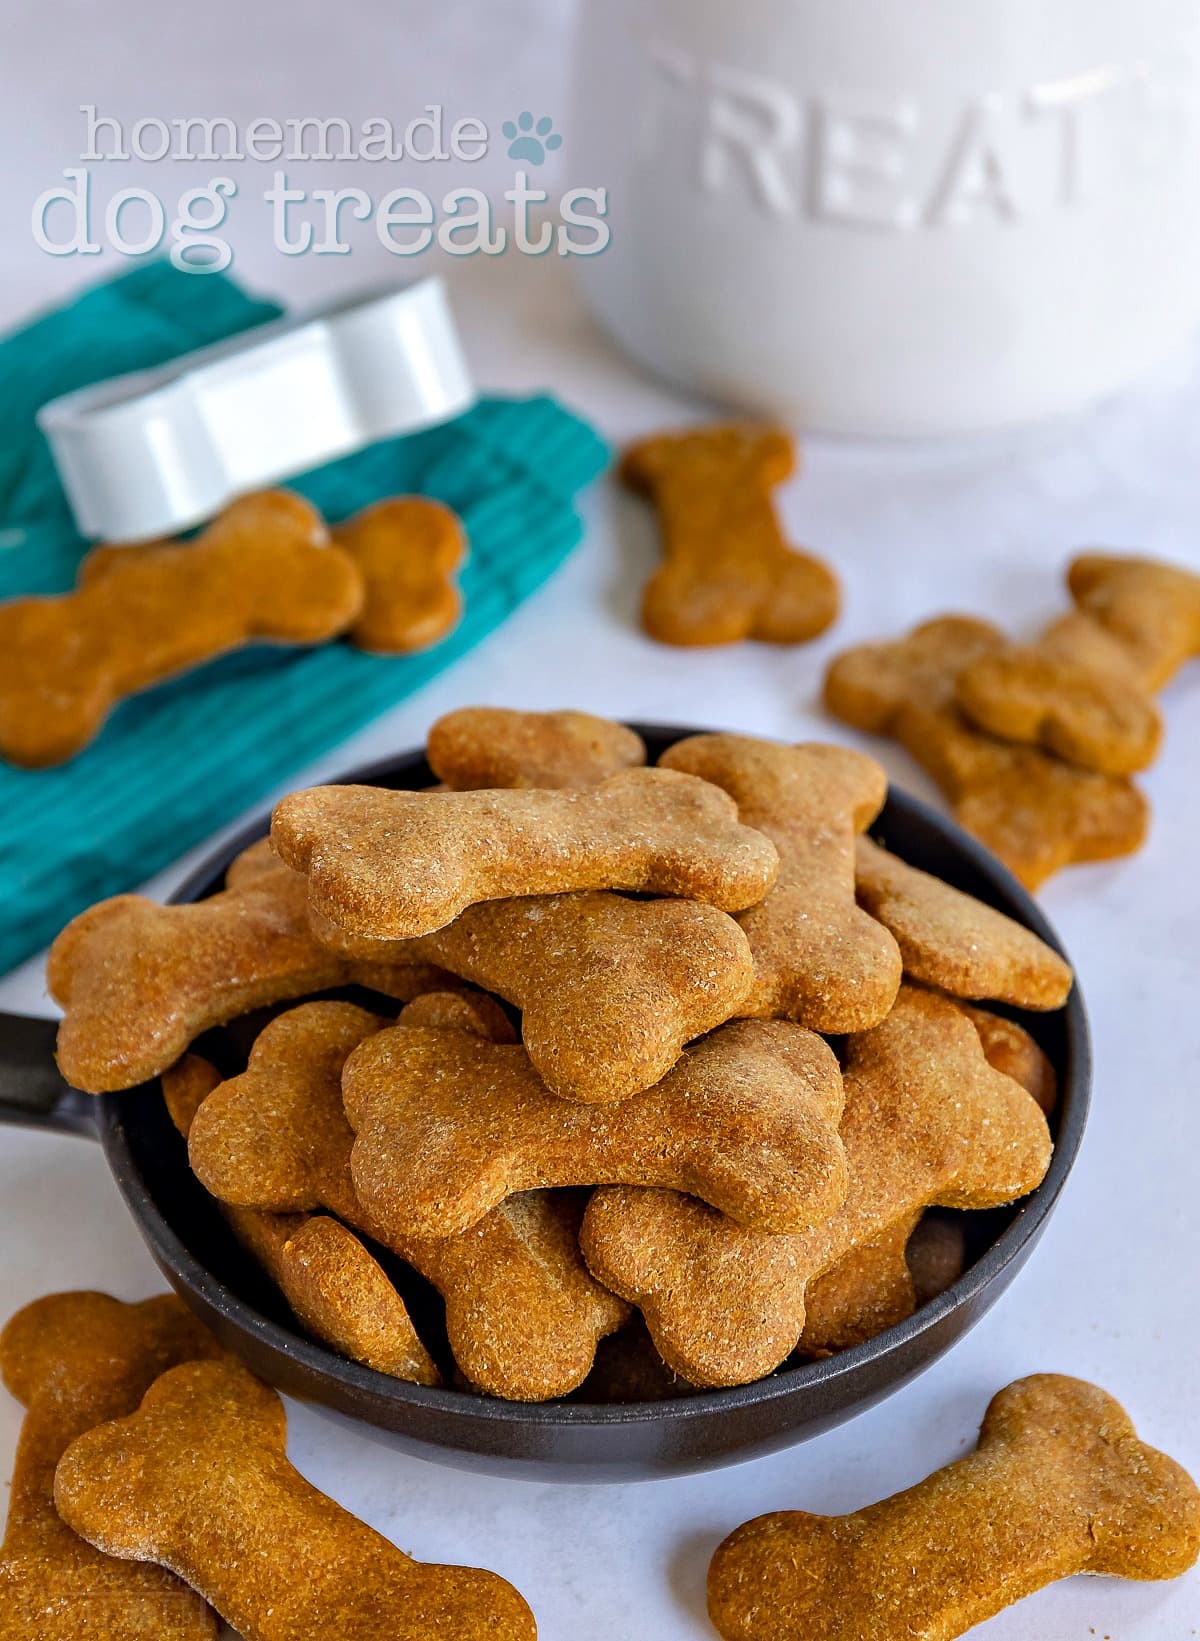
 644 views
Homemade Dog Treats
momontimeout.com
5.0
(6)
25 minutes
Your folders
 395 views
Homemade Dog Treats
momontimeout.com
Your folders
 149 views
Easy Pumpkin Dog Treat Recipe
blessthismessplease.com
4.9
(7)
20 minutes
Your folders

 333 views
Homemade Dog Biscuit Recipe | Easy ...
bakingmad.com
5.0
(88)
40
Your folders
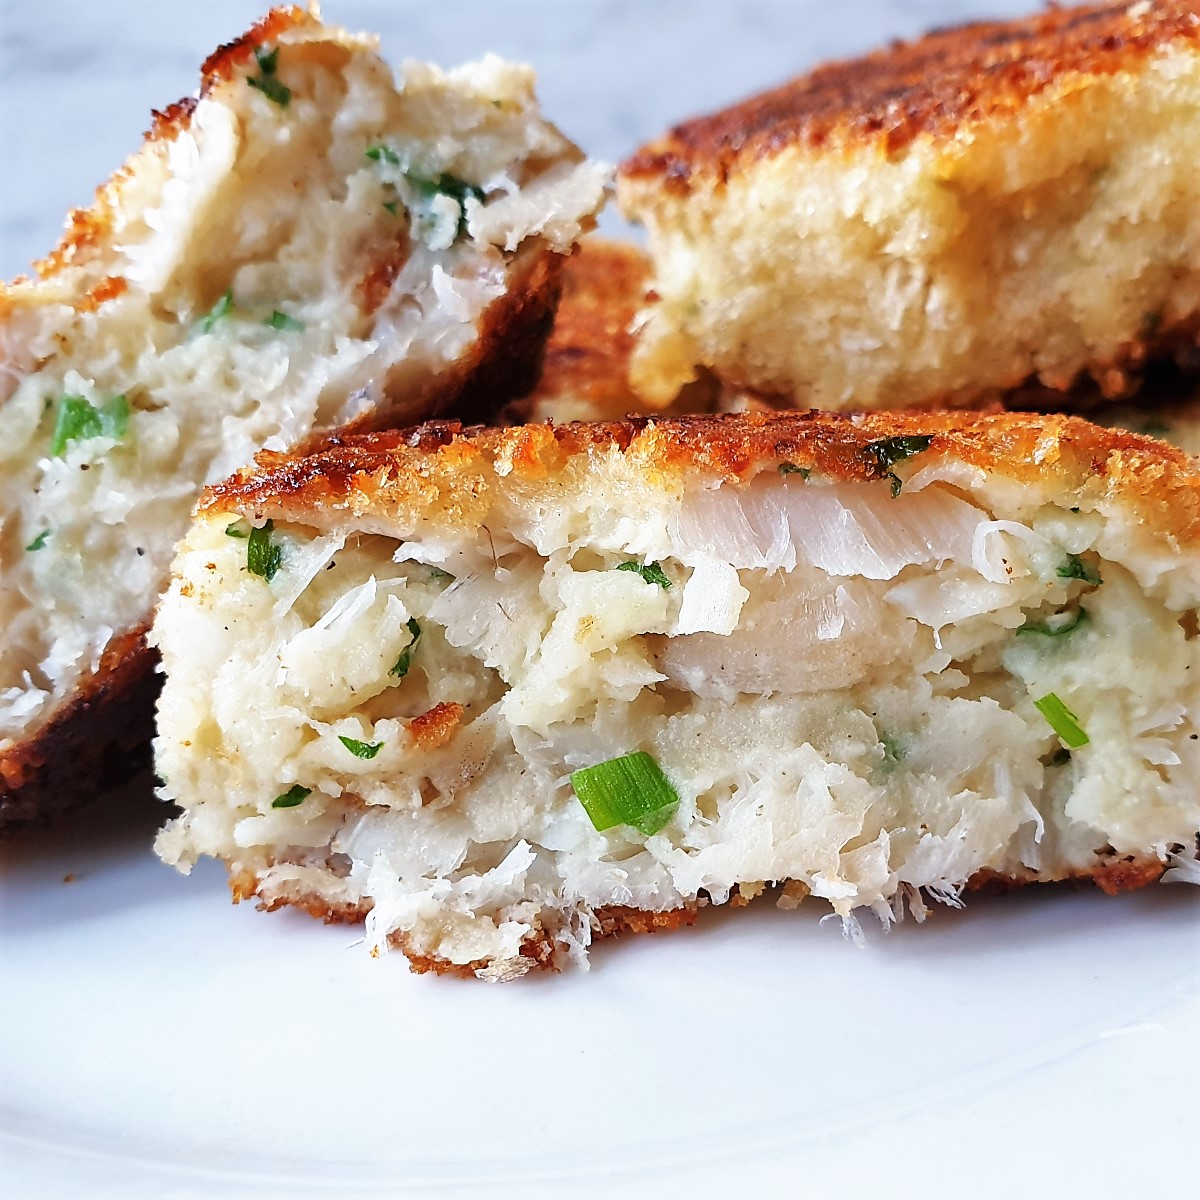
 236 views
Easy homemade fish cakes
foodleclub.com
4.6
(11)
15 minutes
Your folders

 136 views
Homemade Salmon-Halibut Gefilte Fis...
myjewishlearning.com
1 hours
Your folders

 158 views
Homemade Salmon-Halibut Gefilte Fis...
myjewishlearning.com
1 hours
Your folders
 192 views
Homemade Liver Dog Treats
dogtipper.com
4.4
(118)
Your folders
 281 views
Dog Food - Fish Chowder
justapinch.com
5.0
(1)
1 hours
Your folders
 325 views
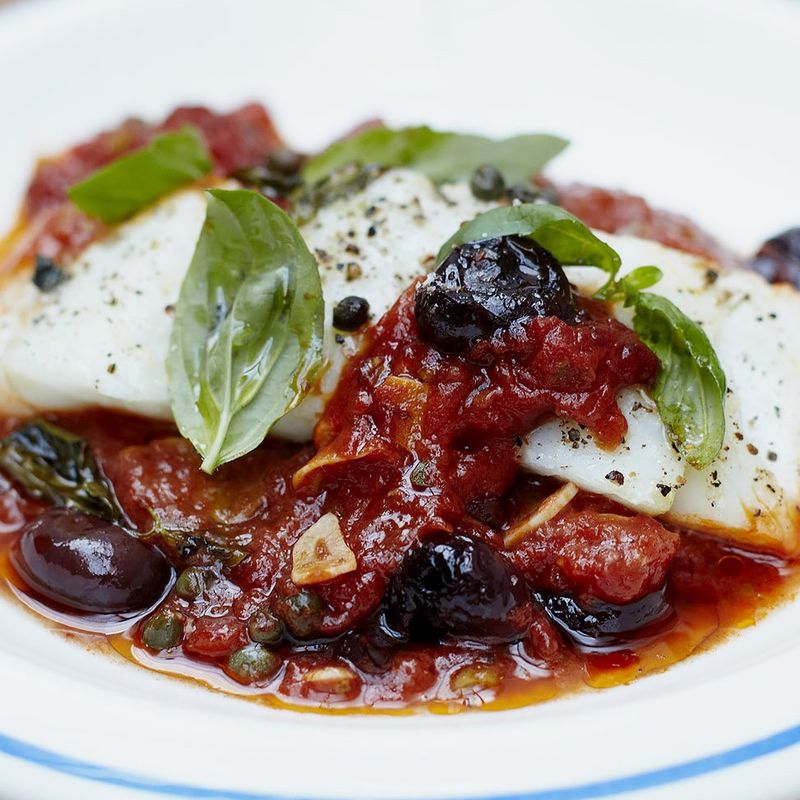
Baked white fish
jamieoliver.com
Your folders
 99 views
White Fish Piccata
wildalaskancompany.com
15 minutes
Your folders
 286 views
Salmon Gefilte Fish
jamiegeller.com
90 minutes
Your folders
 85 views
Salmon Fish Cakes
easyrecipesapp.org