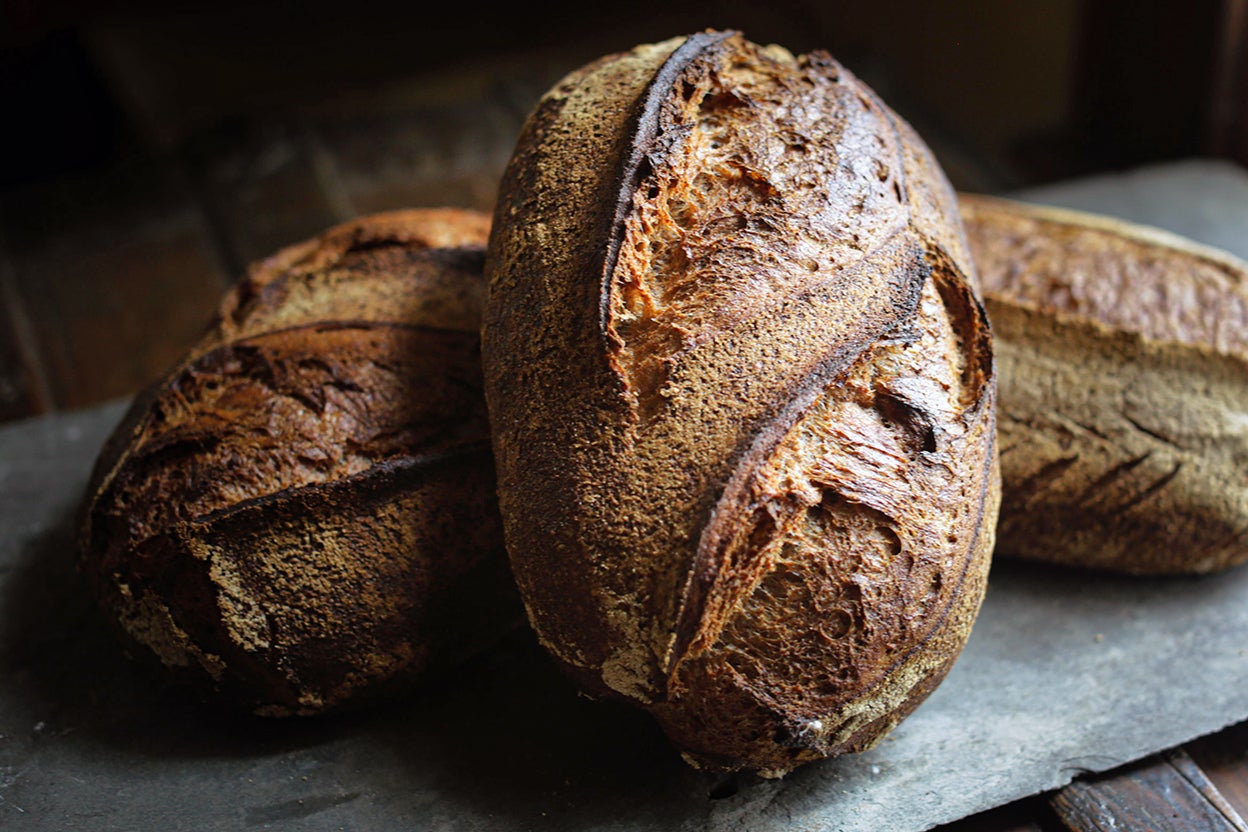
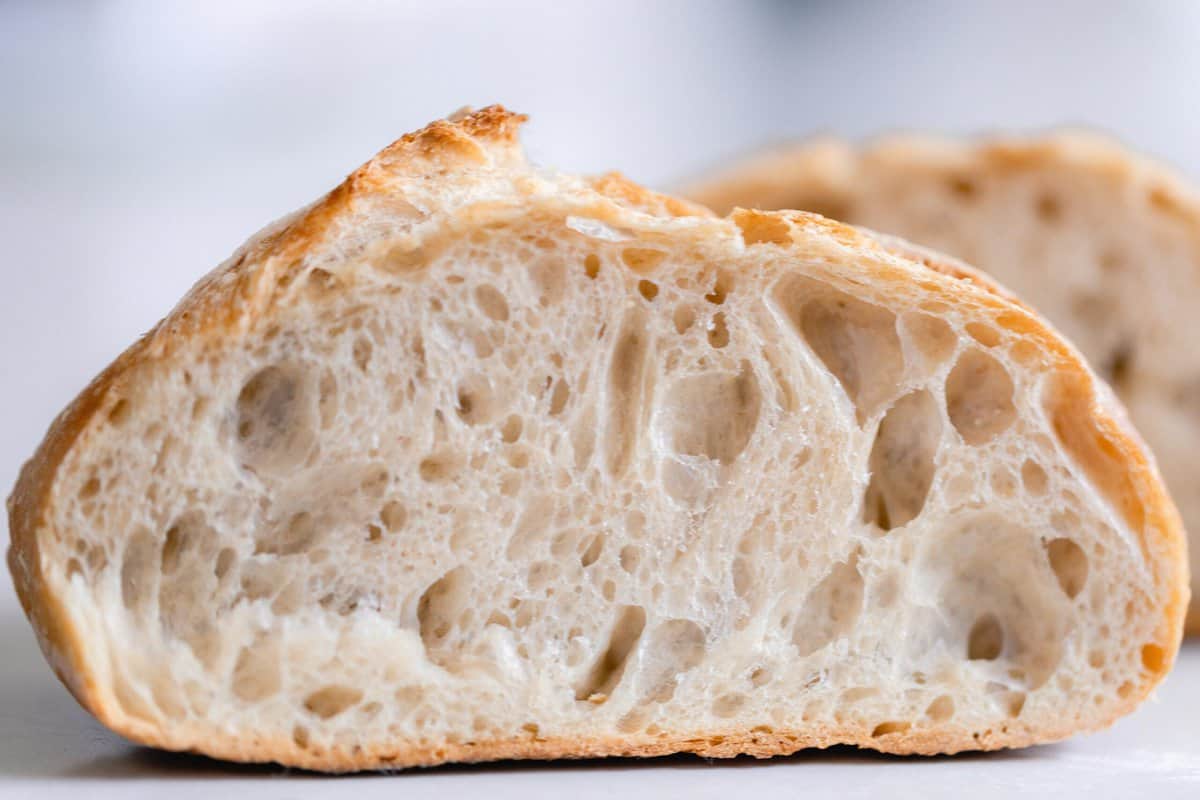
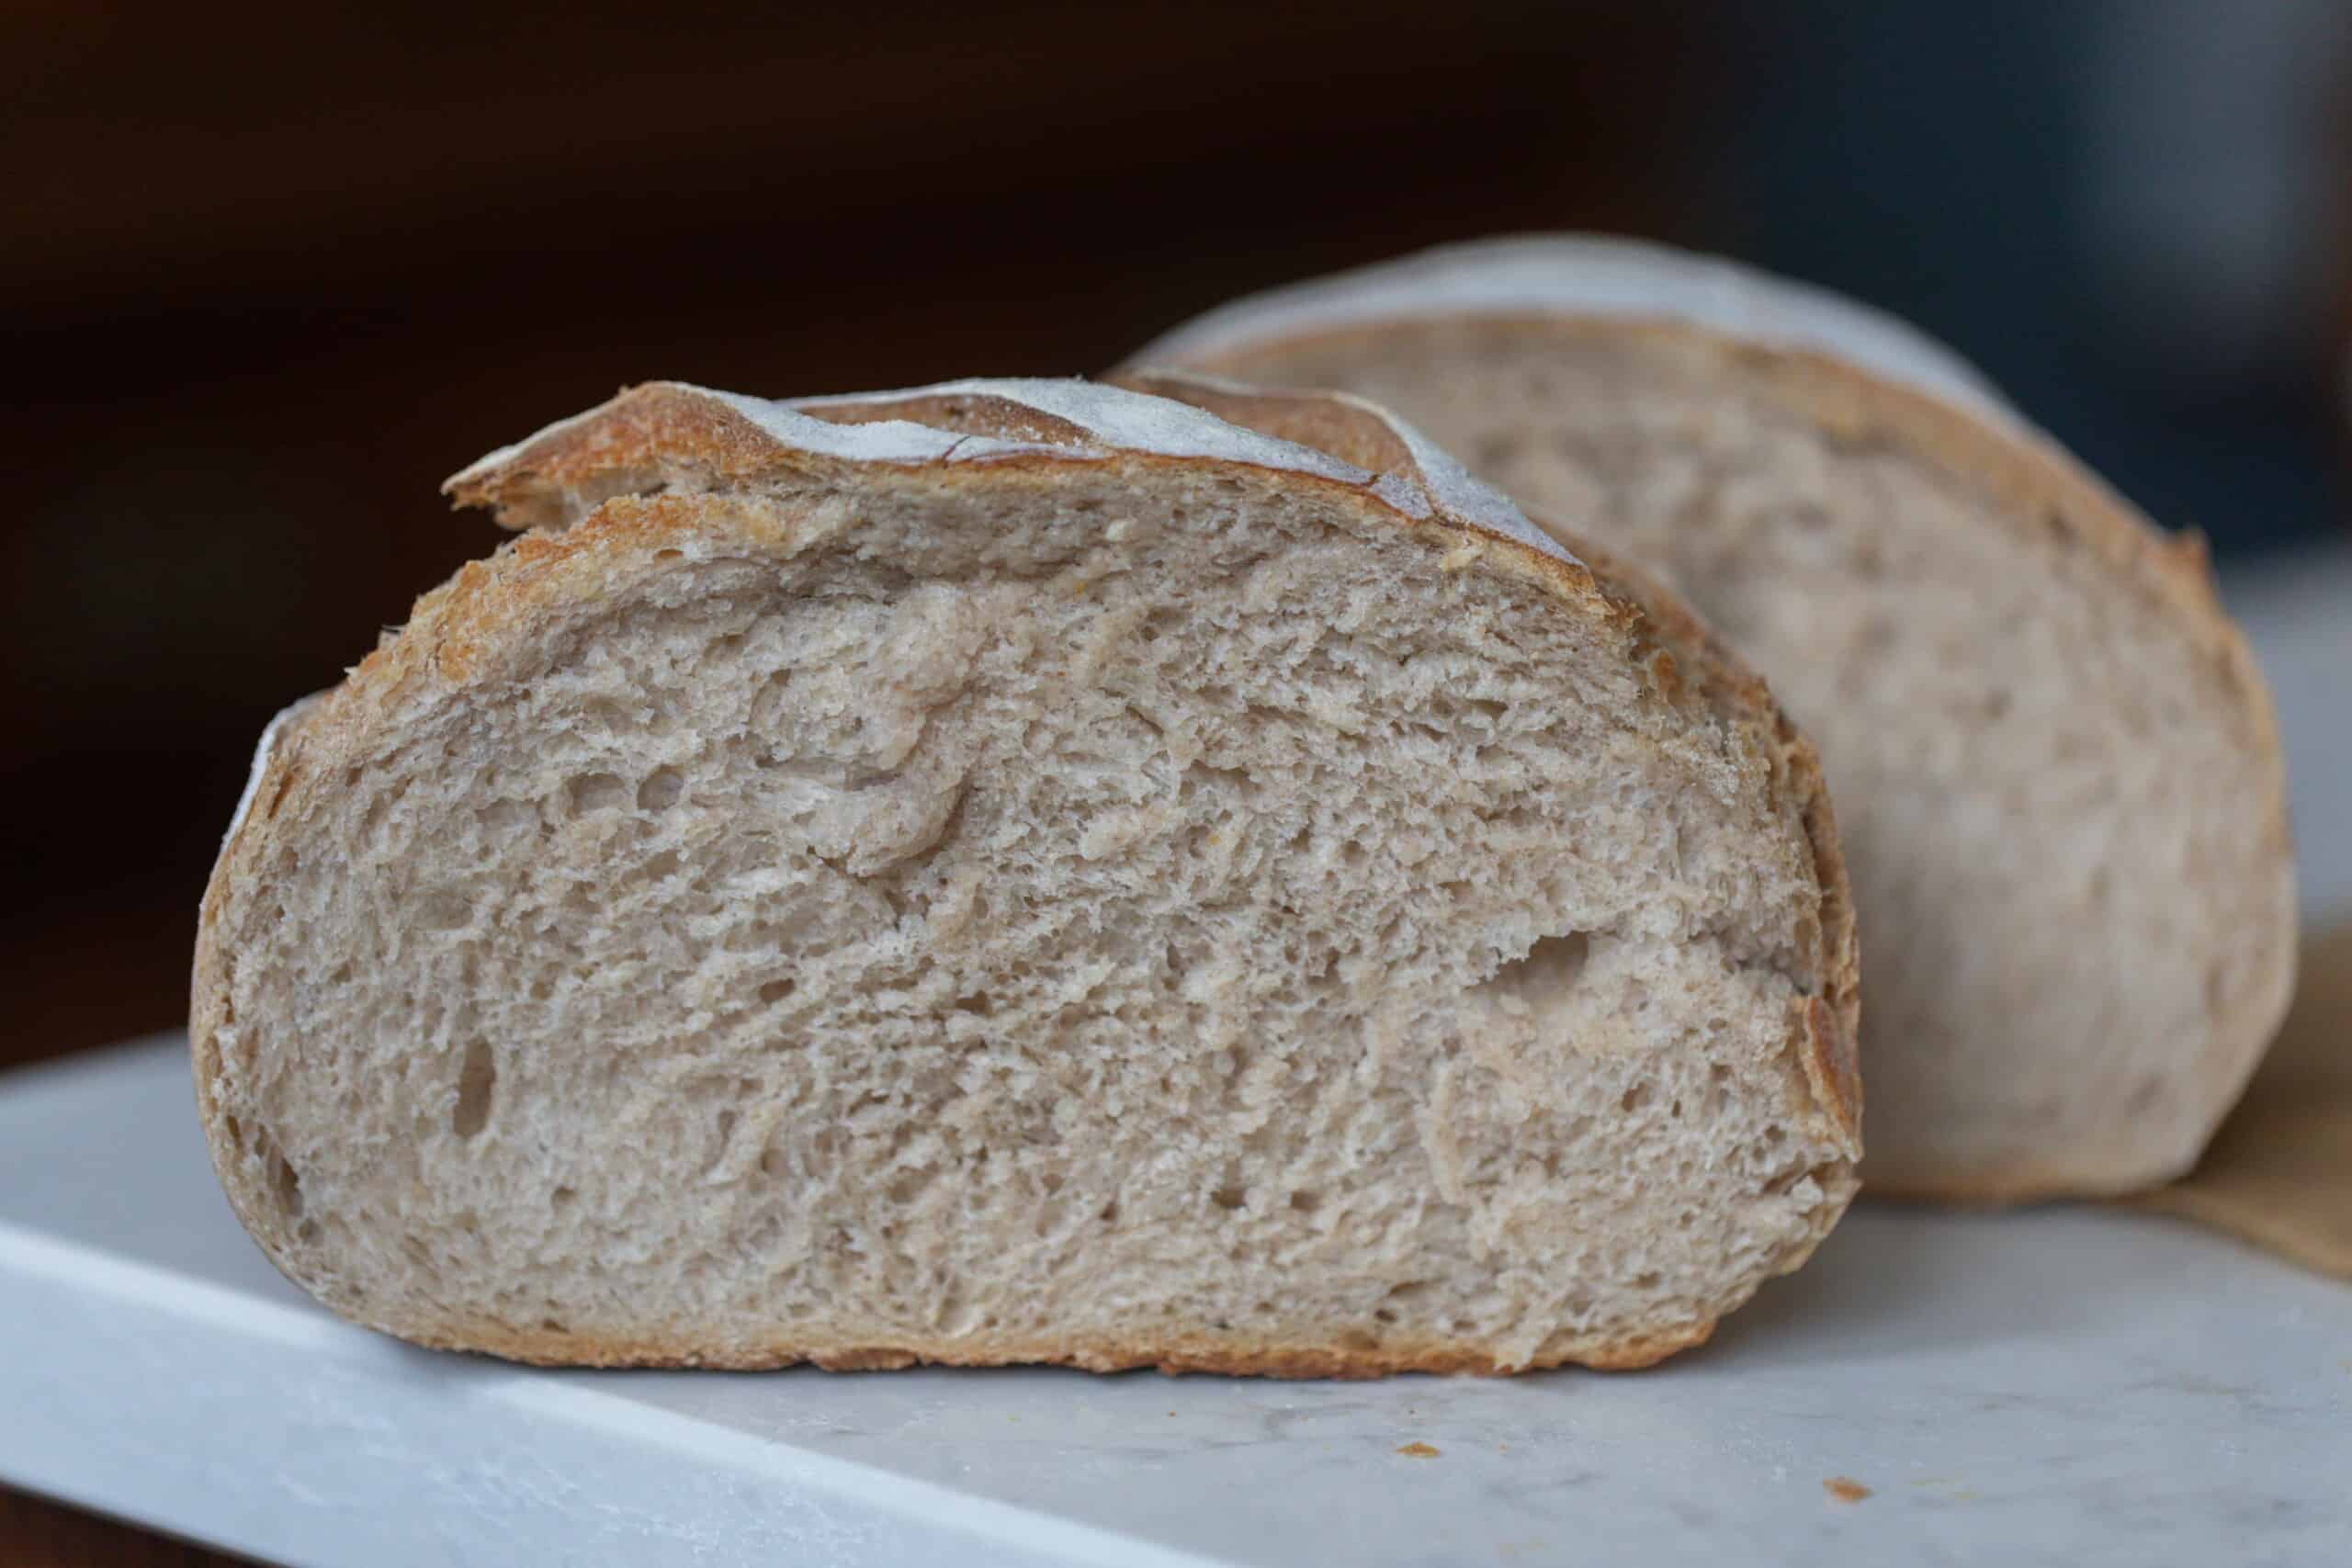
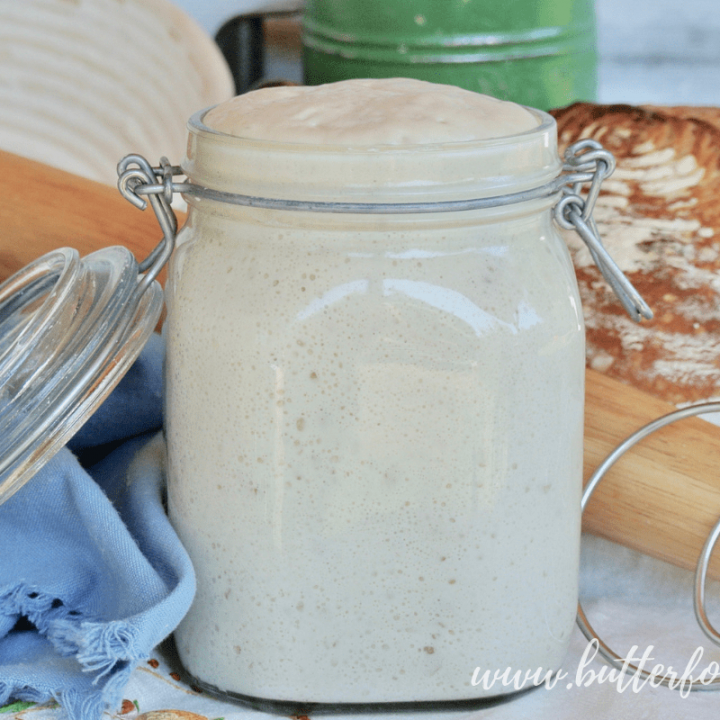
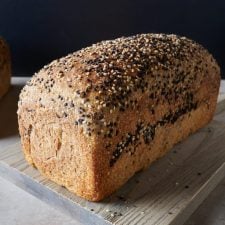
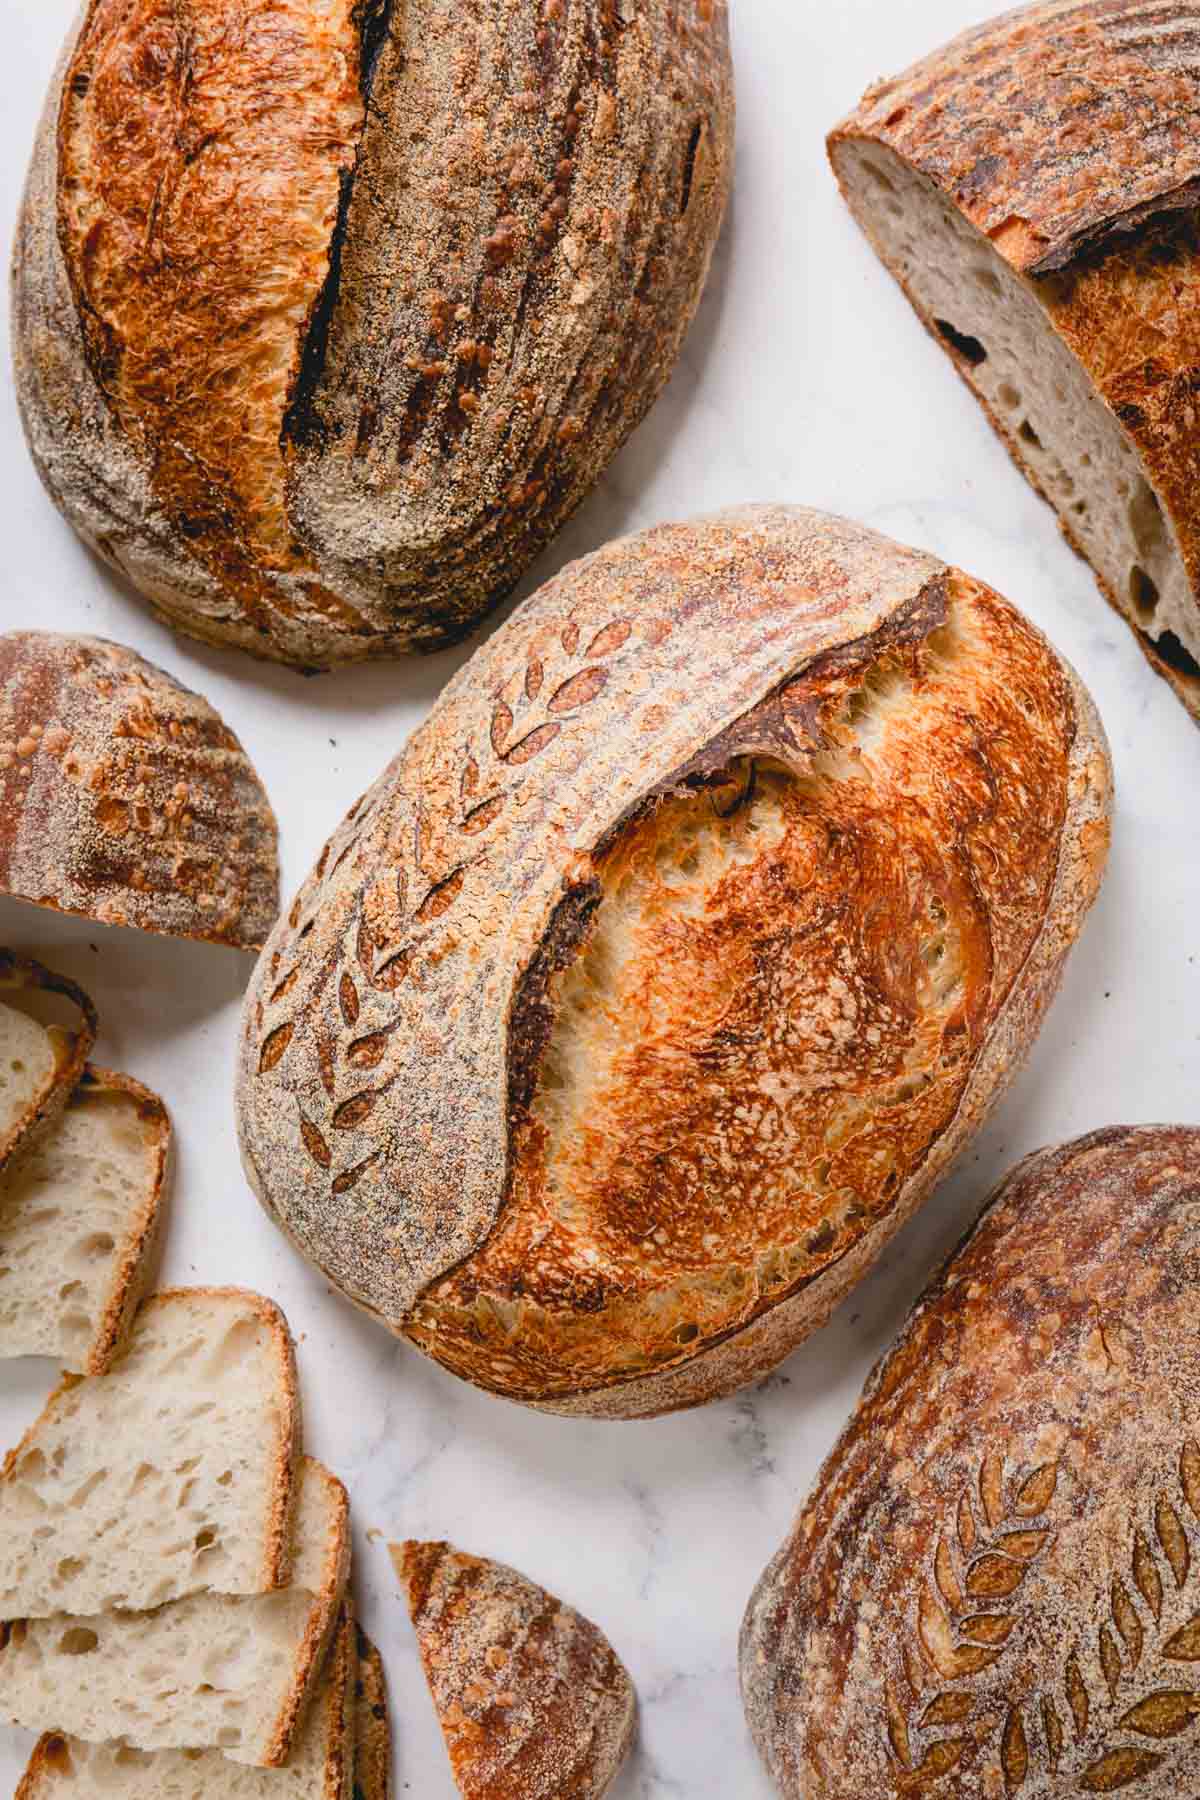
Easy High Hydration Sourdough Bread
4.5
(57)
Your folders
Your folders
Prep Time: 10 minutes
Cook Time: 35 minutes
Total: 18 hours, 45 minutes
Servings: 1
Author : Grant Yoder

Ingredients
Export 4 ingredients for grocery delivery
Instructions
Step 1
Take 25 grams of leftover sourdough starter out of the fridge. Add 50 grams of water and 50 grams of bread flour to the leftover starter. Mix everything together until thoroughly combined. Mark the top of the starter with a rubber band around the jar, cover it up, and let the starter sit out at room temperature for 6-8 hours, or until it doubles in size.
Step 2
The next morning, place a medium to large mixing bowl on a digital scale. Weight out 350 grams of water into the mixing bowl along with 10 grams of salt and 100 grams of the active sourdough starter. Mix together thoroughly until the starter and salt dissolve into the water.
Step 3
Next, add 50 grams of whole wheat flour and 400 grams of bread flour. Mix them into the rest of the ingredients until the flour is hydrated and there aren’t any clumps of dry flour left. Then cover up the dough with a kitchen towel and let it rest on the counter for 30 minutes.
Step 4
Once you’ve mixed the dough, it will start to rise slowly. This is called the “bulk fermentation” stage, or the first rise. During this stage, you’re going to give the dough three sets of stretch and folds with 30 minutes of rest in between each one.
Step 5
After the first 30 minute rest, give the dough its first set of “stretch and folds.” Pick up an edge of the dough in the bowl and stretch it up into the air. When you feel the dough start to tense up, fold the edge of the dough over the center. Go around the bowl 10-16 times, stretching and folding the dough over itself. After sixteen folds, you should feel the dough start to tighten up. This is the gluten network becoming stronger. Cover up the dough, and let it rest for another 30 minutes.
Step 6
Thirty minutes later, give your dough another set of stretch and folds. This time, stop after just 8-10 folds. Cover up the dough and let it rest for another 30 minutes.
Step 7
Finally, give your dough one last set of stretch and folds. Fold the edges of the dough over the center 6-8 times, until you feel the dough tighten up again. (You can do this last set of stretch and folds in a greased glass container, like I show in the video.)
Step 8
Then, flip the dough over so the smooth side is facing up, and cover up the dough. Let it continue to rise at room temperature until it has almost doubled in size. This could take another 3-6 hours, depending on the temperature of your kitchen.
Step 9
When your dough has almost doubled in size, flip it out onto the kitchen counter with the seam-side facing down. Using your hands or a bench scraper, gently shape the mass of dough into a tight ball. This preshape step will create surface tension across the top of the dough and make it easier to shape the dough into an oval shape later. Let the dough rest for 30 minutes on the counter, uncovered.
Step 10
Now, lightly dust an oval-shaped banneton basket with rice flour or whole wheat flour. This will prevent the dough from sticking to the basket while it proofs.
Step 11
Dust the top of the ball of dough with bread flour and flip it over so that the smooth-side is facing down and the sticky-side is facing up. Then, gently pull out the dough into a square shape with your finger tips.
Step 12
Fold the right third of the dough over the middle third, then fold the left third of the dough over the middle third as well. Press down to seal the seam where the two sides meet in the middle. Then roll the dough into a tight cylinder, starting from the far side and rolling toward yourself. Once you have a cylinder, fold the flaps of dough on each end underneath the rest of the dough. This will smooth out the ends of the dough, making for a more attractive final loaf of bread.
Step 13
Finally, flip the dough upside down into your prepared banneton basket. The seam-side should be facing up.
Step 14
Move the banneton basket to your refrigerator to let it cold-proof in the fridge overnight. I usually leave my dough proofing in the fridge until I’m ready to bake it the next day. 8-24 hours is a good amount of cold-proofing time for this recipe.
Step 15
The next day, 30 minutes before you want to bake your bread, preheat your oven to 500°F with a Dutch oven or Challenger Bread Pan inside. When the oven has preheated, take the dough out of the fridge. You can score and bake the loaf cold from the fridge; there is no need to let it come up to room temperature.
Step 16
Flip the dough out of the banneton basket onto a piece of parchment paper that is a little bit larger than the size of the dough. Dust off any excess flour from the top of the dough.
Step 17
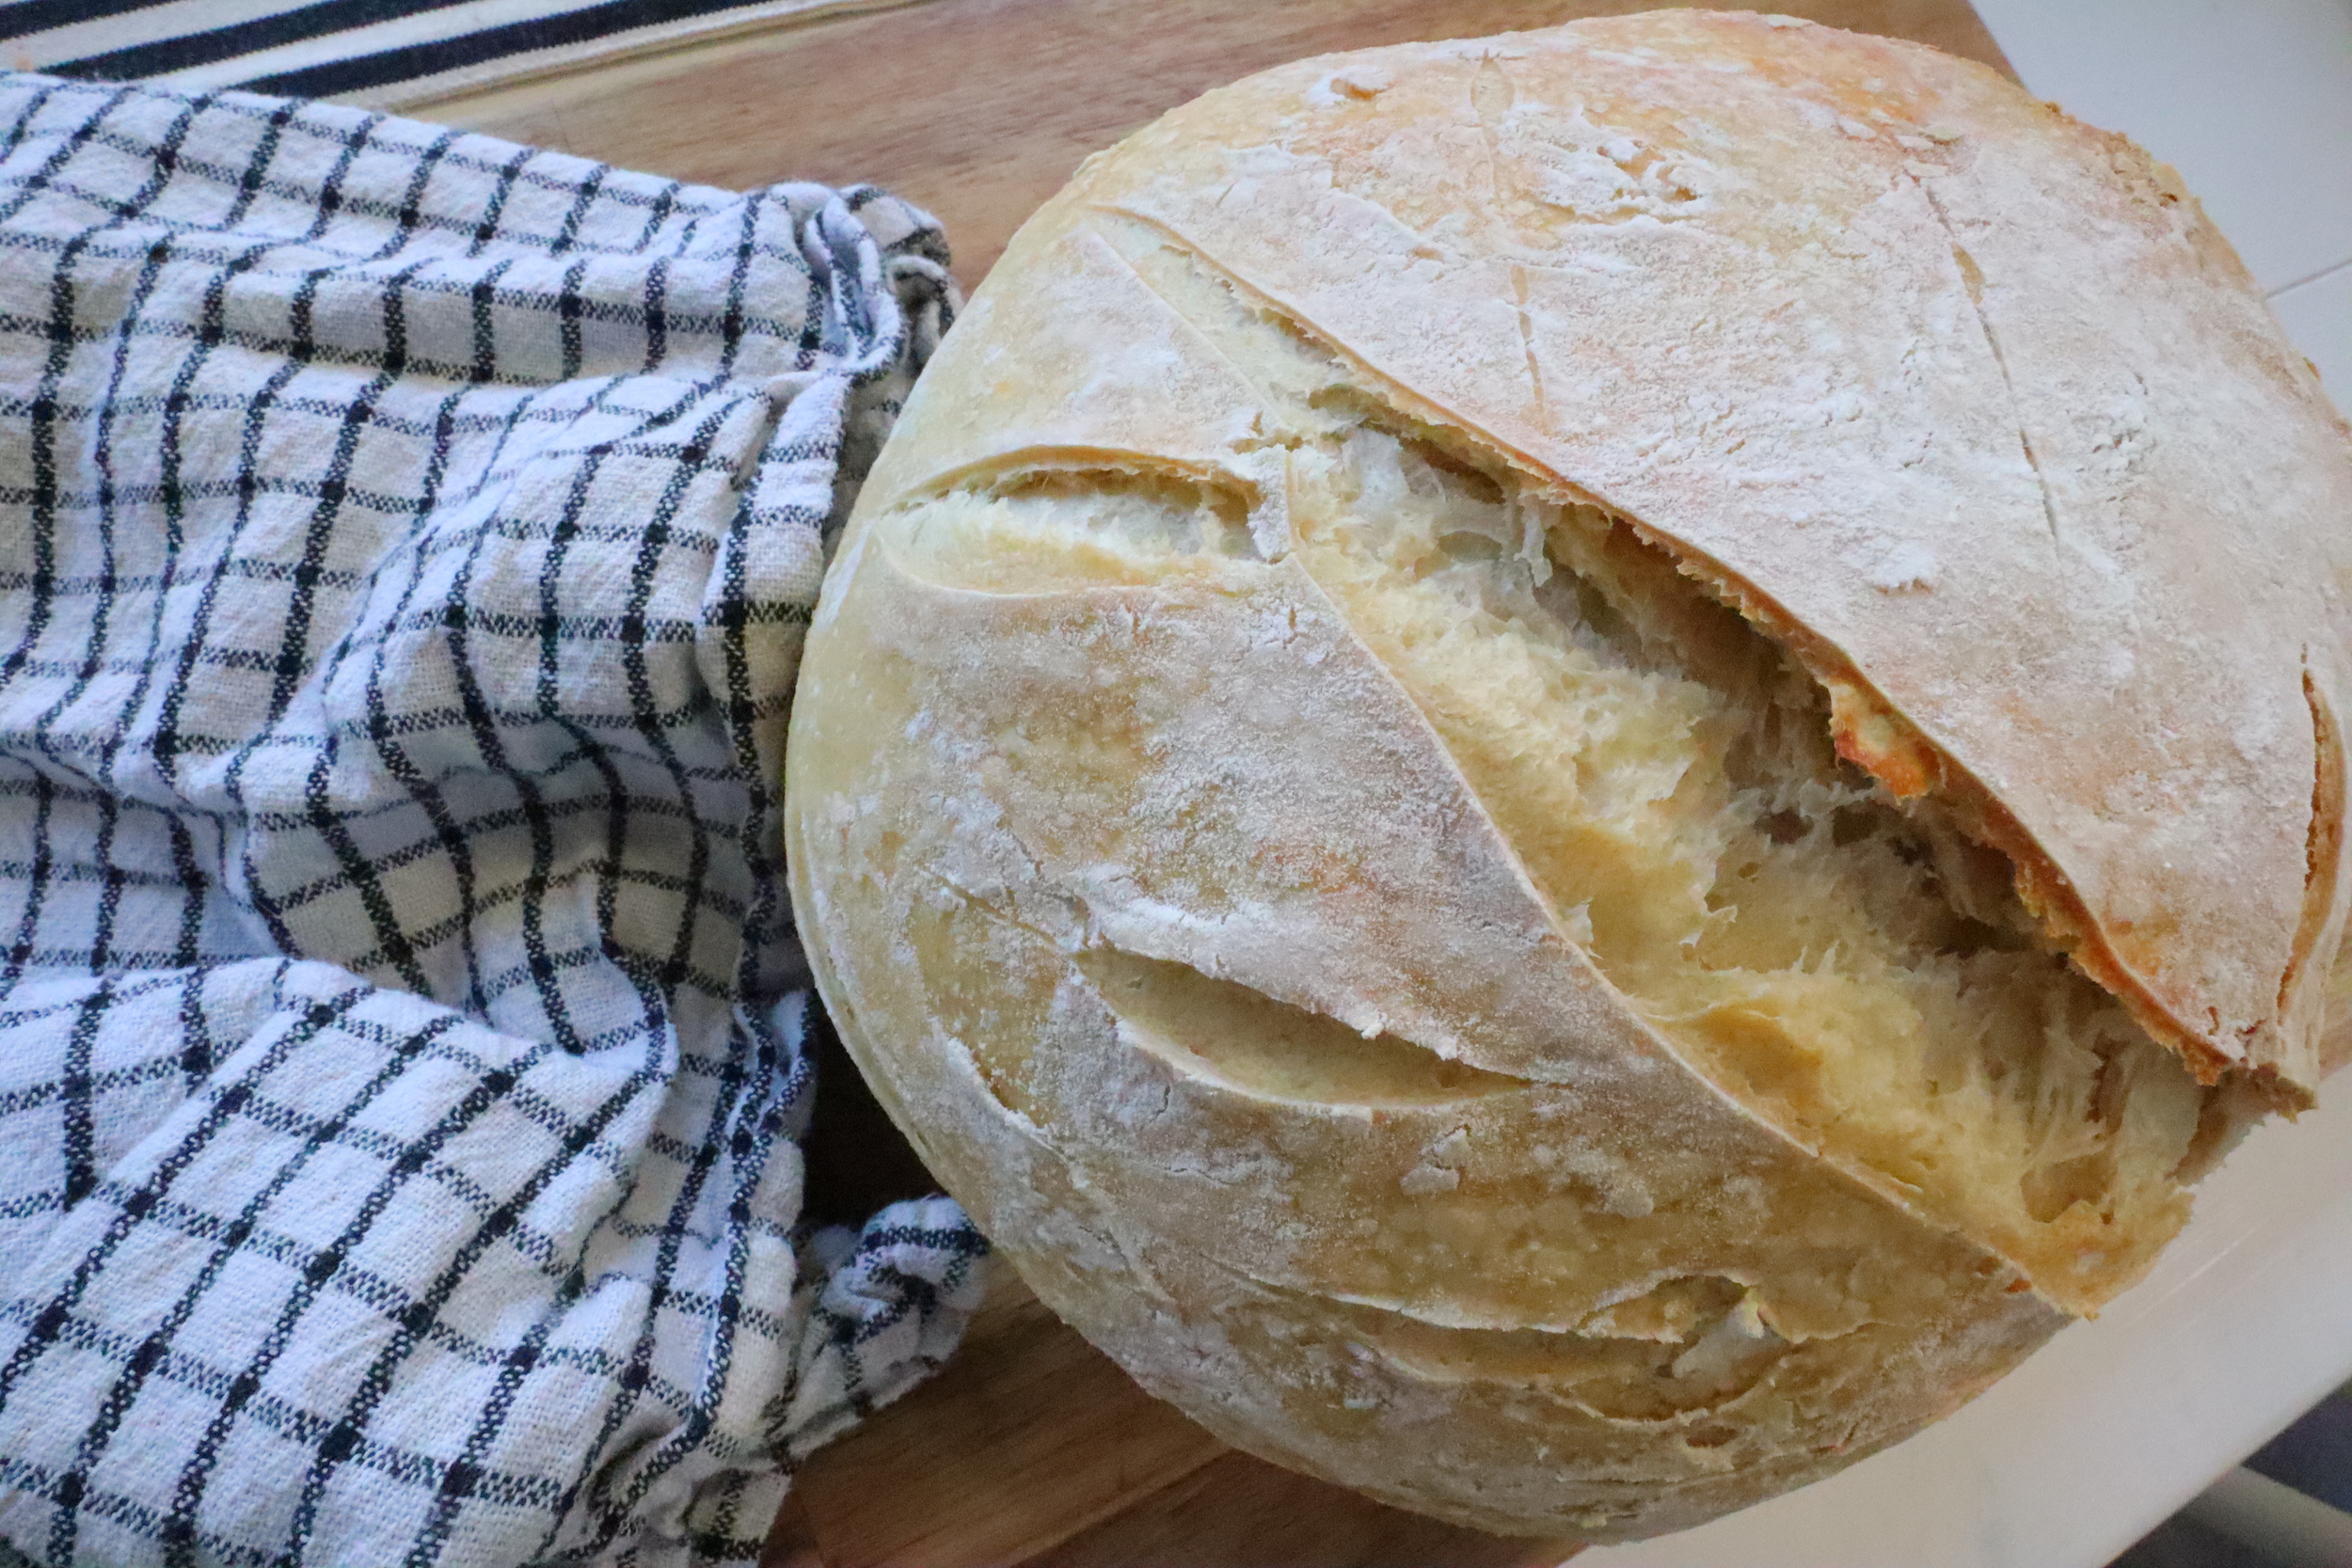
Hold a razor blade, or a bread lame, at a shallow angle and score the dough in one long slash from the far end of the dough to the near end. This will allow the dough to burst open beautifully along this score mark when it rises in the oven. If you don’t score it now, the bread might burst open in strange places when it’s baking.
Step 18
Holding both ends of the parchment paper, carefully transfer the dough into your hot Dutch oven and close the lid. Bake for 20 minutes at 500°F with the lid closed. 20 minutes later, remove the lid and continue baking at 500°F for 12-15 minutes, until the top of the loaf has a golden brown color. Move the bread to a wire rack to cool for at least one hour before slicing.
Top similar recipes
Curated for youYour folders
 388 views
High-Hydration Whole Wheat Sourdoug...
kingarthurbaking.com
3.8
(4)
50 minutes
Your folders
 110 views
High Hydration Sourdough Loaf
farmhouseonboone.com
4.7
(32)
45 minutes
Your folders
 325 views
High Hydration Bread Recipe
justcookwithmichael.com
1480 minutes
Your folders
 67 views
Best Low Hydration Sourdough Bread ...
farmhouseonboone.com
5.0
(4)
45 minutes
Your folders
 217 views
High Protein Sourdough Bread
pantrymama.com
4.5
(4)
45 minutes
Your folders
 676 views
100% Hydration Sourdough Starter
butterforall.com
5.0
(2)
Your folders
 223 views
High-fiber sourdough bread recipe
theperfectloaf.com
50 minutes
Your folders
 256 views
Rye Sourdough Starter (100% Hydrati...
thegoodheartedwoman.com
4.5
(2)
7200 minutes
Your folders
 316 views
Easy Sourdough Bread
commonsensehome.com
Your folders
 198 views
Easy sourdough bread
bbcgoodfood.com
30 minutes
Your folders
 194 views
Easy Sourdough Bread
sweetandsavorybyshinee.com
5.0
(1)
Your folders
 115 views
Easy Sourdough Bread
laurennicolejones.com
60 minutes
Your folders
 80 views
Easy Sourdough Bread
averiecooks.com
4.4
(212)
35 minutes
Your folders
 45 views
1/2 High Hydration Loaf (copy) | My...
myfitnesspal.com
Your folders
47 views1/2 High Hydration Loaf (copy) | My...
myfitnesspal.com
Your folders
48 views1/2 High Hydration Loaf (copy) | My...
myfitnesspal.com
Your folders
47 views1/2 High Hydration Loaf (copy) | My...
myfitnesspal.com
Your folders
45 views1/2 High Hydration Loaf (copy) | My...
myfitnesspal.com
Your folders
51 views1/2 High Hydration Loaf (copy) | My...
myfitnesspal.com