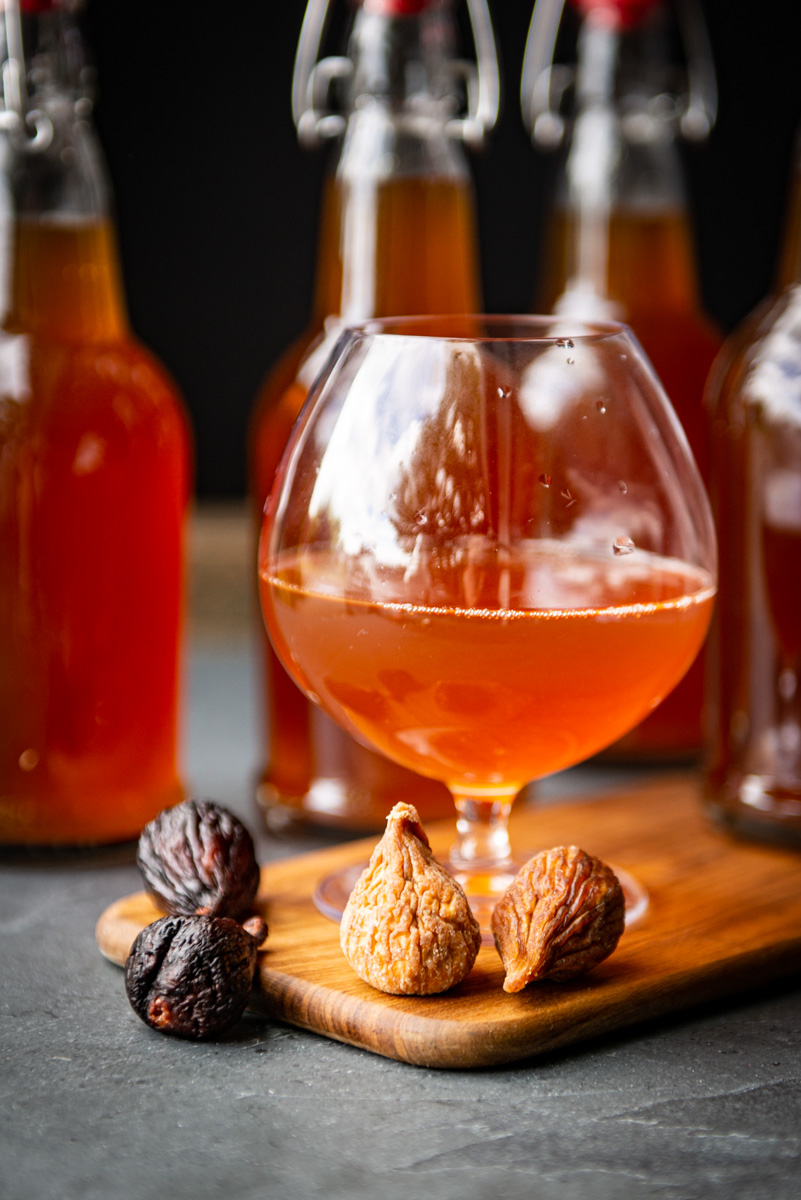
Fig Mead
Your folders
Your folders
Servings: 1
Author : anneliesz
Ingredients
Export 3 ingredients for grocery delivery
Instructions
Step 1
Add the honey and water to a pot, heat just until the honey and water have combined. No need to boil. Honey is the “food” the yeast needs to ferment, most of this will be eaten up during fermentation and the mead will be rather dry. For a sweeter mead, add another half a pound of honey.(Tip: Do not use tap water as there are too many possible contaminants, even if you have a home filtration system. It’s best to use store-bought water for the best taste, especially if you are new to mead making.)
Step 2
Add the quartered figs to the sanitized jug. Pour in the honey water, make sure the water is below 110°F, add the yeast and seal. Shake vigorously to combine, remove the seal.(Tip: Sanitizing is key! Make sure all your equipment is sanitized to ensure you don’t have any unwanted yeast or bacteria in your mead.)
Step 3
Add a balloon on top of the jug, poke a hole or two in the top with a clean pin or needle. This will act as an airlock. It will allow the air to escape during fermentation but not allow contaminants in. If you leave the jug sealed, the pressure will cause it to explode, if you don’t cover the top, yeast, and bacteria will contaminate your mead. A balloon with a pinhole in the top allows the air created during fermentation to escape but keeps out any unwanted bacteria.
Step 4
After 2 to 24 hours the balloon will inflate, and this is how you know fermentation has taken place. If the balloon doesn’t inflate at all it likely means the yeast isn’t active and you should start over.
Step 5
Place in a cool (but not cold) dark place, like a cabinet or closet. Keep away from direct sunlight. Check on it daily to make sure the balloon hasn’t popped off.
Step 6
After about three weeks the balloon will become limp and this is how you know primary fermentation is over. Gently pour the mixture into a new clean jug (or a clean large bowl so you can clean and refill the one you are already using). Remove the figs and any sediment that has settled to the bottom of the jug. Add another balloon with a hole poked into the top.
Step 7
Age your mead. At this point, the mead is drinkable but it will take another few months to make it really tasty and clear. You can age it in a cool closet or your refrigerator, these different environments will produce different flavors.
Step 8
Bottle your mead into clean and sanitized jugs with air sealing tops. You can continue to age your mead for months or even years to develop the flavors you want. Make sure to keep it out of direct sunlight.