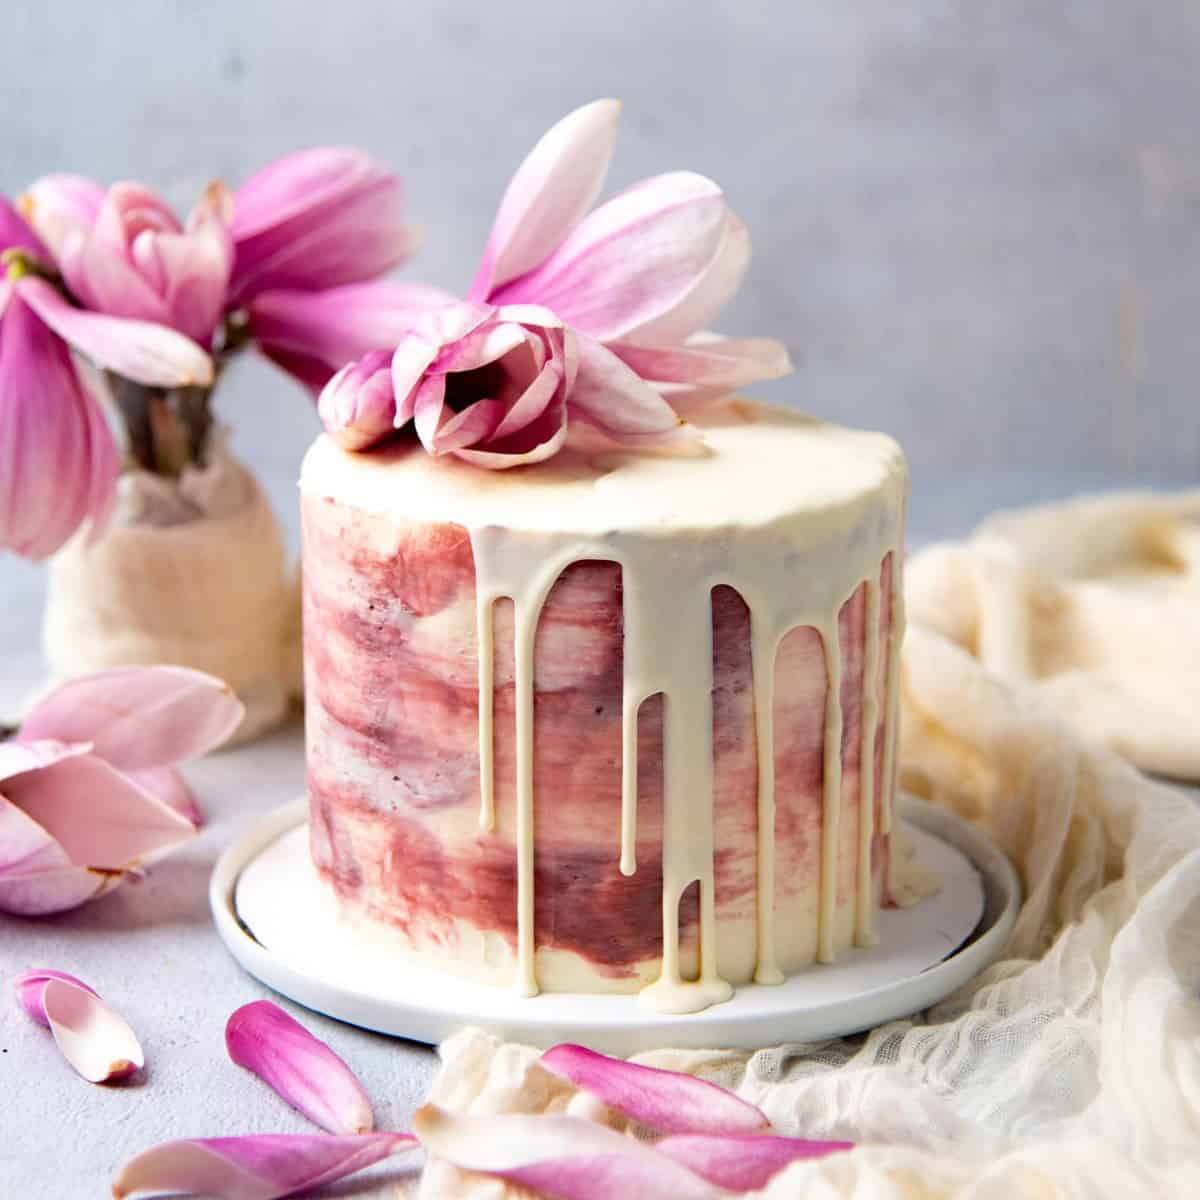
Ginger Cardamom Cake with Rose Buttercream
Your folders
Your folders
Prep Time: 150 minutes
Cook Time: 30 minutes
Total: 400 minutes
Servings: 12
Cost: $5.25 /serving
Author : Dini @ The Flavor Bender

Ingredients
Export 13 ingredients for grocery delivery
Instructions
Step 1
Preheat the oven to 325°F / 162°C. Line the bottom of two 8 inch pans (or three 6 inch pans) with parchment paper, and butter and flour the sides. Set aside.
Step 2
Cream the butter, salt, and sugar until the mix is creamy and fluffy. This can take about 3- 7 minutes, depending on the temperature of the butter.
Step 3
Add the eggs, one at a time, mixing well between each addition. Mix in the milk, sour cream, and vanilla into the batter. If the ingredients are at different temperatures, you may notice that the batter might look curdled. This is OK. It'll be fixed when the flour is added.
Step 4
In a separate bowl, sift the flour, spices, and baking powder together and whisk to combine.
Step 5
Fold the dry ingredients into the wet ingredients in 2 - 3 additions, and mix until just combined.
Step 6
Divide the batter between the cake pans. You will only be using about 90% of the cake batter if you’re using 6 inch cake pans.
Step 7
Bake in the preheated oven for about 25 - 30 minutes, rotating the pan halfway through the baking time. The cake is baked through when it feels springy to the touch (when you gently touch the middle of the cake, it should spring back). Or when a toothpick inserted into the middle of the cake comes out clean.
Step 8
Remove the cake from the oven and let it cool slightly in the pan. While still warm, turn the cake out onto a wire rack and let it cool down completely.
Step 9
Once the cake is cooled, wrap each layer with plastic wrap if you’re not using it right away.
Step 10
Make the buttercream while the cake layers are cooling.
Step 11
Place the egg whites and confectioner’s sugar in a mixing bowl, and whisk for about 5 – 6 minutes on high speed. The mixture should look thick, glossy, and white.
Step 12
Scrape this mixture into a separate bowl and set aside.
Step 13
Add the butter and salt into the same mixing bowl. With the whisk attachment, whip the butter until light, fluffy, and creamy. This can take up to 10 minutes depending on the temperature of the butter, the mixer, as well as the ambient temperature.
Step 14
When the butter is fluffy, add the rose water and all of the vanilla, and whip for a further couple of minutes to make the butter fluffier.
Step 15
While running the mixer on medium high, stream the egg white mixture into the butter mixture.
Step 16
Keep whipping the buttercream until you have a creamy consistency (a few minutes). While whisking, add the cream (as much as you like), to make the buttercream creamier.
Step 17
If you'd like the buttercream to be sweeter, add more sifted confectioner’s sugar and mix until well incorporated.
Step 18
The faux swiss meringue buttercream is now ready to be used. If you want to create colors, use about ½ cup of the buttercream and color it with gel food color to get whatever color you like.
Step 19
Trim off the tops of the cake layers to level them. This is only required if the cake layers are not already flat and level on top.
Step 20
Place a cake layer on a cake board, with the flat bottom facing down. Use a little buttercream to stick the cake layer onto the cake board and keep it secure.
Step 21
Spread a layer of blueberry jam on top of the cake layer. I only spread a thin layer, allowing some of the jam to be absorbed by the cake layer.
Step 22
Spread an even layer of rose buttercream on top.
Step 23
Place another layer of cake on top, again making sure it's even and level. Repeat the layers if you're making a 6 inch cake. The final cake layer should be placed with the flat bottom side facing up.
Step 24
Make sure the sides of the cake are even and the top is level.
Step 25
Apply a thin layer of rose buttercream on the cakes as the crumb coat. This crumb coating should give your cake nice and straight sides and top.
Step 26
Refrigerate the cake for about 30 minutes, just long enough to make the crumb coat firm. You can also just leave the cake at room temperature (if it’s not too hot) to allow the crumb coat to set.
Step 27
Apply another even layer of buttercream on the cake, on the sides and top.
Step 28
After the final frosting layer has been spread on the cake, you can decide how to further decorate the cake.
Step 29
For a rustic look, you can create swirls in your buttercream.
Step 30
For a more refined look, use a bench scraper to get smooth sides. If the cake and crumb coating are chilled, the frosting will harden on the cake fairly quickly, so you may need to work fast to get smooth sides.
Step 31
Use the colored buttercream to create strokes, then smooth them out to create a blended look.
Step 32
Pipe a border on top with leftover frosting, or create a white chocolate drip on the cake (as pictured in the photos here).