Handmade Watermelon Gift Bag with Free SVG
Your folders
Your folders

Ingredients
Export 5 ingredients for grocery delivery
Instructions
Step 1
To start, upload the SVG into Cricut Design Space and add it to your Canvas.
Step 2
The design is ready to cut as soon as uploaded but can be resized. Just make sure that all layers are resized so they still fit together.
Step 3
Click on Make and the next screen is the matt preview to see the different layers.
Step 4
Click next and select the material cutting, I am using Smart Vinyl.
Step 5
Follow the prompts in Cricut Design Space to know the color of the vinyl to load into the machine next.
Step 6
When removing the vinyl from the mat, turn the mat over and remove the mat from the material instead of the other way around.
Step 7
Weed all cut layers of vinyl.
Step 8
Cut a piece of parchment paper the size of the finished design, and cut a piece of transfer tape the same size.
Step 9
When layering vinyl, start with the top layer and move to the bottom. With this design, black is the top layer.
Step 10
Place the transfer tape over the top layer, and go over it with a scraper tool.
Step 11
Remove the backing tape to the vinyl layer, and place the parchment paper square behind the vinyl just a bit below the top of the tape.
Step 12
The parchment paper makes it so the design doesn't stick before you have the design centered.
Step 13
Center the top layer over the second layer of the design.
Step 14
Find that centered placement, and press the top of the exposed transfer tape down.
Step 15
Lift up the transfer tape, remove the parchment paper, and roll the top layer down with a scraper tool.
Step 16
Repeat the same steps for the next two layers.
Step 17
Remove the backing paper from the design and place the parchment paper behind the design.
Step 18
Move the design until the correct placement is found.
Step 19
Press the exposed area of the transfer tape down, lift the transfer tape to remove the parchment paper, and then press down the transfer tape on top.
Step 20
Repeat again to adhere the design to the final fourth layer.
Step 21
Keep the parchment paper behind the layered design while trying to find the best placement on the plastic gift bag.
Step 22
Press down the exposed strip of transfer tape to the gift bag, lift the transfer tape, remove the parchment paper, and then roll the design onto the bag with a scraper tool.
Step 23
Press the design into the page and then peel back the transfer tape.
Step 24
Since the bag and the transfer tape are both plastic, the transfer tape is a little trickier to remove, but it will come up.
Step 25
To start, upload the SVG into Cricut Design Space and add it to your Canvas.
Step 26
The design is ready to cut as soon as uploaded but can be resized. Just make sure that all layers are resized so they still fit together.
Step 27
Click on Make and the next screen is the matt preview to see the different layers.
Step 28
Click next and select the material cutting, I am using Smart Vinyl.
Step 29
Follow the prompts in Cricut Design Space to know the color of the vinyl to load into the machine next.
Step 30
When removing the vinyl from the mat, turn the mat over and remove the mat from the material instead of the other way around.
Step 31
Weed all cut layers of vinyl.
Step 32
Cut a piece of parchment paper the size of the finished design, and cut a piece of transfer tape the same size.
Step 33
When layering vinyl, start with the top layer and move to the bottom. With this design, black is the top layer.
Step 34
Place the transfer tape over the top layer, and go over it with a scraper tool.
Step 35
Remove the backing tape to the vinyl layer, and place the parchment paper square behind the vinyl just a bit below the top of the tape.
Step 36
The parchment paper makes it so the design doesn't stick before you have the design centered.
Step 37
Center the top layer over the second layer of the design.
Step 38
Find that centered placement, and press the top of the exposed transfer tape down.
Step 39
Lift up the transfer tape, remove the parchment paper, and roll the top layer down with a scraper tool.
Step 40
Repeat the same steps for the next two layers.
Step 41
Remove the backing paper from the design and place the parchment paper behind the design.
Step 42
Move the design until the correct placement is found.
Step 43
Press the exposed area of the transfer tape down, lift the transfer tape to remove the parchment paper, and then press down the transfer tape on top.
Step 44
Repeat again to adhere the design to the final fourth layer.
Step 45
Keep the parchment paper behind the layered design while trying to find the best placement on the plastic gift bag.
Step 46
Press down the exposed strip of transfer tape to the gift bag, lift the transfer tape, remove the parchment paper, and then roll the design onto the bag with a scraper tool.
Step 47
Press the design into the page and then peel back the transfer tape.
Step 48
Since the bag and the transfer tape are both plastic, the transfer tape is a little trickier to remove, but it will come up.
Top similar recipes
Curated for youYour folders
 148 views
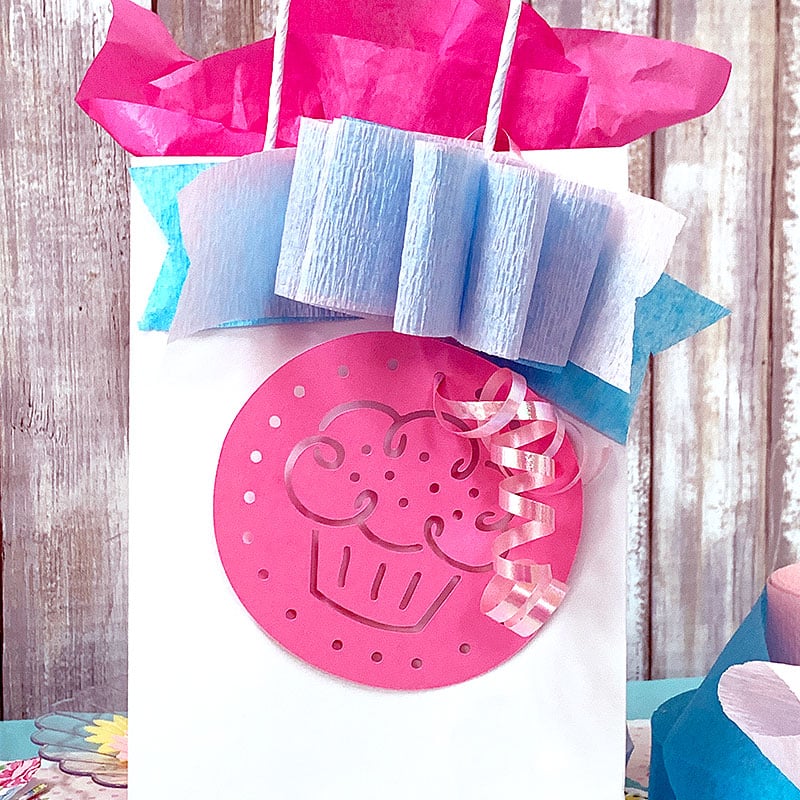
DIY Gift Bag with Cupcake TagDIY Gi...
thecountrychiccottage.net
Your folders
 35 views
Grocery List Board with a Free Kitc...
thecountrychiccottage.net
Your folders
 227 views
Friendship Soup: DIY Gift in a Jar ...
recipes.hiphomeschoolmoms.com
Your folders
 308 views
Handmade Udon
norecipes.com
4.6
(8)
12 minutes
Your folders
 302 views
Handmade Ravioli filled with Eggpla...
kitchencheznous.com
Your folders
 159 views
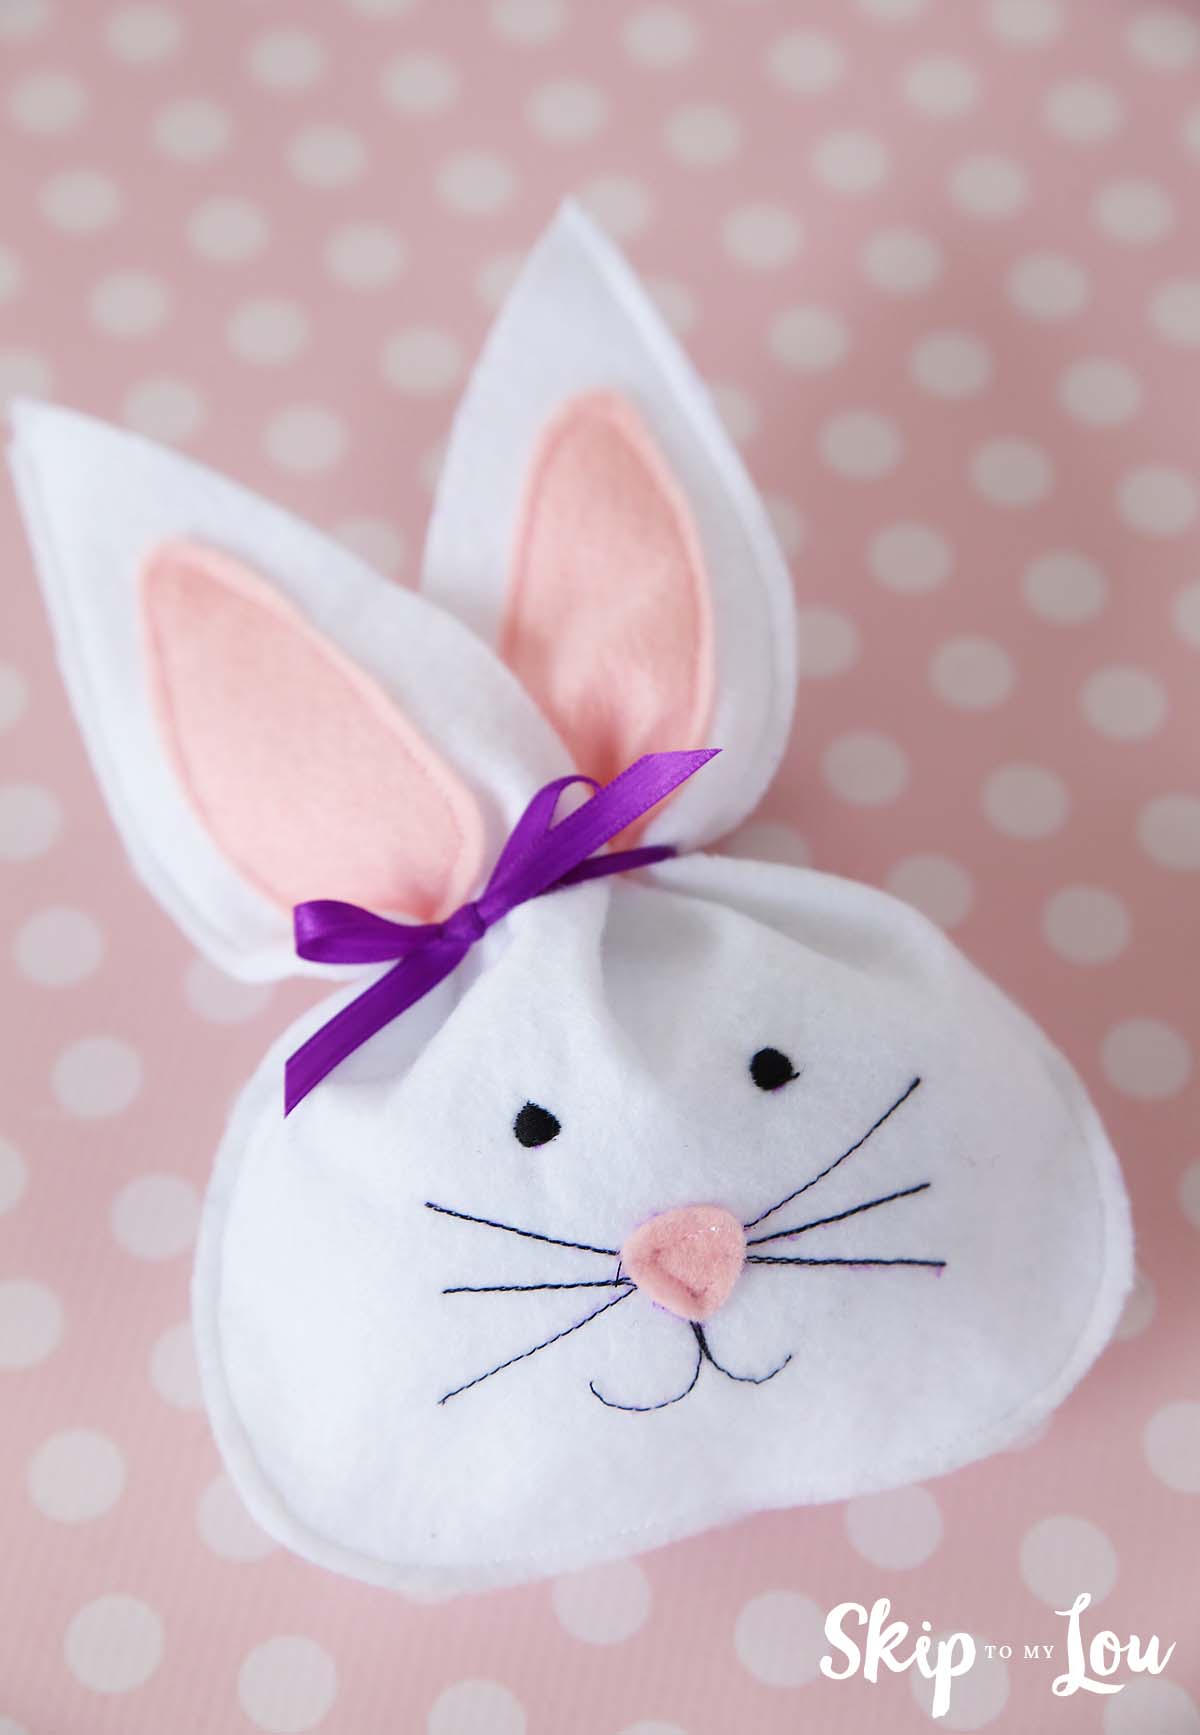
Felt Bunny Treat Bag {Free Easter P...
skiptomylou.org
Your folders
 884 views
Handmade Lasagna Sheets
cooking.nytimes.com
5.0
(185)
Your folders
 544 views
Tito's Handmade Vodka
totalwine.com
Your folders
 83 views
Handmade Corn Tortillas
masienda.com
4.0
(23)
10 minutes
Your folders
 313 views
Tito's Handmade Vodka
totalwine.com
Your folders
 557 views
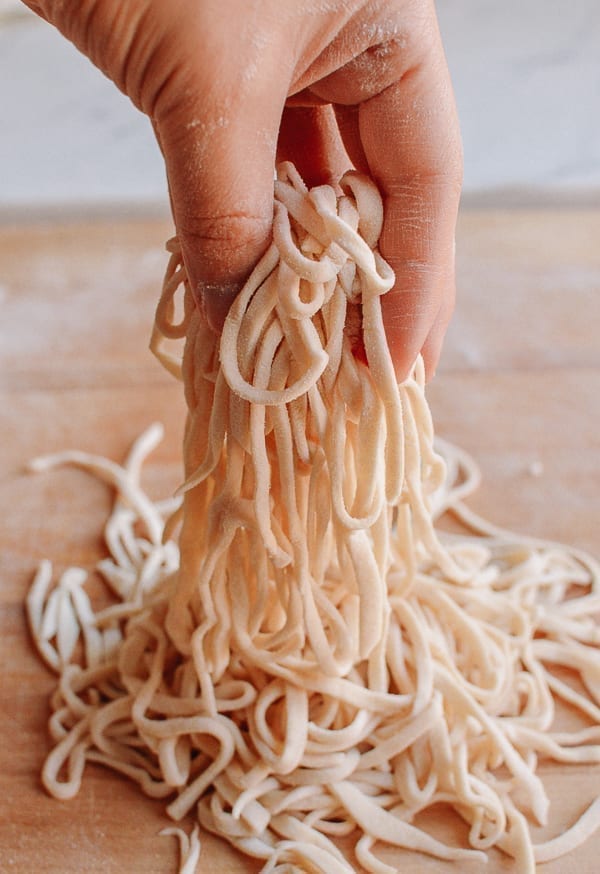
Chinese Handmade Noodles
thewoksoflife.com
4.9
(22)
Your folders
 270 views
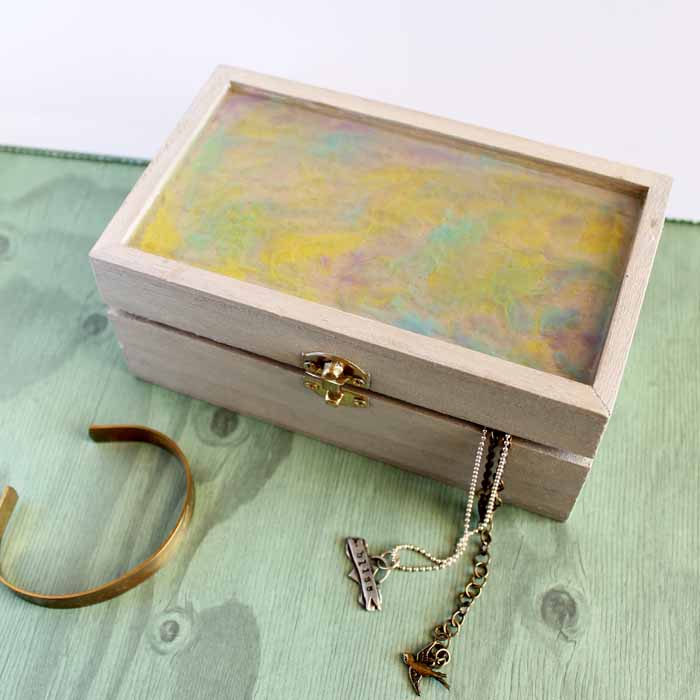
Handmade Jewelry Box
thecountrychiccottage.net
Your folders
70 viewsHandmade Corn Tortillas
masienda.com
10 minutes
Your folders
 205 views
Watermelon Salad with Watermelon Vi...
addapinch.com
5.0
(1)
Your folders
 354 views
Mexican Watermelon Salad (Watermelo...
thishealthytable.com
4.9
(8)
Your folders
 248 views
{Gift} Pancake Mix in a Jar with Fr...
thepinningmama.com
Your folders
 296 views
Handmade Enriched Bread Dough
1840farm.com
5.0
(1)
Your folders
 234 views
Canvas tote bag patternCanvas tote ...
theseamanmom.com
Your folders
 102 views
Vinaigrette piment-ail-gingembreNah...
nahrin.ch