Hanging Wall Organizer DIY
Your folders
Your folders

Ingredients
Export 9 ingredients for grocery delivery
Instructions
Step 1
A - 26" x 48"
Step 2
B / C - 7" x 26" (2 pieces this size total - one for B + one for C)
Step 3
D - 5" x 26"
Step 4
E - 2" x 31.5"
Step 5
F - 2" x 26"
Step 6
Match your markings with the top of the D piece facing the bottom of the organizer and the exterior of the pocket facing in so that when you flip it up, the outside will be showing.
Step 7
Then, measure your E piece 3.5" from the 2" pin and mark with tailor's chalk at the top of the piece. Match the mark on the E piece to the mark on the A piece and pin. Measure 1" from the pin, and add another pin (this is just to give your tools some breathing room. No need to make this a loop).
Step 8
*Feel free to customize your loop sizes to the tools you're storing.
Step 9
Once you have a good length, you can create a ridge in the dowel with a pair of scissors by spinning the dowel while you have your scissors in the cutting position where you need to shorten your dowel to. Once you do that, it should be easier to snap the dowel. You can trim off any access splinters with scissors too.
Step 10
Line up your grommet with the center and bottom mark and make an x where it'll go. Cut that x to create a hole for the grommet.
Top similar recipes
Curated for youYour folders

 22 views
DIY Cord Organizer
kenarry.com
Your folders
 38 views
DIY Arrow Wall Decor
cravingsomecreativity.com
Your folders
 138 views
DIY Garden Yard Tool Organizer Stor...
thecountrychiccottage.net
Your folders
 26 views
Hanging Tender
gernekochen.de
4.7
(6)
15 minutes
Your folders
 291 views
School Organizer
thecountrychiccottage.net
Your folders
 131 views
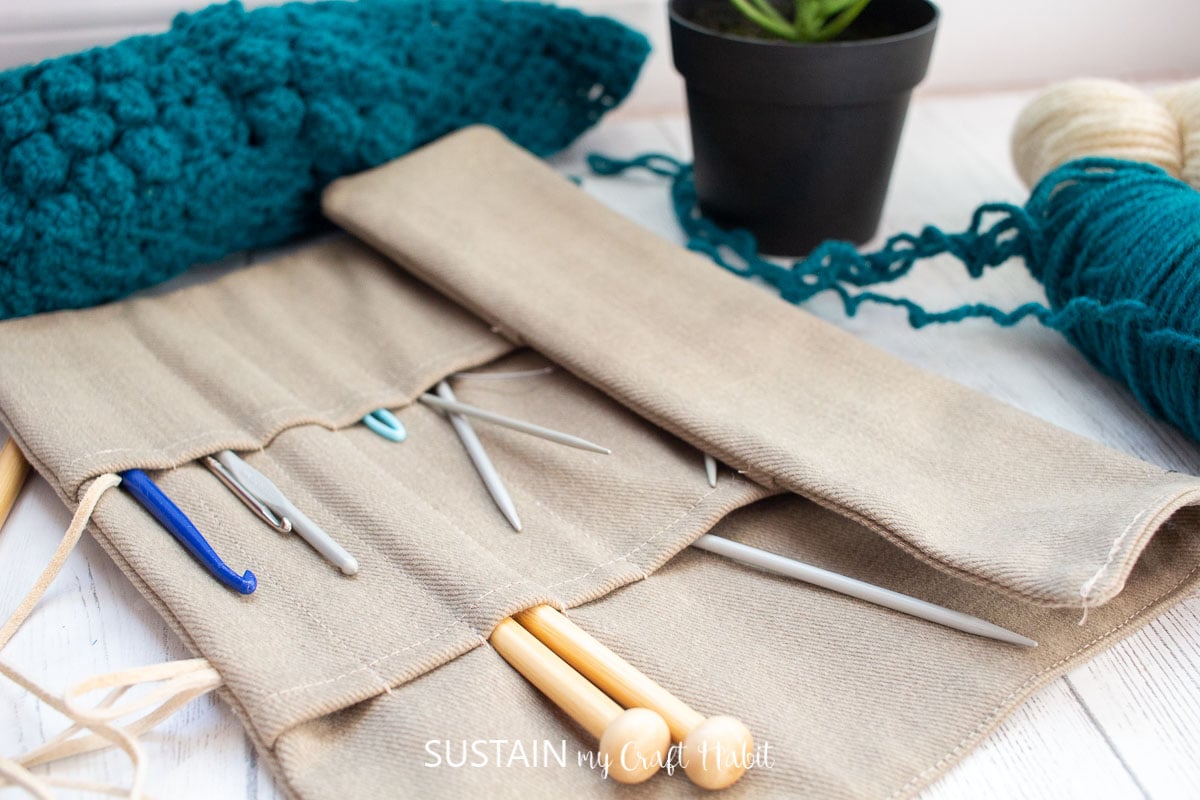
DIY Knitting Needle Organizer with ...
sustainmycrafthabit.com
Your folders

 191 views
Hanging-tree biscuits
taste.com.au
4.7
(9)
10 minutes
Your folders
 285 views
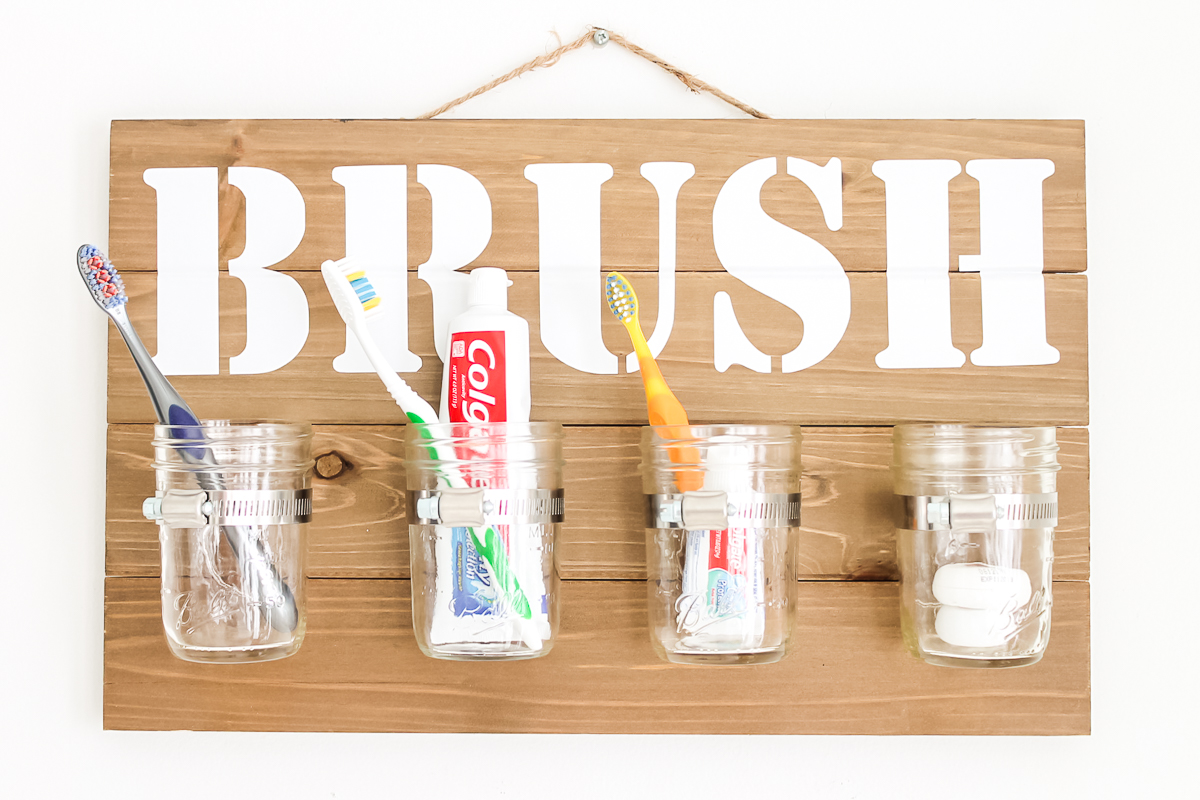
Mason Jar Bathroom Organizer
thecountrychiccottage.net
Your folders

 214 views
Mason Jar Wall Sconces
craftsbyamanda.com
Your folders

 214 views
Valentine's day wall decorations
theseamanmom.com
Your folders
 286 views
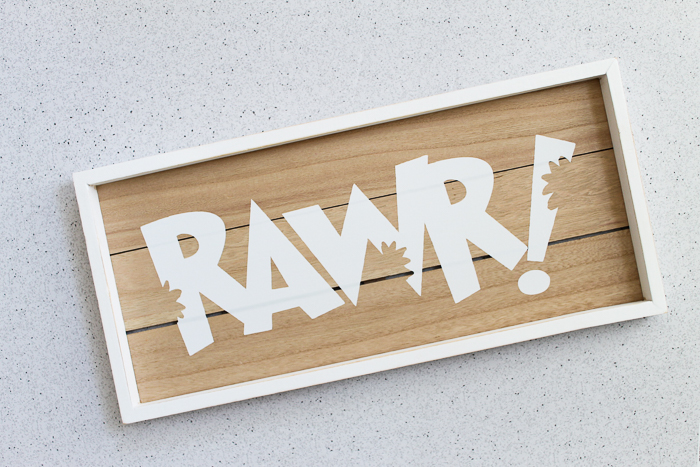
Dinosaur Wall Art Decals
thecountrychiccottage.net
Your folders

 331 views
Hanging St. Louis-Style Ribs
pitboss-grills.com
5.0
(1)
4 hours, 30 minutes
Your folders
 226 views
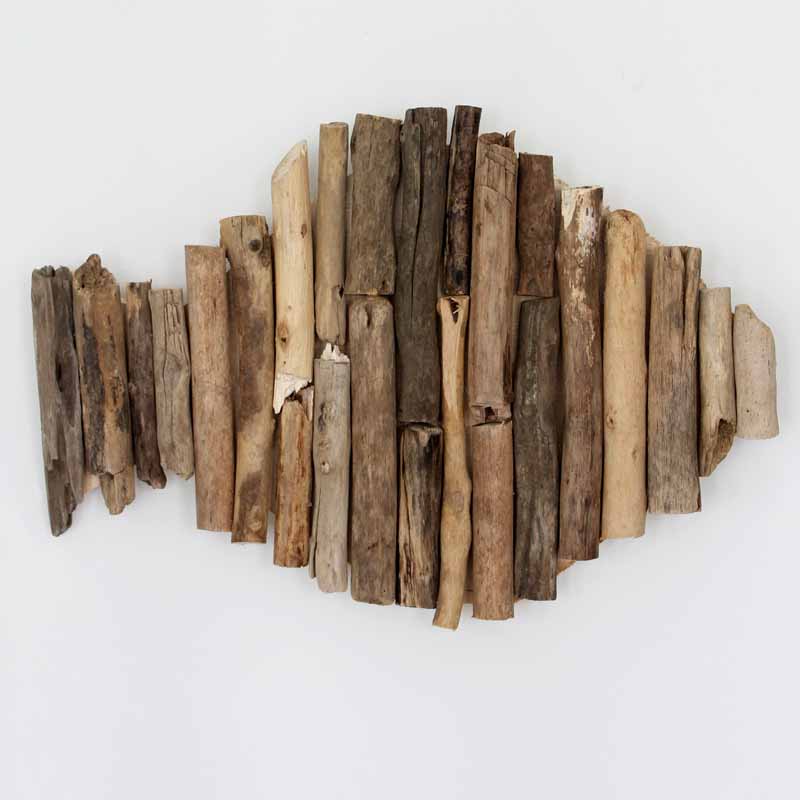
Fish-Shaped Driftwood Wall Art
thecountrychiccottage.net
Your folders

 656 views
DIY Latte
amindfullmom.com
5.0
(36)
1 minutes
Your folders

 157 views
DIY pizza
taste.com.au
4.6
(3)
10 minutes
Your folders
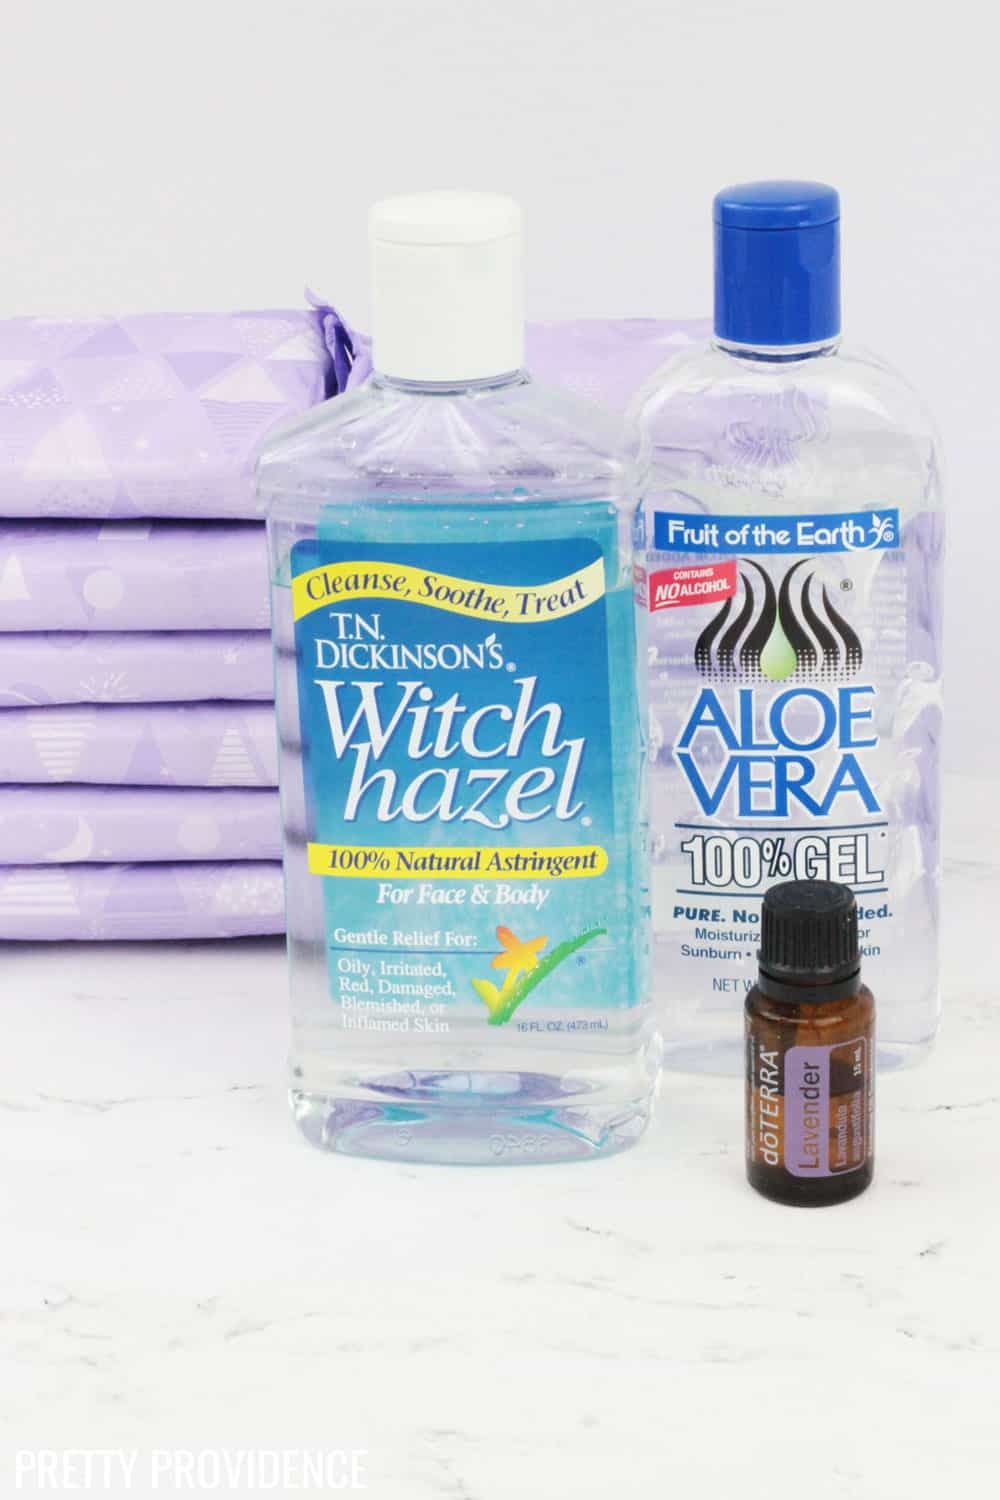
 283 views
DIY Padiscles
prettyprovidence.com
Your folders

 386 views
Paneer DIY
alphafoodie.com
4.9
(16)
20 minutes
Your folders

 318 views
DIY Notebooks
papernstitchblog.com
Your folders

 313 views
Homemade DIY Shampoo Bar | DIY Natu...
diynatural.com