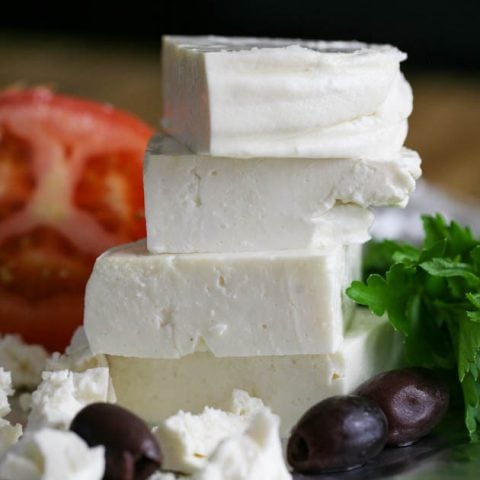
Homemade Feta Cheese
4.7
(20)
Your folders
Your folders
Prep Time: 2 hours, 30 minutes
Cook Time: 10 minutes
Total: 14 hours, 40 minutes
Servings: 20
Author : Lady Lee
Ingredients
Export 2 ingredients for grocery delivery
Instructions
Step 1
Add milk to a large pot and set on the stove top. Turn stove top to medium heat and heat your milk to 86F. Make sure to stir constantly so the milk doesn't burn.
Step 2
Once the milk reaches 86F, remove the pot from the heat and add the diluted calcium chloride. Stir it in with a slotted spoon.
Step 3
Sprinkle the cheese culture on the milk and use the slotted spoon to mix it in well.
Step 4
Cover your pot and let the milk rest for an hour while keeping the temperature at 86F.
Step 5
Uncover your pot and add the diluted rennet, stir the rennet in immediately with the slotted spoon.
Step 6
Cover your pot and let it rest for another hour.
Step 7
After an hour your milk should be completely coagulated and it's time to cut the curds. Cut them with a large knife or a large icing spatula vertically and then at a 90 degree angle to form squares on the surface of the curds. Than cut the curds at a 45-degree angle.
Step 8
Cover your pot and let the curds rest for 5 minutes.
Step 9
in the next 15 minutes, uncover and stir the curds three times at an interval of five minutes between each stirring. Make sure to stir from the bottom to the top and around the pot.
Step 10
Set a large colander in your sink and line it with cheesecloth or flour sack. Transfer your curds into the colander and give the whey a couple of minutes to drain.
Step 11
Collect the sides of the cheesecloth or flour sack and tie them with a string to form a bag. Hang your bag on a kitchen cabinet. Place a bowl under the bag to catch the whey and leave your bag hanging overnight.
Step 12
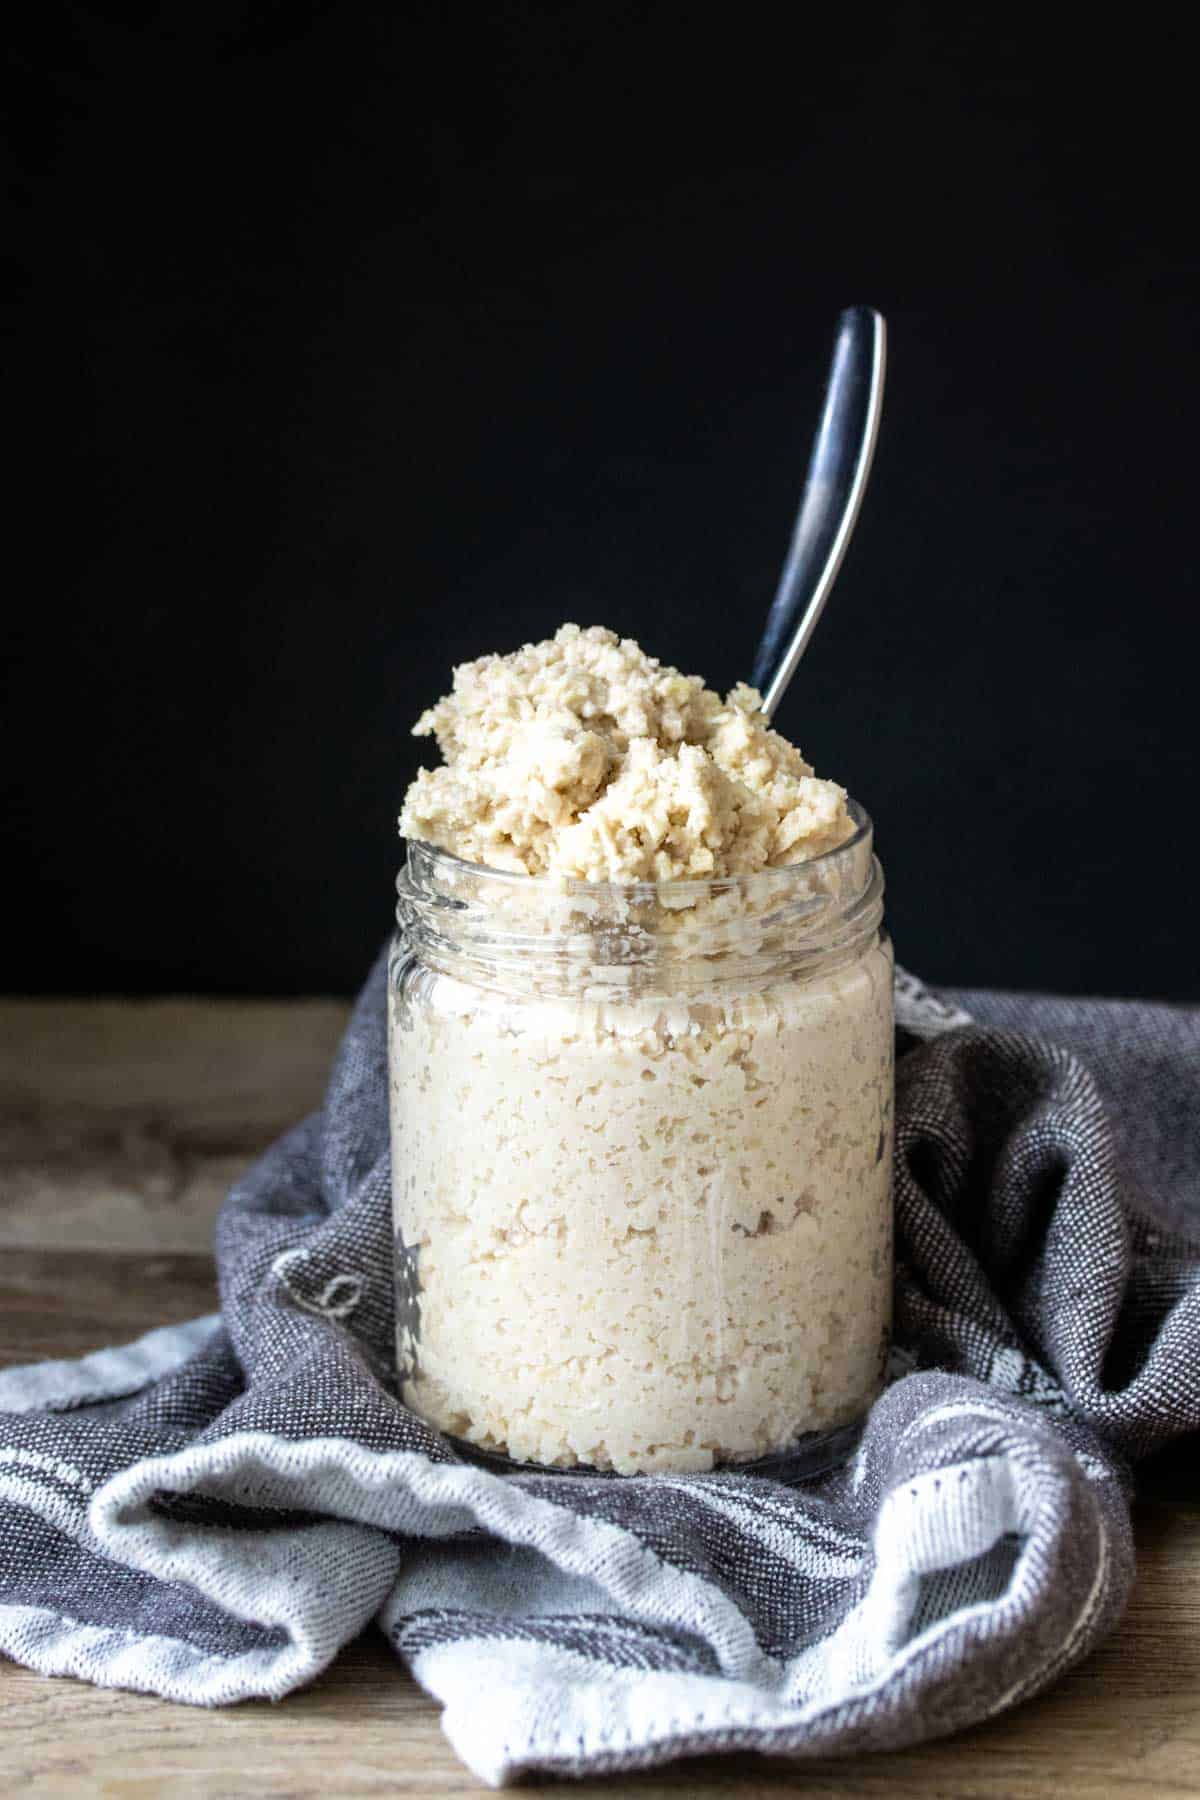
In the morning, set your bag on a cutting board. Open the bag and gently remove it, set your ball of cheese on the cutting board.
Step 13
Use a large kitchen knife to cut the ball into 1 inch thick slabs of cheese.
Step 14
Sprinkle two or three tablespoons of kosher salt on the bottom of a 9x13 inch pan. Set your slabs of cheese in one layer in the pan and sprinkle another thin layer of salt on top of the slabs. Cover the dish with a plastic wrap and set in the fridge for 24 hours.
Step 15
During those 24 hours, take the pan out a couple of times, get rid of the whey and lightly salt the cheese from both sides again.
Step 16
After 24 hours, your cheese is ready to eat!
Top similar recipes
Curated for youYour folders

 412 views
Homemade Feta Cheese
culturesforhealth.com
Your folders
 230 views
Homemade Feta Cheese
artofnaturalliving.com
5.0
(1)
2 hours
Your folders
 183 views
Homemade Vegan Feta Cheese
romylondonuk.com
5 minutes
Your folders
 453 views
Vegan Feta Cheese (Tofu Feta Cheese...
jessicainthekitchen.com
5.0
(5)
Your folders
 314 views
Homemade Vegan Feta
biancazapatka.com
4.9
(12)
Your folders
 568 views
Vegan Feta Cheese - Tofu Feta
thehiddenveggies.com
5.0
(8)
Your folders
 606 views
Vegan Feta Cheese
deliciouseveryday.com
4.8
(10)
120 minutes
Your folders
 465 views
Vegan Feta Cheese
avirtualvegan.com
4.7
(81)
35 minutes
Your folders
 238 views
Vegan Feta Cheese
rabbitandwolves.com
90
Your folders
 232 views
Feta Cheese Recipes
homemademastery.com
20 minutes
Your folders
 174 views
Vegan Feta Cheese
yuzubakes.com
5.0
(8)
Your folders
 410 views
Feta cheese salad
ramonascuisine.com
5.0
(16)
Your folders
 380 views
Vegan Feta Cheese
avirtualvegan.com
Your folders
 99 views
Feta cheese shortbreads
food52.com
4.5
(4)
15 minutes
Your folders
 104 views
Tofu Feta Cheese
thatveganbabe.com
10 minutes
Your folders
 330 views
Feta Saganaki (Pan fried Feta chees...
mygreekdish.com
4.9
(79)
5 minutes
Your folders
 386 views
Homemade Baked Greek Fries recipe w...
mygreekdish.com
4.9
(558)
50 minutes
Your folders
84 viewsFeta Cheese RecipeFeta Cheese Recip...
cheesefromscratch.com
Your folders
 295 views
Vegan Feta Cheese Recipe
veggiesdontbite.com
5.0
(2)