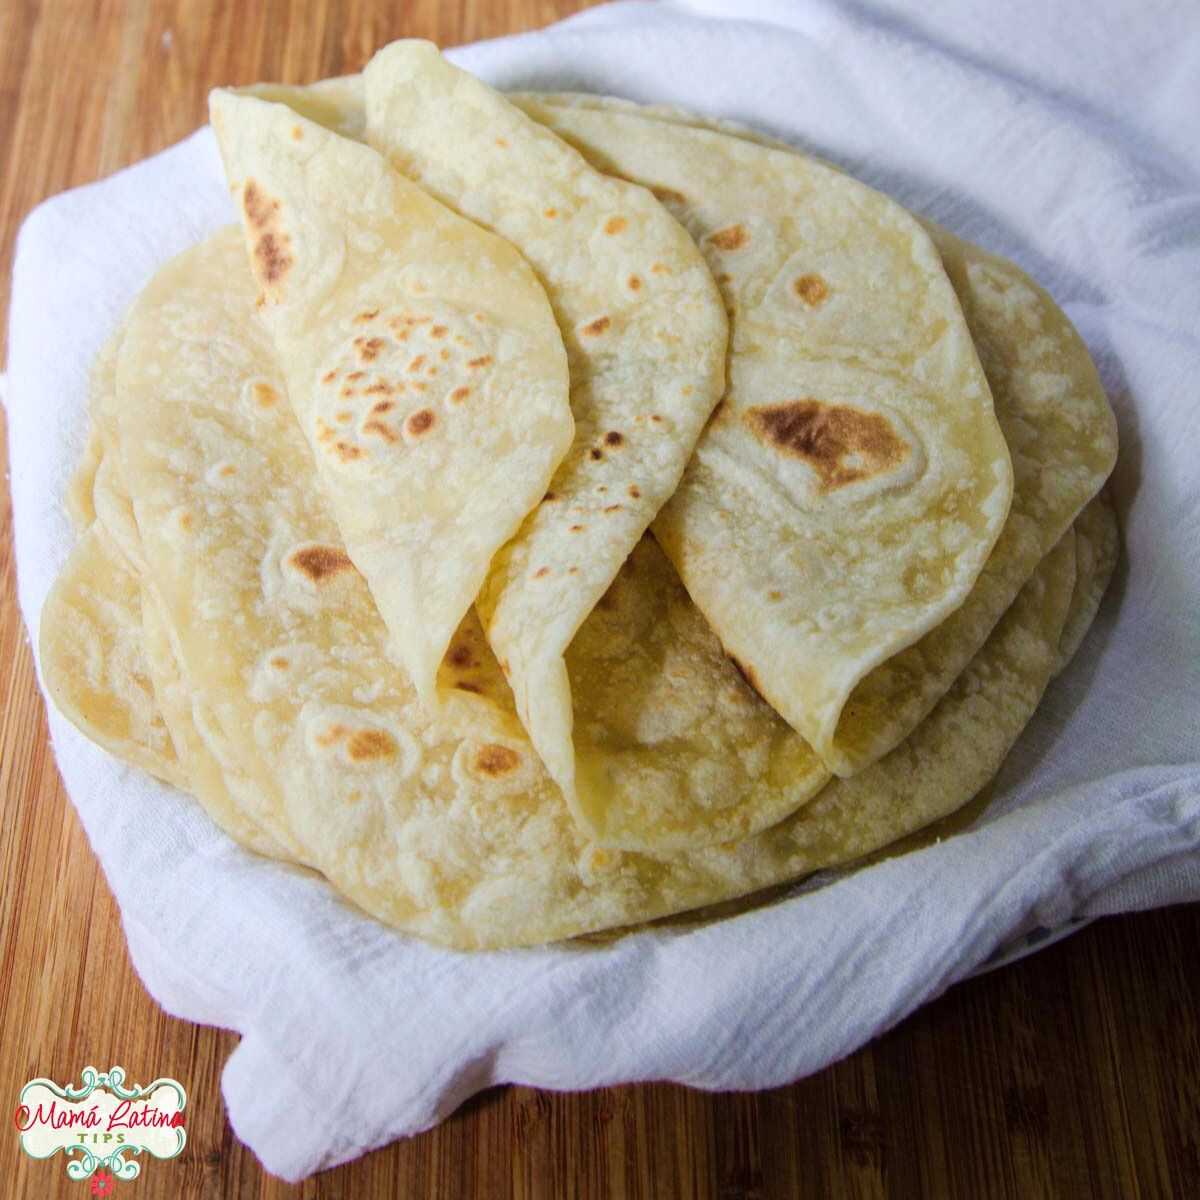
Homemade Flour Tortilla Recipe
5.0
(12)
Your folders
Your folders
Prep Time: 10 minutes
Cook Time: 50 minutes
Total: 90 minutes
Servings: 16
Author : Silvia Martinez
Ingredients
Export 2 ingredients for grocery delivery
Instructions
Step 1
Mixer instructions in notes.
Step 2
Place the dry ingredients in a large bowl. Add the lard (or other fat you are using) and 1 cup of the hot water (leave the other quarter cup aside). With the wooden spoon, which we use to avoid touching the hot water with our hands, begin to mix the ingredients.
Step 3
Once you start to feel resistance with the spoon, continue kneading with your hands. At this moment, the dough will feel lumpy and warm.
Step 4
As you continue kneading, and depending on the temperature of your house, the weather, and the place you live (I live at sea level), you will notice that the dough may feel a little dry. In this case, add a little of the reserved water. In some cases, the original one cup will be enough, but most of the time, you will need a bit more.
Step 5
If, on the contrary, you added too much water and it feels sticky to the point that it doesn't come off your hands at all, you can add a teaspoon of flour, knead for two minutes, and evaluate if it requires another one.
Step 6
It's ready when the ball of dough feels slightly moist and elastic and comes off your hands easily. This will take approximately 8 minutes of kneading time.
Step 7
Divide the dough into 16 equal pieces for regular-size tortillas. Check the table above for other sizes.
Step 8
To do this, I recommend using a kitchen scale to create balls of the same size, but if you don't have one, you can use a knife or a bench scraper to divide the dough evenly. This recipe makes 16 regular-sized flour tortillas.
Step 9
If you use the scale, weigh the total dough and divide by the desired number of tortillas to determine how many grams per portion of dough you need.
Step 10
Take one piece of dough in your hand or roll it on a flat surface to form a ball. Place it on a lightly floured surface and repeat until you're done.
Step 11
My kitchen is small, so I like to place them on a wooden cutting board in case I need to move them. But you can leave them on the kitchen counter or on a table.
Step 12
Cover them with a tea towel or plastic wrap and let the dough rest at room temperature for at least 30 minutes (no more than 45). Resting time is essential because it allows the gluten to develop and makes it easier to roll out the tortillas.
Step 13
You will need extra flour to flour the surface where you are going to shape the tortillas. I usually need a little less than 1/4 cup total.
Step 14
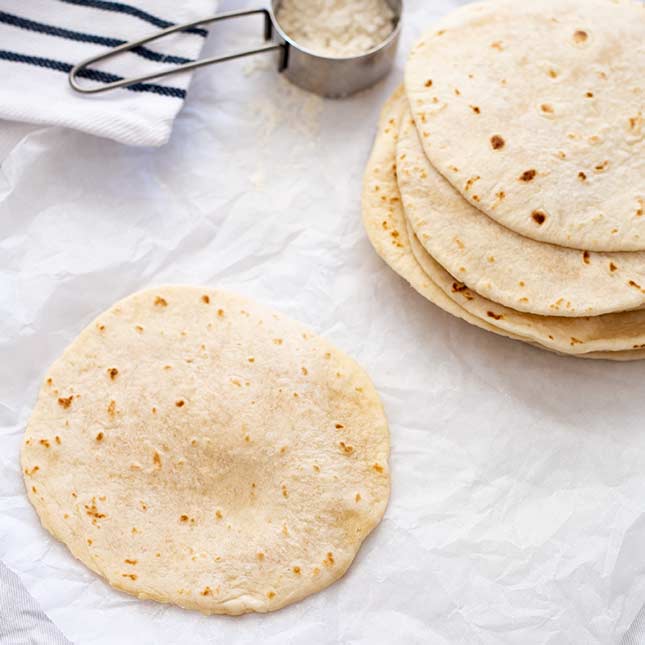
Place one of the balls on a lightly floured surface (remember to cover the remaining dough balls). With the rolling pin, press slightly in the center of the ball, then roll it out from the center up and then the center down.
Step 15
Next, rotate it a quarter turn and roll it again from center to top and from center to bottom. Now flip it over and repeat. Try not to add more flour because it could create a dry tortilla.
Step 16
Continue rolling from top to bottom, twisting or turning until you achieve the desired thickness and size.
Step 17
I recommend forming only the number of tortillas that will fit flat on your work surface without placing one on top of the other. Otherwise, they will stick together, and you will have to shape them again, forcing you to use more flour and making them drier.
Step 18
I generally roll out three and form the next while I wait for one to cook.
Step 19
Heat the comal or cast iron skillet over medium-high heat; once it is hot, reduce to medium heat and place the first tortilla.
Step 20
When you notice that the tortilla surface has changed from a whitish to a yellowish color and bubbles begin to form, turn it over. You will see golden brown spots on it. Depending on your stove and skillet, this should take 35-45 seconds.
Step 21
Wait another 30-40 seconds, then turn it again and cook for 10-25 more seconds. During this second flip, some of the tortillas puff up.
Step 22
Remove the cooked tortilla and place it on the other clean kitchen towel and fold it over the tortilla or place in a towel-lined tortilla holder then cover to keep it warm. Repeat until you're done.
Step 23
I use my hands to turn the tortillas because I've been making them for over 20 years, but they are hot, so use the rubber spatula if needed.
Step 24
In my experience, the first tortilla never turns out perfectly; take this as a test to regulate the temperature of your comal for the next one.
Top similar recipes
Curated for youYour folders

 256 views
Homemade Flour Tortilla Recipe
natashaskitchen.com
5.0
(51)
10 minutes
Your folders
 261 views
Homemade Flour Tortilla Recipe
holajalapeno.com
4.6
(27)
20 minutes
Your folders
 234 views
Easy Homemade Flour Tortilla
thebusyabuelita.com
4 minutes
Your folders
 203 views
Vegan Flour Tortilla Recipe
sunglowkitchen.com
5.0
(1)
10 minutes
Your folders
 589 views
Grandma Mercie's Flour Tortilla Rec...
confettiandbliss.com
4.9
(16)
2 minutes
Your folders
 93 views
Homemade Corn Tortilla Recipe
isabeleats.com
Your folders
 269 views
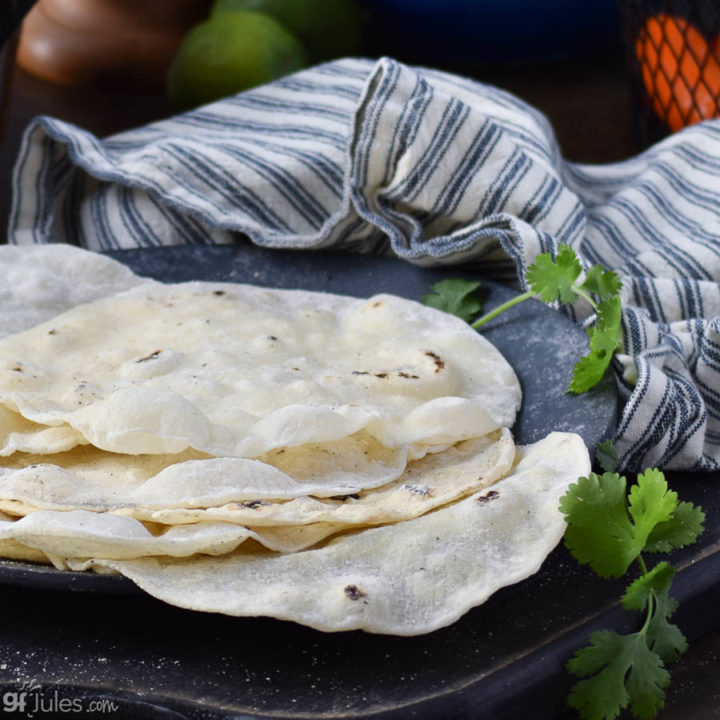
Easy Gluten Free Flour Tortilla Rec...
gfjules.com
4.4
(116)
3 minutes
Your folders
 359 views
Best Burrito-Sized Flour Tortilla R...
travelinginmykitchen.com
4.5
(8)
12 minutes
Your folders
 615 views
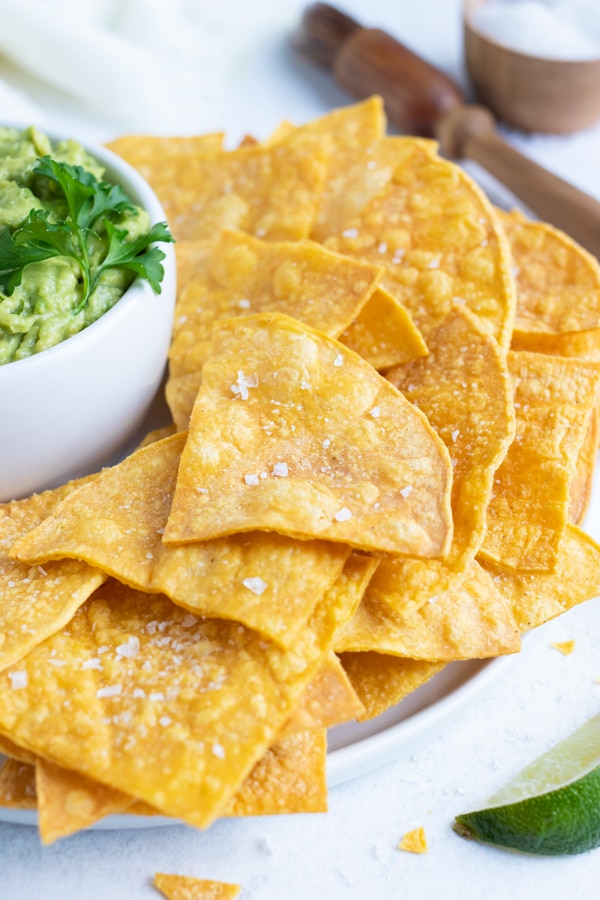
Fried Flour Tortilla Chips
allrecipes.com
4.9
(16)
10 minutes
Your folders
242 viewsFlour Tortilla Chips - DaVita
davita.com
Your folders
 422 views
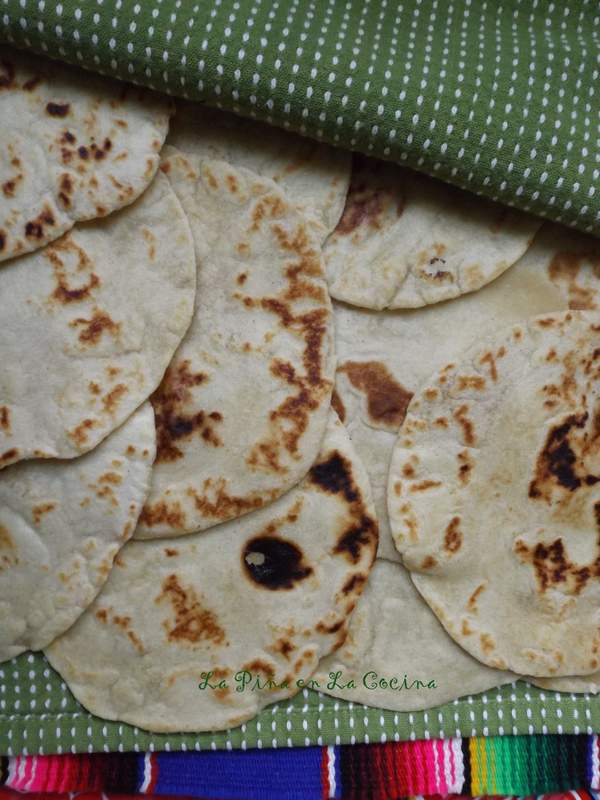
Soft Flour-Corn Tortilla
pinaenlacocina.com
4.6
(9)
35 minutes
Your folders
 227 views
Whole Wheat Flour Tortilla
foodandwine.com
Your folders
 276 views
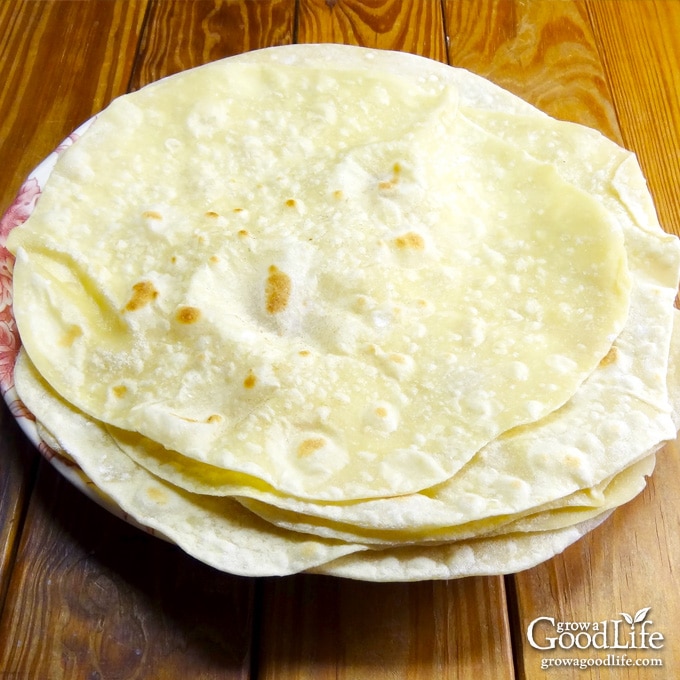
Homemade Flour Tortillas Recipe
growagoodlife.com
4.9
(42)
10 minutes
Your folders
 241 views
Homemade Baked Tortilla Chips Recip...
evolvingtable.com
4.9
(9)
14 minutes
Your folders
83 viewsHomemade Baked Tortilla Chips Recip...
evolvingtable.com
Your folders
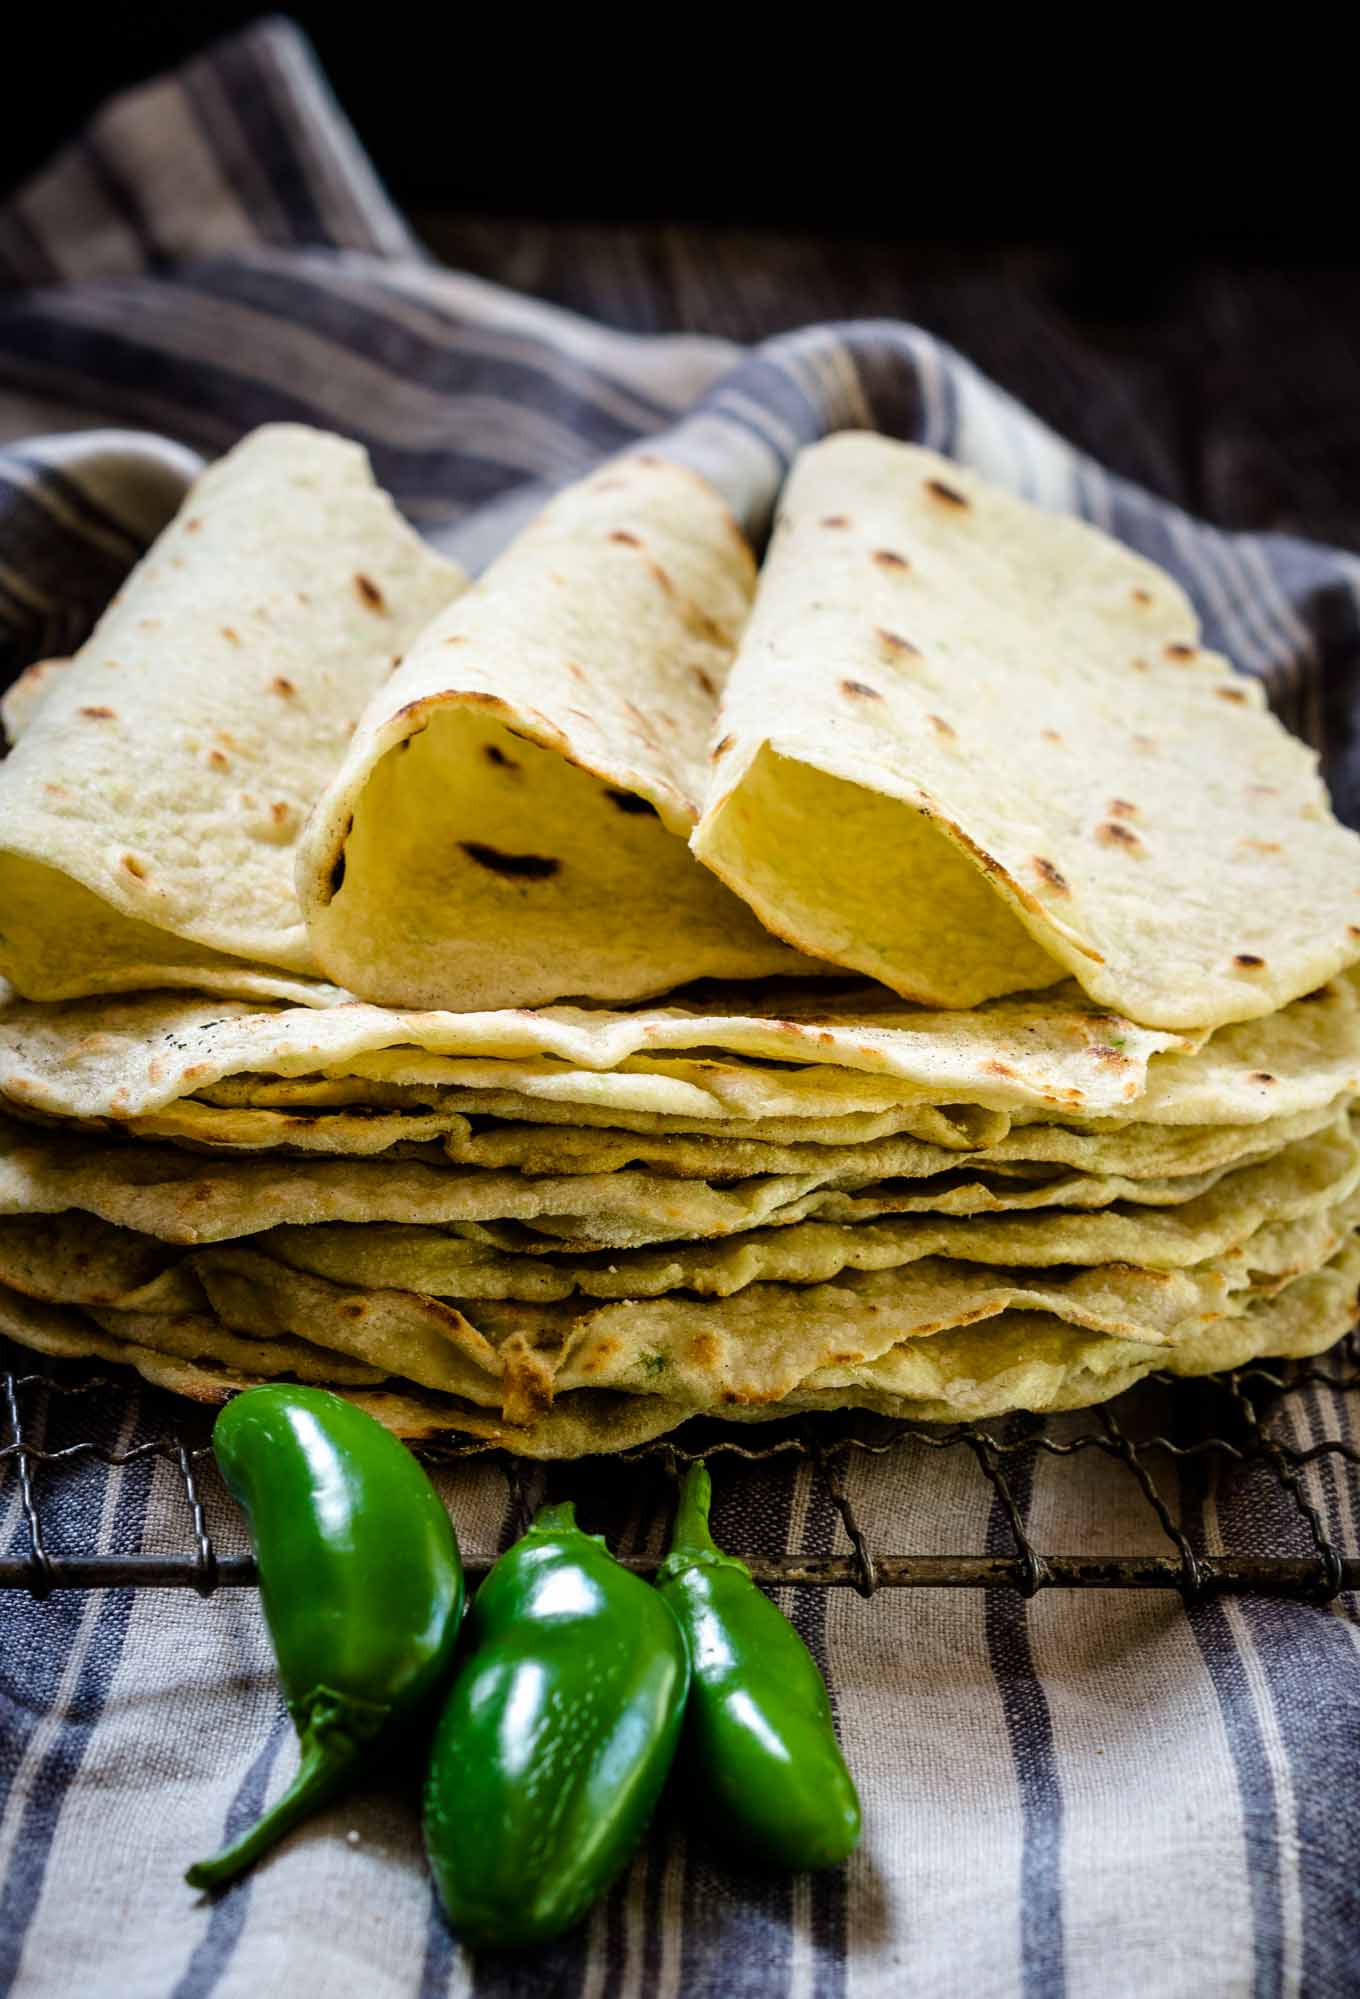 434 views
Homemade Jalapeno Tortilla Recipe –...
hostessatheart.com
4.0
(2)
15 minutes
Your folders
 327 views
Homemade Soft Tortilla Wrap Recipe
sprinklesandsprouts.com
4.6
(62)
2 minutes
Your folders
 161 views
Homemade Fried Tortilla Chips Recip...
livingonadime.com
Your folders
 78 views
Amarnath flour tortilla with avocad...
earthlysuperfood.com
5.0
(1)
15 minutes