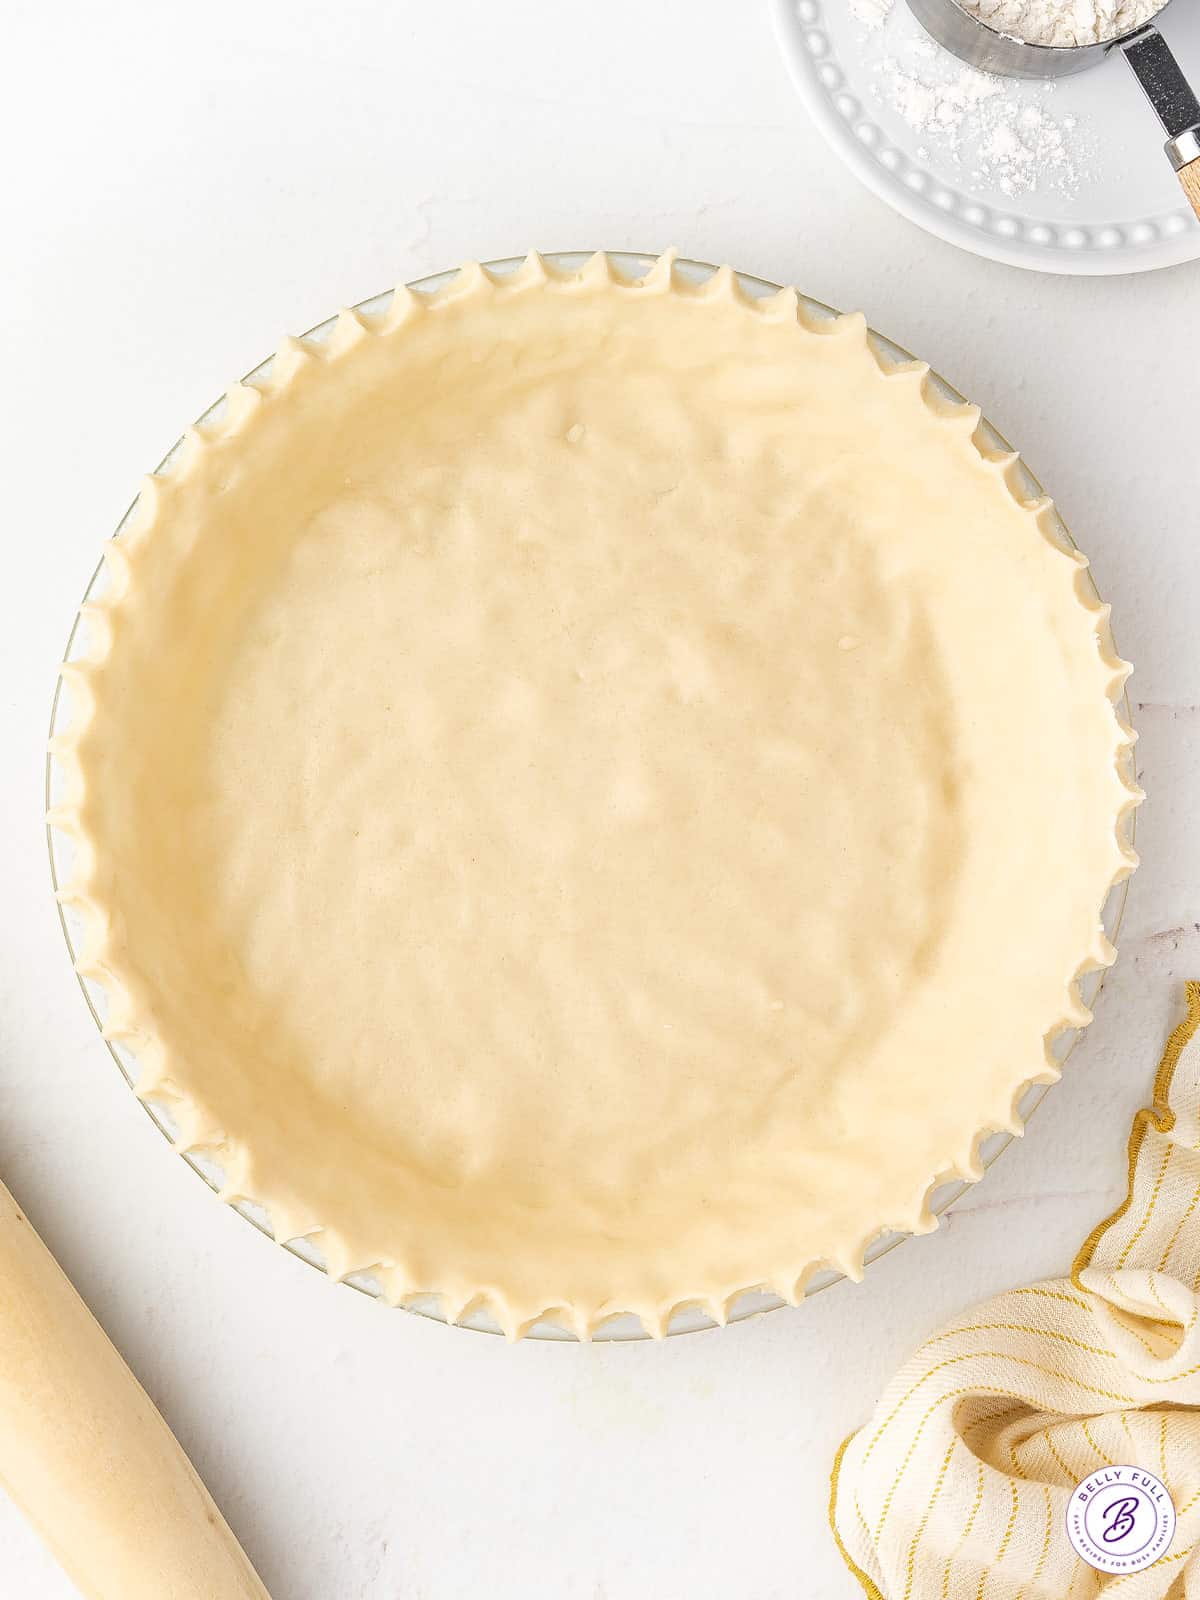
Homemade Pie Crust
5.0
(7)
Your folders
Your folders
Prep Time: 15 minutes
Total: 45 minutes
Servings: 8
Author : Amy Flanigan

Ingredients
Export 2 ingredients for grocery delivery
Instructions
Step 1
Put 1 & 1/2 cups all-purpose flour and 1/2 teaspoon salt into the bowl of a food processor and pulse a few times to combine.
Step 2
Cut 1/2 cup shortening into cubes and sprinkle it on top of the flour in different places.
Step 3
Pulse several times (about until the mixture resembles large pea-sized crumbs and changes to a darker color. Take a little bit of the mixture and pinch it together with your fingers; if it holds together, your dough is ready for the water.
Step 4
Remove the food processor lid cap and slowly drizzle in 3 tablespoons ice cold water while pulsing, until the mixture just starts to form a ball. Don't over-process.
Step 5
Take some of the mixture and pinch it together with your fingers; if it holds together, your dough is good to go. If it’s still crumbly, add a little more water (but no more than a tablespoon at a time. Too much water will require more flour, which will make the crust tough.)
Step 6
Transfer the dough mixture onto a clean, dry, flat surface that’s been lightly dusted with flour.
Step 7
Gather into a mound, then fold the dough into itself until the flour is fully incorporated. (The dough should come together easily and should not feel sticky. Don’t over-knead. You should just knead enough so that the dough holds together without cracks.) Then flatten the mound into a 1-inch thick disk, making sure there aren’t any open edges or cracks.
Step 8
Wrap the dough tightly in plastic wrap and refrigerate for 30-60 minutes.
Step 9
After the dough has chilled, remove it from the refrigerator and let it sit for a few minutes while you prep your work surface to roll it out.
Step 10
Cut a large piece of parchment paper; lay it on a clean, dry, flat surface and sprinkle with a little flour. Cut a similar sized piece of wax paper.
Step 11
Place your dough disk on top of the parchment paper and sprinkle with a little flour, then place the wax paper on top of the dough.
Step 12
Using a rolling pin, start to roll out the dough. You want to roll with purpose, but gently. Start rolling from the center to the outer edge, in single strokes, making sure to move in all directions, turning as you go, so that your crust stays in a general circular shape. Roll, turn, roll, turn, etc. If the dough is sticking to the wax paper as you roll, add a few sprinkles of flour on top of the dough, and continue rolling.
Step 13
Roll the dough into a 12-inch circle, about 1/8 inch thick. (I then transfer the dough into a 9-inch pie plate, which allows me to trim and crimp the edges. My mom always uses a 10-inch pie plate, so there isn’t any excess and that’s ok, too!)
Step 14
Transfer the dough to your pie plate with a rolling pin, dough blade, or cutting board. Gently press down so that it lines the bottom and sides of the pie plate.
Step 15
Use a pair of kitchen scissors or sharp pairing knife to trim the dough to within 1/2 inch of the edge of the pie dish. (If you've got some tears DON’T FRET! Just simply use your fingertips and gently press together any tears or cracks.) Crimp the edges.
Step 16
Proceed with whatever pie recipe you’re making! (Some recipes do call for a fully baked pie crust or a partially baked crust, so pay attention to that.) Don't miss all the helpful tips about forming and rolling the pie crust, and blind baking in the article.