How to Ferment Cabbage and Make Sauerkraut
Your folders
Your folders
Total: 30
Ingredients
Export 6 ingredients for grocery delivery
Instructions
Step 1
Start by boiling 6 cups of water with 1 tbsp of kosher salt till salt is dissolved. Allow to cool.
Step 2
Meanwhile, clean your cabbage and pull off 5-6 of the external whole leaves, set aside. Shred the remaining cabbage - for instructions on shredding cabbage, click here.
Step 3
Cover the bottom of your fermenting pot with 3-4 whole cabbage leaves. You will only need two layers of whole leaves in the crock, one on the bottom and one on the top.
Step 4
You will need to salt the shredded cabbage before adding it to the fermentation pot. We found this is easiest to do in smaller batches, to keep the salting amount consistent and mixed throughout the fermentation crock. Measure out 2 pounds of shredded cabbage into a bowl (we zeroed our scale with the bowl on, then measured a 2 pound batch).
Step 5
Use clean hands to toss the shredded cabbage in the bowl with 1 tsp kosher salt.
Step 6
Place the salted, shredded cabbage into the fermentation pot on top of the whole leaves.
Step 7
Measure out another 2 pounds of the shredded cabbage and mix with 1 tsp of salt, then add to the fermenting pot. Repeat this process in batches until all of your shredded cabbage has been salted and added to the pot. Pack down the cabbage tightly, but do not crush the cabbage strips.
Step 8
Cover the top of your shredded cabbage with remaining whole cabbage leaves. These leaves will help to collect the yeast and mold that may accumulate at the top of the crock, and can easily be removed and discarded after the fermentation process is complete.
Step 9
Place stone fermentation weights on top of the whole cabbage leaves and press down, but not too hard. You don’t want to damage the cabbage.
Step 10
Cover the fermentation crock with a lid. The salt will naturally draw some water out of the cabbage. After a few hours, check to see how much liquid has accumulated inside of the pot. It should be about 1-3 inches above the cabbage. If this hasn’t happened, add cooled, boiled salt water to the pot. We ended up needing about 3-4 cups of salt water. Pour it over the cabbage till it is submerged (you may not need to do this if your cabbage has created enough natural liquid). Reserve the remaining salt water.
Step 11
Once the water level is where it should be, cover the pot and fill the channel around the lid with cooled salt water to create an airtight seal. This will keep oxygen out of the pot. Once this has been done, do not open the fermentation pot for at least 2 weeks. No peeking! Reserve the remaining salt water brine in a sealed container in the refrigerator; you will need it over the course of the next several weeks.
Step 12
For the first few days, store the pot in a warm place, between 68 and 72 degrees. After a few days have passed, listen for a fizzy, bubbling sound coming from the pot. This is good and means that fermentation has begun. If you don't hear anything, don't worry, it may just mean that the walls of your crock are too thick for sound to travel through. After fermentation has started, move the pot to a cool place, between 59 and 64 degrees, for the remaining fermentation time. If you don't hear anything after 1 week, go ahead and move the crock to a cooler location without waiting for it to sound bubbly.
Step 13
Check your water channel regularly to make sure that it's filled with salt water. At times, the pressure which builds up inside the crock can cause suction, which pulls the channel water into the crock (it happened to us a few days in). If this happens, pour more of the salt water into the channel to keep it full.
Step 14
After the first 2 weeks, check your sauerkraut’s brine level and skim off any mold or bubbles that have gathered near the top. Be sure that your cabbage is always submerged in the brine. Fermentation breeds strange sounds and smells, so try not to worry about those. Close the fermentation crock again and refill the channel with salt water.
Step 15
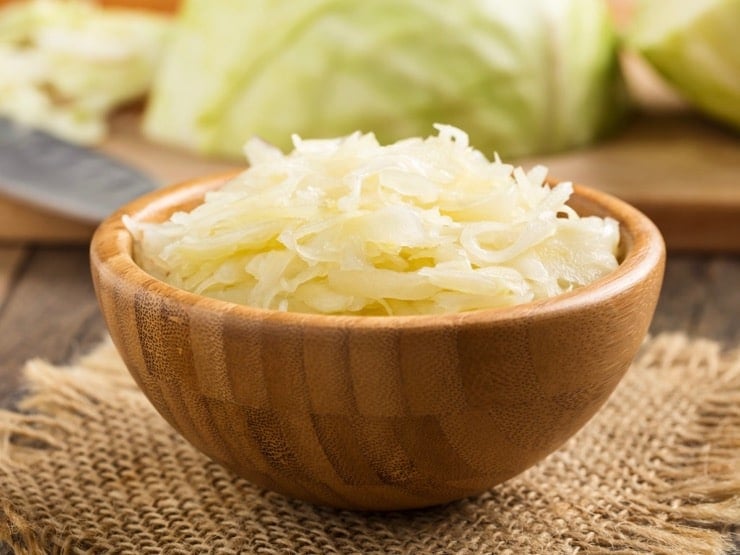
Your sauerkraut should be ready in about 4-6 weeks. You will know for sure once bubbles no longer appear in the liquid. The longer you allow the cabbage to ferment, the tangier the flavor will be.