How to Grow Onions at Home
Your folders
Your folders
Total: 10
Ingredients
Export 3 ingredients for grocery delivery
Instructions
Step 1
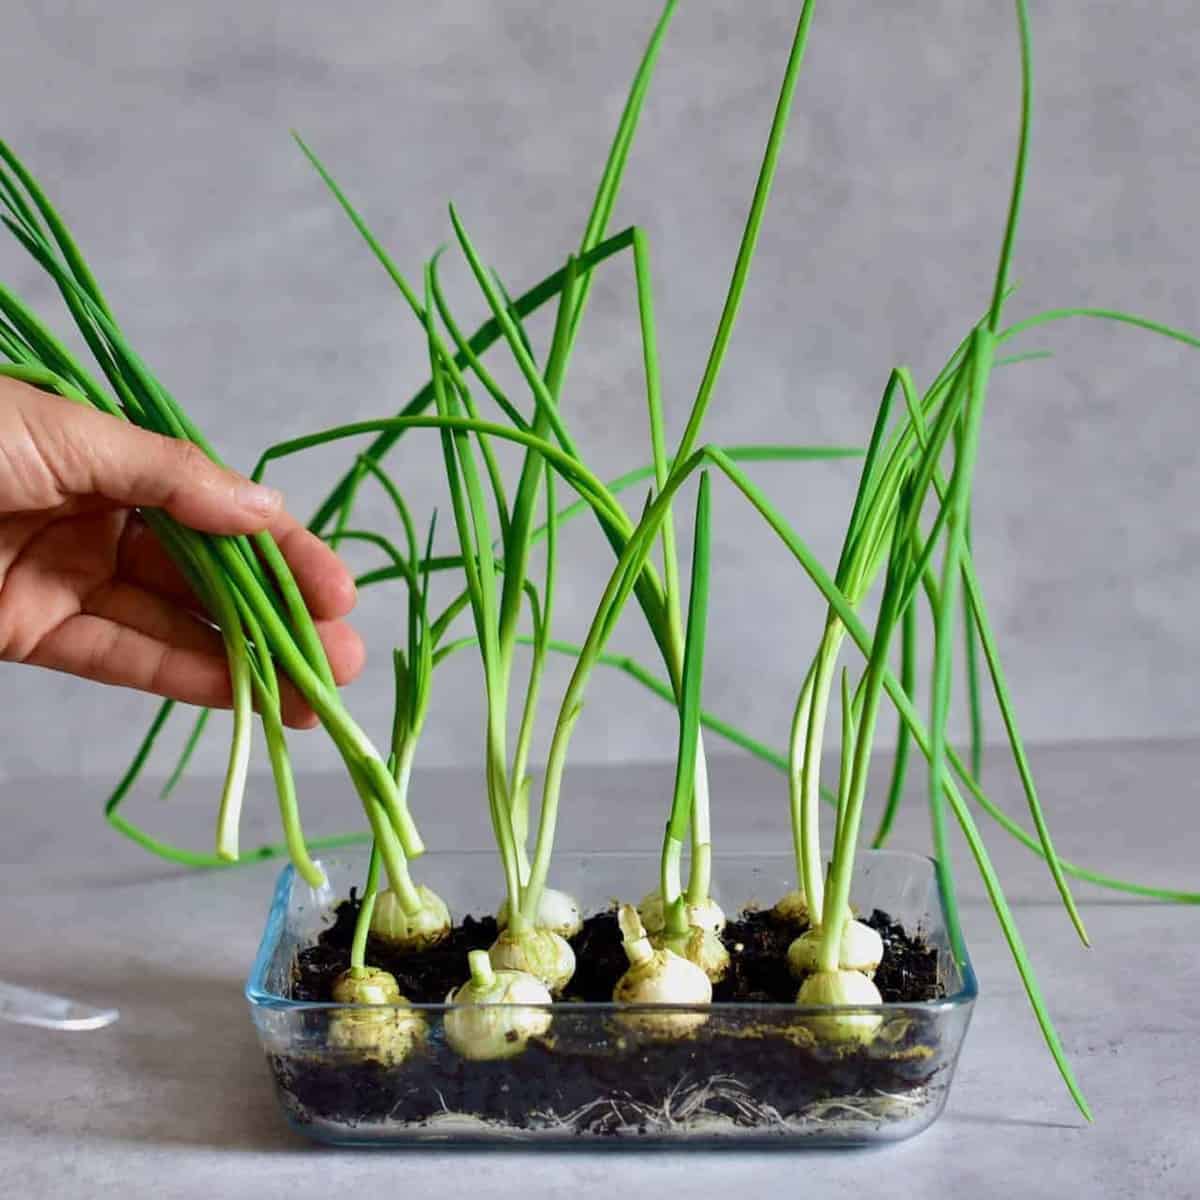
To re-grow spring onions, first, you'll need some existing ones that you've bought. If you're wondering how to cut spring onions, then I like to go with the 1-inch rule. Simply cut above the white area of the onion, which is around 1 inch from the bulb/roots.
Step 2
Fill your container of choice with potting soil. Ideally, you'd want a container with holes so that that excess water can escape. However, if you're using any other type of container, then make sure now to overwater them ( a sprits bottle could be good!) or get rid of the excess water by draining it, if necessary. The soil needs to be about an inch deep in your container.
Step 3
Plant the white bulbs halfway in the soil and evenly spaced in your container.
Step 4
Water regularly but make sure not to overwater as this can ruin the growth and cause mould issues. The onions will start growing within a few days.
Step 5
Enjoy fresh onions as soon as they've grown a few inches tall - cut above the white part.*
Step 6
If using the entire harvest of leaves, then keep watering and wait for a second harvest.
Step 7
Harvest 2-3 times. Then you can use the bulbs as well, discard the roots and start again with new ready-grown spring onions. **
Step 8
This is a method that can get spring onion regrowth quickly. The water will help the roots grow fast, because of all the moisture. However, the onion won't be getting any new nutrients like soil planted version would and so will thin out quicker and won't last as long, overall.
Step 9
Cut the onions 1 inch above the root and place in a tall glass with a few inches of water. Change the water daily and keep the glass in a well-lit area. As I said above, the leaves will grow quickly and can be snipped off as needed.
Step 10
Just like with the soil-grown onions, cutting individual outer leaves near to where it meets the bulb is better for the plant that snipping right from the top. This way new leaves will grow in the centre and It's also better for reducing germs/pests etc. from entering the plant.
Step 11
And it really is as simple as that. Depending on how long you're wanting to keep the plant going then you can decide which method you prefer.
Top similar recipes
Curated for youYour folders

 66 views
How to Grow Onions at Home
alphafoodie.com
Your folders
 398 views
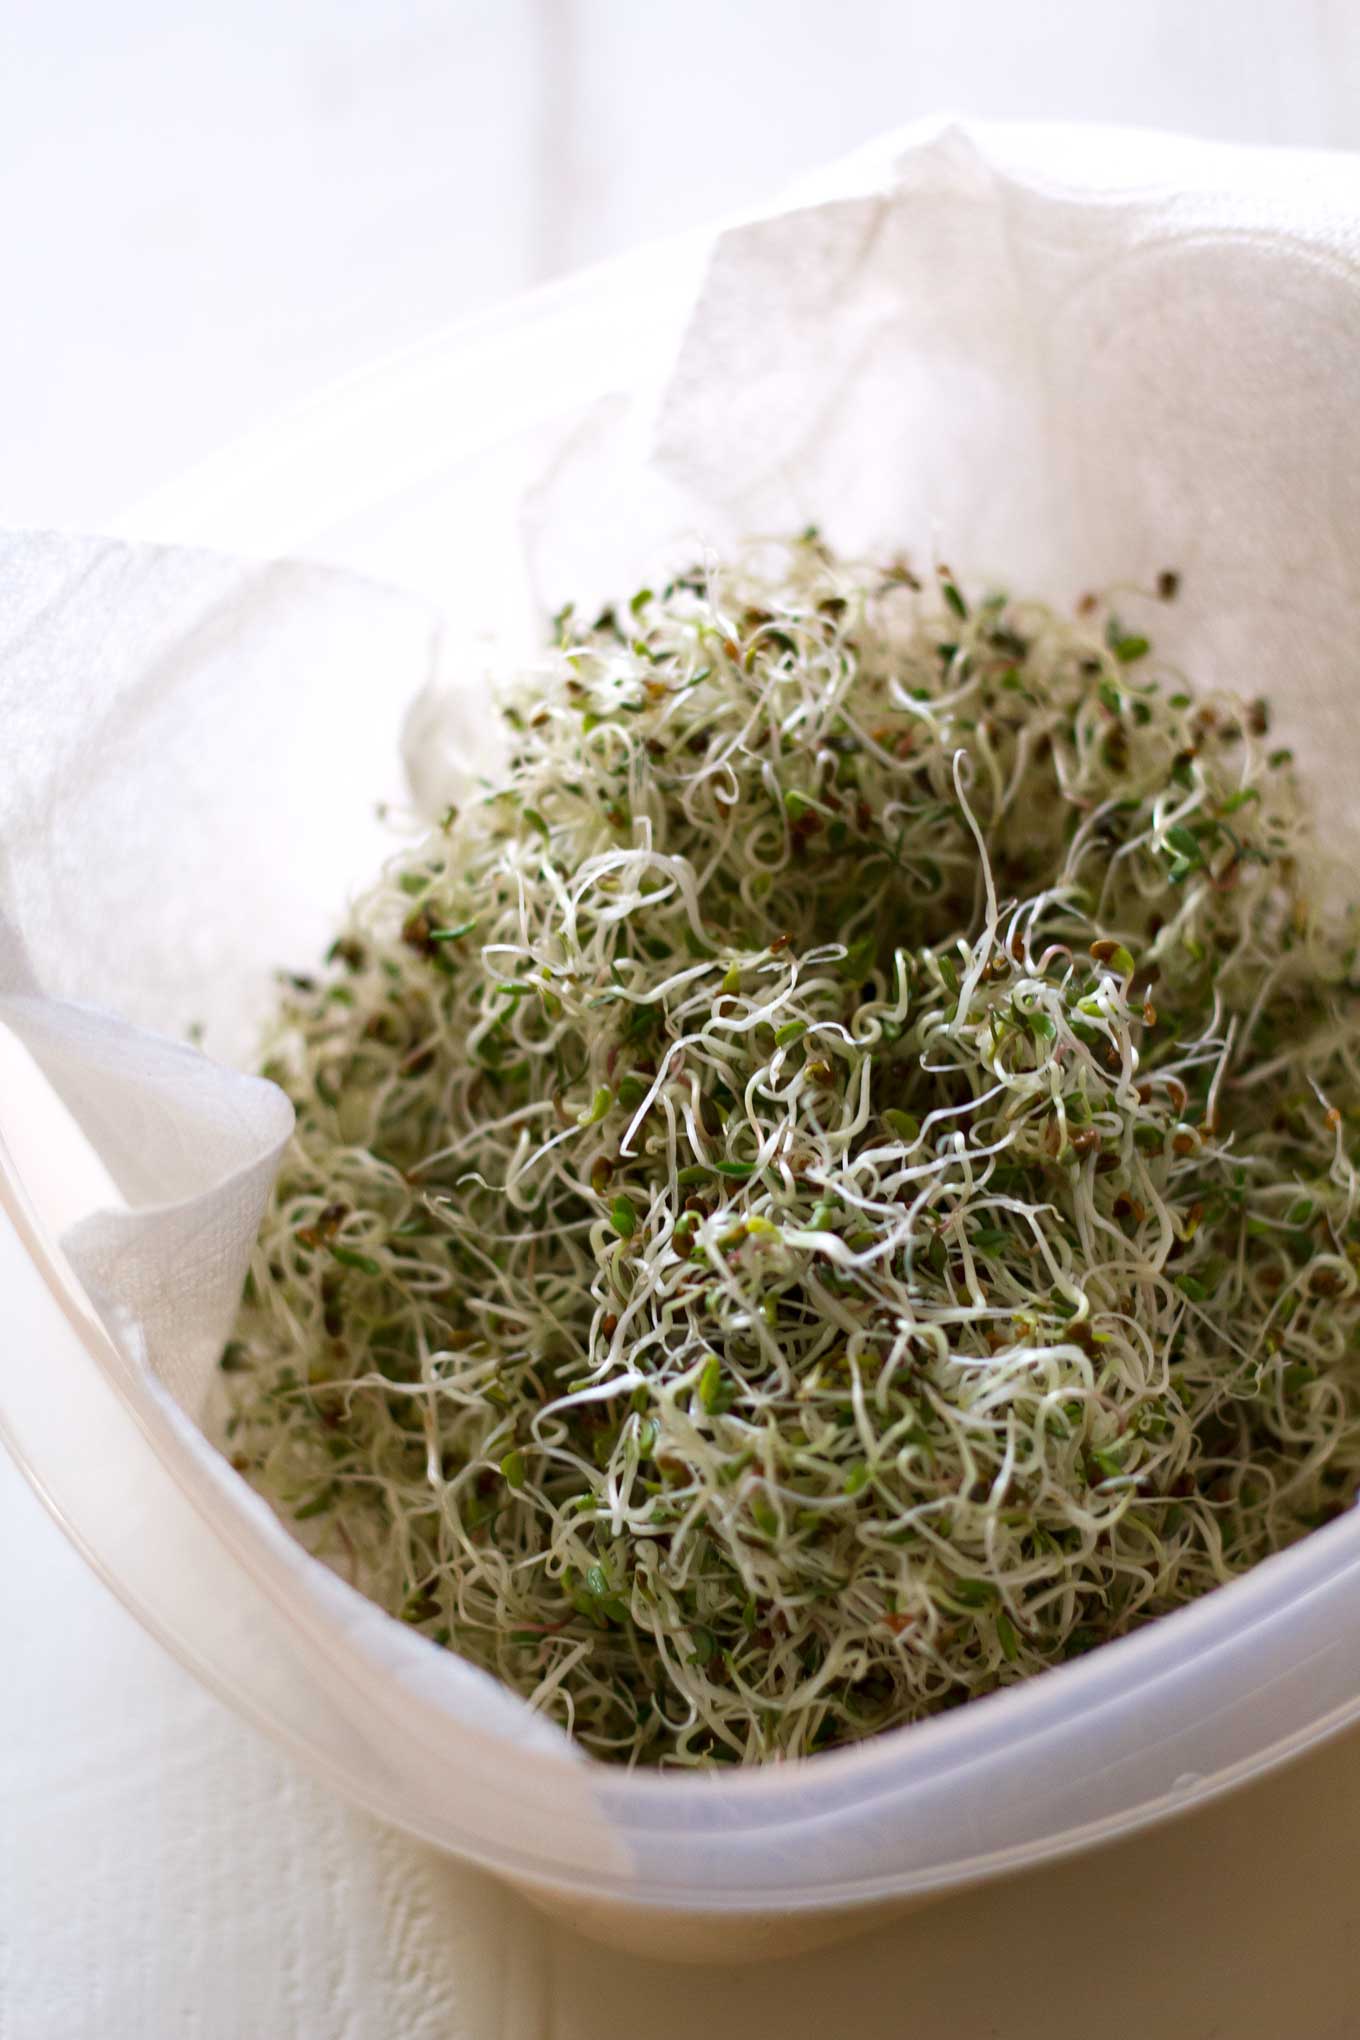
How to Grow Sprouts at Home
passtheplants.com
5.0
(17)
Your folders
 293 views
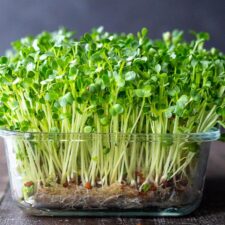
How to Grow Microgreens
feastingathome.com
5.0
(5)
336 hours
Your folders
/__opt__aboutcom__coeus__resources__content_migration__simply_recipes__uploads__2020__04__How-to-Make-Kombucha-LEAD-16-38f65524a57b4eed9fcacc4ea02d78b3.jpg) 429 views
429 viewsHow to Make Kombucha at Home
simplyrecipes.com
Your folders
 725 views
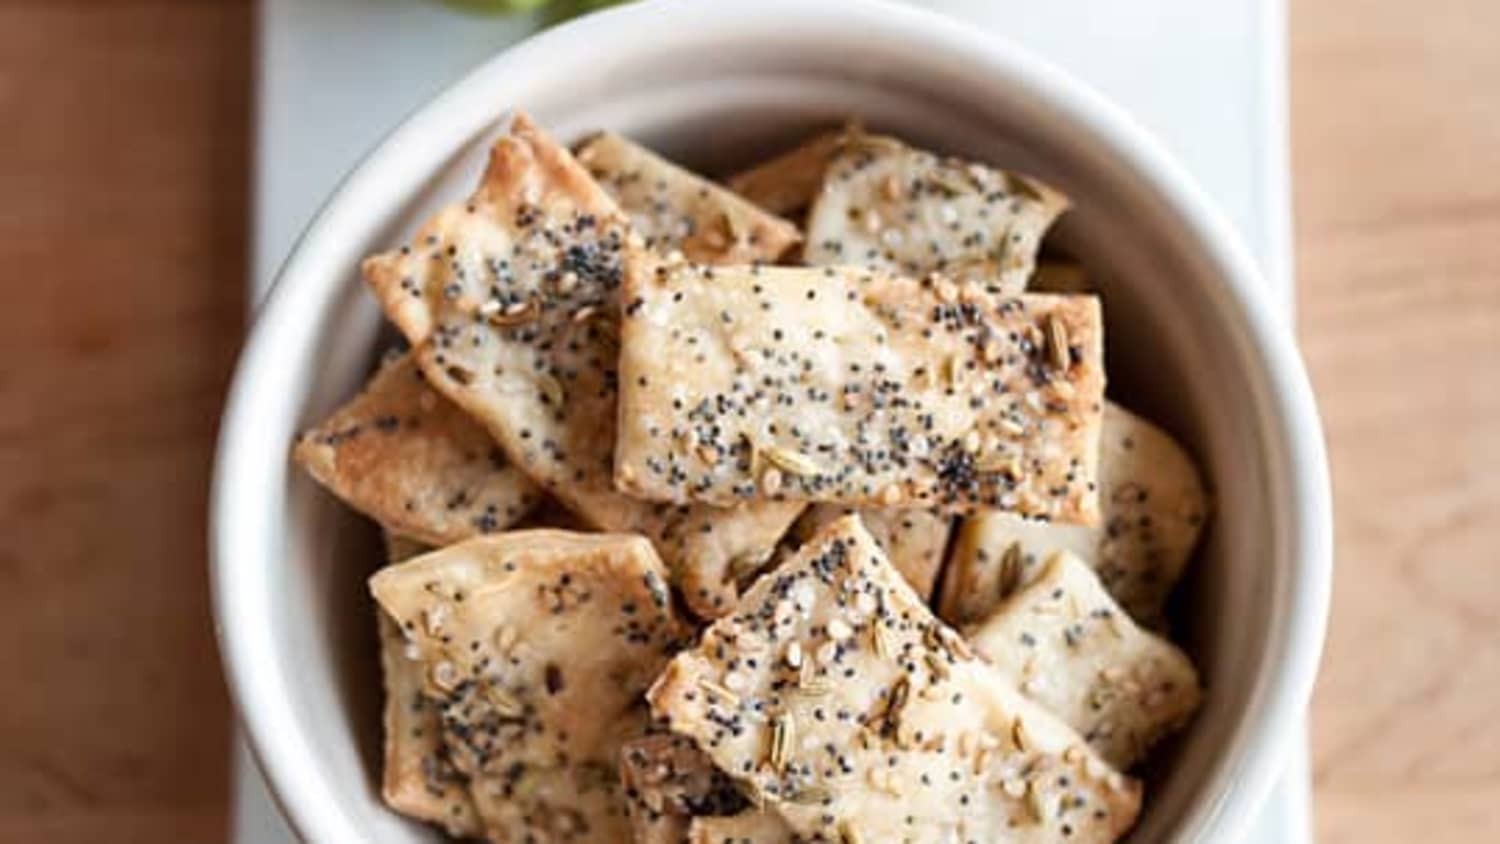
How to Make Crackers at Home
thekitchn.com
4.8
(20)
Your folders
 712 views
How To Make Risotto at Home
thekitchn.com
4.0
(13)
Your folders
 681 views
How To Make Gravy at Home
101cookingfortwo.com
4.4
(12)
10 minutes
Your folders
 552 views
How To Make Gochujang At Home
kimchimari.com
4.8
(26)
360 minutes
Your folders
 353 views
How To Pasteurize Eggs At Home
justonecookbook.com
Your folders
 543 views
How To Make Yogurt At Home
thekitchn.com
3.6
(10)
Your folders
 366 views
How to make butter at home
spatuladesserts.com
5.0
(5)
Your folders
 538 views
How To Make Pizza at Home
thekitchn.com
4.4
(18)
Your folders
 501 views
How to Make Subway at Home
maritimeglutton.com
5.0
(2)
Your folders
 399 views
How to Make Hibachi at Home
healthylittlepeach.com
5.0
(5)
20 minutes
Your folders
 407 views
How To Make Chocolate At Home
chefcynthialouise.com
5.0
(5)
5 minutes
Your folders
 308 views
How to Make Kombucha at Home
blog.mountainroseherbs.com
15 minutes
Your folders
 403 views
How to Make Butter at Home
feastandfarm.com
5.0
(1)
Your folders
 211 views
How to Make Kefir at Home
rainbowdelicious.com
5.0
(15)
Your folders
:max_bytes(150000):strip_icc()/Simply-Recipes-Freeze-Eggs-LEAD-2-e12b1da4e2074b5a938b429916770edf.jpg) 143 views
143 viewsHow to Pasteurize Eggs at Home
simplyrecipes.com