How To Make A DIY Wood Sign [Reversible, Cheap, and Easy]
Your folders
Your folders
Total: 360
Servings: 8
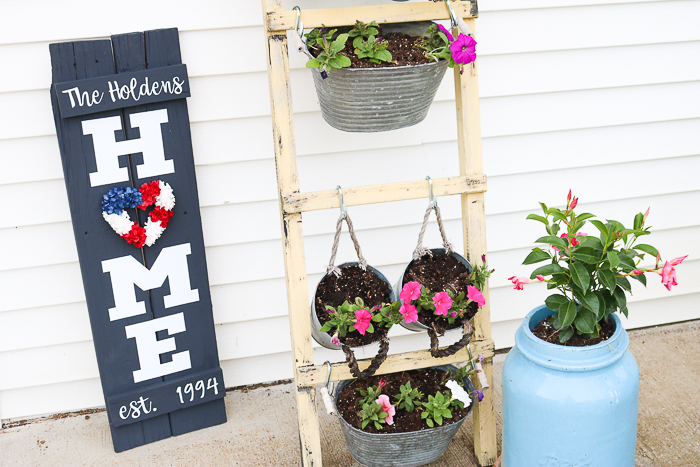
![How To Make A DIY Wood Sign [Reversible, Cheap, and Easy]](https://missourigirlhome.com/wp-content/uploads/2021/11/diy-reversible-wood-sign.jpg)
Ingredients
Export 6 ingredients for grocery delivery
Instructions
Step 1
Decide the size of your sign.
Step 2
Decide if you want the wood lath pieces to run horizontal or vertically.
Step 3
Pick the straightest wood lathe pieces out for large signs and for the frame pieces.
Step 4
This step is less important for smaller signs.
Step 5
Cut the wood lathe pieces to desired length/or width.
Step 6
Work on a surface that can get glue on it or protect it with plastic/wax paper.
Step 7
Glue each piece together and secure with painters tape to ensure the glue bonds the boards together tightly.
Step 8
Work in small sections for larger signs or just glue all of the wood pieces together for smaller signs.
Step 9
Allow the glue to dry completely
Step 10
Sand the access glue off the boards before painting or staining.
Step 11
Paint, whitewash, or stain one side of the wood lath board.
Step 12
Allow to dry.
Step 13
Paint, whitewash, or stain the opposite side of the wood lath board. Note: the paint/stain may bleed through to the other side so you may want to consider painting each side the same color.
Step 14
Allow to dry.
Step 15
Cut your wood lath frame pieces to size, cutting approximately 45 degree angles. Remember to cut long and then slowly cut down until the desired cut is achieved.
Step 16
Dry fit the frame pieces to make sure the fit is appropriate.
Step 17
Paint, whitewash, or stain the frame pieces. Allow to dry.
Step 18
Place ½ inch boards (or 2 stacked pieces of scrape lath) under the wood lath board in preparation for adding the framing. This step is essential so there is framing on each side of the sign. Don't worry if the framing appears uneven on each side. It is virtually unnoticeable when the sign is hung up (refer to the video if this step seems confusing)
Step 19
Attach the frame pieces around the edges of the wood lath board with wood glue. Secure the frame edges with painters tape to hold the framing securely together while it dries.
Step 20
Allow the glue to dry.
Step 21
Sand off access glue and touch up paint , whitewash, or stain if needed.
Step 22
Decorate your sign using stencils, projector, Cricut, or free-hand.
Top similar recipes
Curated for youYour folders
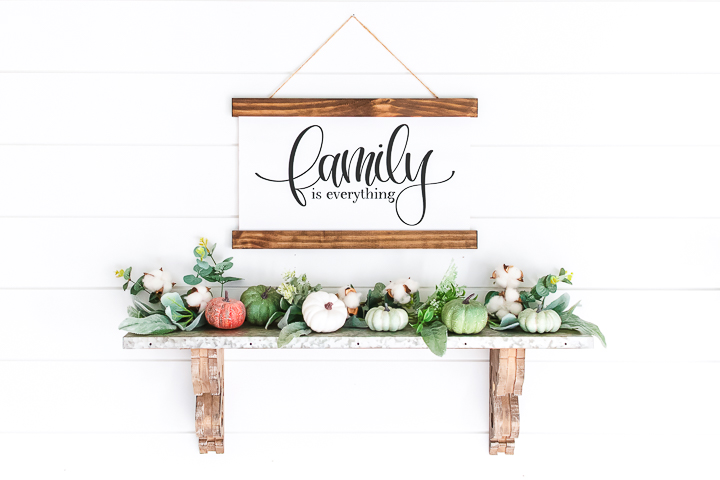
 264 views
How to Make a Family Sign
thecountrychiccottage.net
Your folders
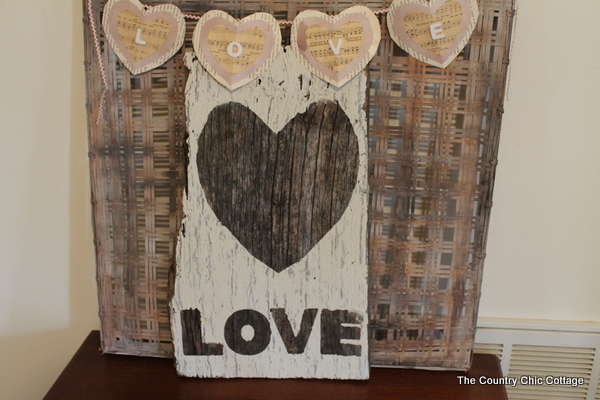
 160 views
How to Make a Rustic Love Sign
thecountrychiccottage.net
Your folders
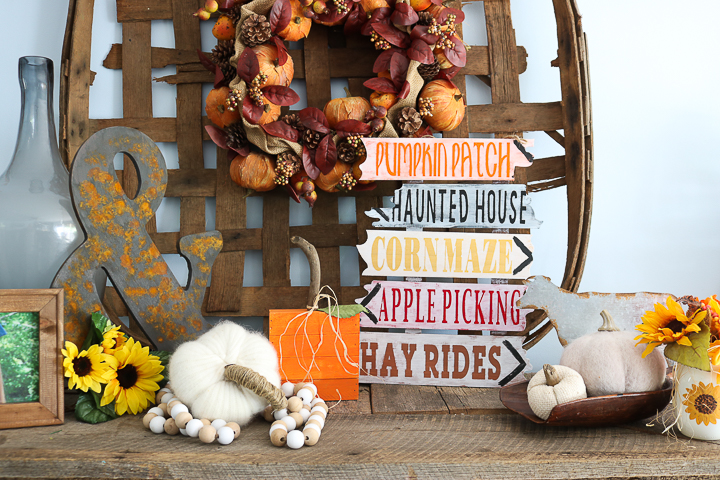
 291 views
Halloween Wood Sign
thecountrychiccottage.net
Your folders

 172 views
How to Make a Cheap Ham Taste Amazi...
nerdymamma.com
4.4
(102)
2 hours
Your folders
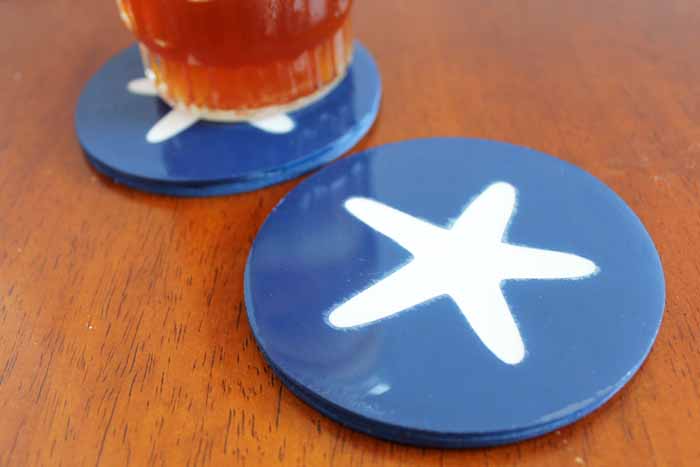
 96 views
How to Make DIY Wood Coasters with ...
thecountrychiccottage.net
Your folders

 271 views
How to Make a DIY Tumbler Turner
thecountrychiccottage.net
Your folders

 294 views
How to Make a DIY Taco Bar
makeandtakes.com
Your folders

 198 views
DIY Christmas Sign
thecountrychiccottage.net
Your folders

 271 views
How to DIY Pearl Sugar and it’s Sup...
whilehewasnapping.com
45
Your folders
 107 views
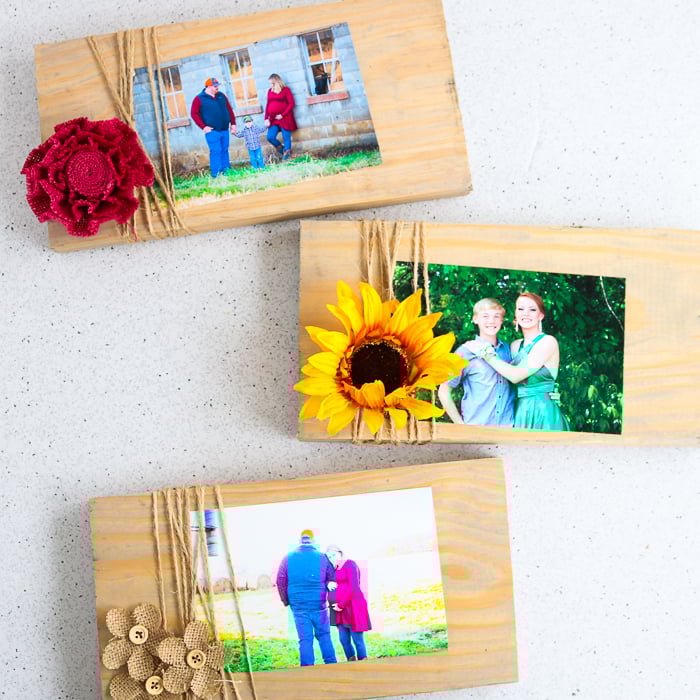
How to Make a Picture Frame from Sc...
thecountrychiccottage.net
Your folders

 287 views
How to Make DIY Ollas
lovelygreens.com
Your folders

 348 views
How to Make DIY Backpacks
thecountrychiccottage.net
Your folders

 227 views
How to Make a DIY Caramel Apple Bar
glitterinc.com
5.0
(1)
Your folders
 314 views
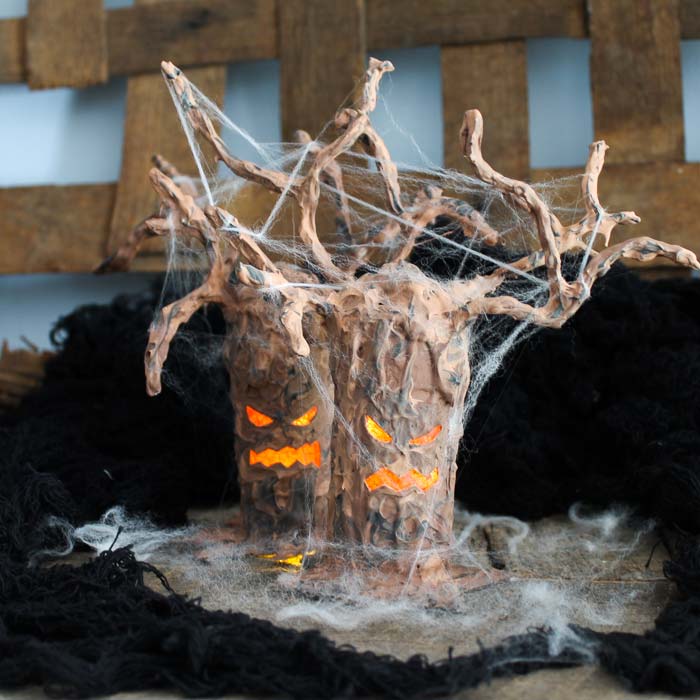
How to Make a Spooky DIY Halloween ...
thecountrychiccottage.net
Your folders
 249 views
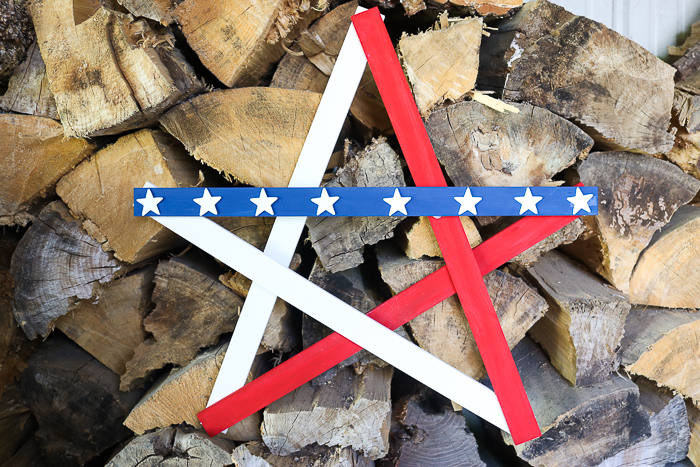
How to Make a DIY Patriotic Wooden ...
thecountrychiccottage.net
Your folders

 90 views
How to make new wood look old
blog.jennasuedesign.com
Your folders
 290 views
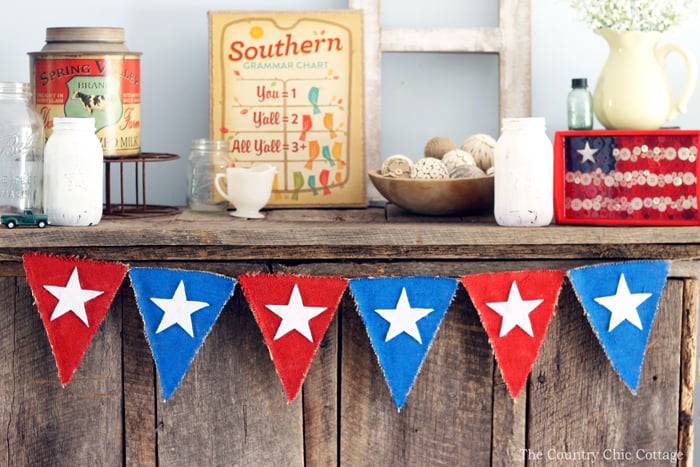
How To Make An Easy DIY Patriotic B...
thecountrychiccottage.net
Your folders

 316 views
How To Make A Fall-Themed DIY Desse...
thecountrychiccottage.net
Your folders
 37 views
How to Make a DIY Scrap Wood Home S...
thecountrychiccottage.net