How to make new wood look old
Your folders
Your folders
Total: 360
Author : Lisa@ferncreekcottage says Jeanice says Charlotte Schultz says Jenna Sue says Gina says Carrie Eastman says Jenna Sue says Cheryl says Linda Grubbs says Kathleen says vivian says Nancy fell says Jenna Sue says Anne says Jenna Sue says Kristen Eff says Jenna Sue says Linda says Jenna Sue says Mickey says Jenna Sue says Misty says Leslie Wiesman says Rovie says

Ingredients
Export 4 ingredients for grocery delivery
Instructions
Step 1
Run your planer in random areas along the surface, creating irregular cuts and gashes
Step 2
Make "saw marks" with the jigsaw by etching grooves across the surface, focusing on the ends/corners where wear would naturally occur
Step 3
Use an orbital or detail sander to smooth down all of the rough and sharp edges
Step 4
Run a wire brush (attached to a drill) across the entire surface of the wood to open up the grain
Step 5
Stain the wood
Step 6
Optional: use a dark wax to define the texture
Step 7
Use polycrylic (or wax) to seal and protect the wood
Top similar recipes
Curated for youYour folders
 442 views
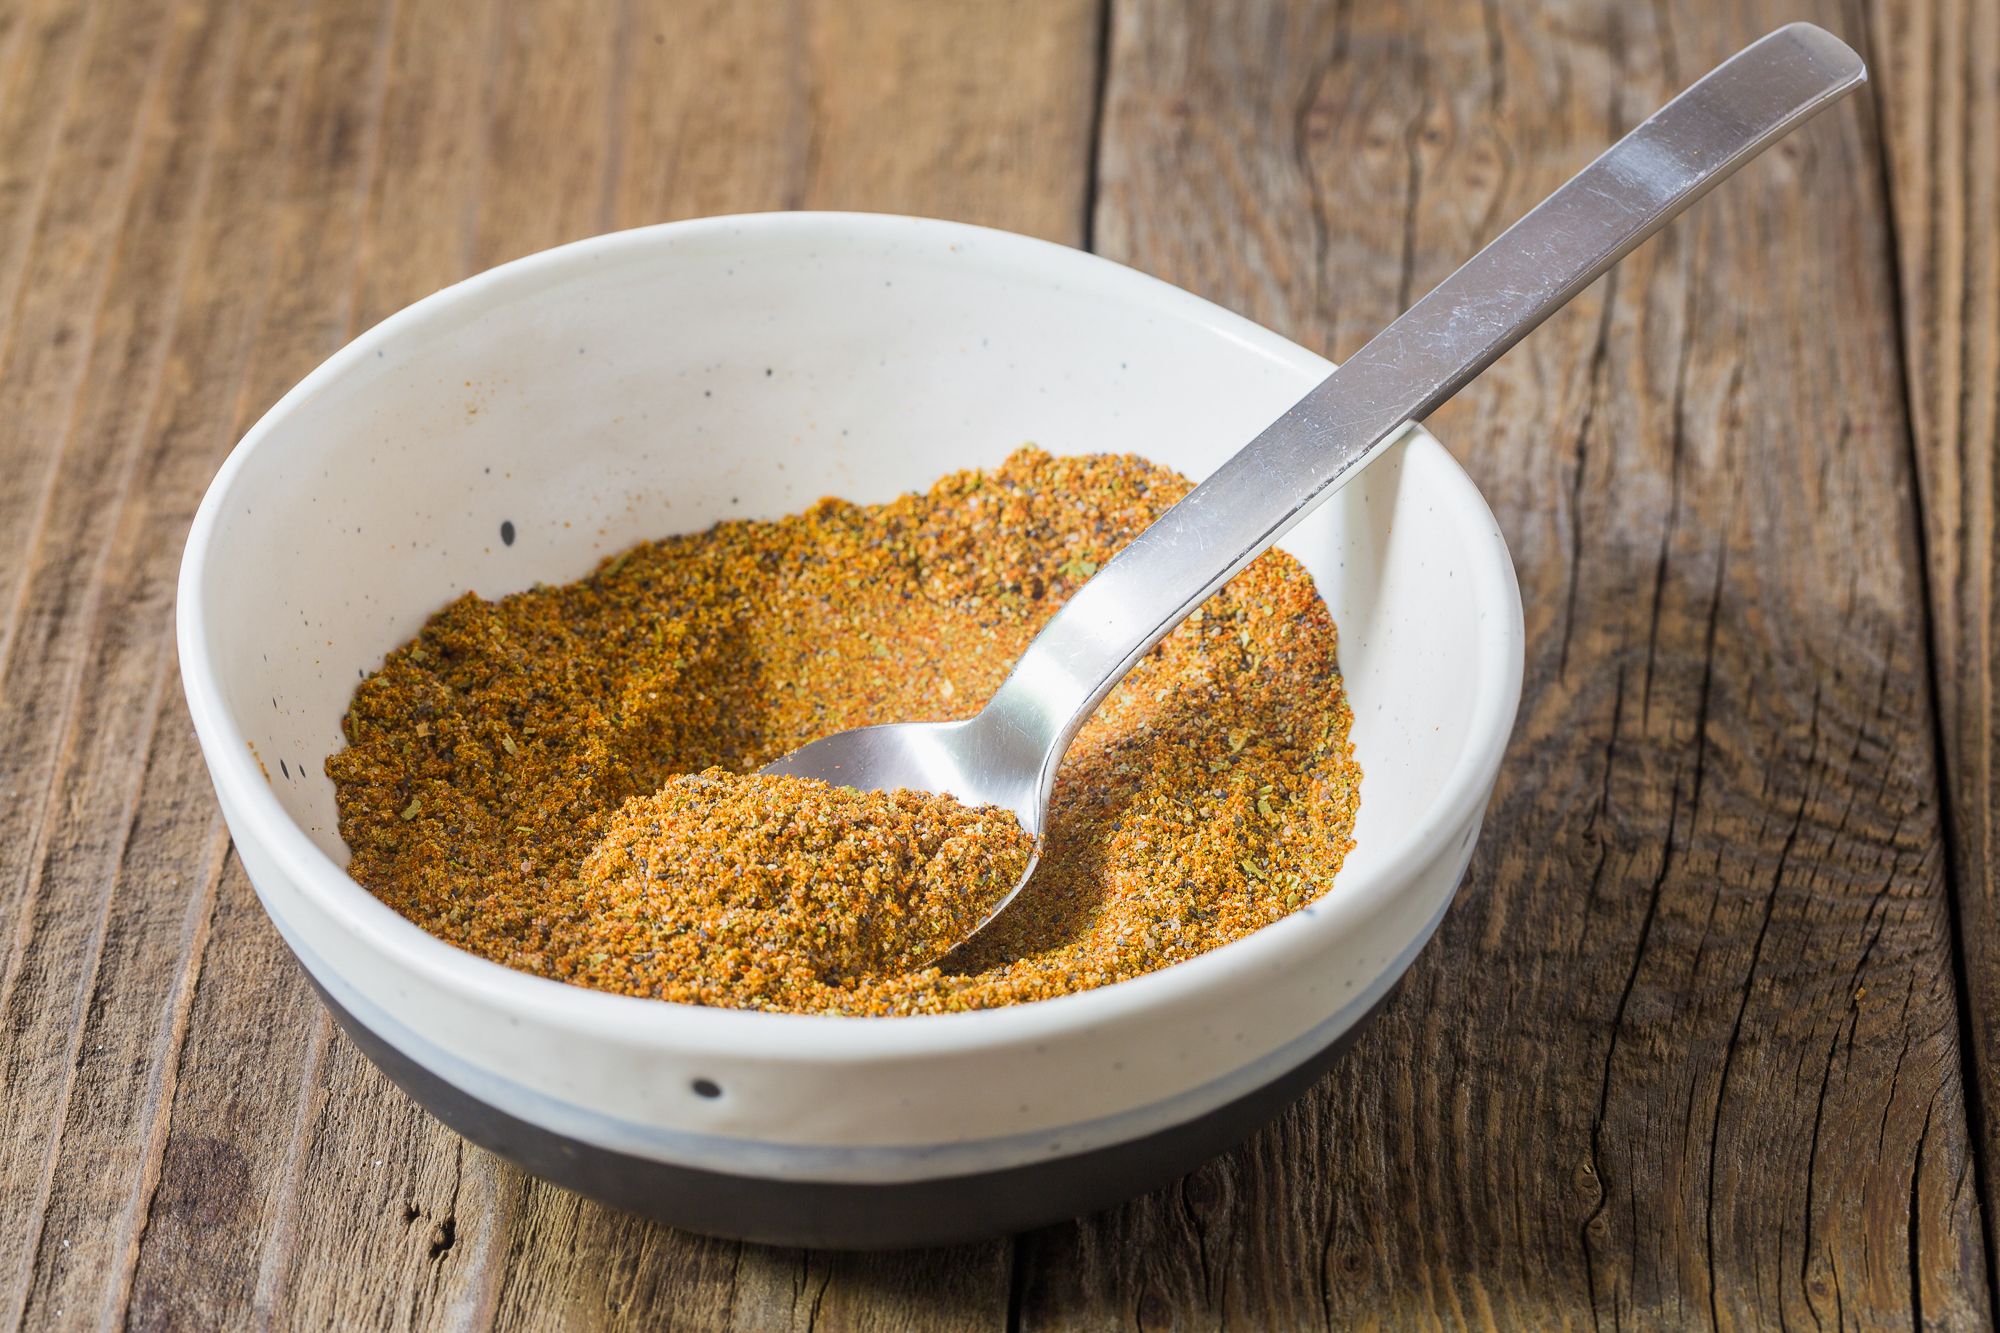
How to Make Old Bay Seasoning
thepioneerwoman.com
Your folders
 240 views
How to Decoupage on Wood
firstdayofhome.com
Your folders
 197 views
How To Paint Wood Floors
bvintagestyle.com
Your folders
 107 views
How to Make a Picture Frame from Sc...
thecountrychiccottage.net
Your folders
 96 views
How to Make DIY Wood Coasters with ...
thecountrychiccottage.net
Your folders
 653 views
How to Make Old Fashioned Sweet Bre...
thesouthernladycooks.com
5.0
(10)
50 minutes
Your folders
 282 views
How to Make Old Fashioned Berry Cob...
thestayathomechef.com
4.7
(21)
60 minutes
Your folders
 58 views
How to Make Old Fashioned Berry Cob...
thestayathomechef.com
Your folders
289 viewsHow To Make Old-Fashioned Date Bars
thekitchn.com
5.0
(2)
Your folders
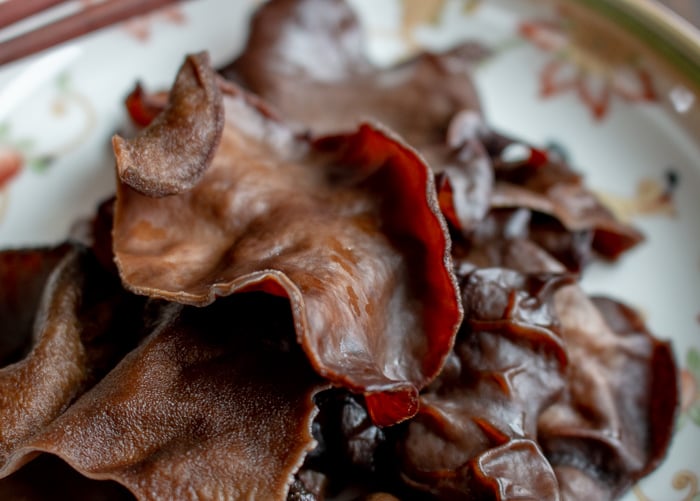 267 views
How to Prepare Wood Ear Mushrooms
hwcmagazine.com
4.9
(11)
Your folders
111 viewsHow To Make Easy New England Clam C...
thekitchn.com
5.0
(3)
Your folders
 187 views
How to Make Old-Fashioned Bread Pud...
bettycrocker.com
4.5
Your folders
 381 views
How to Make Donuts the Old-Fashione...
eatthis.com
3.4
(73)
20 minutes
Your folders
![How To Make A DIY Wood Sign [Reversible, Cheap, and Easy]-image](https://missourigirlhome.com/wp-content/uploads/2021/11/diy-reversible-wood-sign.jpg) 119 views
119 viewsHow To Make A DIY Wood Sign [Revers...
missourigirlhome.com
Your folders
/old-fashioned-strawberry-preserves-3057818-hero-01-965bf2b311aa40658bb6107d405a7dbd.jpg) 298 views
298 viewsHow to Make Your Own Old-Fashioned ...
thespruceeats.com
Your folders
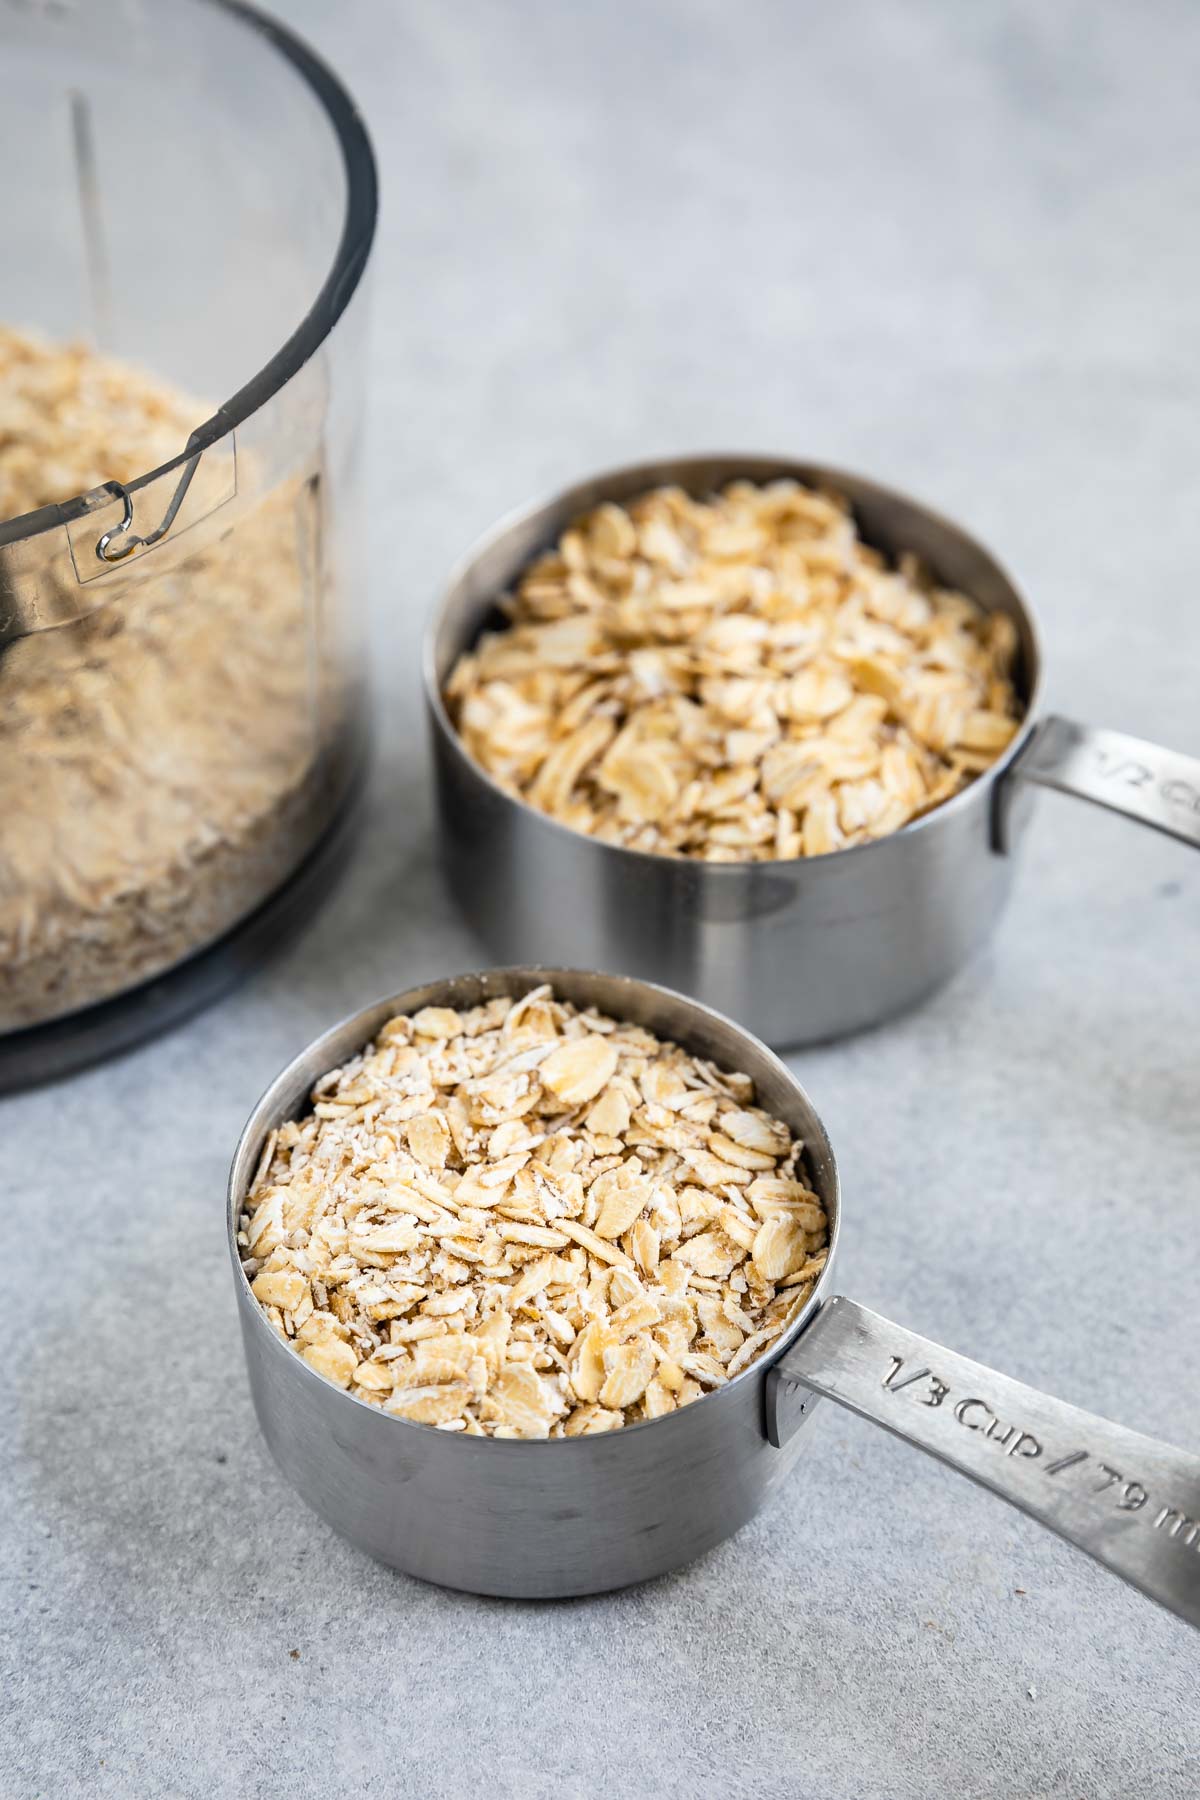 195 views
How to make Quick Oats from Old Fas...
crazyforcrust.com
5.0
(13)
Your folders
 312 views
How to make buttermilkHow to make b...
thekitchenmagpie.com
Your folders
 269 views
How to Make GlueHow to Make Glue
onecrazymom.com
Your folders
 339 views
How to make tahini
bbc.co.uk
10 minutes