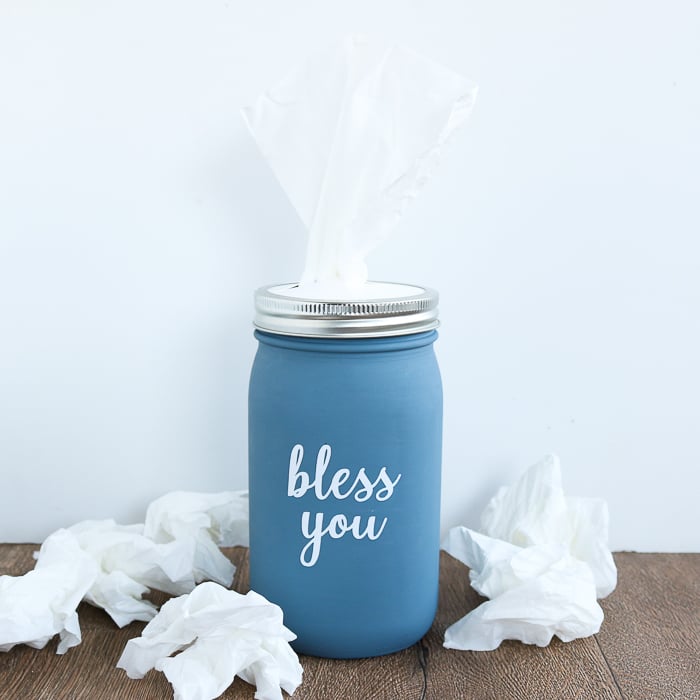
How to Make a Mason Jar Tissue HolderHow to Make a Mason Jar Tissue Holder
Your folders
Your folders
Ingredients
Export 10 ingredients for grocery delivery
Instructions
Step 1
Start with a clean and dry jar. You can wipe it down with rubbing alcohol then allow to dry to get it really clean.
Step 2
Use a good quality paint and add a couple of coats with a paint brush. Be sure to allow to dry in between coats and follow all package directions. You can also use spray paint for this step.
Step 3
I find that painting with my hand inside of the jar allows me to get all of the surfaces easily then I always allow to dry upside down.
Step 4
While your paint dries, you can cut the file with your Cricut machine. You can find the download instructions for the file above. Then just upload the file to Cricut Design Space. You can click here to see how to do that easily.
Step 5
Then cut your file from the vinyl color of your choice.
Step 6
Weed away all excess from around your words as well as the centers of letters. You can see my tips for weeding here.
Step 7
Apply transfer tape to your vinyl and press down well.
Step 8
Lift the backing from your vinyl leaving it stuck to your transfer tape.
Step 9
Once the jar is dry, you can apply this to the front and lift up the transfer tape to leave your vinyl on the jar. Press down well.
Step 10
Use the lid you removed from the jar to cut a circle from heavyweight cardstock with scissors.
Step 11
Then use a craft knife and self-healing mat to cut an “X” in the center of your circle. You want to make sure you do not go all the way to the edges with your “X” as you still want this to be one piece.
Step 12
Add this cardstock circle to the band for your lid and you have a mason jar tissue holder lid for your project.
Step 13
I am using the “perfect fit” tissues from Kleenex as they work in the jar perfectly.
Step 14
With the upright version, I just removed the tissues from their packaging and dropped them right into my mason jar tissue holder.
Step 15
Then add the lid and pull one through the top to complete your craft project.
Step 16
Start with a clean and dry jar. You can wipe it down with rubbing alcohol then allow to dry to get it really clean.
Step 17
Use a good quality paint and add a couple of coats with a paint brush. Be sure to allow to dry in between coats and follow all package directions. You can also use spray paint for this step.
Step 18
I find that painting with my hand inside of the jar allows me to get all of the surfaces easily then I always allow to dry upside down.
Step 19
While your paint dries, you can cut the file with your Cricut machine. You can find the download instructions for the file above. Then just upload the file to Cricut Design Space. You can click here to see how to do that easily.
Step 20
Then cut your file from the vinyl color of your choice.
Step 21
Weed away all excess from around your words as well as the centers of letters. You can see my tips for weeding here.
Step 22
Apply transfer tape to your vinyl and press down well.
Step 23
Lift the backing from your vinyl leaving it stuck to your transfer tape.
Step 24
Once the jar is dry, you can apply this to the front and lift up the transfer tape to leave your vinyl on the jar. Press down well.
Step 25
Use the lid you removed from the jar to cut a circle from heavyweight cardstock with scissors.
Step 26
Then use a craft knife and self-healing mat to cut an “X” in the center of your circle. You want to make sure you do not go all the way to the edges with your “X” as you still want this to be one piece.
Step 27
Add this cardstock circle to the band for your lid and you have a mason jar tissue holder lid for your project.
Step 28
I am using the “perfect fit” tissues from Kleenex as they work in the jar perfectly.
Step 29
With the upright version, I just removed the tissues from their packaging and dropped them right into my mason jar tissue holder.
Step 30
Then add the lid and pull one through the top to complete your craft project.
Top similar recipes
Curated for youYour folders
 482 views
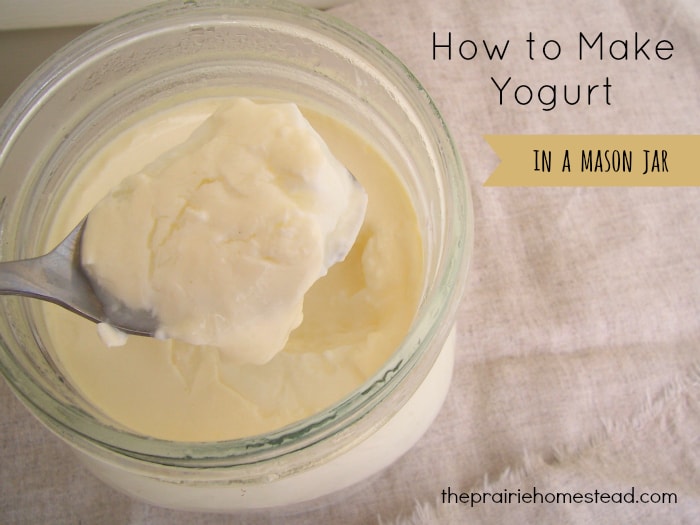
How to Make Yogurt in a Mason Jar
theprairiehomestead.com
4.8
(9)
Your folders
 215 views
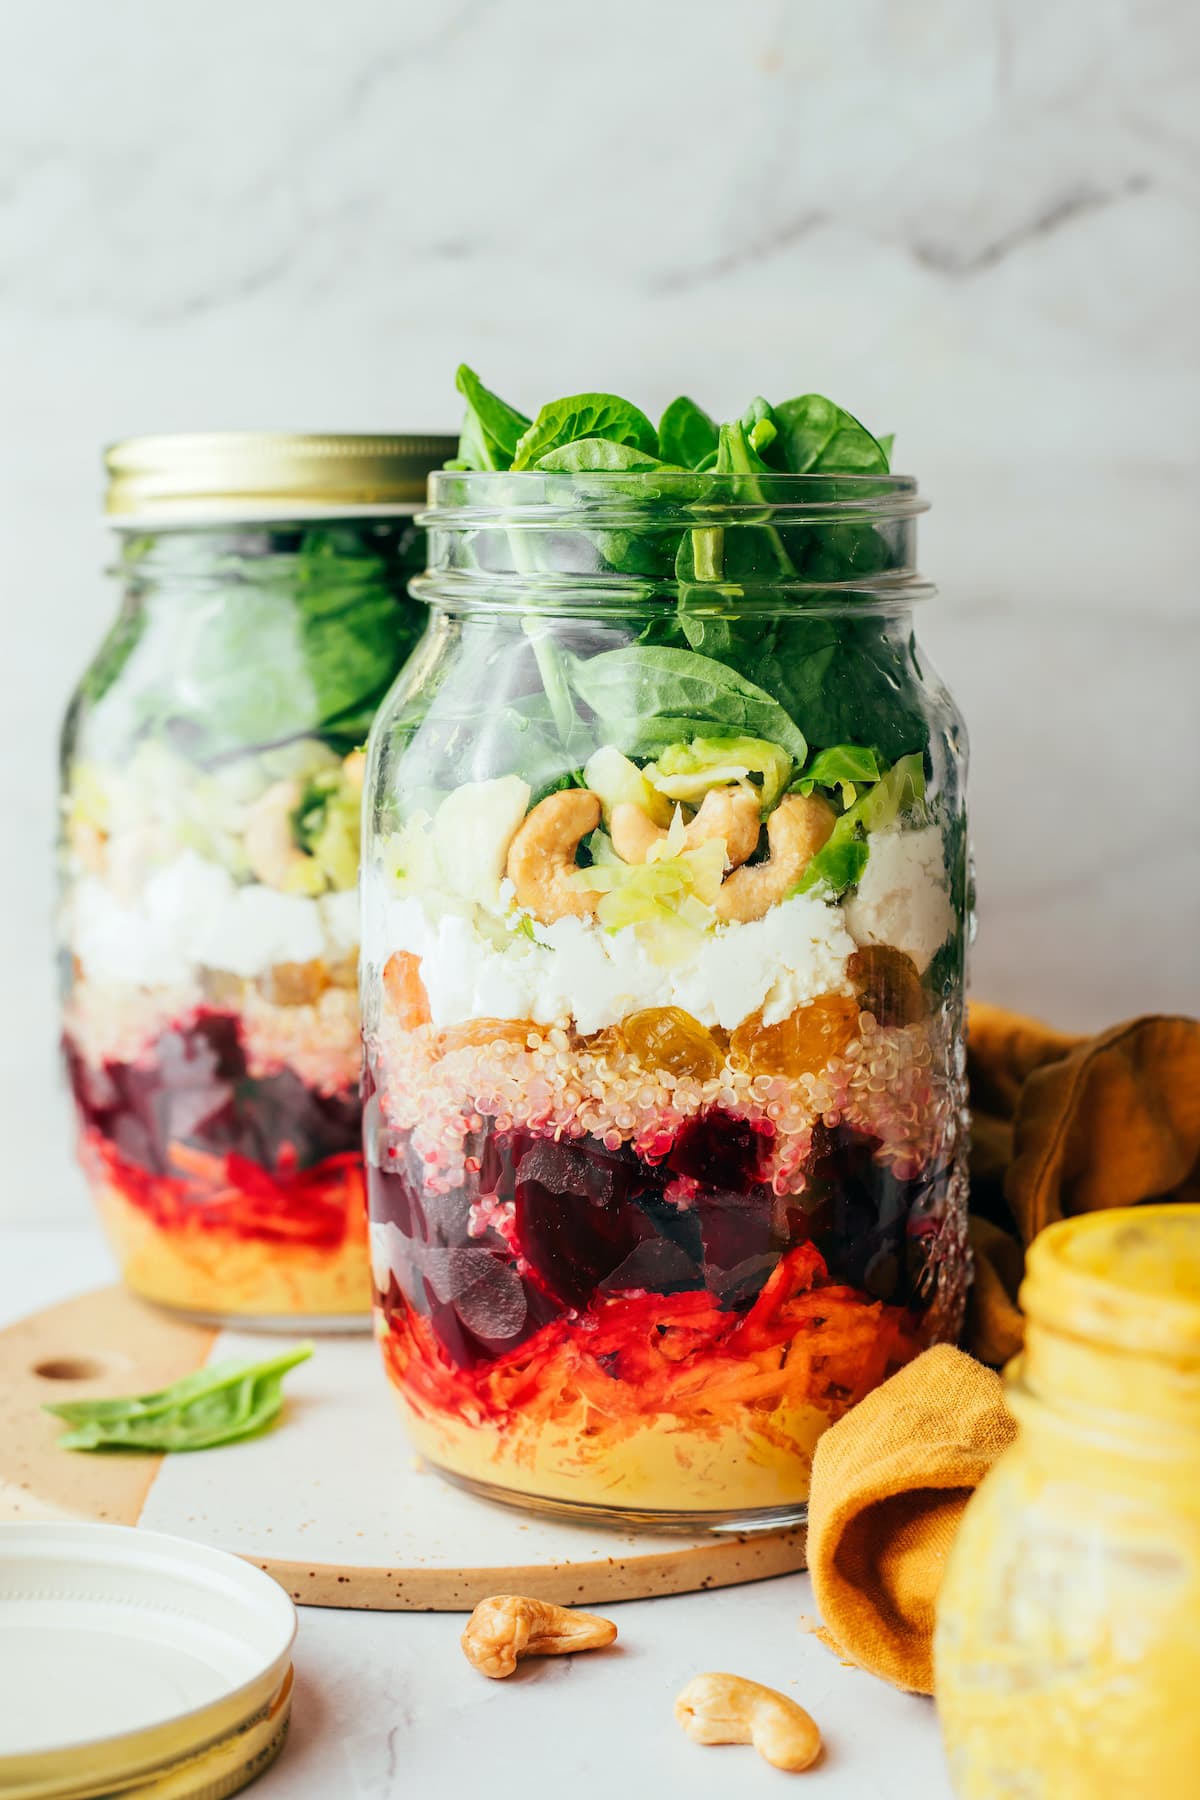
How to Make Mason Jar Salads
eatingbirdfood.com
5.0
(2)
Your folders
 762 views
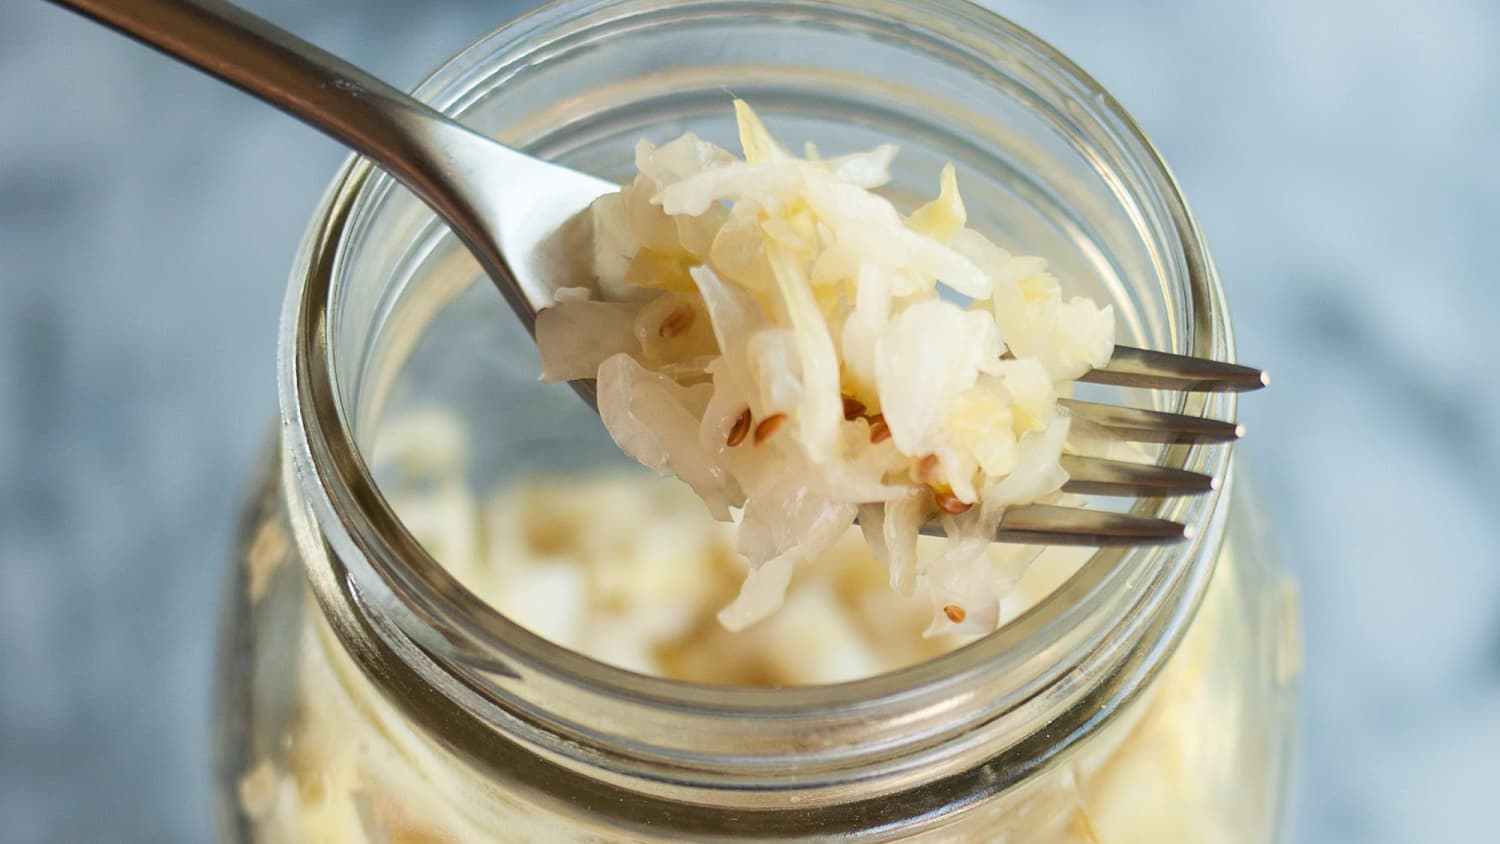
How To Make Homemade Sauerkraut in ...
thekitchn.com
4.6
(21)
Your folders
 253 views
How to make Homemade Butter in a Ma...
bigbearswife.com
4.7
(7)
15 minutes
Your folders
 115 views
Make a DIY Photo CanvasFarmhouse St...
thecountrychiccottage.net
Your folders
 196 views
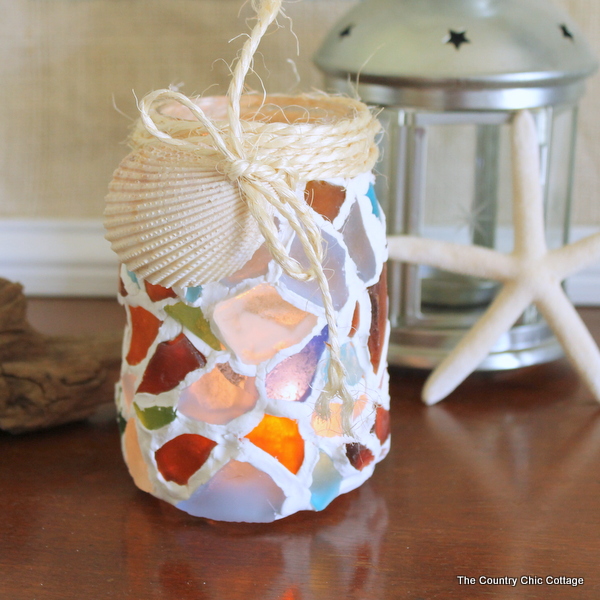
Sea Glass Mason Jar Candle Holder
thecountrychiccottage.net
Your folders
 295 views
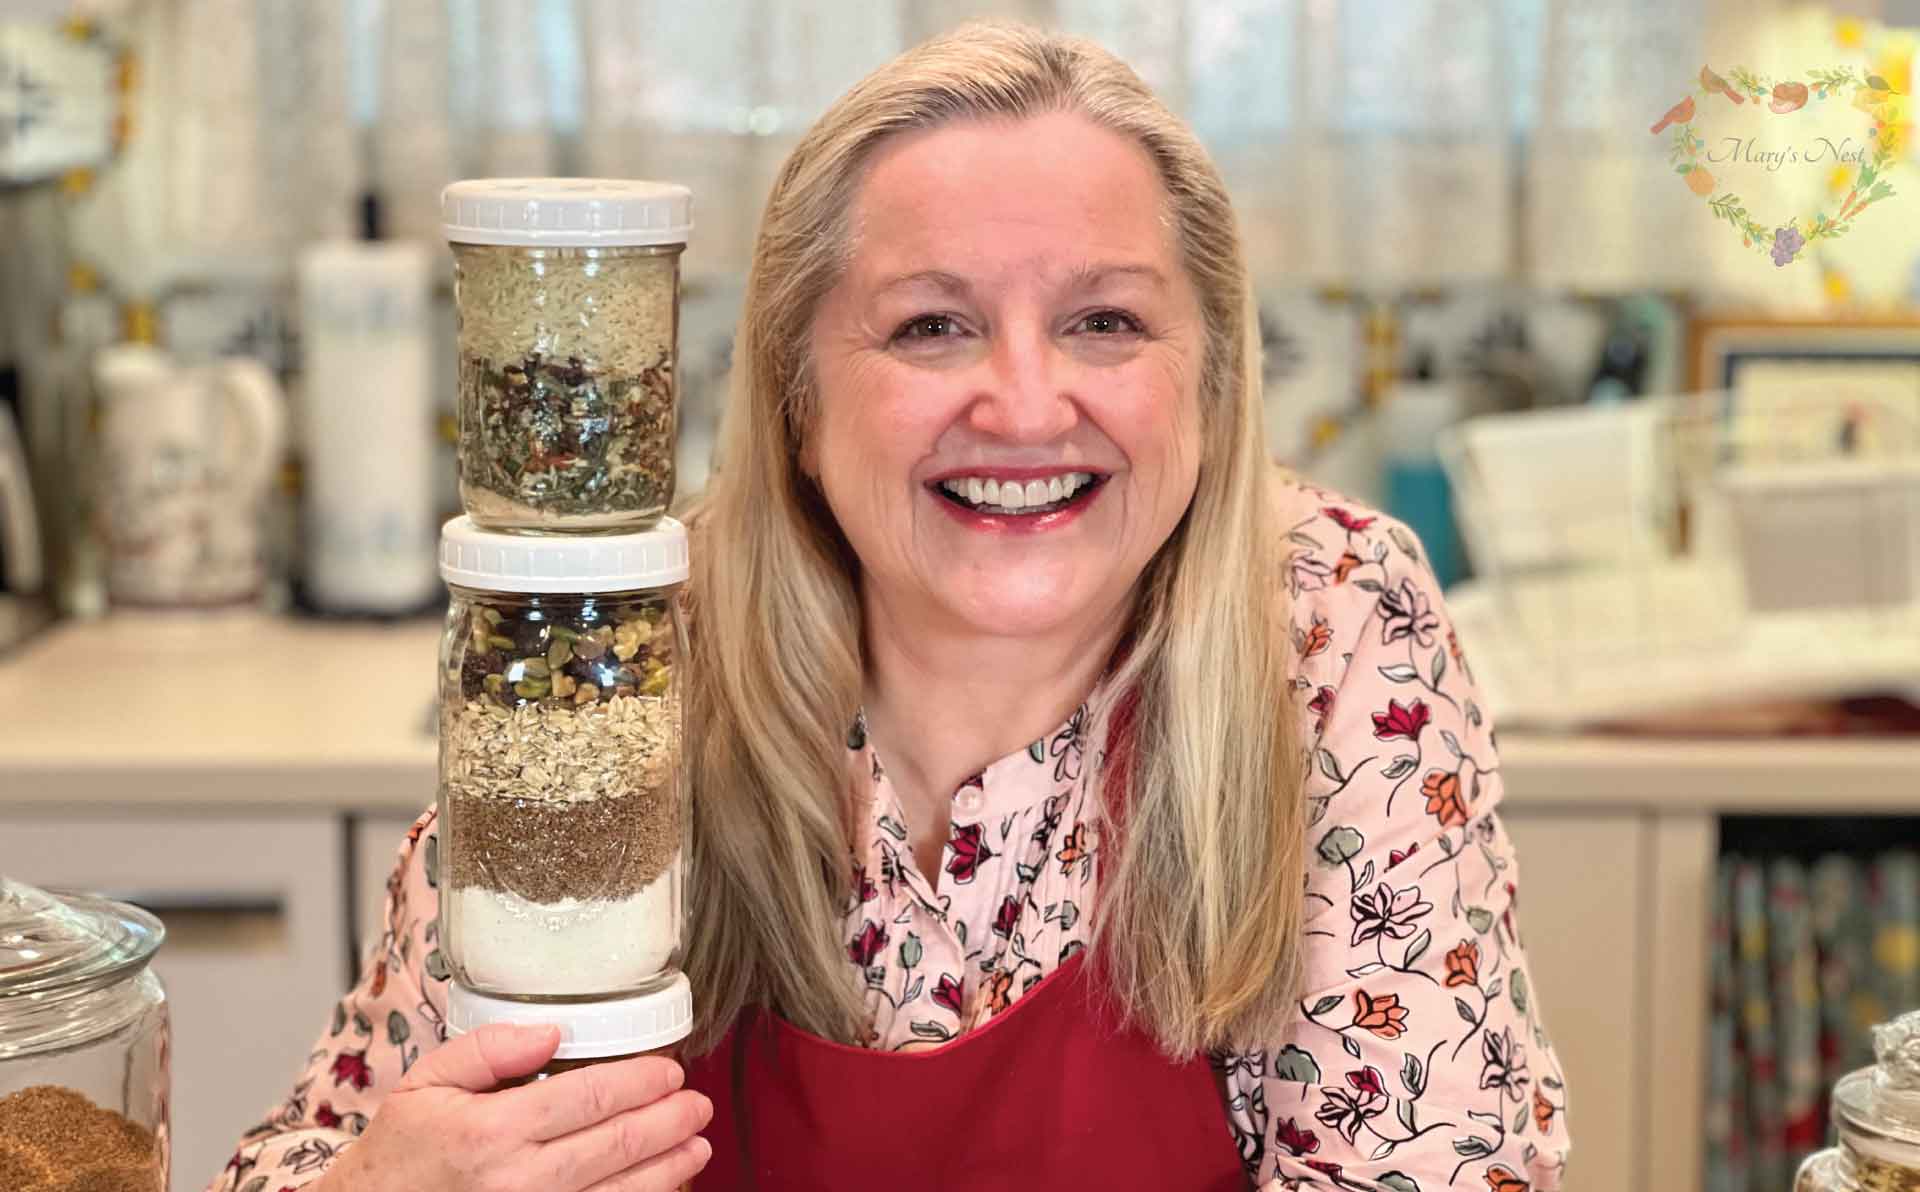
How to Make Meals in a Jar
marysnest.com
60 minutes
Your folders
 204 views
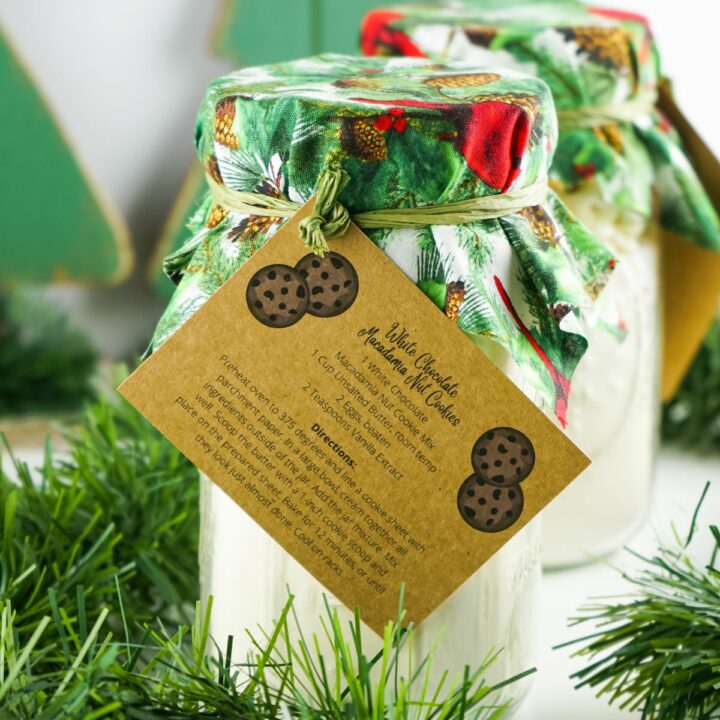
Mason Jar Cookies
walkingonsunshinerecipes.com
Your folders
 123 views
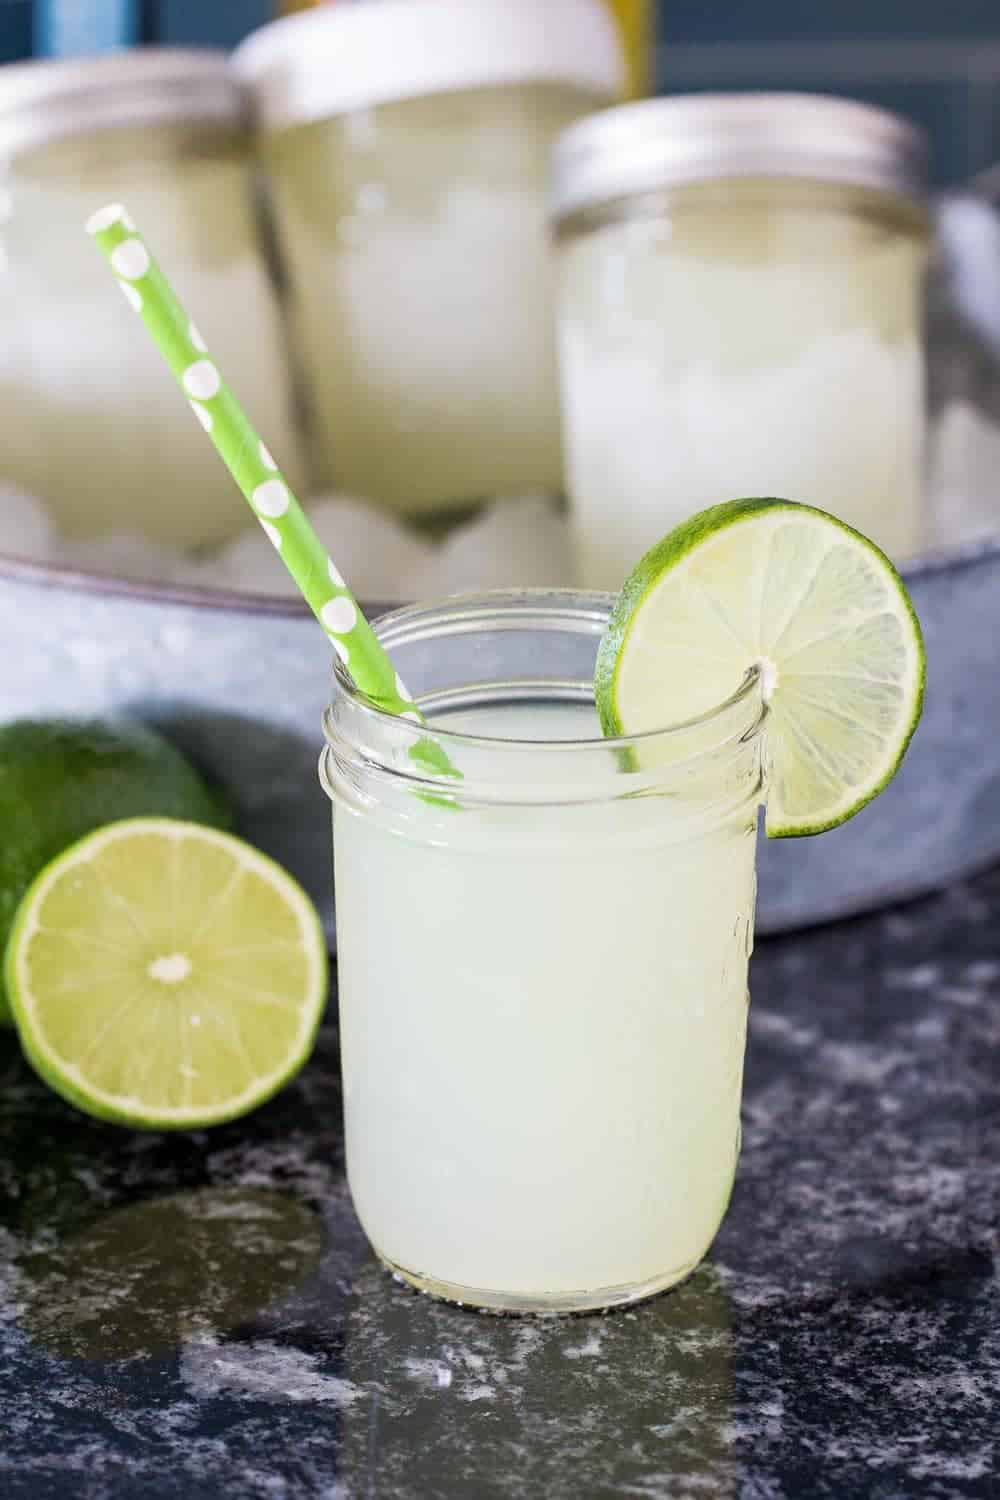
Mason Jar Margaritas
stetted.com
4.8
(12)
Your folders
/__opt__aboutcom__coeus__resources__content_migration__simply_recipes__uploads__2015__02__mason-jar-raspberry-cheesecake-horiz-640-d337ca7817c14e1884611aefed04d154.jpg) 355 views
355 viewsRaspberry Cheesecake in a Mason Jar
simplyrecipes.com
Your folders
 77 views
Mason Jar AquariumMason Jar Aquariu...
craftsbyamanda.com
Your folders
 554 views
How to Make Homemade Butter In a Ja...
happyhooligans.ca
5.0
(7)
Your folders
 526 views
Healthy Taco Salad in a Mason Jar
evolvingtable.com
5.0
(3)
15 minutes
Your folders
 53 views
Healthy Taco Salad in a Mason Jar
evolvingtable.com
Your folders
 306 views
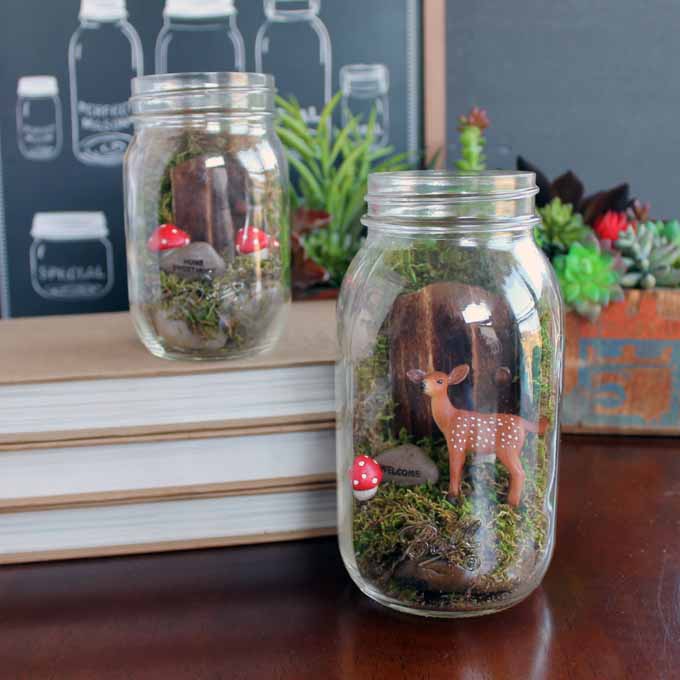
Fairy Garden Terrarium in a Mason J...
thecountrychiccottage.net
Your folders
 382 views
Mason Jar Snow Globes
smartschoolhouse.com
Your folders
 725 views
Mason Jar Cherry Pies
alaskafromscratch.com
Your folders
 550 views
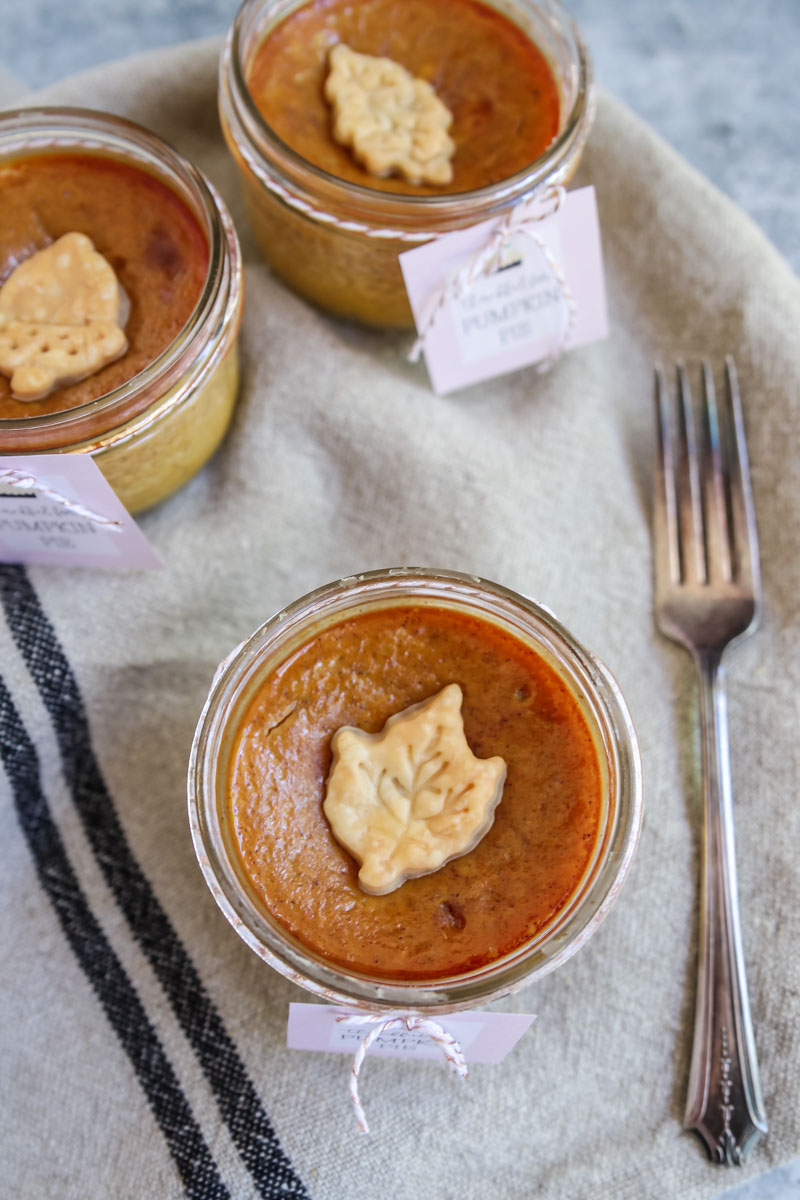
Mason Jar Pumpkin Pies
modern-glam.com
5.0
(4)
60 minutes
Your folders
 802 views
Mason Jar Banana Pudding
letsdishrecipes.com
4.5
(66)