How to Make A Sourdough Starter Guide & Recipe
4.8
(210)
Your folders
Your folders
Author : Adapted from The Creative Carrot
Ingredients
Export 2 ingredients for grocery delivery
Instructions
Step 1
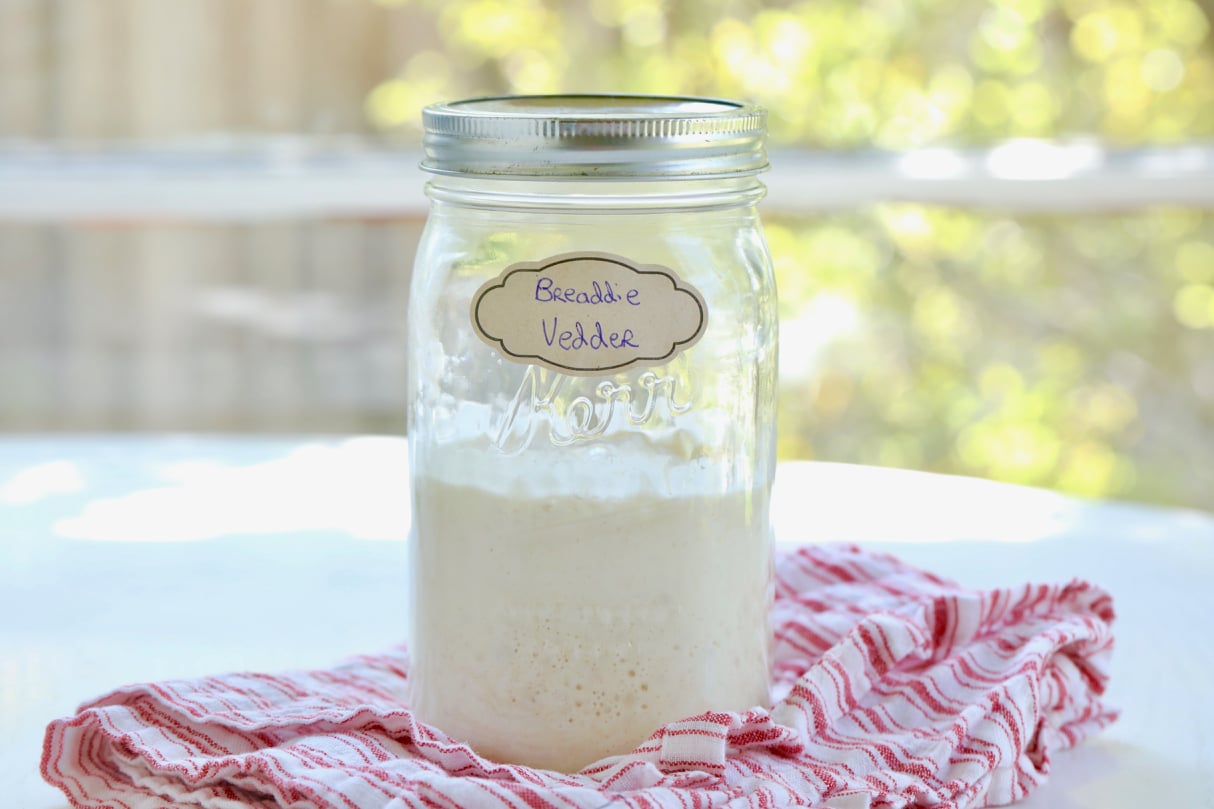
Combine 1/2 cup (2oz/60g) of whole wheat flour and 1/4 cup +2 tablespoons (3oz/86g) of water in a large sealable glass jar. Mix with a fork until smooth; the consistency will be thick and pasty. Cover loosely with plastic wrap or small cloth, and let it rest in a warm spot, for 24 hours.*Tip: I recommend using an electric scale when making and working with sourdough as precision is important.
Step 2
Check to see if any bubbles have appeared on the surface. If you don’t see anything, it’s okay. The bubbles might have appeared and dissolved overnight while you were sleeping. You don’t have to do anything else now. Rest the starter in your warm spot for another 24 hours.
Step 3
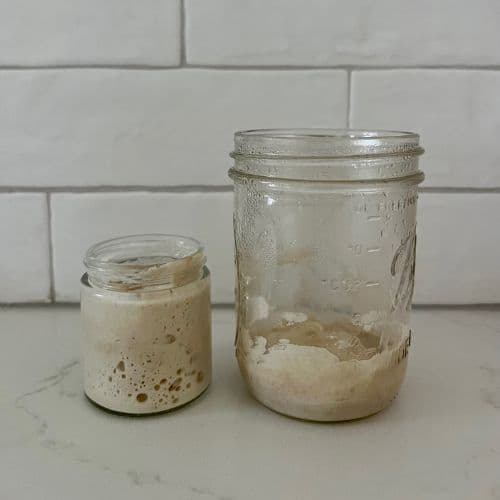
Remove and discard approximately half of your starter from the jar. I did this by eyeballing it each time and it worked just fine. The texture will be stretchy and bubbly.
Step 4
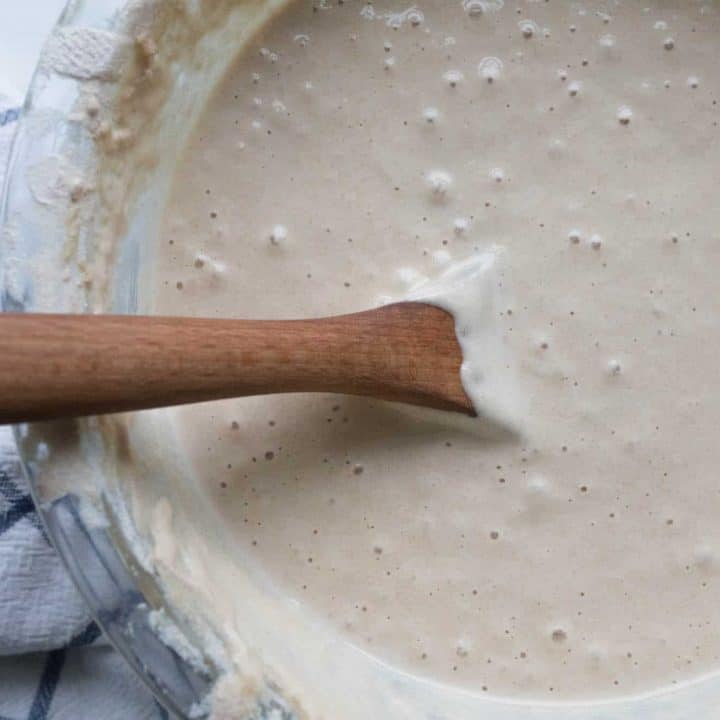
Feed it with a 1/2 cup (2oz/60g) of all-purpose flour and 1/4 cup +1 tablespoon (2oz/60g) of water in the jar. Mix with a fork until smooth. The texture should resemble thick-ish batter or yogurt at this point, so add more water if needed. Cover loosely, and let rest in your warm spot for another 24 hours.
Step 5
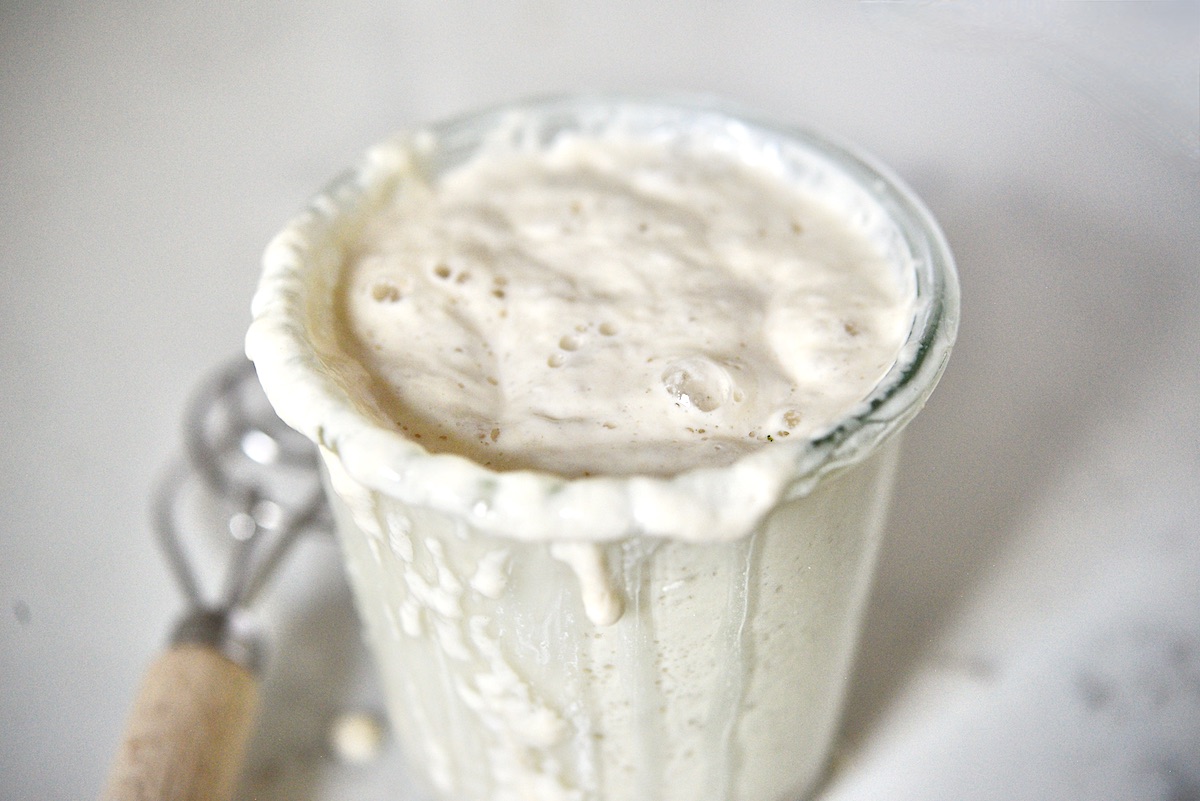
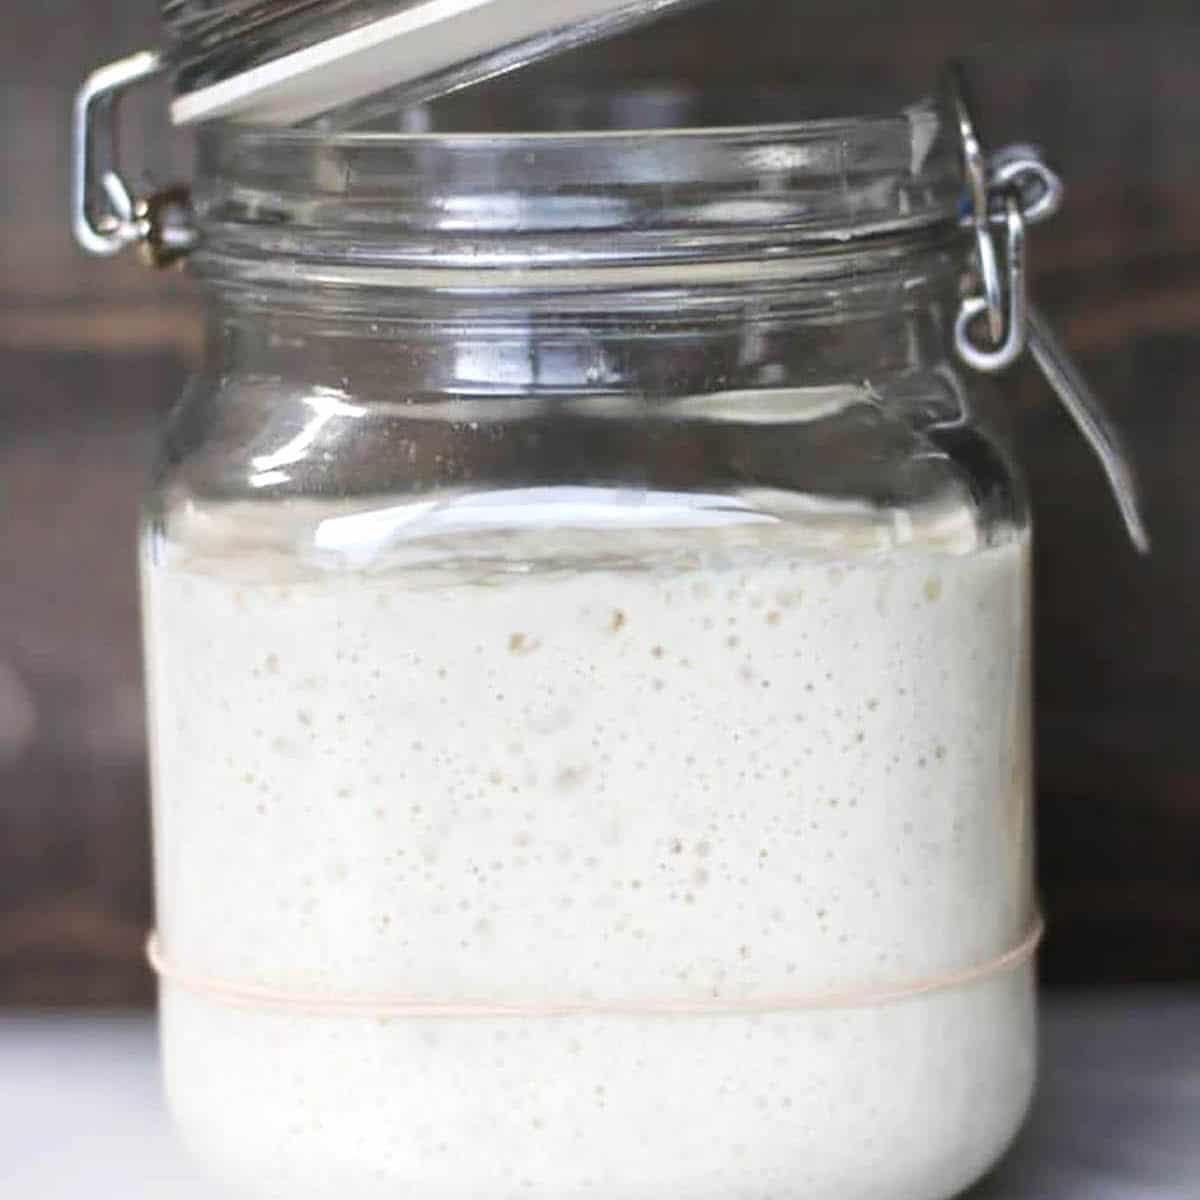
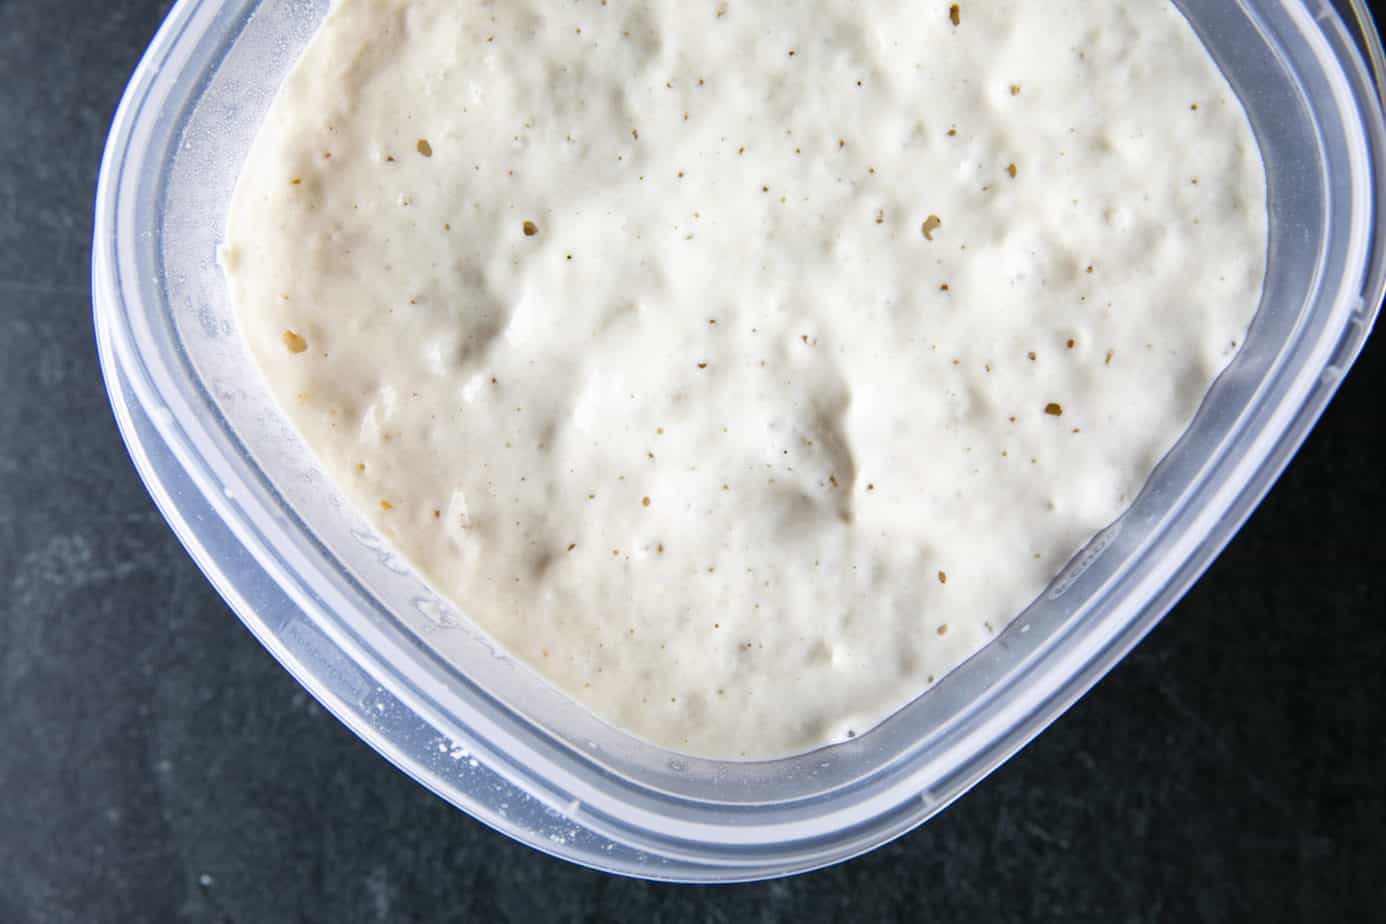
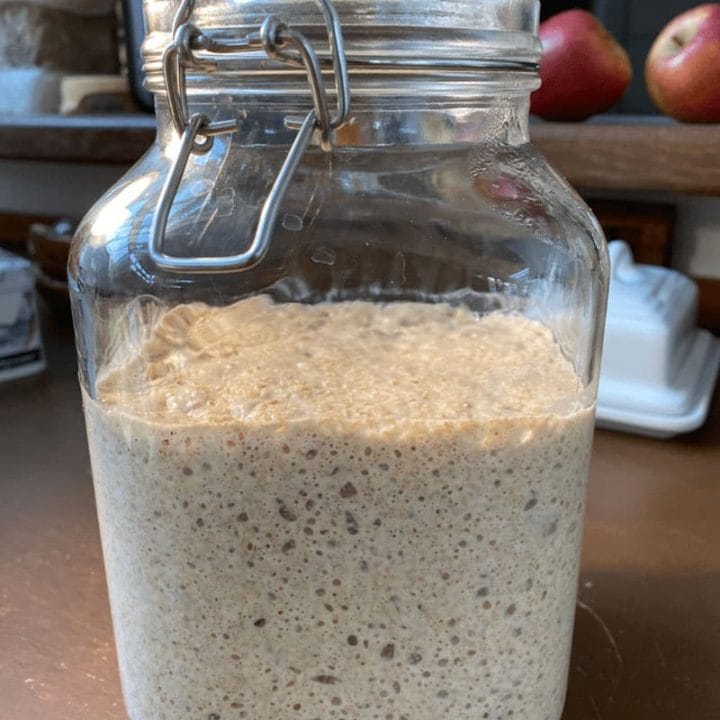
Repeat the feeding process outlined on Day 3 (remove and discard half of the starter, and feed it with 1/2 cup (2oz/60g) of all-purpose flour and 1/4 cup +1 tablespoon (2oz/60g) of water. As the yeast begins to develop, your starter will rise, and bubbles will form on the surface and throughout the culture. When the starter falls, it’s time to feed it again.*Tip: Place a rubber band or piece of masking tape around the jar to measure the starter’s growth as it rises.
Step 6
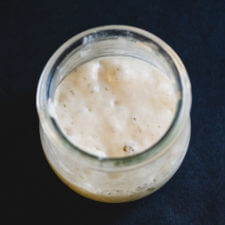
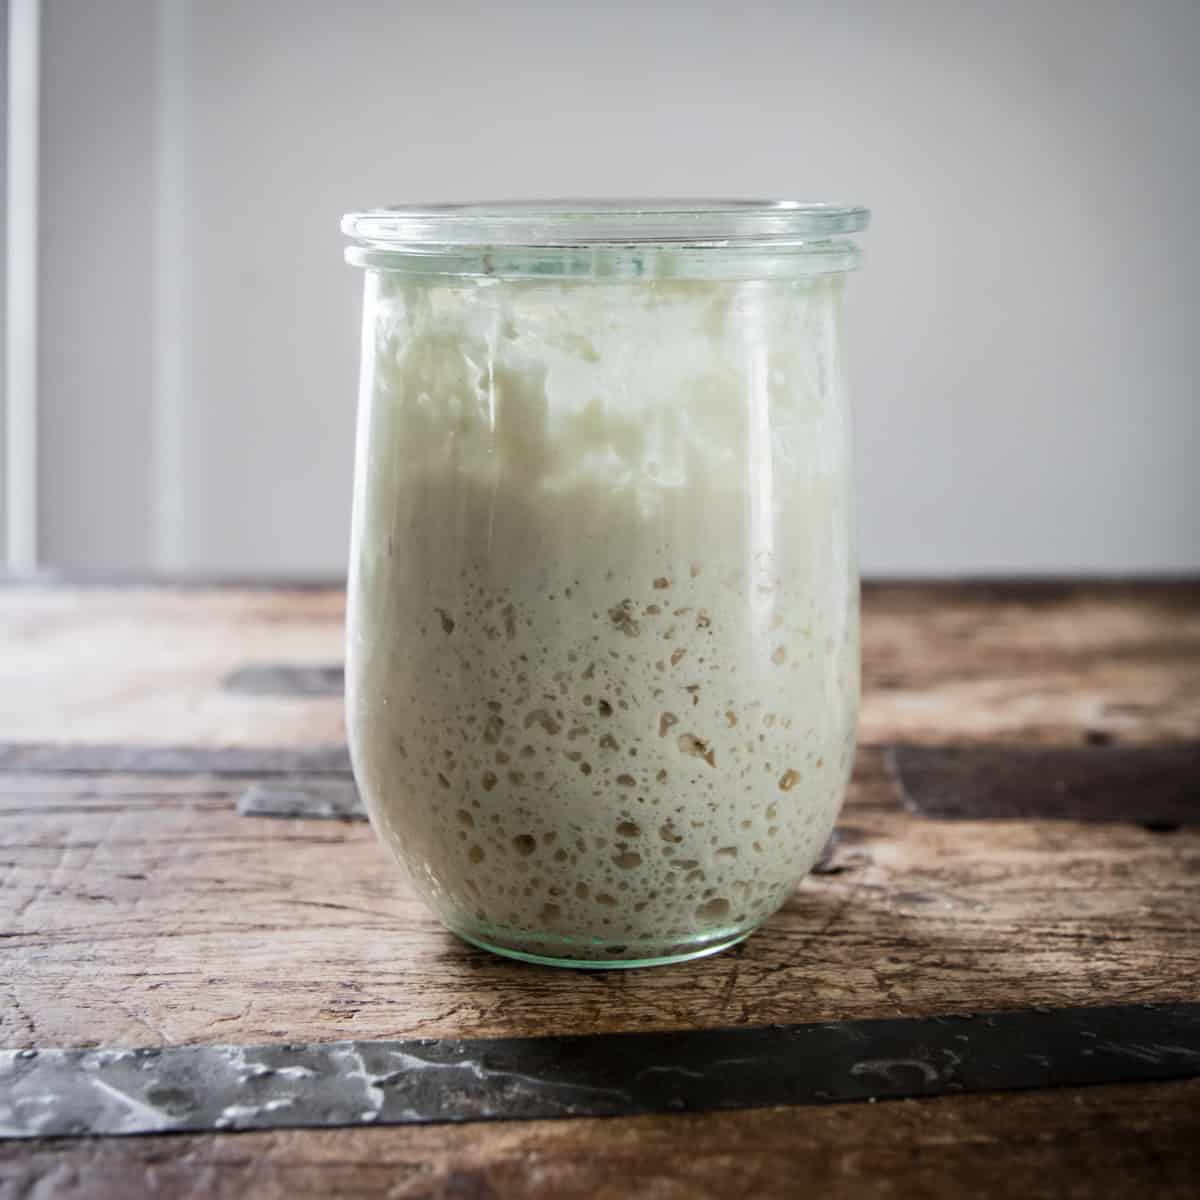
By now, your starter should have doubled in size. You should see plenty of bubbles, both large and small. The texture will be spongy and fluffy. It should smell boozy, but not like stinky like gym socks. Your starter is now active and ready to use!
Step 7
Do the float test: Drop a teaspoon of bubbly starter in a jar of water; if it floats to the top you can use it.Please keep in mind, if your starter is not ready at this point which is quite common due to temperature issues, timing, and other factors, it is totally fine to continue the feeding process for 1-2 weeks or more. The flavor and texture will just get better with time.
Step 8
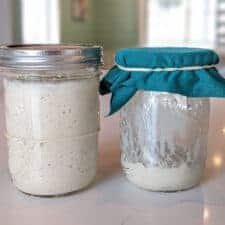
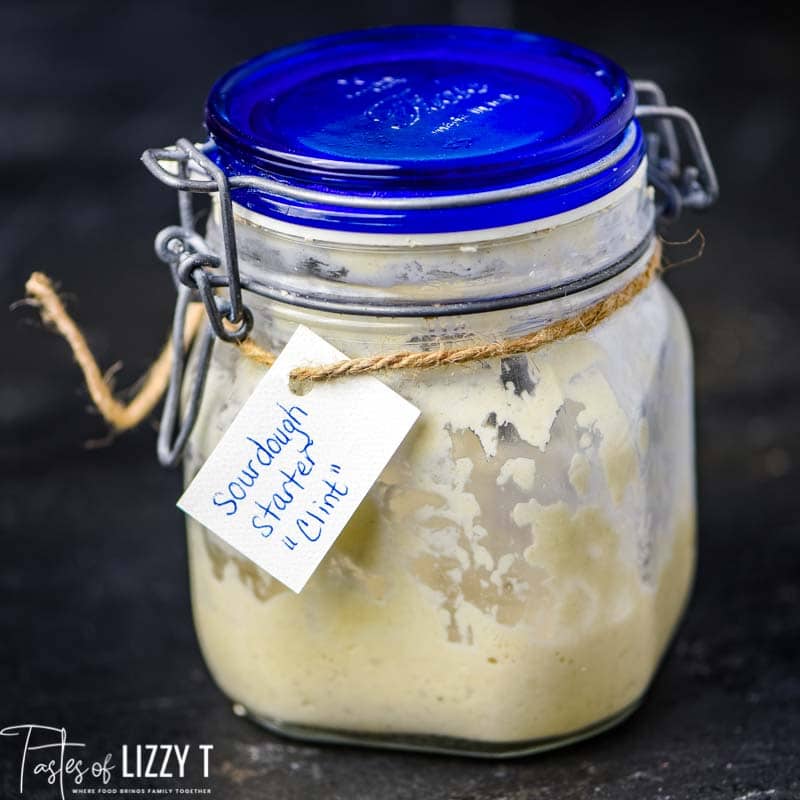
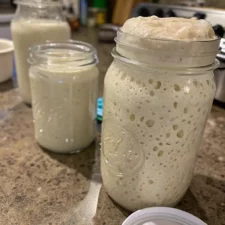
If you are not ready to use your starter that is no problem at all. Simply transfer it to a clean sealable jar and keep it in the fridge to use later. Once in the fridge, you only need to feed your starter once every 7 days. See ‘Storage Options’ below.
Step 9
If you bake often, store your starter at room temperature feeding it once a day to keep it active. If you plan to bake only once in a while, store it in the fridge to preserve its strength and feed it once a week.
Step 10
Begin by removing and discarding about half of your starter.
Step 11
Replenish what’s left in the jar with fresh flour (use all unbleached purpose flour) and water.
Step 12
Cover loosely, and let it rise at room temperature until bubbly and double in size. Once it falls, the bubbles will become frothy and eventually disappear. Then you’ll know it’s time to feed your starter again.
Step 13
Feed your starter everyday if it’s stored at room temperature. Feed it 1x a week if you keep it in the fridge.
Step 14
If you miss a feeding, don’t worry — your starter is not going to die. It might look ugly (and smell horrendous) but it usually just needs a few feedings to perk back up. If you haven't fed in some time you might see a dark liquid might appear on the surface and throughout the culture. It has a very stinky smell, similar to rubbing alcohol or gym socks. This liquid is called “hooch” and is an indication that your starter needs to be fed. Any time you see this liquid, it’s best to remove it along with any discolored starter present.
Top similar recipes
Curated for youYour folders

 272 views
How to Make a Sourdough Starter
pinchmysalt.com
4.3
(22)
Your folders
 213 views
How to Make a Sourdough Starter
ourgabledhome.com
4.9
(10)
Your folders
/__opt__aboutcom__coeus__resources__content_migration__serious_eats__seriouseats.com__2020__05__20200512-sourdough-starter-5050rye-full-jar-tim-chin-0931479ce7464ad989fefcfb14654cf0.jpg) 377 views
377 viewsHow to Make a Sourdough Starter
seriouseats.com
Your folders
 340 views
How to Make a Sourdough Starter
lionsbread.com
Your folders
 215 views
How to Make a Sourdough Starter
dirtanddough.com
4.7
(3)
Your folders
 279 views
How to make a sourdough starter
blessthismessplease.com
5.0
(20)
240 hours
Your folders
 162 views
How To Make A Small Sourdough Start...
pantrymama.com
3.7
(25)
Your folders
 145 views
How to make a sourdough bread start...
theirishmanswife.com
5.0
(3)
Your folders
 280 views
How to Make Sourdough Starter
tastesoflizzyt.com
4.8
(29)
Your folders
470 viewsHow To Make Sourdough Starter
themodernproper.com
Your folders
 547 views
How to Make Sourdough Starter
acouplecooks.com
3.8
(259)
120 hours
Your folders
 242 views
How to Make Sourdough Starter
foodiewithfamily.com
5.0
(3)
Your folders
 247 views
How to Make Sourdough Starter
growforagecookferment.com
4.9
(7)
Your folders
257 viewsHow to Make Sourdough Starter
acouplecooks.com
5.0
(2)
120 hours
Your folders
 196 views
How To Make Sourdough Starter
healthline-store.com
Your folders
 360 views
How to Make Sourdough Starter
aheadofthyme.com
5.0
(3)
Your folders
 333 views
How to Make Sourdough Starter
thesuburbansoapbox.com
5.0
(1)
Your folders
 270 views
How To Make A Sourdough Starter Fro...
farmhouseonboone.com
4.4
(126)
Your folders
 86 views
How to Make a Sourdough Starter at ...
catchymeals.com