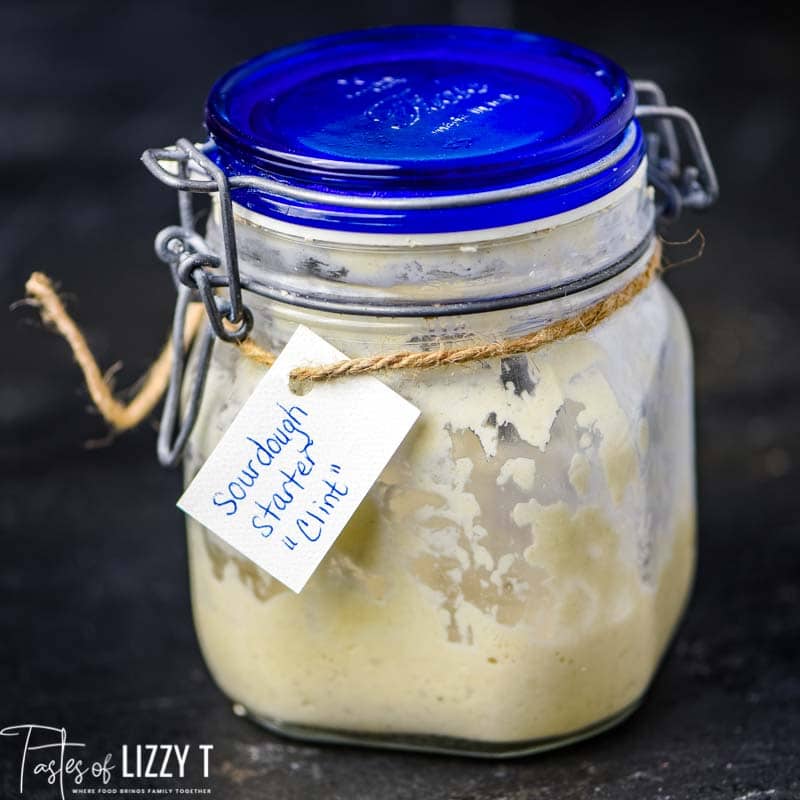
How to Make Sourdough Starter
4.8
(29)
Your folders
Your folders
Prep Time: 20 minutes
Total: 5 minutes
Author : Julie Clark
Ingredients
Export 2 ingredients for grocery delivery
Instructions
Step 1
Start with a clean glass jar. I use a pint size mason jar when I am beginning a starter, but a weck jar or other glass jar will be fine too. You’ll just want it to be able to hold about 2 cups so that it can handle the rise of the starter.
Step 2
Place the jar on the kitchen scale. Turn the scale on and make sure it is reading 0 grams. If it isn’t, press the “tare” button to get the display to read zero.
Step 3
Add 60 grams of whole wheat flour and 60 grams of warm, non-chlorinated water. The mixture will be very, very think. It won’t be impressive at all to start.
Step 4
Cover the jar loosely with plastic wrap and let it sit at room temperature, of in a spot where the room temperature is slightly warmer.
Step 5
Check the starter. You’re looking for bubbles to form. If you don’t see any, it is ok because they come and go fairly quickly. Don’t mix it. Just check it, then let it sit again for another 24 hours.
Step 6
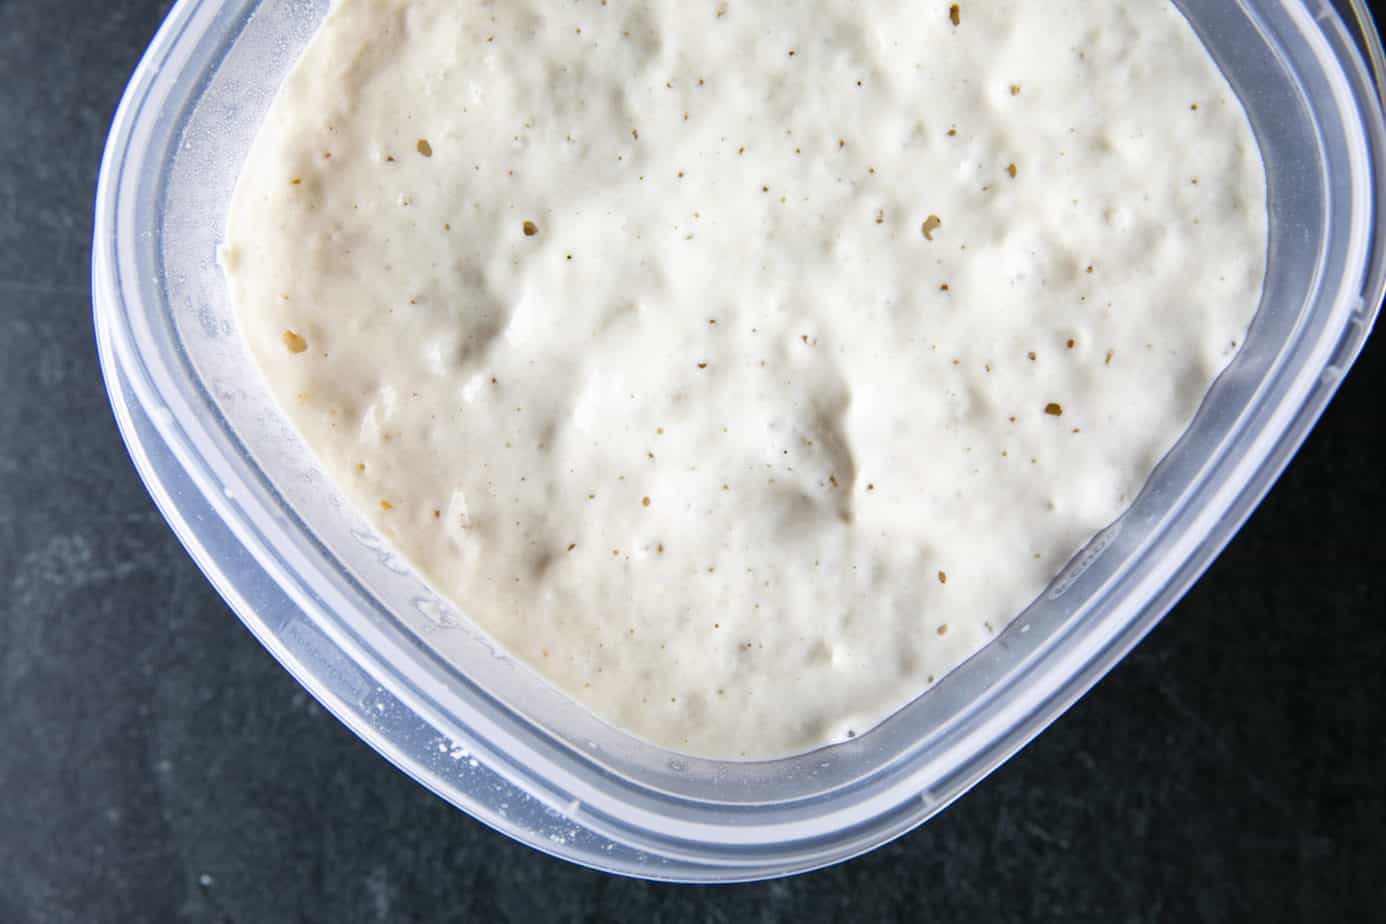
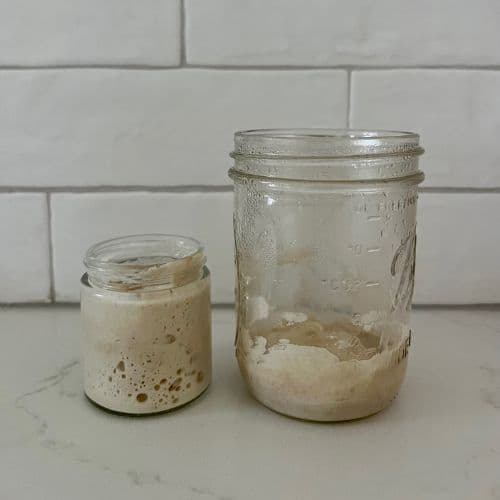
This is the first day you’ll feed the starter. Feed it no matter what it looks like. At this point the starter is going to be “stretchy”. Pull out half of the starter and throw it away. Use your kitchen scale to again add 60 grams of all-purpose unbleached flour and 60 grams of warm water.
Step 7
Mix it all together. It will still be really thick. Cover loosely with plastic wrap.
Step 8
Discard half of the starter and feed as you did in Day You’ll do the same thing each day no matter what the starter looks like. Discard half, and feed with equal amounts of flour and warm water.
Step 9
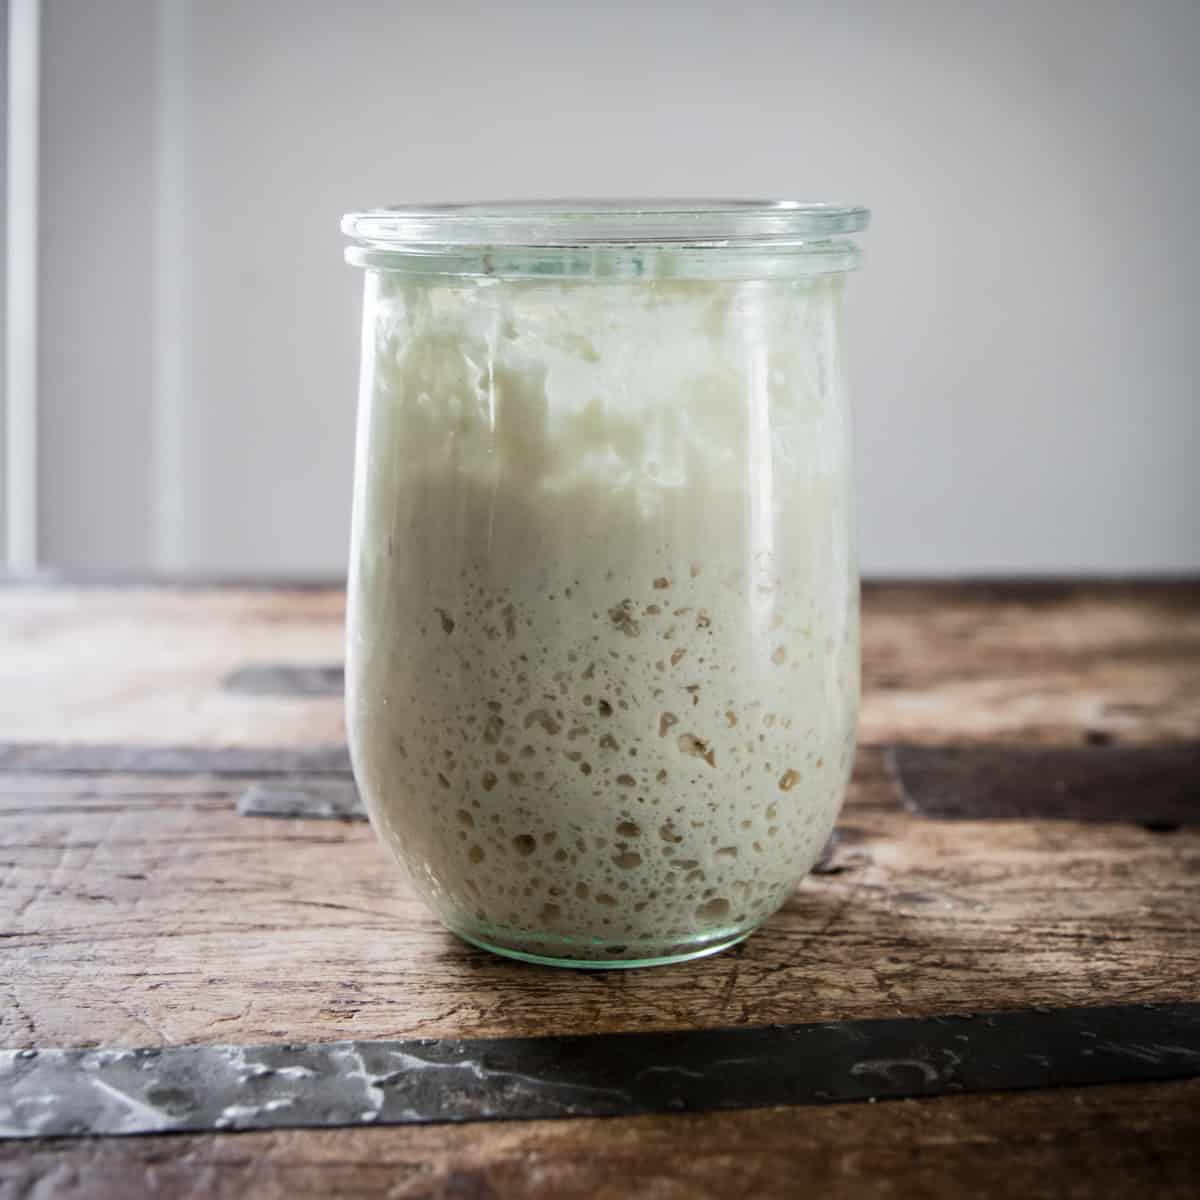
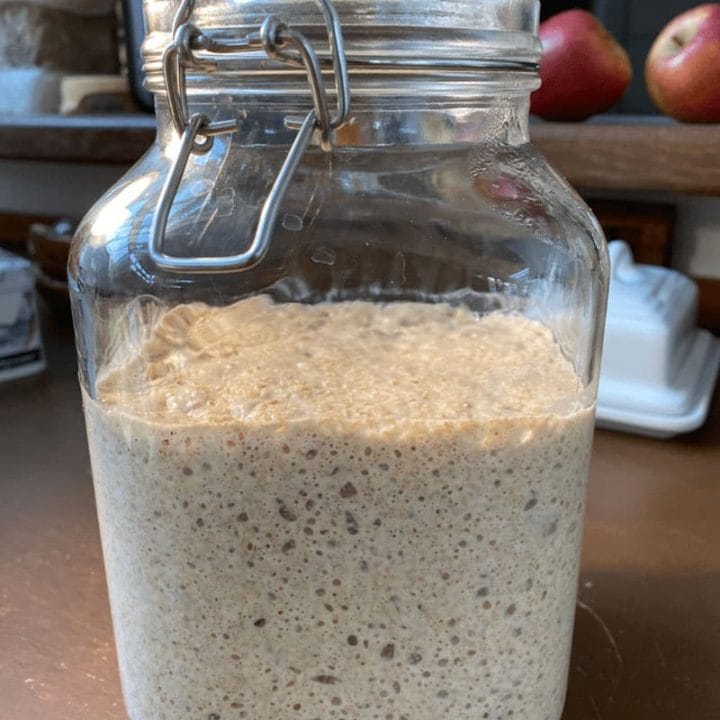
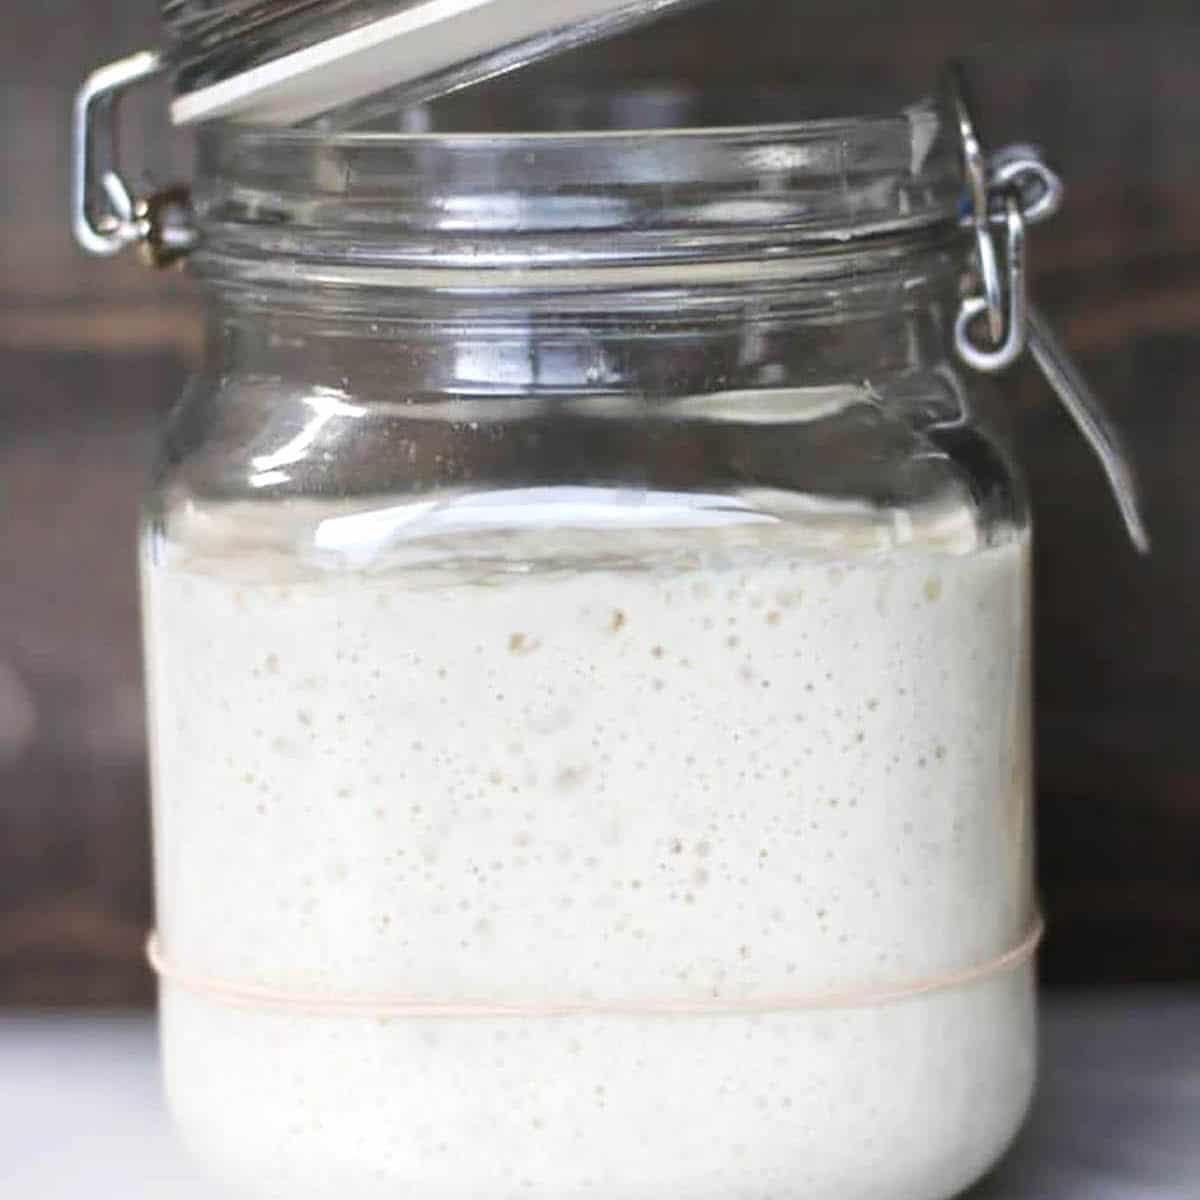
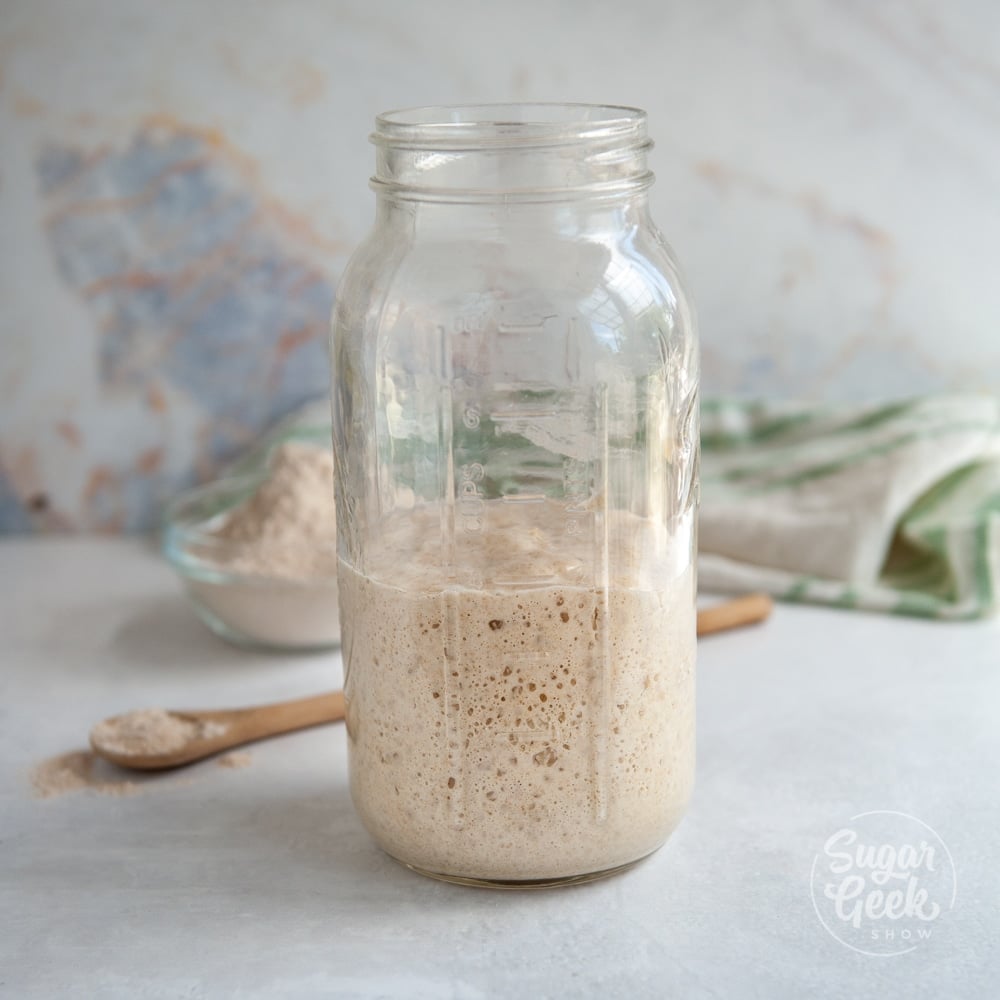
As these three days pass you’ll notice a natural rise and fall to the starter. This is an important process to observe because it will tell you when the starter is ready to bake with and when it is hungry. You can use a rubber band (or a piece of tape) on the jar to mark where the starter is when you feed it, then how it doubles as the starter grows.
Step 10
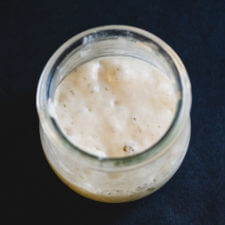
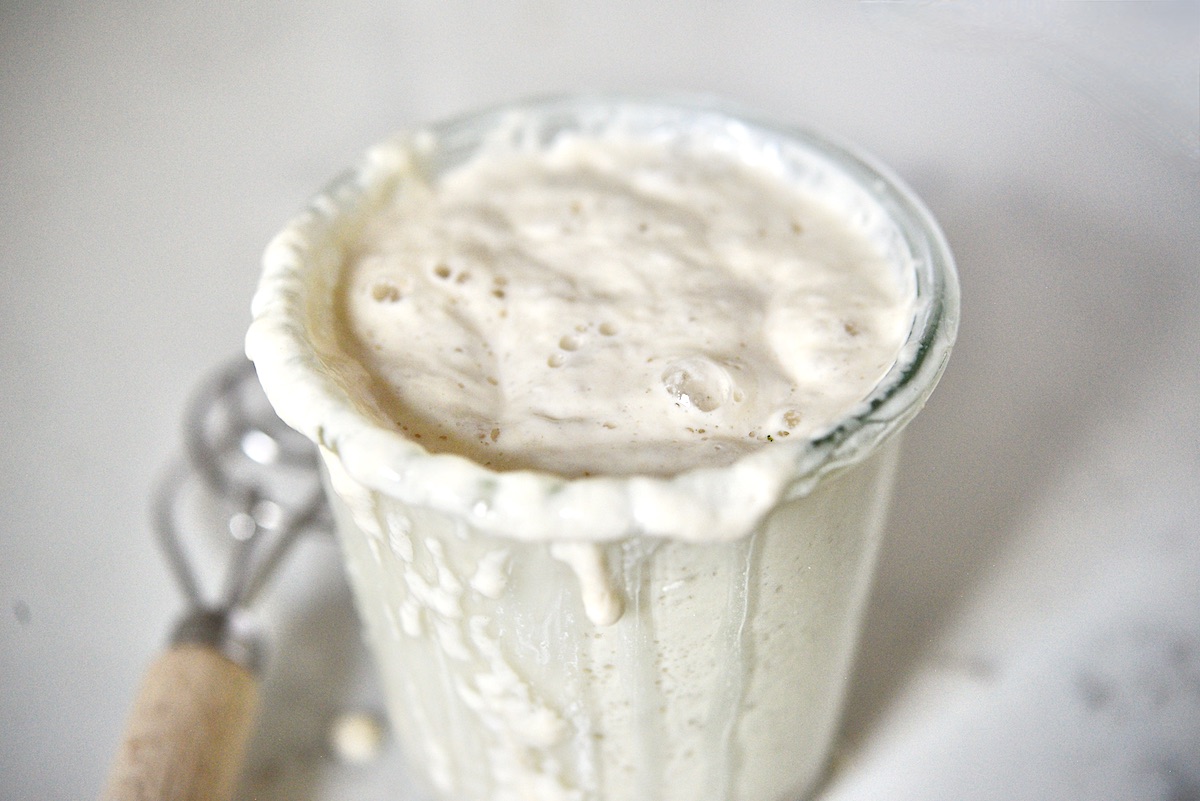
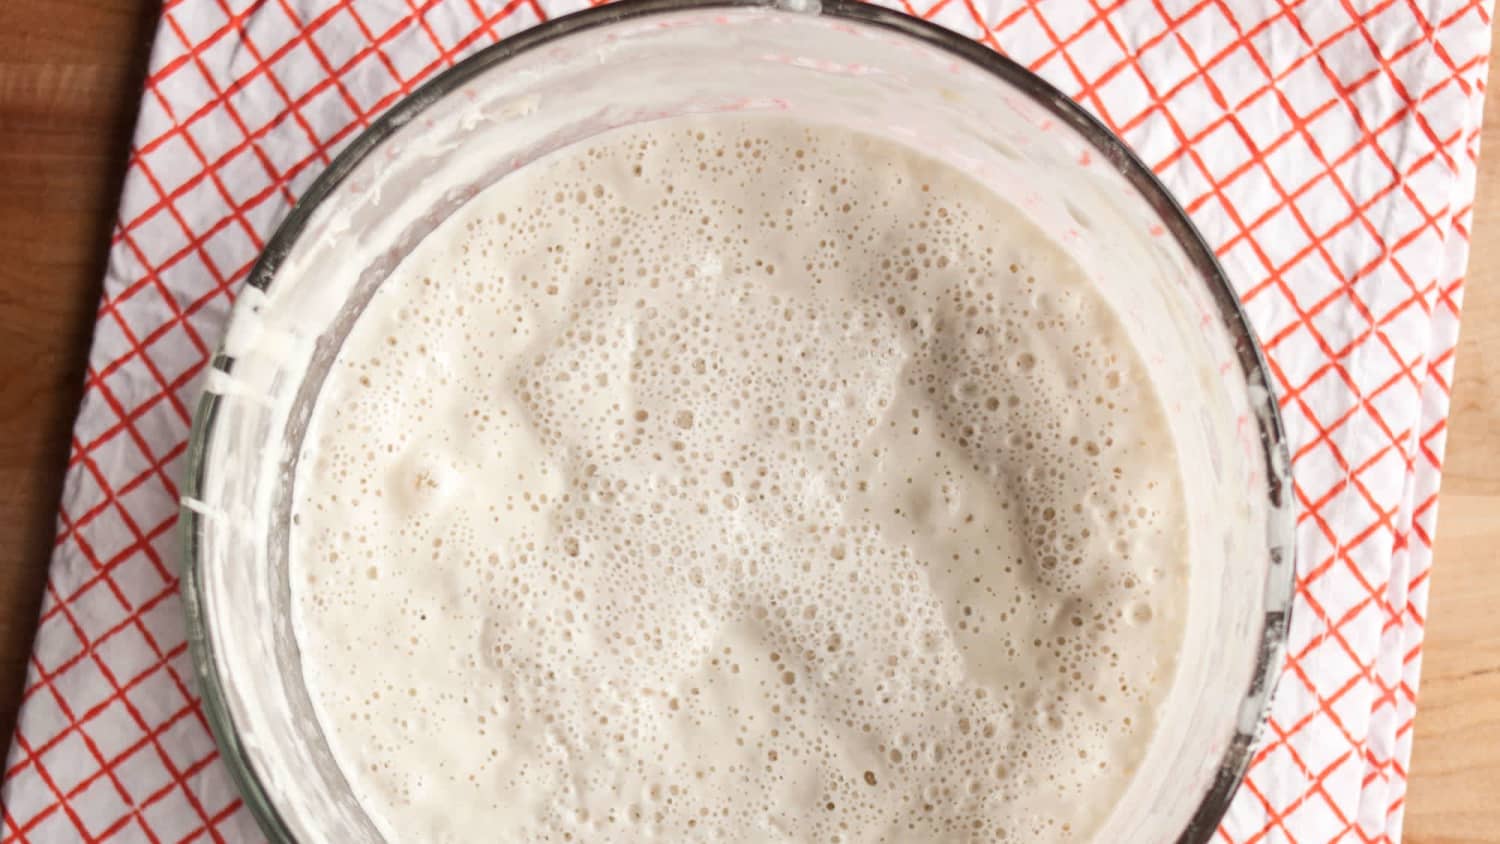
Your starter should be very bubbly and you are almost ready to bake! It should have a sweet and tangy aroma. It should not be a sharp or harsh smell. It should look light and airy.
Step 11
If your starter does not look like this, continue the feeding process for a few more days before using it.
Step 12
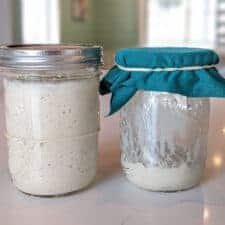
Once your starter is light and airy, it's time to bake with it! Place the active starter in a clean jar that it will continue to live in as you feed it.
Step 13
Click here to make our favorite artisan sourdough bread recipe.
Top similar recipes
Curated for youYour folders
 454 views
How To Make Sourdough Starter
themodernproper.com
Your folders
 536 views
How to Make Sourdough Starter
acouplecooks.com
3.8
(259)
120 hours
Your folders
 232 views
How to Make Sourdough Starter
foodiewithfamily.com
5.0
(3)
Your folders
 239 views
How to Make Sourdough Starter
growforagecookferment.com
4.9
(7)
Your folders
249 viewsHow to Make Sourdough Starter
acouplecooks.com
5.0
(2)
120 hours
Your folders
 185 views
How To Make Sourdough Starter
healthline-store.com
Your folders
 348 views
How to Make Sourdough Starter
aheadofthyme.com
5.0
(3)
Your folders
 319 views
How to Make Sourdough Starter
thesuburbansoapbox.com
5.0
(1)
Your folders
 261 views
How to Make a Sourdough Starter
pinchmysalt.com
4.3
(22)
Your folders
 202 views
How to Make a Sourdough Starter
ourgabledhome.com
4.9
(10)
Your folders
/__opt__aboutcom__coeus__resources__content_migration__serious_eats__seriouseats.com__2020__05__20200512-sourdough-starter-5050rye-full-jar-tim-chin-0931479ce7464ad989fefcfb14654cf0.jpg) 366 views
366 viewsHow to Make a Sourdough Starter
seriouseats.com
Your folders
 328 views
How to Make a Sourdough Starter
lionsbread.com
Your folders
 308 views
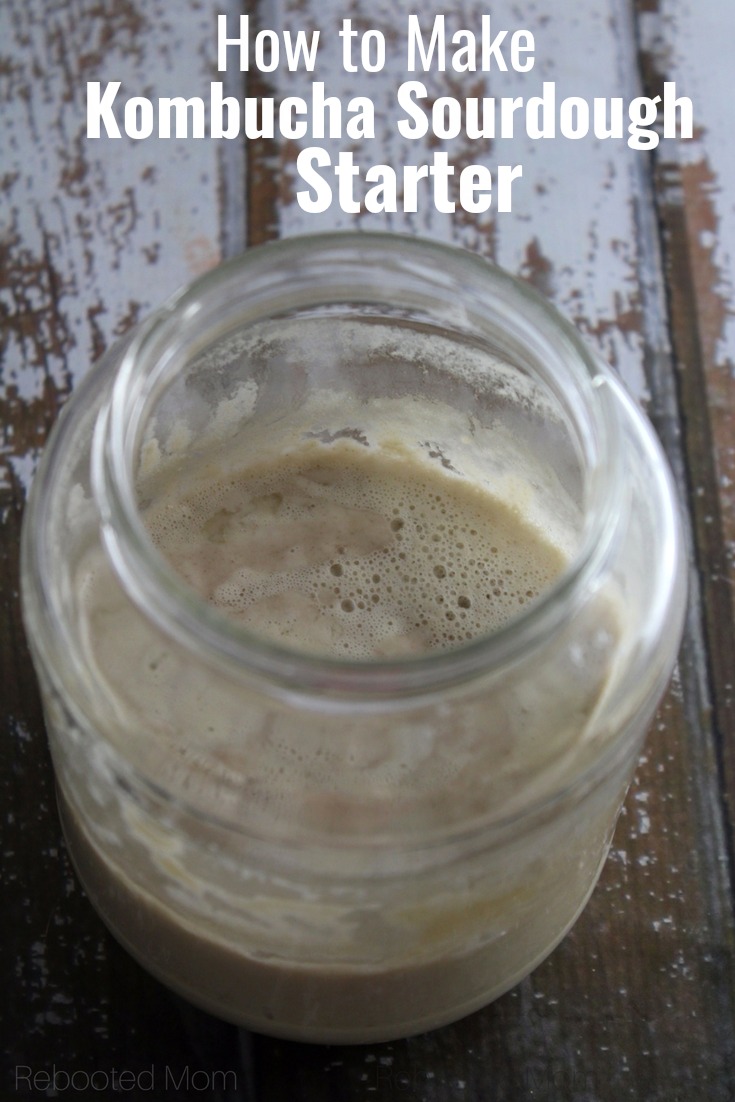
How to Make Kombucha Sourdough Star...
rebootedmom.com
Your folders
 203 views
How to Make a Sourdough Starter
dirtanddough.com
4.7
(3)
Your folders
 269 views
How to make a sourdough starter
blessthismessplease.com
5.0
(20)
240 hours
Your folders
 544 views
How To Make Your Own Sourdough Star...
thekitchn.com
3.4
(77)
Your folders
 214 views
How To Make Sourdough Starter For B...
sugargeekshow.com
5.0
(9)
Your folders
 155 views
How To Make A Small Sourdough Start...
pantrymama.com
3.7
(25)
Your folders
 136 views
How to make a sourdough bread start...
theirishmanswife.com
5.0
(3)