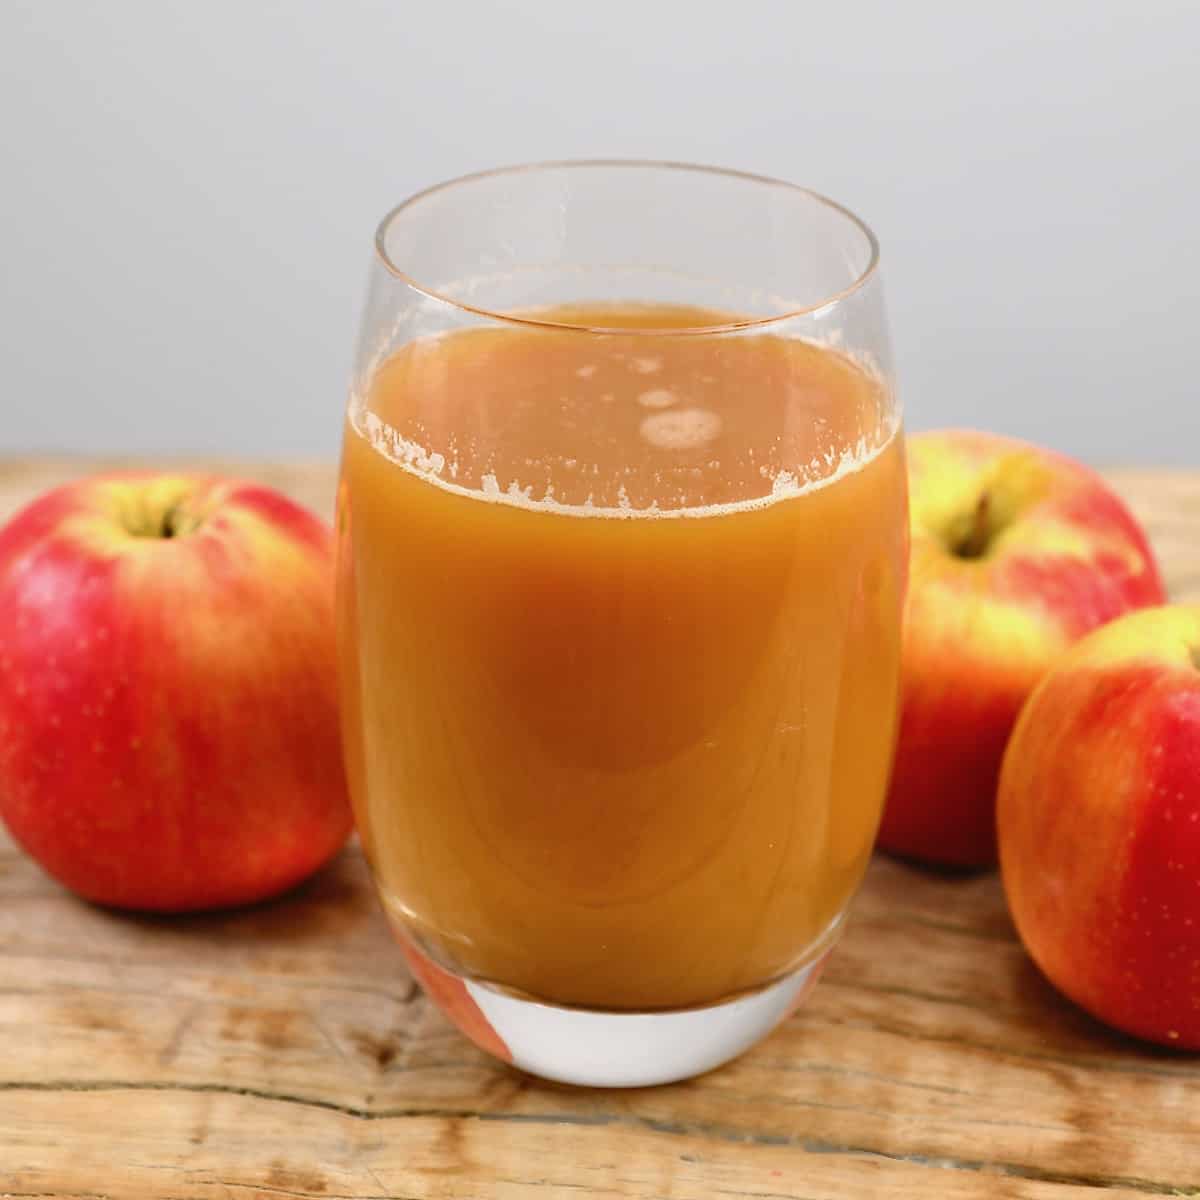
How to Make Apple Juice (With and Without Juicer)
5.0
(4)
Your folders
Your folders
Prep Time: 5 minutes
Total: 5 minutes
Servings: 2
Author : Samira

Ingredients
Export 1 ingredients for grocery delivery
Instructions
Step 1
There are three main ways that you can easily use to make homemade apple juice at home, including with a juicer, blender, or manually (machine free).If your apples are waxed, then you’ll first want to remove this. To do so, you can dip the apples in hot water with a splash of distilled vinegar (or ACV) for a few seconds, then rinse them with cold tap water. Alternatively, you can use some apple cider vinegar or white vinegar and a paper towel to wipe the apples then rinse them.
Step 2
Clean and chop the apples, discarding the core with the seeds. Optionally peel the apples – though I don’t.
Step 3
Add the apple pieces to your blender along with ½ cup or so of water (or even orange juice) – this will help the machine blend the apples into a smooth(-ish) juicy, pulpy consistency.
Step 4
If you want to get rid of the pulp, pour the apple juice into a nut milk bag or through a muslin cloth and manually squeeze it to squeeze out as much liquid as possible.You can optionally add some back into the juice if you want just a little pulp. Check the FAQs for more ways to use the leftover apple pulp.
Step 5
Wash, and chop the apples – removing the inner core/seeds – into pieces small enough to fit your juicer chute. Optionally peel the apples, though I don't.
Step 6
Feed the apple pieces into your juicer, and voila! Save the apple pulp to use later (check FAQs).
Step 7
Wash the apples if needed. Then grate them into a muslin/cheesecloth-lined bowl (or use a strainer).
Step 8
Once grated, pull the cloth together, twist the top and wring it well/ squeeze by hand to remove as much juice from the apples as possible.To make the process simpler, freeze the grated apple overnight, then leave it to defrost at room temperature before squeezing the juice. When thawing, the apple will soften enough to make it easier to squeeze.
Step 9
This isn't a method I often use, as I prefer to use heat-free methods for the highest nutrition. However, the boiled method often makes for a higher volume of juice, AND it allows you to use lots of leftover apple scraps from other recipes, too (peels, cores, etc.)Gather your apple scraps and any additional washed thin apple slices – there's no need to core them as you’ll be straining all the pulp afterward anyway. However, feel free to do so if you want to use the pulp for applesauce.
Step 10
Add the apples to a large pot and cover them with an inch of water (don’t add too much as it will dilute the juice. It is better to add more later if preferred than add too much now). Bring the mixture to a boil over medium-high. Once the water boils, reduce to a simmer and cover with a lid, cooking for 25-30 minutes (stirring occasionally), or until the apples are very tender.
Step 11
Transfer the mixture through a fine-mesh strainer, muslin cloth, or nut milk bag to strain. Next, use a spoon (or your hands when it’s cool enough to handle) to press/squeeze the remaining apple pulp to remove as much juice as possible.
Step 12
Taste and adjust the juice with more water/sweetener if preferred. Then, you can use the leftover apple pulp to mix/blend into homemade applesauce with a bit of cinnamon and sweetener. You can also "water bath can" this version of apple juice, though I haven’t tried. I recommend referring to professional guidelines. However, my previous experience would have me recommending a 10-minute processing time, leaving an inch headspace in the canning jars before processing.
Step 13
Store: I recommend drinking homemade apple juice within 24 hours for the best flavor and nutrient levels. However, the leftover juice will last up to 5 days in the refrigerator in an airtight container. It will brown over time as it oxidizes. To increase the shelf life of the homemade apple juice then you can pasteurize the juice.Freeze: freeze any leftover apple juice as quickly as possible for optimal nutrient retention. I recommend doing so in ice-cube trays for "portioned" juice. You can store the juice in the freezer for several months (4-6). You can then add the apple juice ice cubes to other drinks, smoothies, and slushies - or allow them to thaw in the fridge first.