How To Juice Turmeric (With and Without a Juicer)
5.0
(8)
Your folders
Your folders
Prep Time: 5 minutes
Total: 5 minutes
Servings: 4

Ingredients
Export 1 ingredients for grocery delivery
Instructions
Step 1
(This method is the simplest and quickest, with the highest juice yield and lowest 'waste'.)Wash the fresh turmeric well using a small vegetable brush. There's no need to peel the skin from the turmeric (unless you're worried about pesticides), so I like to make sure that it's properly clean.
Step 2
Feed the turmeric root into the juicer, cutting it into smaller pieces as needed to fit into your juicer's shute.Top Tip: If you find that the turmeric pulp is still very wet, you can actually feed it back through the juicer a second (and even third) time.
Step 3
The main difference with this method is that you'll need to add extra water to help the blender (high-speed blenders only!) create a juice - so the liquid is slightly diluted. You also won't be able to extract quite as much from the turmeric root.For this, you can use un-peeled turmeric, though peeled may be easier to blend. The easiest way to peel turmeric root is with a spoon (like I have here for ginger), which will easily scrape it off.Chop the turmeric into small pieces around 1-inch in length/thickness and add to the blender with 1/2-1 cup of water and blend until the pieces are broken up, and you have a smooth-ish juice.Top Tip: Use a smaller jug for this, as it will make it easier for the blade to blend the root properly.You could also use coconut water or blend it with another juice (like orange juice or carrot juice) if you want to use it immediately for mixed juice shots.
Step 4
Pour the turmeric juice into a nut milk bag (or use a cheesecloth or sieve) and squeeze the pulp to extract as much juice as possible.The juice will stain the nut milk bag/cheesecloth - so I usually keep one aside specifically for turmeric.
Step 5
This process can be affected by the turmeric's age and the individual press - larger ones may work better- so it isn't foolproof, but it should work in a pinch.Peel the turmeric root and then slice it into pieces about 1-inch in size (or just big enough to fit your garlic press).Then simply press and the juice should come out without pushing through any of the pulp.
Step 6
The final process only requires a garlic grater dish or micro planer/Japanese ginger grater and some patience. It will yield the most diluted juice - but it could be handy for those with no other option. Use gloves when using this method! You can use peeled or unpeeled turmeric for this method.Grate the turmeric using the garlic grater.Then add the pulp to a nut milk bag and squeeze out as much juice as possible.Alternatively, add the pulp to some water. Leave this to 'soak' in the refrigerator for at least six hours or overnight. Then strain the liquid through a nut milk bag/cheesecloth/strainer, pressing the pulp to extract as much juice as possible.
Step 7
Fridge: Fresh juice is best consumed as soon as possible as the nutrients will deplete as it oxidizes. For that reason, it's best to use the turmeric juice within 5-7 days, though it should be 'fresh' for up to 2 weeks. Give it a good shake before drinking.Freezer: Pour the turmeric juice into an ice-cube tray for perfectly portioned amounts and freeze for up to 6 months. When you want to use some, remove it from the freezer and allow it to thaw for juice shots or blend directly into smoothies from frozen.
Top similar recipes
Curated for youYour folders
 959 views
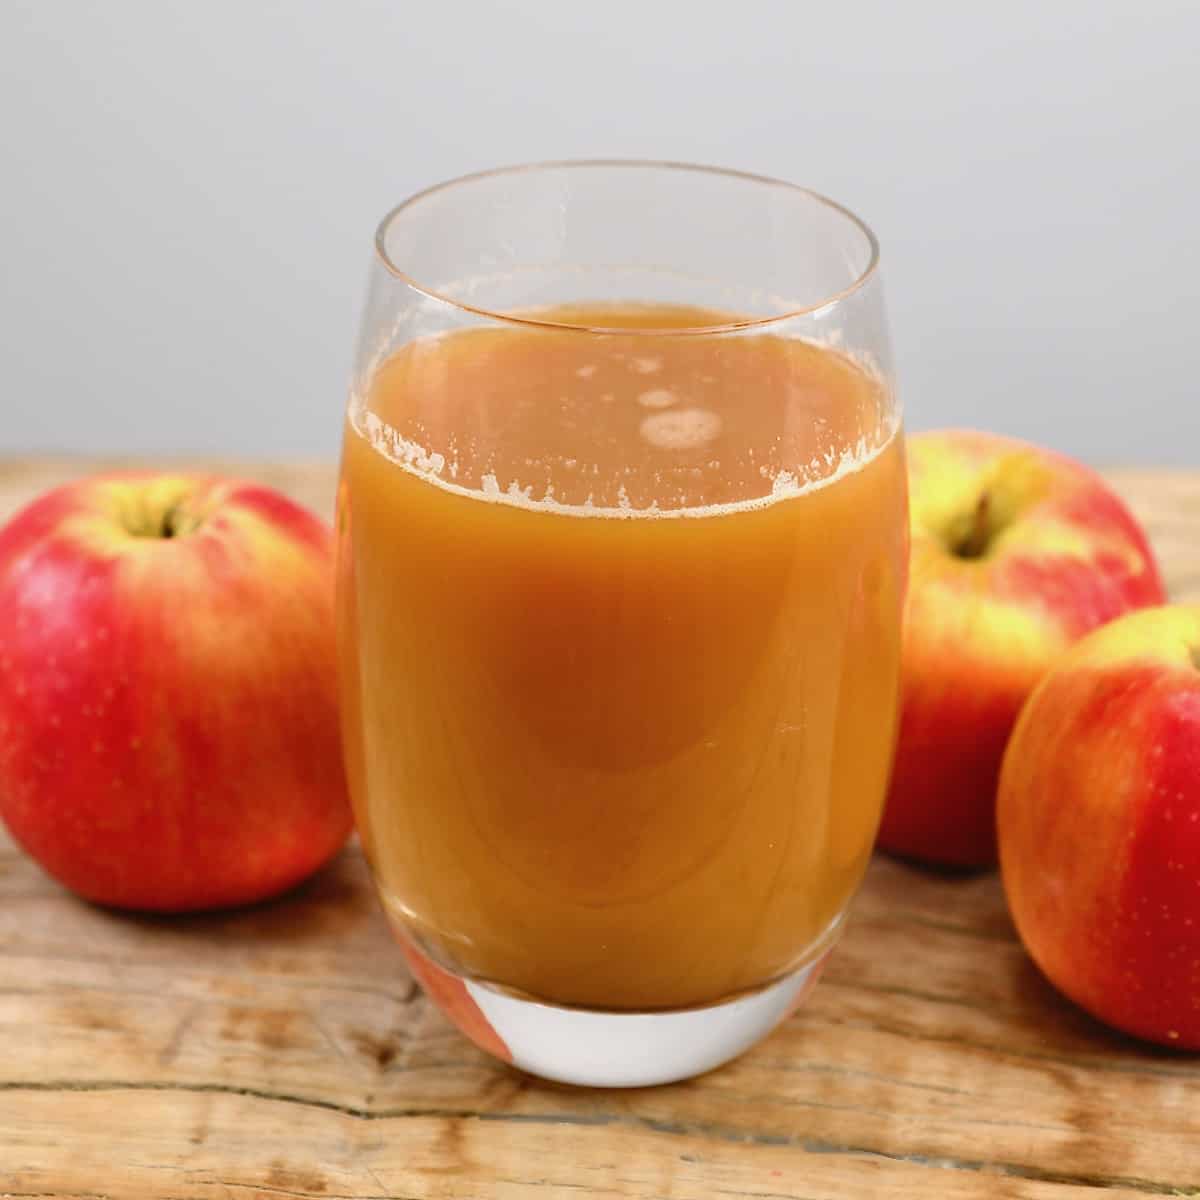
How to Make Apple Juice (With and W...
alphafoodie.com
5.0
(4)
Your folders
 26 views
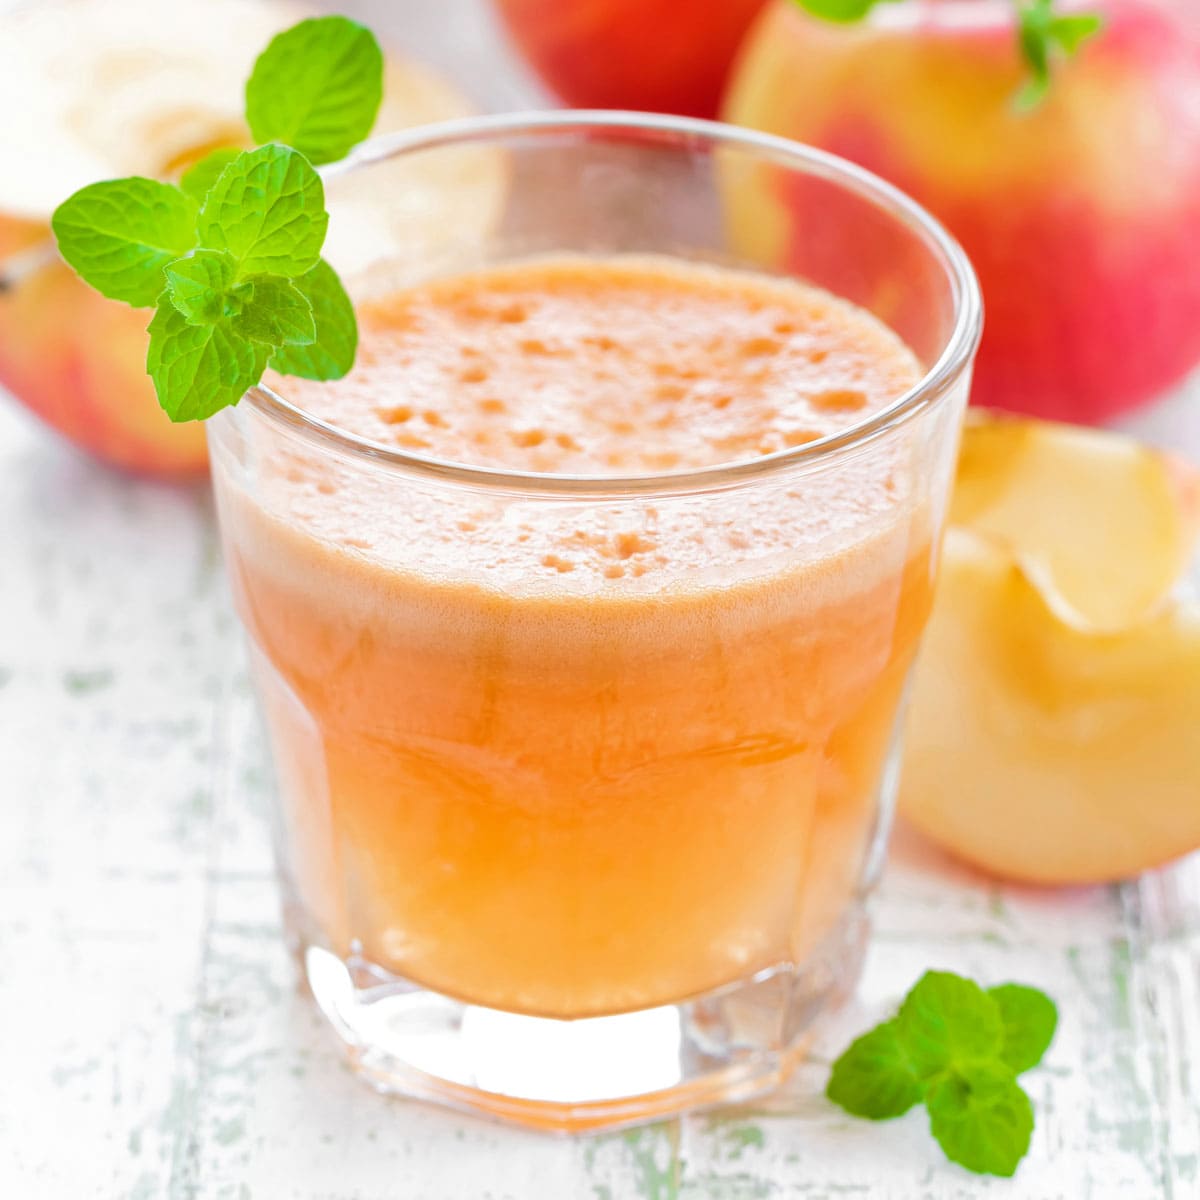
How To Make Apple Juice With a Juic...
brooklynfarmgirl.com
4.9
(10)
Your folders
 288 views
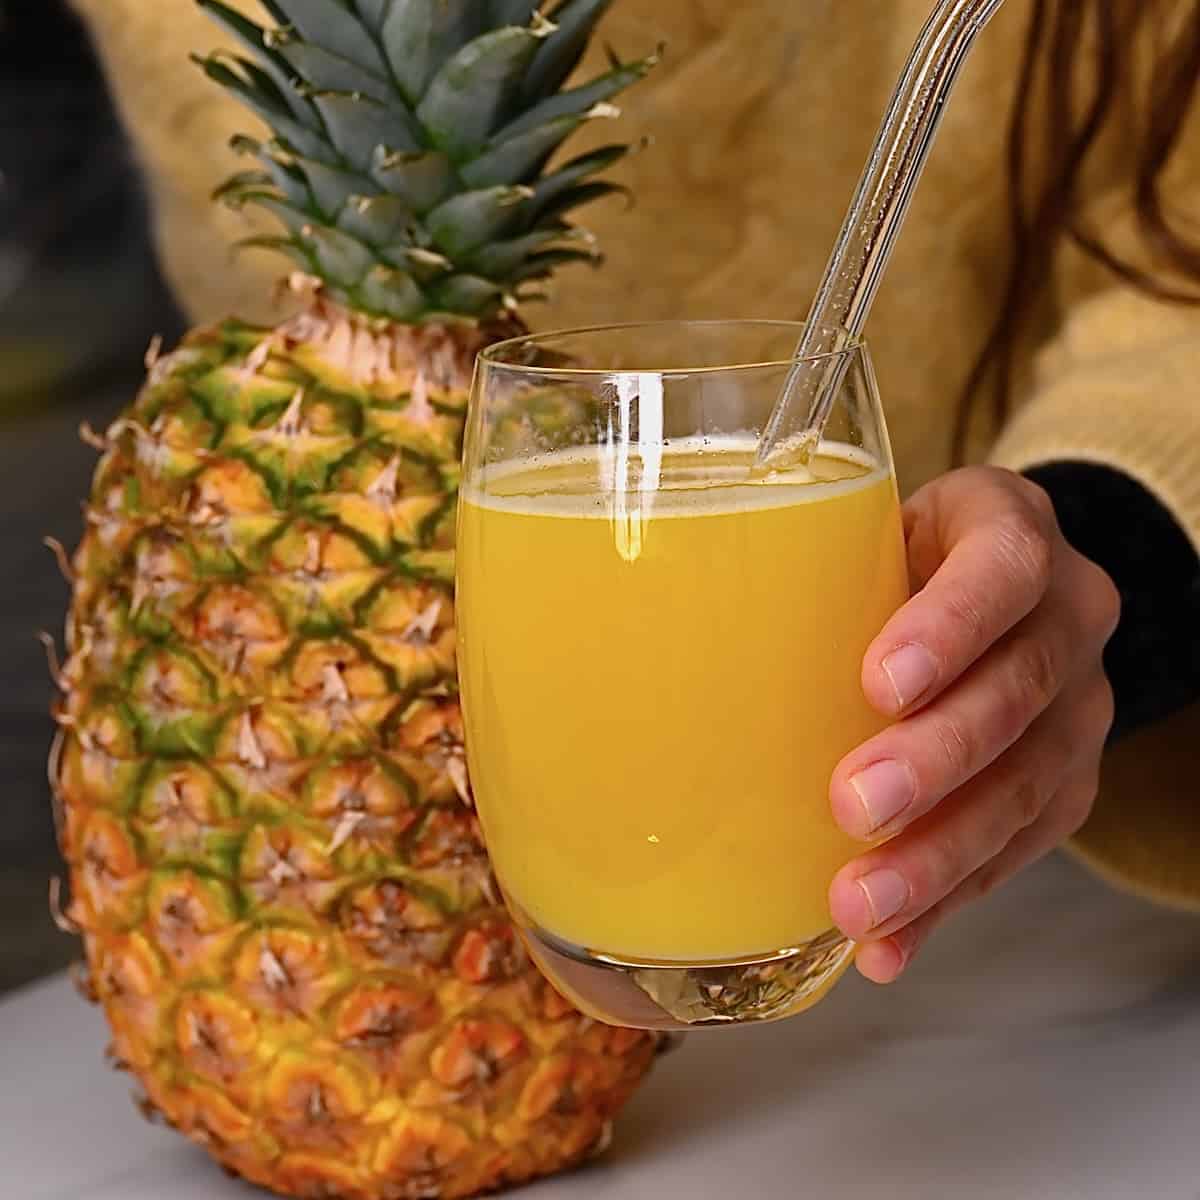
How To Make Pineapple Juice (With o...
alphafoodie.com
5.0
(8)
Your folders
 294 views
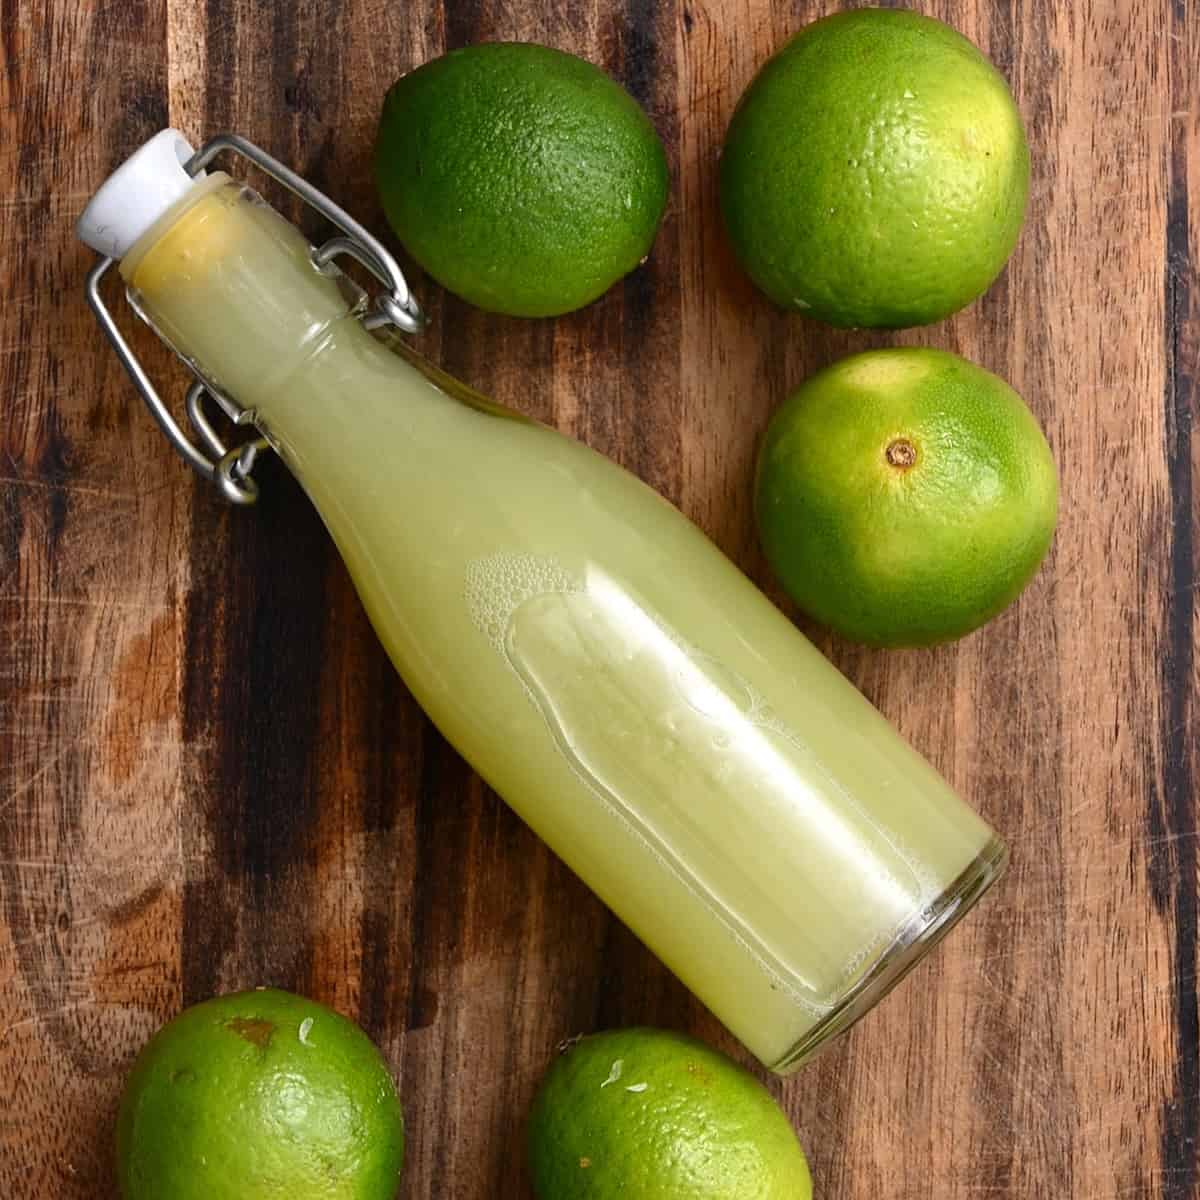
How to Juice a Lime (6 Methods With...
alphafoodie.com
5.0
(9)
Your folders
 127 views
How to Juice a Lemon (6 Methods Wit...
alphafoodie.com
5.0
(7)
Your folders
 138 views
How to Make Celery Juice (In a Juic...
alphafoodie.com
5.0
(37)
Your folders
 222 views
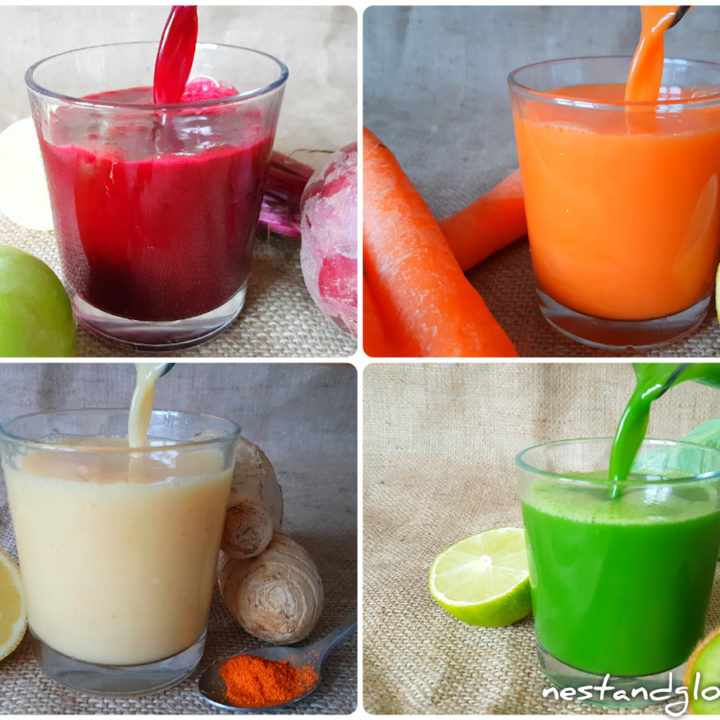
Immunity Shots Without a Juicer
nestandglow.com
4.5
(102)
Your folders
 27 views
How to Make Tofu with a Hurom Juice...
hurom.com
25 minutes
Your folders
 100 views
How to Seed and Juice a Pomegranate
toriavey.com
4.7
(32)
5 minutes
Your folders
194 viewsHow to Seed and Juice a Pomegranate
toriavey.com
4.7
(32)
5 minutes
Your folders
 171 views
Cucumber Juice (Juicer or Blender)
cleaneatingkitchen.com
5.0
(1)
5 minutes
Your folders
191 viewsCucumber Juice (Juicer or Blender)
cleaneatingkitchen.com
5.0
(1)
5 minutes
Your folders
 165 views
How To Peel a Peach Without a Knife
thekitchn.com
5.0
(1)
Your folders
 124 views
How to Make a Turmeric/Ginger Bug
it-takes-time.com
Your folders
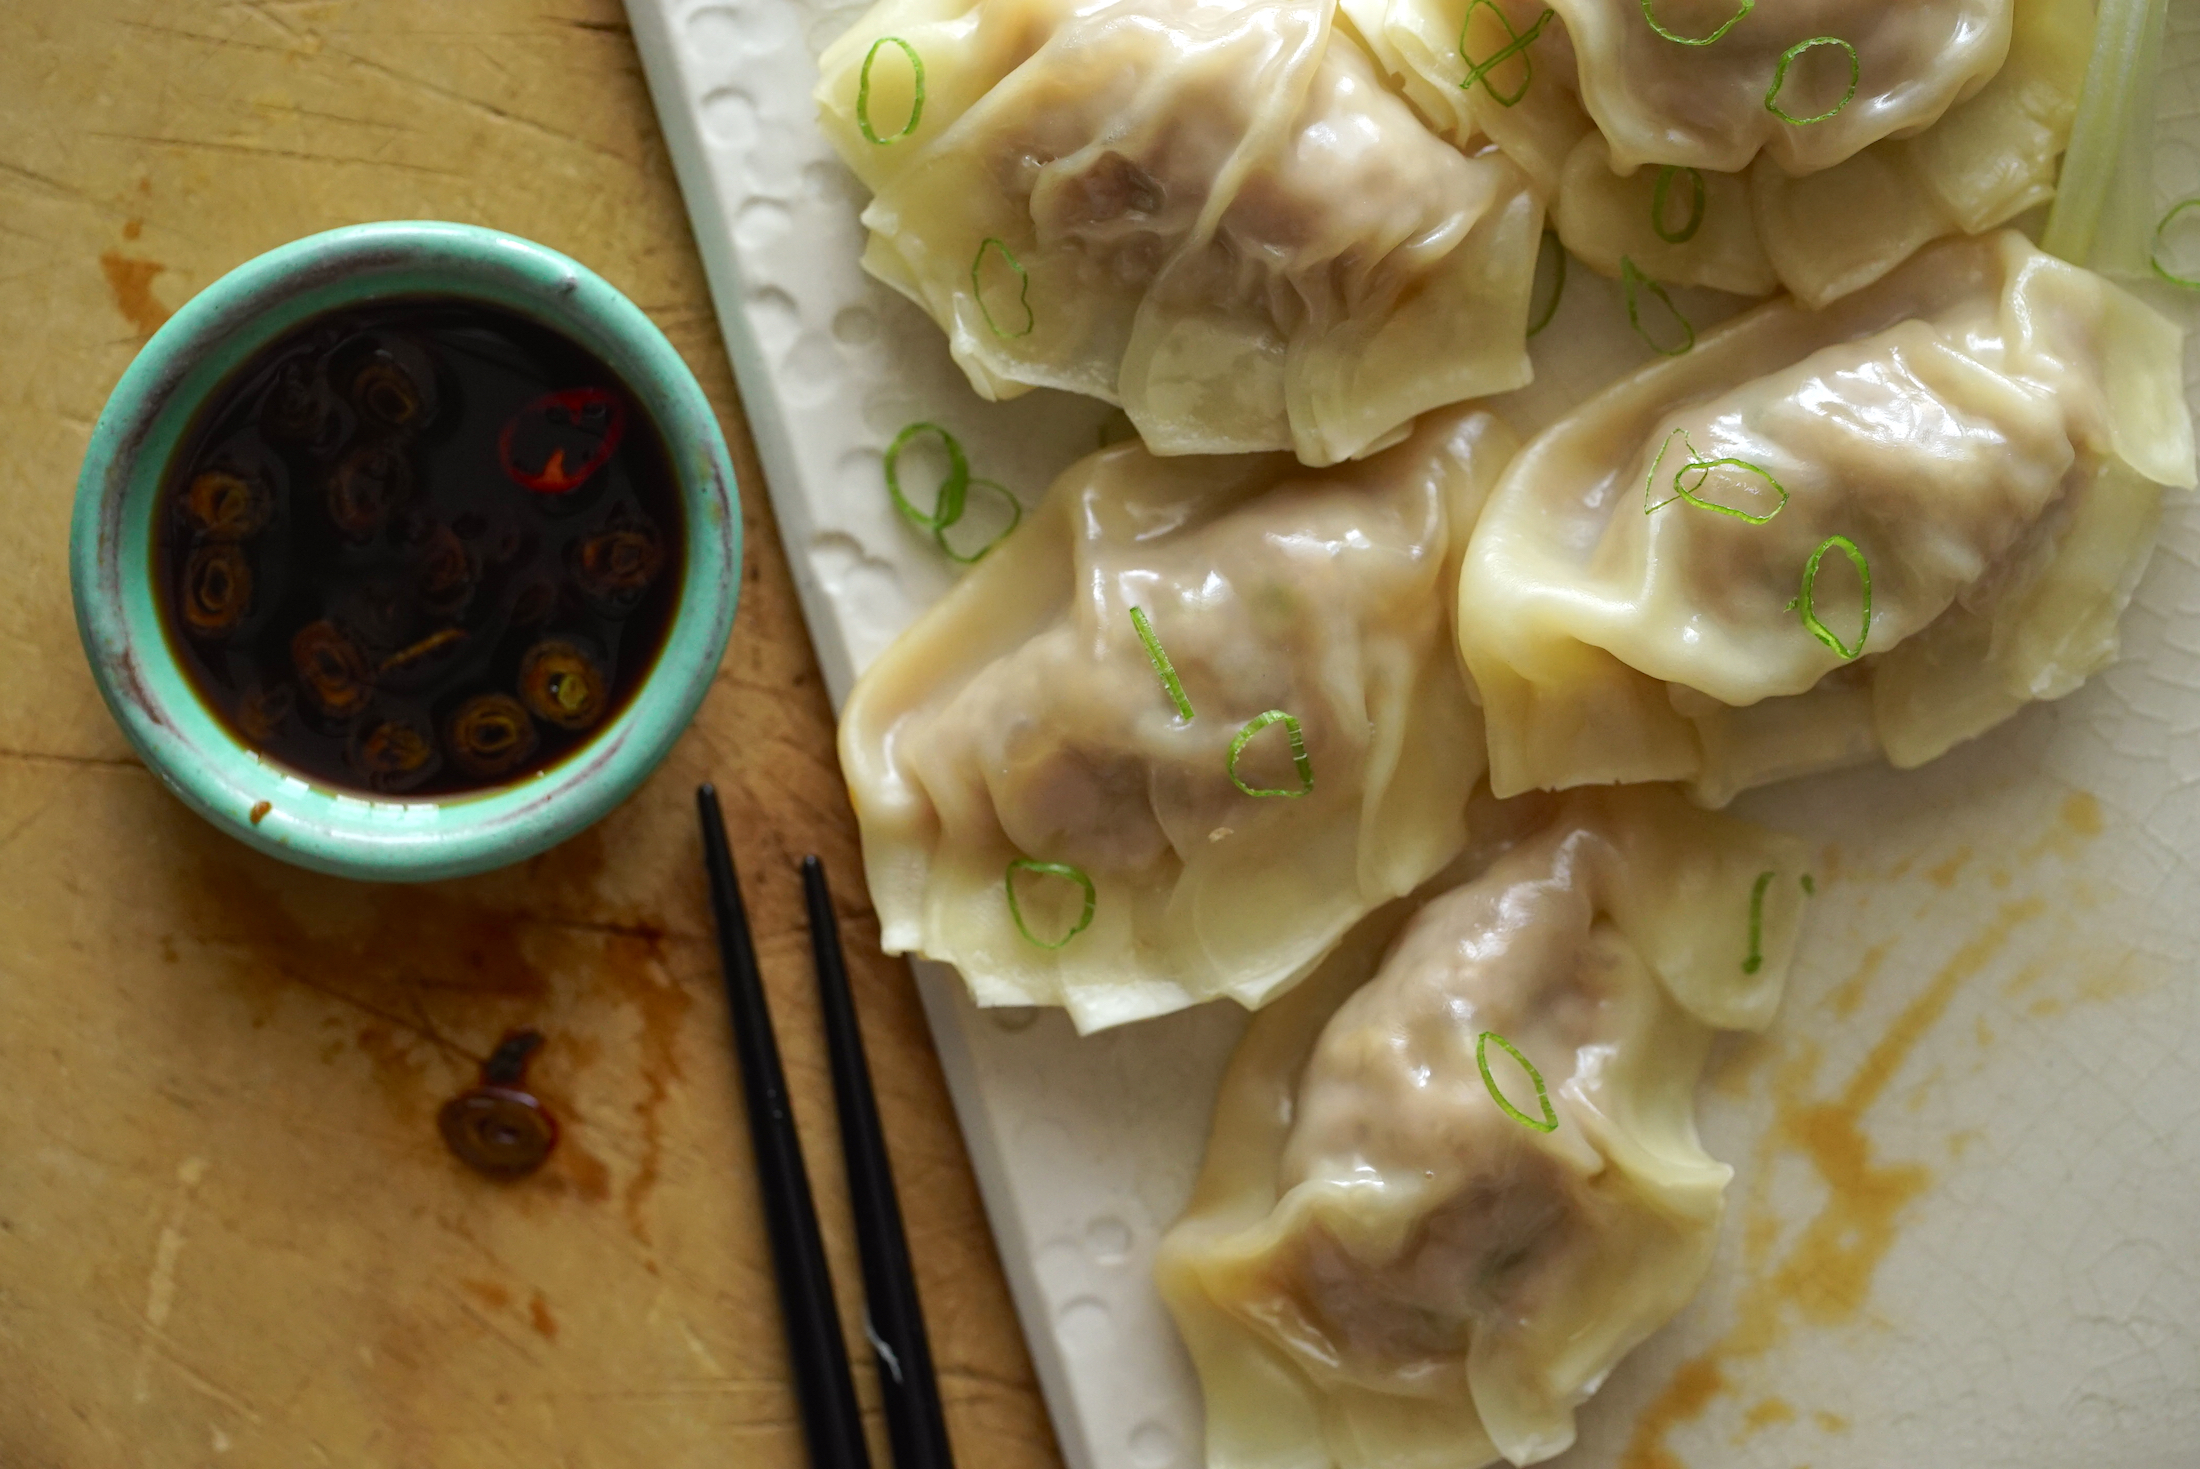 275 views
How To Make Dumplings Without A Ste...
foodrepublic.com
Your folders
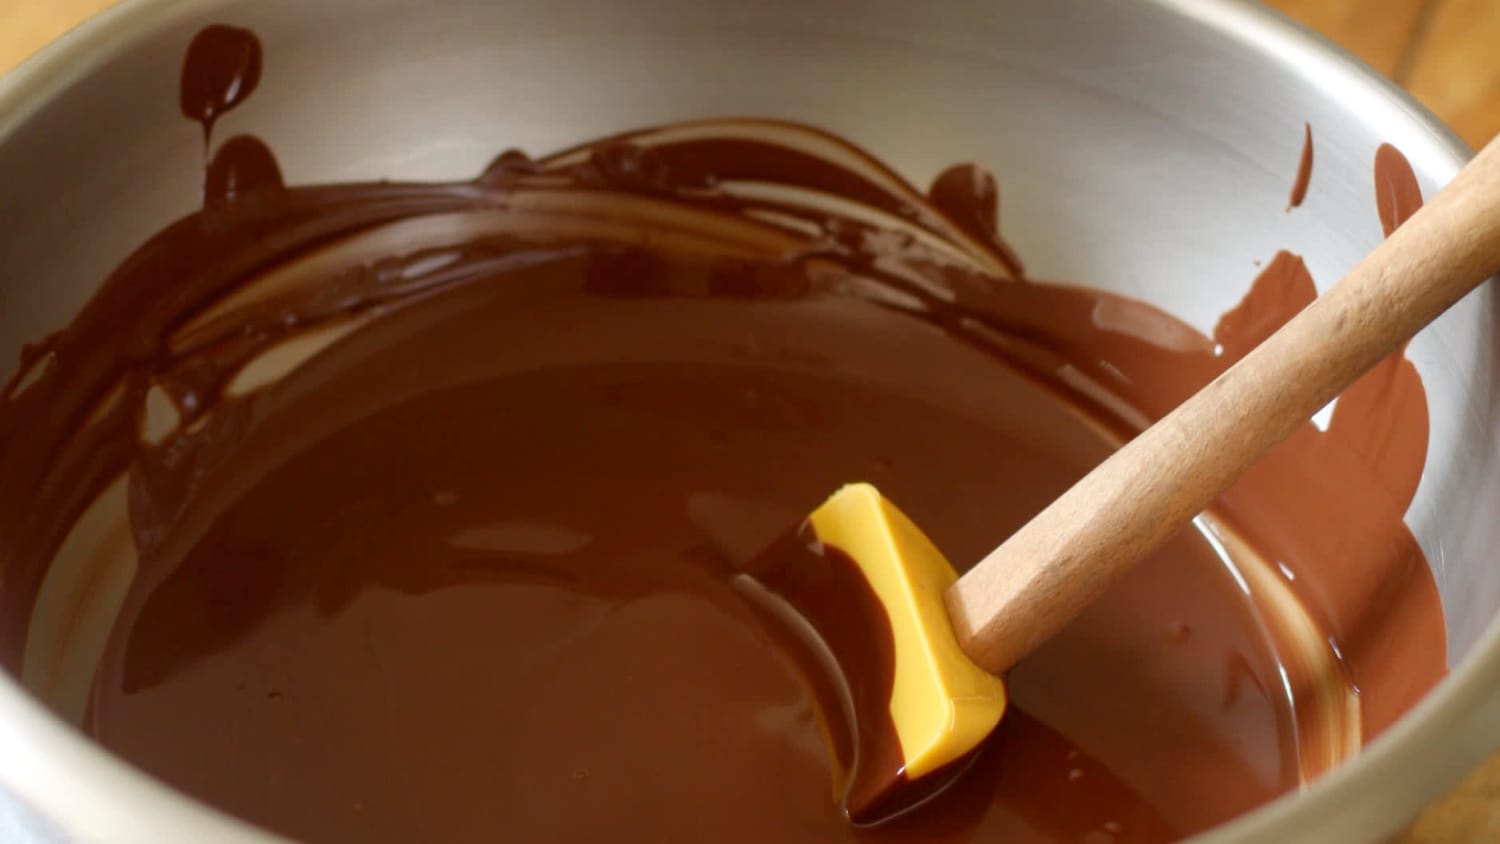 373 views
How To Temper Chocolate Without a T...
thekitchn.com
5.0
(1)
Your folders
 95 views
How to Can Tomatoes (Without A Cann...
prettyprudent.com
4.8
(4)
1 hours, 25 minutes
Your folders
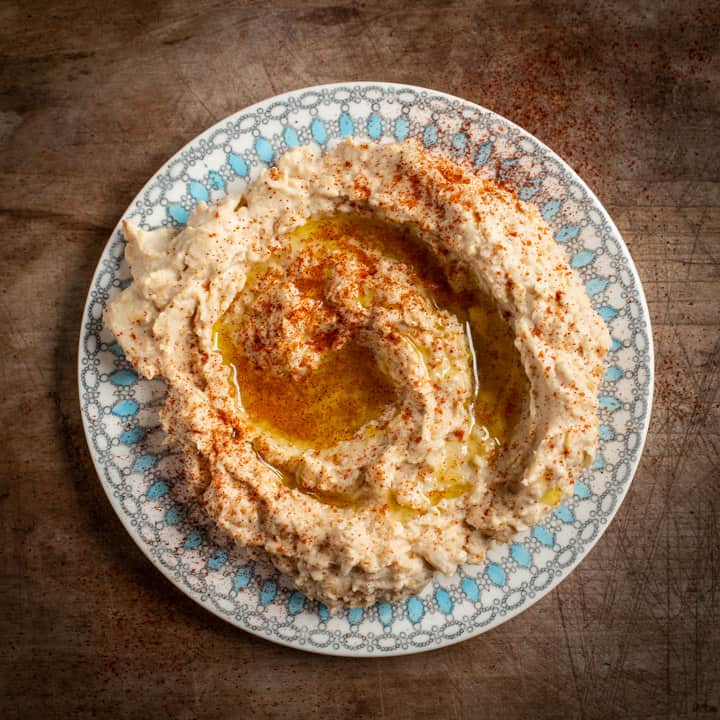 380 views
How to Make Hummus without a Blende...
hedgecombers.com
4.5
(9)
Your folders
 365 views
How to Make Sushi Without a Mat
minimalistbaker.com
4.7
(53)
20 minutes