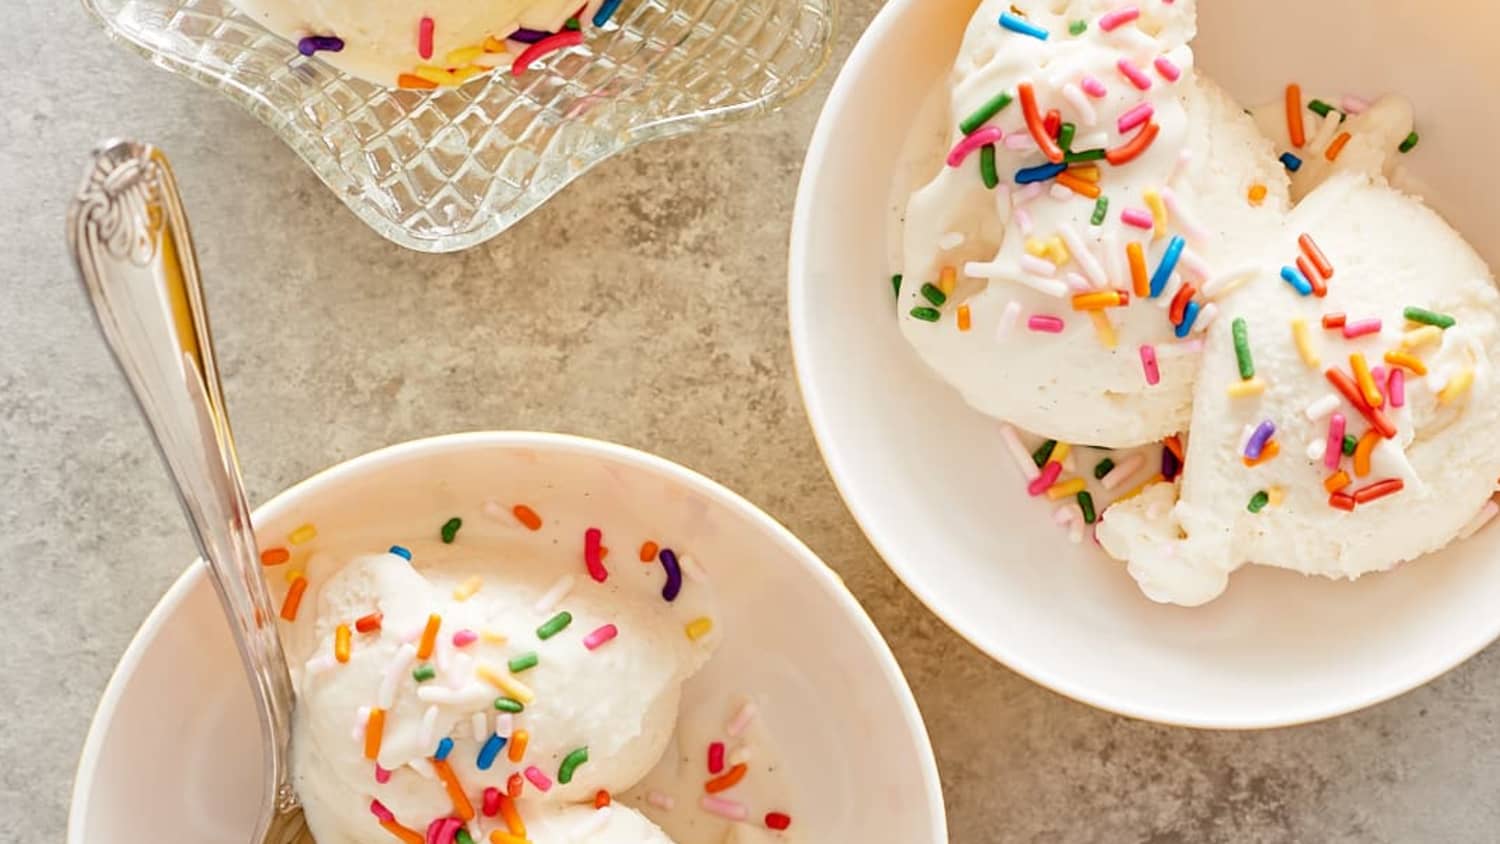
How To Make Ice Cream Without Eggs
5.0
(4)
Your folders
Your folders
Servings: 1
Cost: $66.12 /serving
Author : Faith Durand

Ingredients
Export 7 ingredients for grocery delivery
Instructions
Step 1
Make the cornstarch slurry: Place a 1/4 cup of the milk and cornstarch in a small bowl and whisk until the cornstarch is fully dissolved. You can reach into the bowl and rub out any lumps between your fingertips if you want to be really sure.
Step 2
Smooth out the cream cheese: Place the cream cheese and 1/4 cup of the milk in another small bowl and whisk until smooth. Whisk in the salt.
Step 3
Simmer the milk: Place the remaining 1 3/4 cups milk, cream, sugar, and honey in a medium saucepan and whisk to combine. Lay the vanilla bean flat on a cutting board and slit it open lengthwise. Use the tip of a teaspoon (or the knife) to scrape all the vanilla beans into the saucepan, then toss in the whole vanilla bean pod as well. Bring to a simmer over medium heat, whisking frequently. Reduce the heat and simmer for 4 minutes. Remove from the heat.
Step 4
Thicken the ice cream base: Whisk about 1/2 cup of the hot milk mixture into the cornstarch slurry. Slowly pour this back into the hot milk, whisking constantly. Return to the medium heat and cook, whisking frequently, until it comes to a boil. Boil for 1 minute, then remove from the heat. Whisk in the cream cheese mixture. Remove the vanilla bean husk. Whisk in the vanilla extract.
Step 5
Chill the ice cream base: Chill this ice cream base for at least 4 hours or overnight in the refrigerator. You can also pour your ice cream mix into a bag and submerge it in ice water. This will chill your base very fast and very thoroughly, although it is a bit of mess and hassle to deal with. (Make sure your ice cream maker base is frozen at before proceeding to the next step.)
Step 6
Churn the ice cream base: Now comes the centerpiece of the ice cream action — freezing the ice cream! The goal of churning the ice cream is to freeze the base while agitating or stirring the ice cream constantly so that large ice crystals don't form in the ice cream. More professional-quality ice cream makers will also beat a quantity of air into the ice cream as it freezes. But most home ice cream makers are not going to add a great deal of air to ice cream, which means that nearly all homemade ice cream is really closer to premium ice creams and traditional gelato, which have much less air by volume.
Step 7
Stir in mix-ins: If you're adding something extra to ice cream, like chocolate drizzle, fruit sauce, or cookie bits, it's best to do this at the very end of the ice cream churning process. You can drizzle your sauce or mix-ins straight into the ice cream and let the ice cream maker mix them in, or if you're doing a more hack-type method, just stir in these mix-ins by hand. Sometimes if I am using something really delicate, or adding a sauce I want swirled in distinctly (instead of really combined), I'll scrape the ice cream out of the maker, then fold in carefully by hand before ripening the ice cream.
Step 8
Harden the ice cream in the freezer: No matter what kind of ice cream maker you use, the freshly churned ice cream will still be very soft and even runny after it has been churned. In order to get that scoopable texture, and to let the flavors meld and bloom, it's best to freeze the ice cream for at least a few hours before eating. Scrape the ice cream into a shallow container (to help it freeze faster) and, just like when making custard or pudding, cover the surface of the ice cream completely with plastic wrap or waxed paper. Seal with a lid and freeze for a few hours. Then scoop and enjoy!