How to Make Preserved Lemons (Pickled Lemons)
5.0
(8)
Your folders
Your folders
Prep Time: 15 minutes
Total: 20175 minutes
Servings: 20
Ingredients
Export 3 ingredients for grocery delivery
Instructions
Step 1
Wash 10 lemons in warm water, scrubbing them well to remove any dirt (or wax). Then dry well with clean paper towels. I managed to fit 9 in my jar but you might be able to squeeze in an extra one. You can test in advance to see how many you can fit, though when they are cut, they are easier to squeeze in.
Step 2
Cut a thin slice off the stem end of each lemon. Then, working one at a time, hold the lemon in the palm of your hand so the cut-side is upright. Use a sharp knife to carefully cut each lemon into four pieces lengthwise (once in half vertically and once horizontally), leaving an inch at the bottom of each lemon (so it opens up, like a flower, without actually being sliced into four segments - refer to the images on the blog post).Alternatively, you can chop the lemons into quarters and toss them with the salt in a large bowl.
Step 3
Juice the remaining lemons. Keep in mind you need 1 ½ cups (375ml) of juice so, depending on the size of your lemons, you might need a couple more. If preferred, you can prepare 1 cup of lemon juice and then add more juice as needed when you pour it over the lemons. Keep in mind that the lemons need to be submerged in the juice. It can help to microwave the lemons for 20-30 seconds first and roll them against your tabletop several times. This will help them release as much juice as possible.
Step 4
To make sure you have enough salt - you need 1 Tbsp per lemon, as well as 2-3 extra Tbsp to sprinkle in the jar. To preserve 9 lemons, I used 12 Tbsp pickling salt (3/4 cup or 6.35oz/180 g). You can adjust the amount based on how many lemons you can fit in your jar.
Step 5
Sprinkle one tablespoon of pickling salt at the bottom of a sterilized jar (see the FAQs on the blog post for how to sterilize it). Fill each lemon with 1 Tbsp salt and push the salt into the middle. Then place the lemon in the jar, cut-side upwards (so the salt stays in). Pack the jar tightly, so they can't move easily.Gently smashing them once they’re in the jar will help to release more liquid and ensure they’re fully submerged. You can do this with a pestle, muddler, or even a wooden spoon.
Step 6
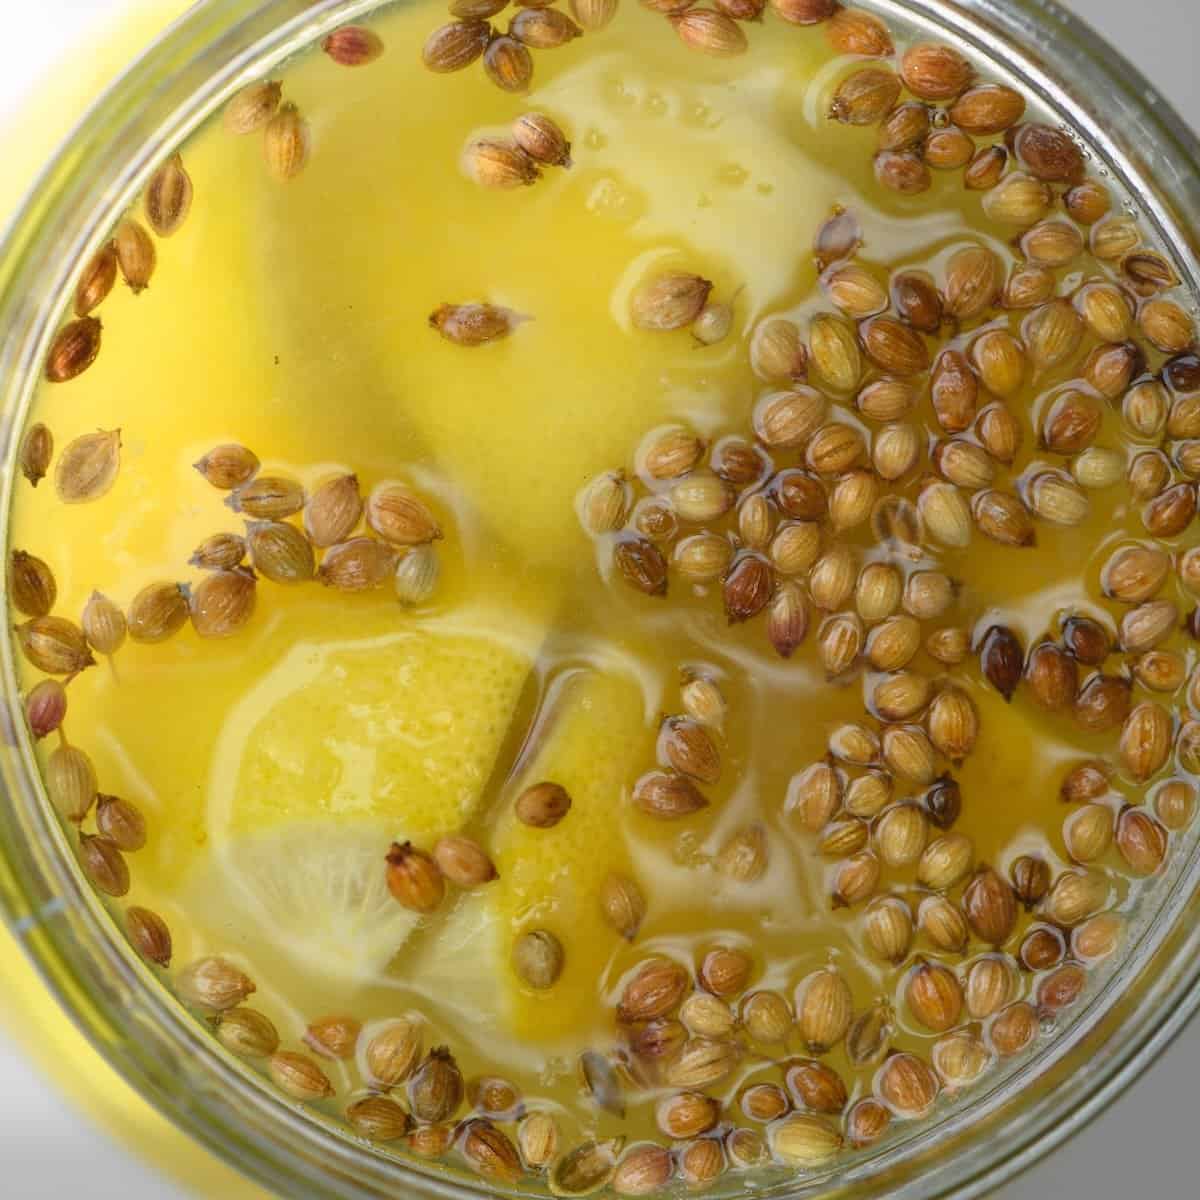
Add three of the salted lemons to the jar, then add the bay leaves and coriander seeds (or the spices of your choice) against the sides of the jar. Sprinkle some more of the pickling salt between the layers.
Step 7
Add the remaining salted lemons and sprinkle over the remaining salt.If you have space, you can quarter the leftover rinds from the juiced lemons and push them into the jar as well (remember, everything must be covered by the liquid, though).Alternatively, I recommend zesting the lemons you plan to juice in advance. You can freeze the zest in small portions in an ice cube tray, then store it in a freezer-safe bag for several months.
Step 8
Finally, fill the jar with the lemon juice, leaving around ½ inch (1 cm) of headspace at the top of the jar, and seal the jar.
Step 9
Place the jar in a cool, dark location (like a pantry/cupboard) for two weeks (or up to a month for even better flavor), shaking the jar every day to redistribute the salt within. Thicker-skinned lemons will take longer to cure, so adjust accordingly.After that, the fermented lemons should be tender with translucent flesh and are ready to transfer to the refrigerator and start enjoying!
Step 10
When it comes time to use them, I first use a spoon or paring knife to separate the rinds from the flesh. Then, rinse the rinds to remove excess salt and dry them with a paper towel.Many people don't use the lemon flesh/juice but keep reading for potential uses for both (discard the seeds if you do plan to use the flesh). The rinsing step is also optional, but I prefer to remove the excess salt.Then, slice, chop, or mince the preserved lemon rind into your dish of choice and enjoy!To further remove saltiness: you can blanch the lemon rinds for several minutes before using them in your recipe of choice.
Step 11
Once prepared and jarred, the preserved lemons can be stored in the refrigerator for up to six months.If you find one has risen above the liquid and become moldy, as long as the others look and smell fine, you can discard the moldy one only.If prepared without any additional spices, they should last longer – up to a year or even more, when kept at the back of your fridge. Make sure to use sterilized utensils whenever you remove any from the jar.If you note a white substance that looks "lacy" clinging to the lemons, this isn't spoilage and is actually harmless. Simply rinse it off before using them.Freeze: to preserve the life of these salted lemons even further, you could freeze them. I don't know exactly how long they’ll last, but it should be at least 18+ months.