How to Make Ravioli (without equipment)
5.0
(6)
Your folders
Your folders
Prep Time: 30 minutes
Cook Time: 10 minutes
Total: 70 minutes
Servings: 4

Ingredients
Export 4 ingredients for grocery delivery
Instructions
Step 1
Make the fresh pasta dough and let it rest as directed. Prepare a baking sheet or plate by sprinkling it with additional semolina flour. Set aside; it will hold the ravioli once they're made.
Step 2
If needed, begin preparing the filling while the pasta rests, or before making the pasta.
Step 3
Bring a large pot of salted water to a boil, because this will take a while, I like to start it before or while forming the pasta so it's ready once the ravioli is formed.
Step 4
Divide the dough into 2-4 sections (4 sections will be easier to work with). Using your hands or a small rolling pin, form it into a rectangular shape, just thick enough that it will fit into the largest setting on your pasta machine. Use a pasta machine for the best results. If you don't have one, use a rolling pin to roll each section following the next steps.
Step 5
Roll it out on the largest setting, adjusting and folding the sheet into a rectangular shape again, as needed. Each time you roll it out, it will expand how it was placed in, so making it a uniform rectangle as much as possible will help you later on.
Step 6
Once you've gone through the largest setting and have a solid 'rectangle type base', thread the dough through each smaller setting, one by one, until you've reached your desired thickness. I like to go with the second to last thinnest setting, however, if you're really brave you can go as thin as possible. Place the rolled-out sheet on the countertop dusted with semolina flour to prevent sticking.
Step 7
With the pasta sheet laid out on the semolina-dusted countertop, place approximately 1 to 1.5 teaspoons of the filling, spaced about 1 1/2 inches apart, on one half of the sheet. You want to place it on one half because we will be folding the dough up to create the ravioli pockets. I find that a small cookie scoop to place the filling gives the perfect equal amount for each pocket.
Step 8
With the filling spaced on the entire length of your pasta sheet, fold over the other half of the dough on top of the filling.
Step 9
Gently press the pasta around each dollop of filling to create the beginning of each pocket.
Step 10
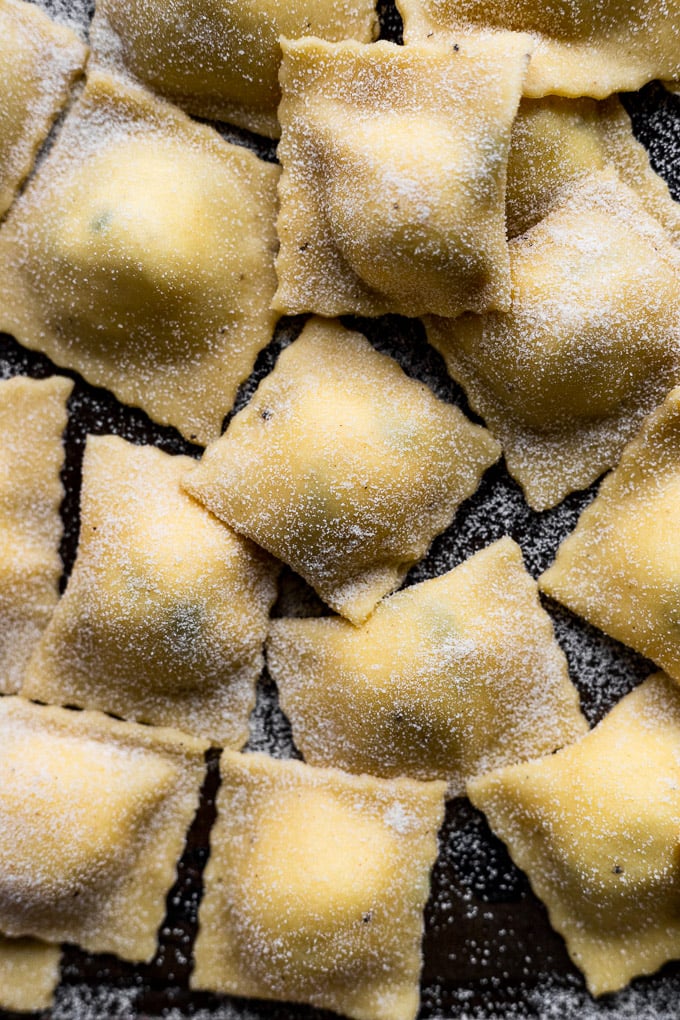
Use a pizza cutter or pasta wheel to cut between each pocket. Press the edges down as needed, or use a fork to make sure they are fully sealed.
Step 11
Place the pockets on your prepared baking sheet and continue forming ravioli with the remaining pasta sheets.
Step 12
Sprinkle semolina flour along the metal portion. This is what will cut the ravioli pockets, so it's important the dough doesn't stick. Place the thin sheet of pasta over the metal piece, making sure the dough hangs over the sides so there is enough in place once it's weighted down from the filling.
Step 13
Place the plastic piece with the divets on top of the pasta sheet, gently pressing down to stretch the dough and create space for the ricotta ravioli filling. Remove the plastic piece and fill the space with about 2 teaspoons of filling (depending on the size of your molds).
Step 14
Optional: Lightly rub water along the edges of the pasta sheet, around the filling. This helps the pasta stick together. But be careful, don't add too much or it will get gummy.
Step 15
Take the second sheet of pasta dough and spread it across the top of the filled ravioli sheet. Using a rolling pin, roll over the ravioli maker. With the pressure of this, the metal piece will “cut out” the ravioli. Flip over the mold and out will pop your ravioli (you may need to gently coax them depending on how well you dusted the mold with flour).
Step 16
Once the water is at a rolling boil, add the ravioli pockets in batches. Be sure to not overcrowd the pan. The ravioli pockets will take approximately 2-4 minutes to cook to al dente, depending on the size of the ravioli. A good indicator they're done is that they'll float, but I do recommend testing one from the first batch to see how long it takes.
Step 17
If you're going to finish them in the sauce for longer than a minute or so, you may want to remove them slightly early and let them finish cooking completely in the sauce.
Step 18
Serve immediately in the sauce of choice and garnish as desired. Enjoy your creation!