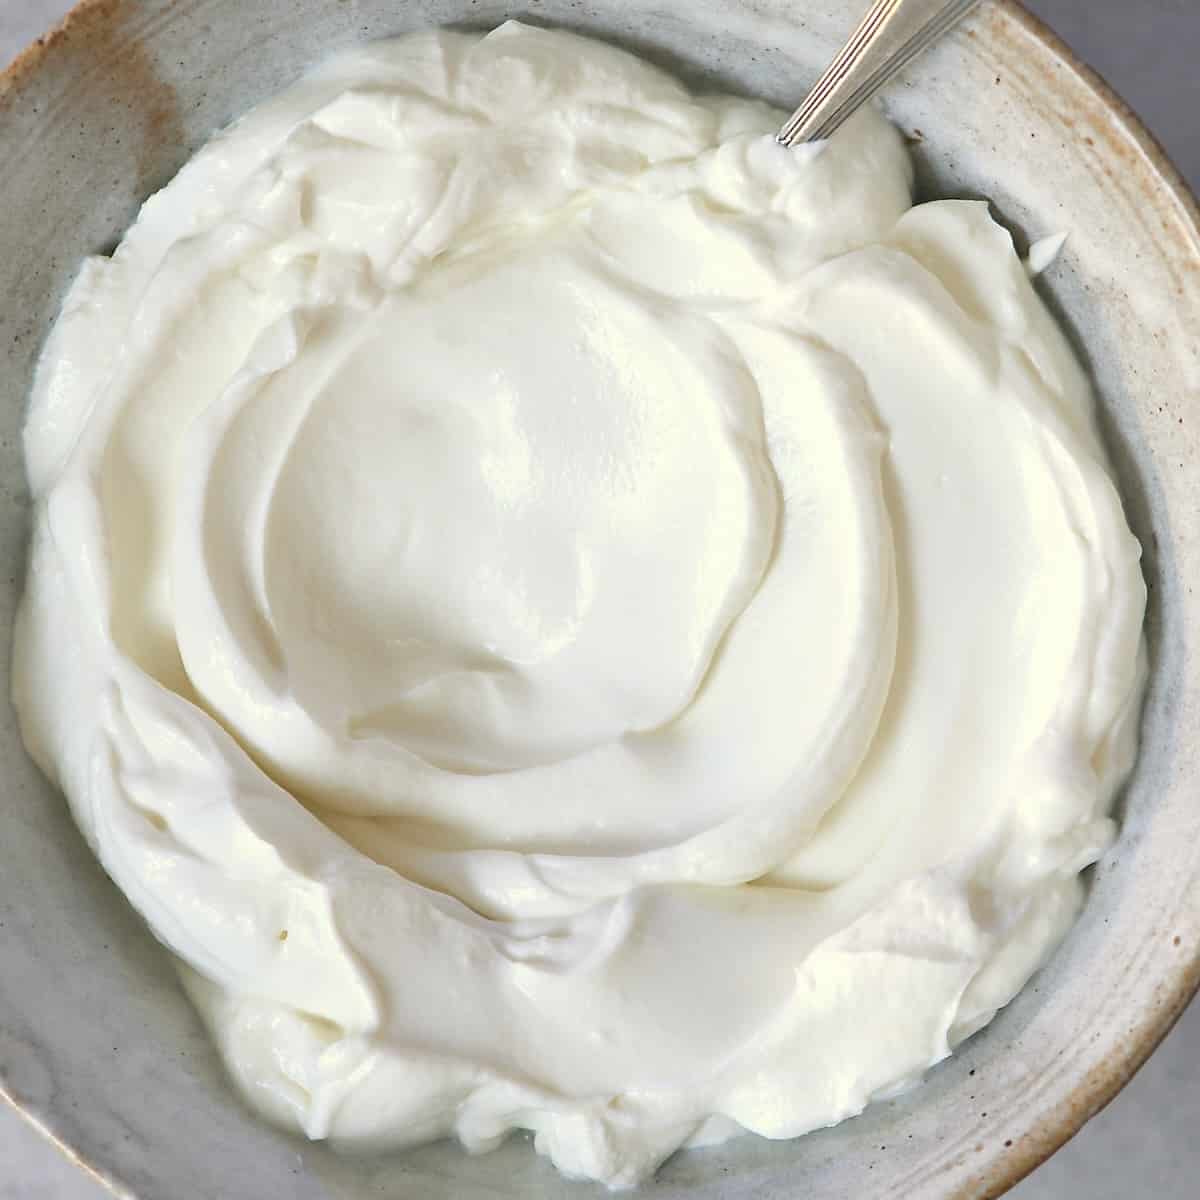
How To Make Yogurt
5.0
(35)
Your folders
Your folders
Prep Time: 10 minutes
Cook Time: 30 minutes
Total: 400 minutes
Servings: 8

Ingredients
Export 2 ingredients for grocery delivery
Instructions
Step 1
Sterilize the equipment, including wooden spoons, a saucepan, and jars. Refer to the FAQs for the method.
Step 2
Add the milk to your saucepan and heat it over medium heat, stirring occasionally, until it reaches 175-185ºF/80-85ºC.If you don't have a thermometer, switch off the heat right before the milk boils, when small bubbles start to form.
Step 3
Set it aside to cool to 105-115ºF/40-45ºC. This is the optimal temperature for yogurt making that is great for fermentation without killing the starter.Or until you can dip your pinkie into the warm milk for 7 seconds before it hurts. Be careful with this method, though, to avoid burning yourself. It's necessary to cool the milk, so the live yogurt cultures aren't killed, so don’t rush this process.
Step 4
Once cooled, combine the yogurt starter or probiotic starter culture with ½ cup of the warm milk and stir it well. Then add that back into the milk mixture. This will temper the starter and help avoid lumps.
Step 5
Transfer the yogurt milk mixture to sterilized glass jar/s.
Step 6
To ferment correctly, the milk mixture needs to be incubated. There are several ways you can do this::• Wrap the jar/s in a warm tea towel or blanket and keep them in a draft-free, warm place in the kitchen for 6-12 hours.• Do the above and store them in a switched-off oven. Leaving the oven light on will add low residual heat that helps the process.• Add the cultured milk to your Instant Pot and press the YOGURT button. If it doesn't read at "8:00", use the + button until it does (this means it will incubate the yogurt for 8 hours before auto-switching off). Check on it after 4-5 hours up to 12 hours until it's ready (note the timer counts up rather than down). Allow it to cool at room temperature before transferring it to the fridge.If you plan to use an Instant Pot and a powdered starter, select a started that incubates at 110ºF/43ºC. Starters that require lower temperatures won't work for Instant Pot yogurt. • To use a slow cooker for making yogurt, add the milk to the slow cooker and heat it on HIGH until it reaches the correct temperature. Then, let it drop off to the lower temperature (2-3 hours). Then, combine a cup of the warm milk with your starter before pouring it back into the slow cooker. Next, add the lid to the slow cooker, wrap it in a big towel or blanket and leave it to incubate for 8-12 hours, undisturbed.• If you have a yogurt maker, refer to the instructions that come with it.
Step 7
When ready, the yogurt should have thickened and will be jiggly. Note that the longer you leave the yogurt to ferment, the tangier it will taste.Once the incubation period is over, transfer it to the fridge to set for a further 12-24 hours for a thicker plain yogurt. Finally, pour off any whey that may be sitting on the top and enjoy!
Step 8
Instead of transferring it to the fridge as written above, transfer the yogurt to a nut milk bag, muslin cloth, or several layers of cheesecloth.
Step 9
Hand that above a bowl (i.e., from your sink faucet, a kitchen cabinet, or by placing it in the rim of a large jar) and leave it to strain to your desired thickness. I recommend assessing it at 3-4 hours, leaving it for longer if desired.There's no need to discard the strained whey. This is packed with protein and can be used in smoothies, added to baked goods, soups, stocks, stews, etc.
Step 10
Once ready, transfer the homemade Greek-style yogurt to a sterilized glass jar and place it in the fridge.
Step 11
Homemade plain yogurt will last between 1-2 weeks in the fridge. For maximum shelf life, always use clean utensils in the container. Even better, store it in several smaller airtight jars.If you add any flavorings, the shelf life will reduce. For example, fruit purees make it best eaten within 3-4 days, stored in the refrigerator.Remember to set aside a few spoonfuls (1/2 cup) of the previous batch as a starter for your next batch.