How to Pressure Can Chicken (Raw Pack Method)
Your folders
Create new folder
Your folders
Create new folder
Prep Time: 20 minutes
Cook Time: 75 minutes
Total: 1535 minutes
Servings: 12
Ingredients
Export 1 ingredients for grocery delivery
Instructions
Step 1
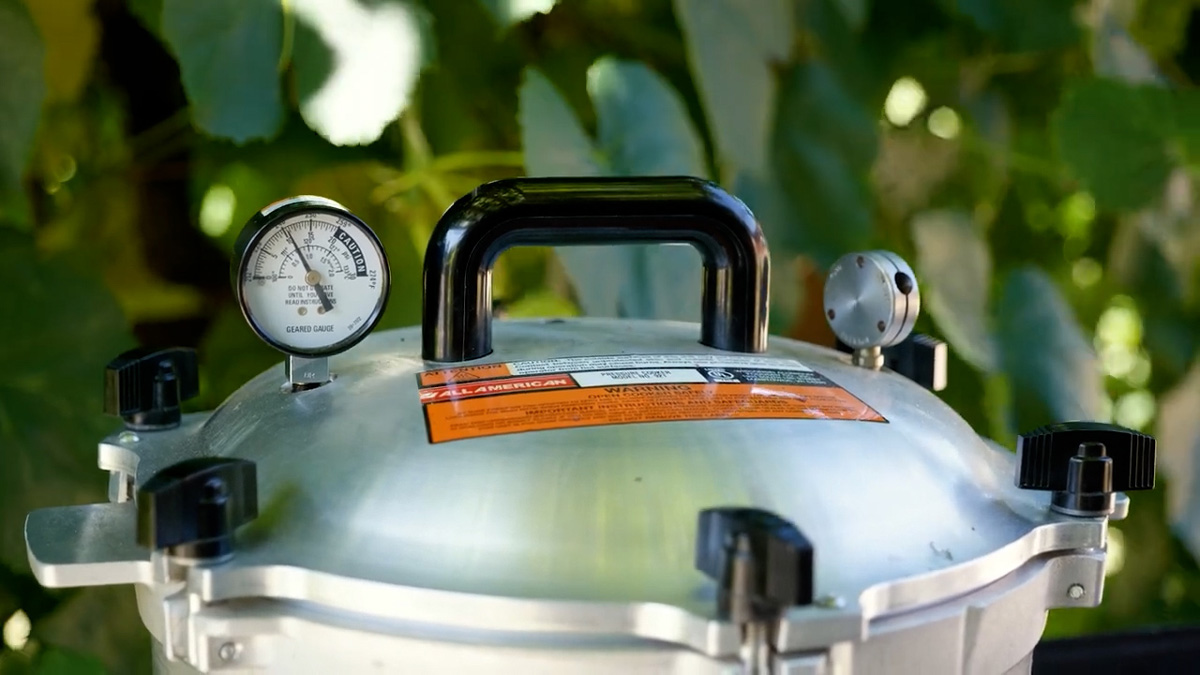
Prepare your pressure canner by adding about 2-3 inches of water to the bottom. Have a canning rack handy if you need to double-stack your jars. Pro Tip: When raw-packing chicken, you want the temperature of the water in the pressure canner to be the same temperature of the chicken and the jars. There's no need to heat the water ahead of time. We're looking for room-temperature water, so I turn the canner on just as I'm adding the lids to the jars. Having the temperatures of the jars and water close prevents the jars from cracking.
Step 2
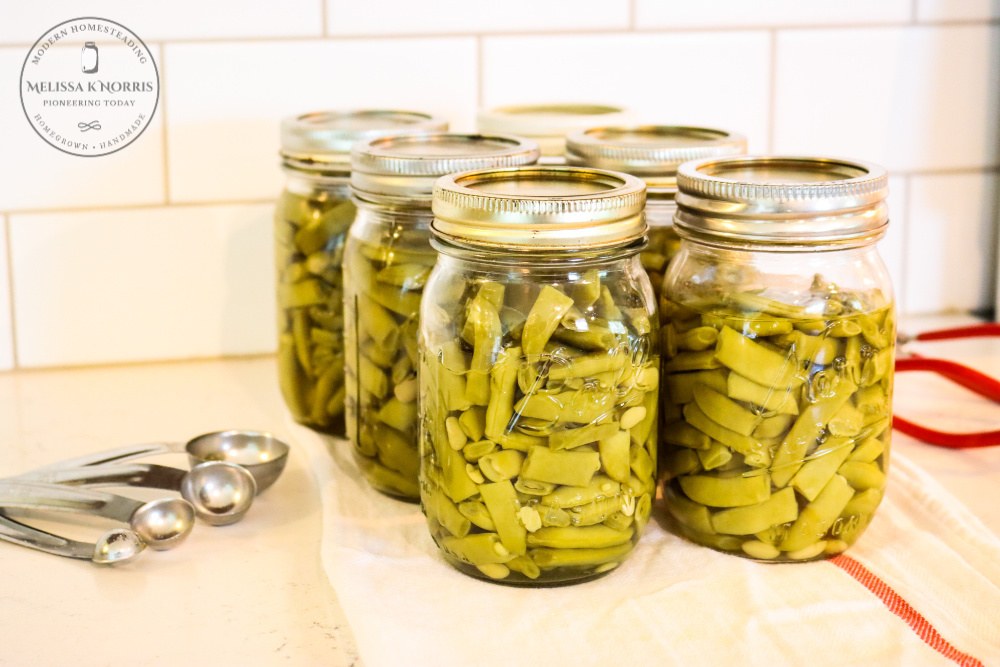
Have freshly washed, clean canning jars ready. Carefully run your finger around the top of each jar to check for any knicks or chips in the glass. This would also inhibit a proper seal.
Step 3
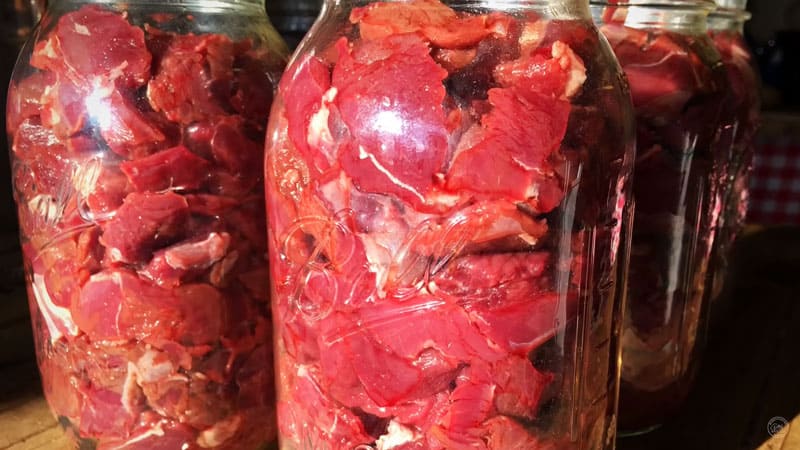
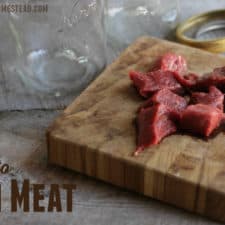
Cut up chicken into about one-inch cubes, removing any skin or excess fat.
Step 4
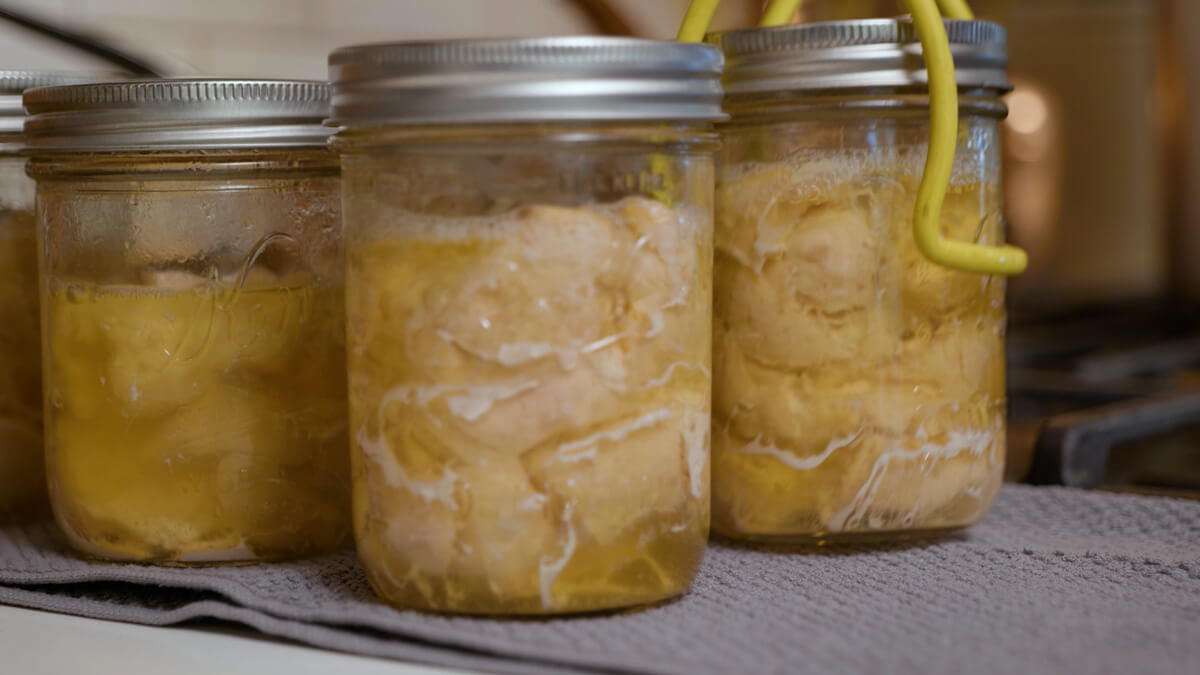
Fill clean Mason jars with cubed chicken leaving 1 ¼ inch headspace.
Step 5
Add optional salt (½ teaspoon for pint jars, 1 teaspoon for quart jars.)
Step 6
Dip a paper towel or cloth in some vinegar and wipe around the rim of each jar. This ensures there are no bits of salt or fat that would inhibit a proper seal.
Step 7
Center a freshly washed canning lid on the top of each jar.
Step 8
Add the canning band to fingertip tight. This means to tighten the band until you feel resistance, then turn ¼ turn more.
Step 9
Place jars into the pressure canner (avoid jars from touching). Make sure the level of the water doesn't come up over the lids of the jars (remove water, if needed). If you're double stacking your jars, be sure to add a canning rack between the first and second layer.
Step 10
Add canning lid (follow manufacturer's instructions).
Step 11
Increase heat to bring up the pressure.
Step 12
Once the canner has a steady stream of steam coming out of the vent pipe, set the timer for 10 minutes and allow the canner to exhaust.
Step 13
After 10 minutes, you can add your weighted gauge or canner regulator and slowly bring the pressure up to the proper amount for your location and canner (see notes below for proper pressure).
Step 14
Once you reach the correct pressure, start your timer (see proper canning times below). Pints: Pressure can pint jars for 75 minutes. Quarts: Pressure can quart jars for 90 minutes.
Step 15
Once the time has been reached, turn off the heat and allow the pressure canner to come down to zero pressure naturally. This means just turn the heat off and don't touch anything. This can take a while, so have another project ready to work on while you wait!
Step 16
Once the pressure is down to zero, remove the weighted gauge (or canner regulator) and wait another ten minutes to allow any remaining steam to escape.
Step 17
Remove the lid and set the timer for another ten minutes.
Step 18
Line a counter with a double-folded towel and, using your jar lifter tool, transfer the jars to the towel and let them sit, undisturbed, for 24 hours.
Step 19
The following day, remove the canning bands, check each lid for a proper seal, and store it on the pantry shelf.

 1 views