How to Can Applesauce
4.7
(15)
Your folders
Your folders
Author : Lydia @ ThriftyFrugalMom.com

Ingredients
Export 1 ingredients for grocery delivery
Instructions
Step 1
Remove stems and the blossom end of apple (this is on the bottom end of the apple in case you are confused), as well as any defective spots, then cut into quarters. You do not need to peel or core the apples.
Step 2
Wash quartered apples well. I simply fill a dishpan full of apples with water and then after swishing them around a bit, I’ll take a handful of apples and rinse them under running water. I continue doing this until all the apples are washed.
Step 3
Dump your quartered apples into a kettle and add a small amount of water to it. I typically add water until there is about ½ in. of it in the bottom of the kettle. You basically just want a little bit of liquid in your kettle so that the apples don’t stick to the bottom as they start to cook.Cook over medium heat until soft and mushy, approximately 15 to 20 minutes. (Should look like the picture in my blog post when they are done cooking). Stir occasionally, especially when beginning to cook, to prevent sticking.
Step 4
At this point you two options for turning the cooked apples into applesauce: a Victorio Strainer or a Food Mill. I prefer using the Victorio Strainer because it’s super easy and does the job much more quickly than a Food Mill. But either one works. VICTORIO STRAINER:Fill the top part of the Victorio Strainer with cooked apples. Then turn the handle to push the apples through the sieve. This will remove the seeds and peels and give you a nice, smooth sauce. (Be sure to place containers in the appropriate places to catch both the applesauce and the discarded peels and seeds that come out of the strainer.)FOOD MILL:If you are using a Food Mill, place it over a kettle or bucket and then fill the food mill with the cooked apples. Turn the handle to squeeze the apples and produce applesauce. Continue turning, occasionally reversing the direction to clean the apples off the bottom of the “pan”. (If you want to see pictures of how the Food Mill works, check out my post on how to make tomato juice.)Once all the applesauce is extracted from the apples, discard the peels etc. that are left in the food mill and continue with your next batch.
Step 5
If desired, add sugar to sweeten your applesauce. Some apples are sweet enough that there is no need for this. We personally prefer the taste of homemade applesauce made with a tarter apple, so I always add sugar to taste.A good rule of thumb is to add 1/8 cup per quart and then increase from there until it’s as sweet as you want it.(I usually just pour all the applesauce into a big dishpan, add sugar, mix and then taste test and continue adding sugar until the applesauce is sweetened to my liking.)
Step 6
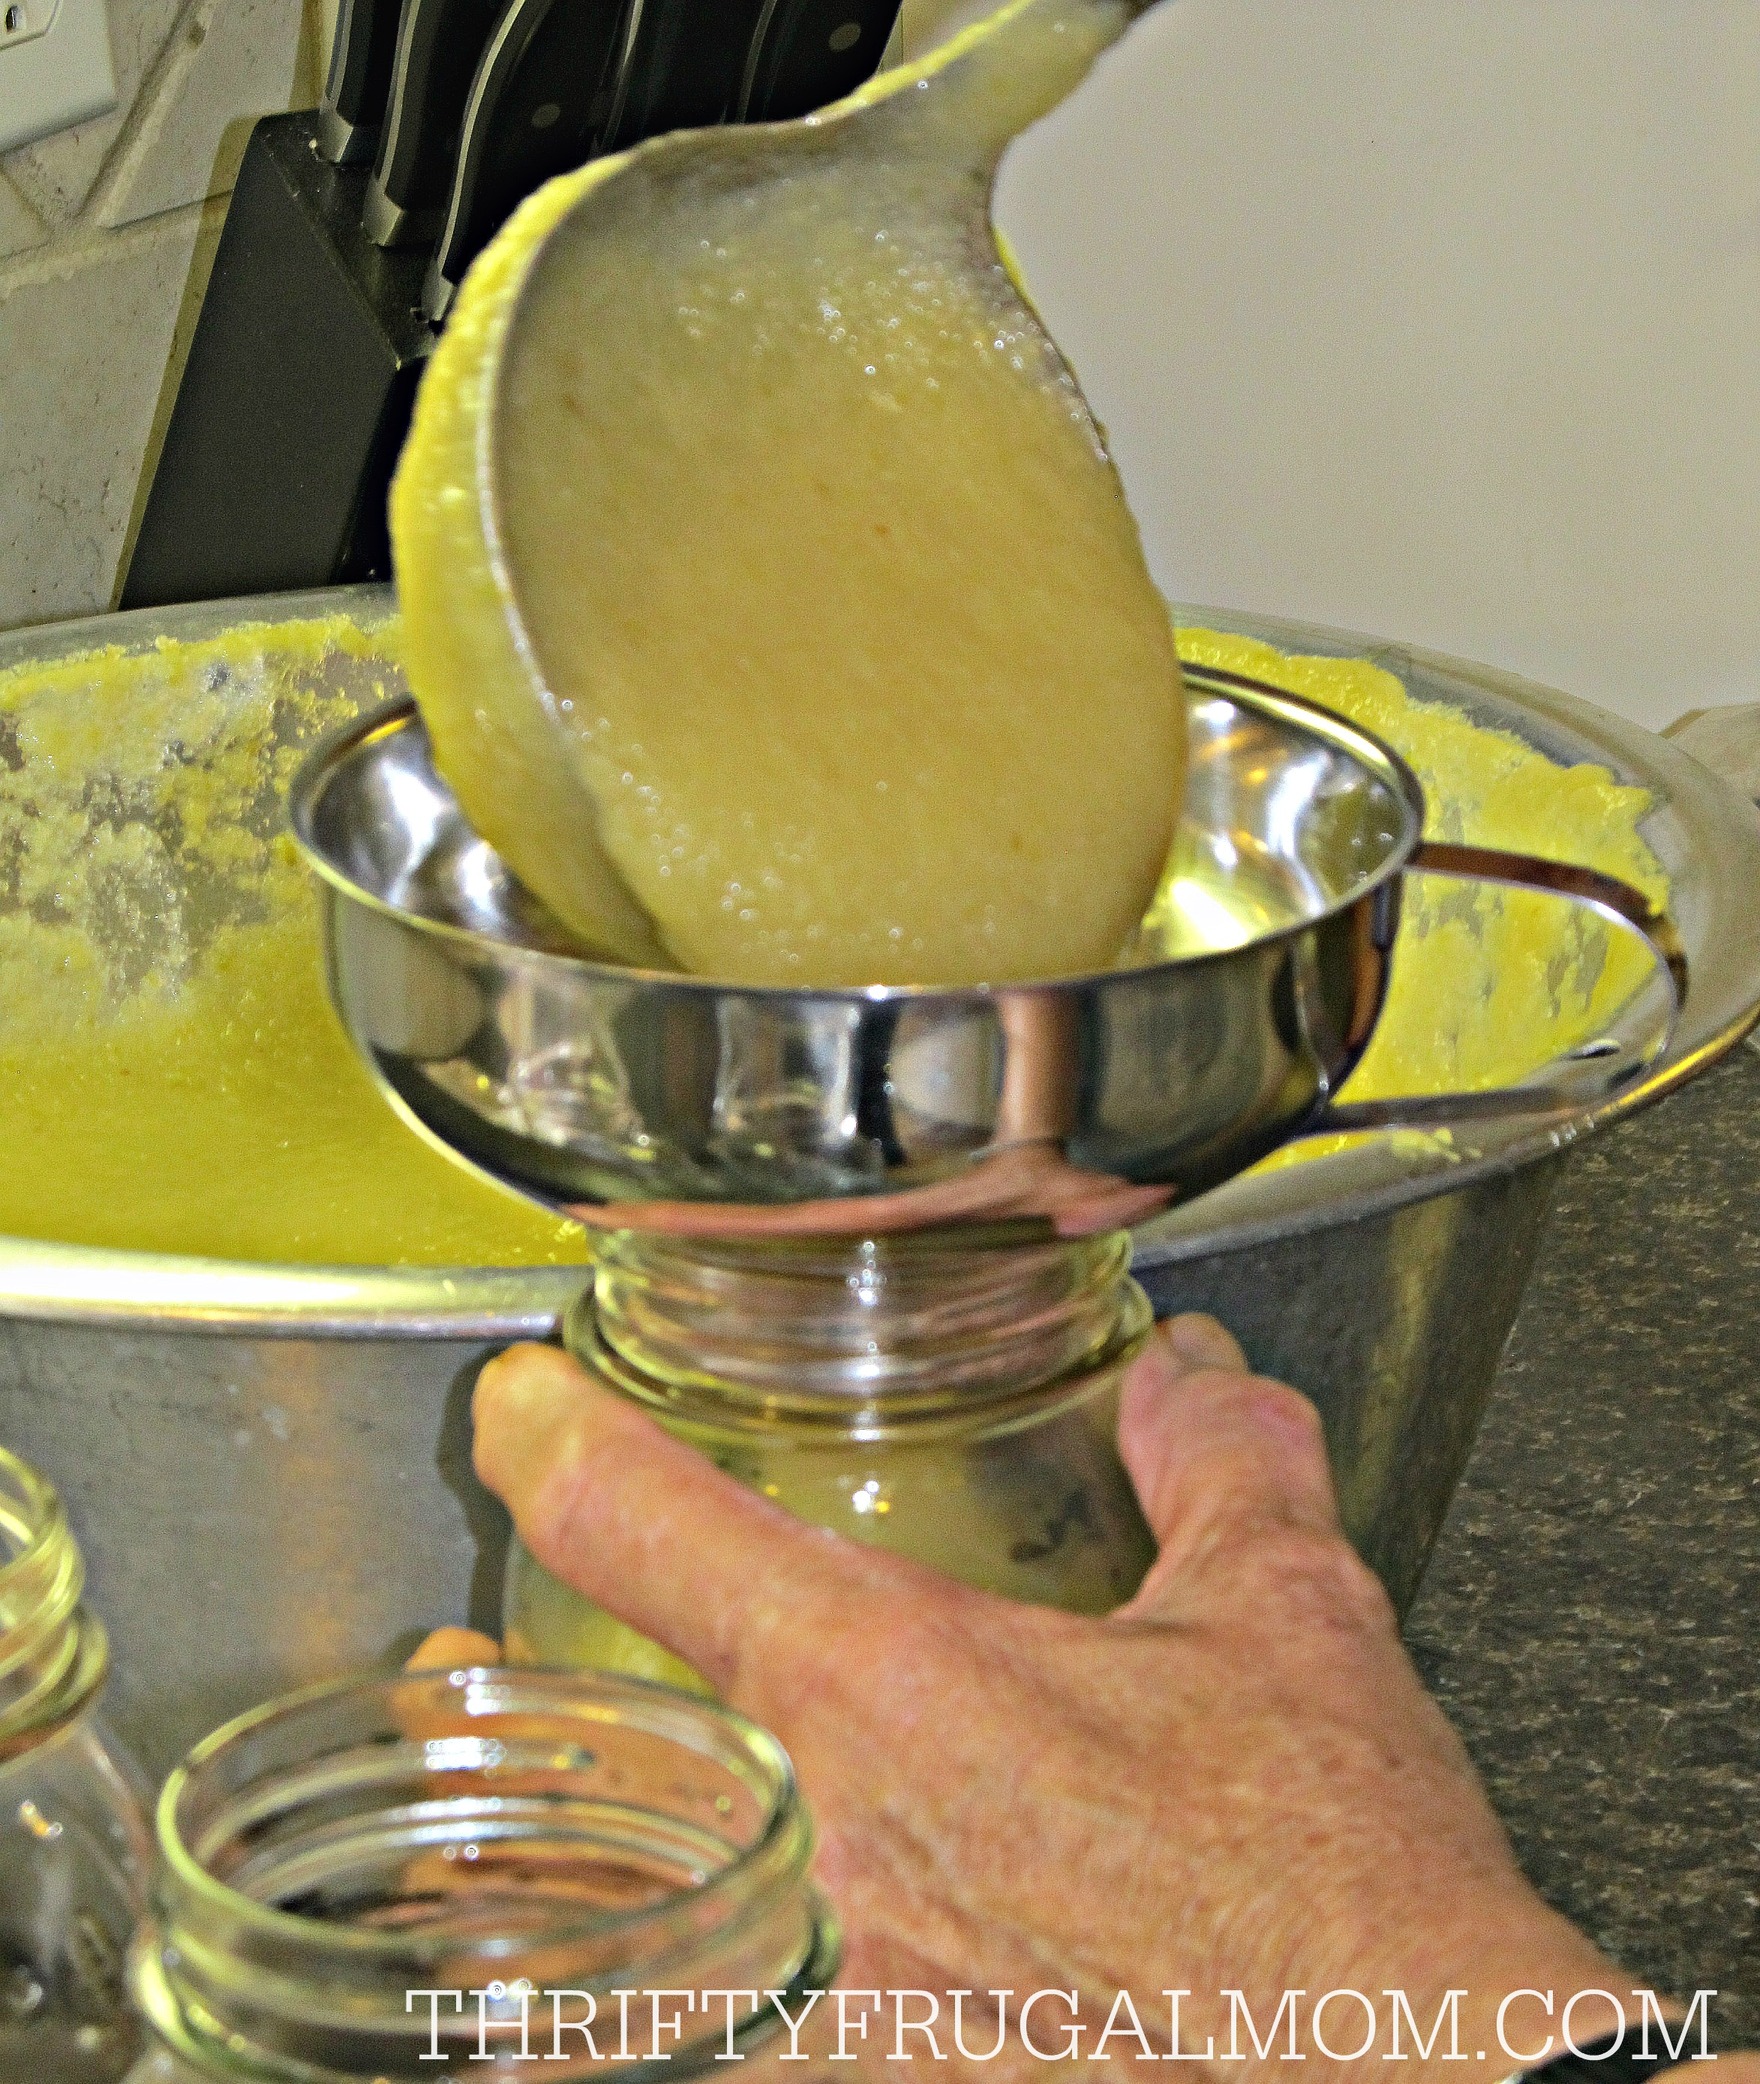
Pour your homemade applesauce into jars- a wide funnel makes this less messy! The jar should be full to the base of the neck.
Step 7
Wipe rim of each jar with a damp cloth to remove any applesauce residue that may be there. (If there is even a slight bit of applesauce on it, it may not allow it to seal properly.)
Step 8
Once you have 7 jars filled, place 7 metal canning lids in a small kettle. Cover with water; bring to a boil. Once water boils, use a fork to lift the jar lids out of the water- be careful not to burn yourself!- and place them on the jars. (You can also purchase a Lid Wand that uses a magnet to lift the lids more easily.) Secure each lid with a jar band/ring. (The reason for heating the lids is to soften the rubber, allowing for a better seal.) I read recently that some of the newer lids actually recommend that you don’t boil them, so you probably should double check the instructions on the box of lids before doing this step.
Step 9
Place up to 7 jars in canner. Fill with enough hot water to cover the jars by 1 to 2 inches. Turn burner on medium high heat. Once the water starts to boil, reduce heat slightly and process both pints and quarts for 20 minutes. Make sure the water is boiling gently and steadily the whole time. You may need to adjust heat to keep the boil going nicely, but really, as long as it is boiling, you are fine.
Step 10
After processing for 20 minutes, turn burner off. Remove jars using jar lifter- you may want to have a dishrag in your other hand to catch any hot water that drips from the jars as you remove them- and place on an old towel, blanket or other padded surface. (The reason for doing this is to protect your counter top from the super hot jars.) Allow at least a little bit of air space around each jar, making sure not to have jars close enough to touch. Do not move until jars are completely cool.
Step 11
Jars should seal as they cool and you will typically hear a snap or pinging sound as the vacuum seal is formed. Lids will be slightly concave when sealed. To test the seal, lightly tap the center of the cooled jar lid. If it is firm and does not move, it should be sealed. If it pushes in, it didn’t seal properly. You can still use unsealed jars, just put them in the refrigerator and use them as soon as possible.After jars are completely cool, you can remove the rings. Jars should be wiped clean before storing.