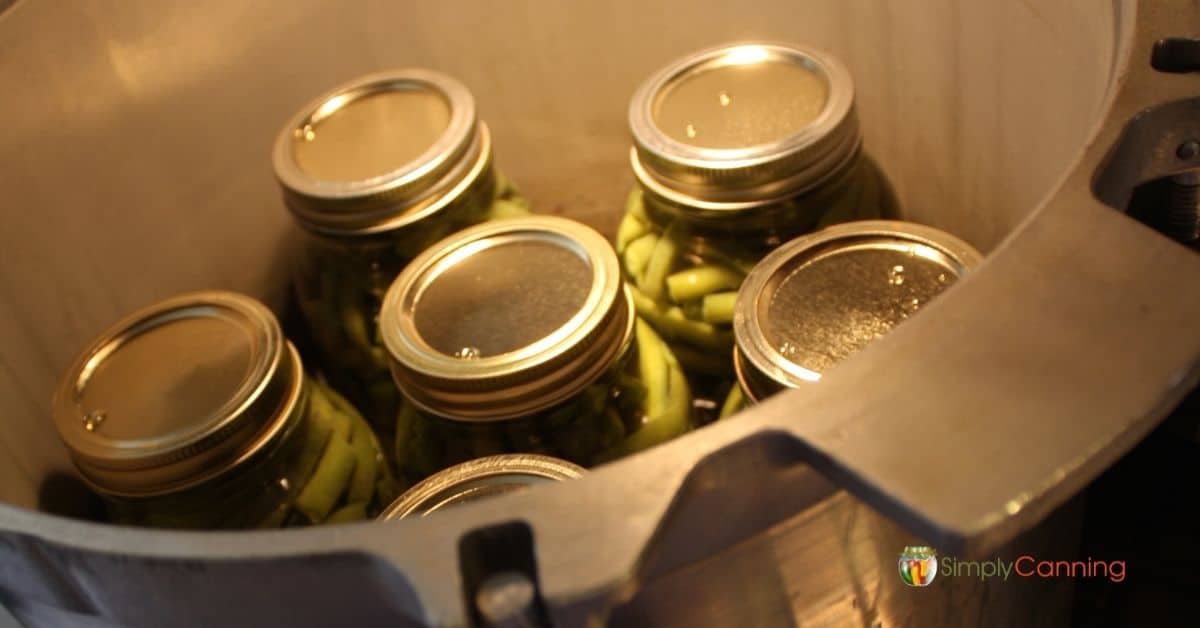
How to Use a Pressure Canner
Your folders
Your folders
Ingredients
Export 5 ingredients for grocery delivery
Instructions
Step 1
Place the appropriate amount of water in the canner. Usually about 3 quarts, check your canner manual. Start heating it up. The goal is for the canner to be hot but not boiling as you are filling your jars.
Step 2
Wash and rinse your jars and lids. (They do not need to be sterilized.)
Step 3
Keep your jars hot until use. The best way is to place them in the canner while it heats up.
Step 4
Prepare and fill jars according to the canning directions for that food. Remember proper headspace, removing bubbles if needed. Wipe down the rims of your jars and place the lids.
Step 5
Place the filled jars in the canner. Continue until all jars are filled.
Step 6
Put your lid on the canner, leaving the weights off. Raise your heat and bring to a boil. Watch for the steam to start coming out the vent pipe in the lid.
Step 7
Allow the steam to 'vent' for 10 minutes, then put the weights on. This is when pressure will start to build.
Step 8
When pressure reaches the proper level for your elevation, start your processing time at that point. The proper pressure for your altitude and processing time will be given in your recipe. Adjust the heat as necessary to keep the canner at the proper pressure throughout the processing time.
Step 9
When processing time is completed, turn off the heat. Do not remove weights. Let the canner sit undisturbed until pressure comes back to zero.
Step 10
Remove the weight and wait 5 minutes. Open the lid to allow steam to escape. (Carefully, don't let it hit your face or arms!) Wait 5 minutes. Take the lid off the canner and remove your jars. (Optionally, you can wait another 5 minutes if the contents appear to be bubbling so hard it is coming out of the jars.)
Step 11
Put the jars on a counter with a thick towel beneath them to protect the hot jar from the cool counter. Allow them to cool to room temperature undisturbed. 12 hours is suggested. Do not try to speed up the cooling process.
Step 12
When they are cool, remove the metal bands, check the seals, and store the jars in a cool, dark place.
Top similar recipes
Curated for youYour folders
 312 views
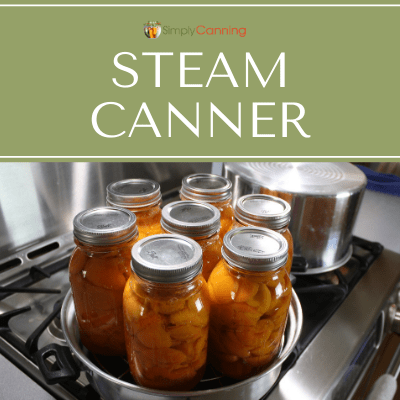
How to Use a Steam Canner
simplycanning.com
Your folders
 157 views
How to Can Tomatoes (Without A Cann...
prettyprudent.com
4.8
(4)
1 hours, 25 minutes
Your folders
 408 views
HOW TO USE
ovationhair.com
Your folders
 223 views
How to Use a Julienne Peeler
itsavegworldafterall.com
5.0
(2)
Your folders
 299 views
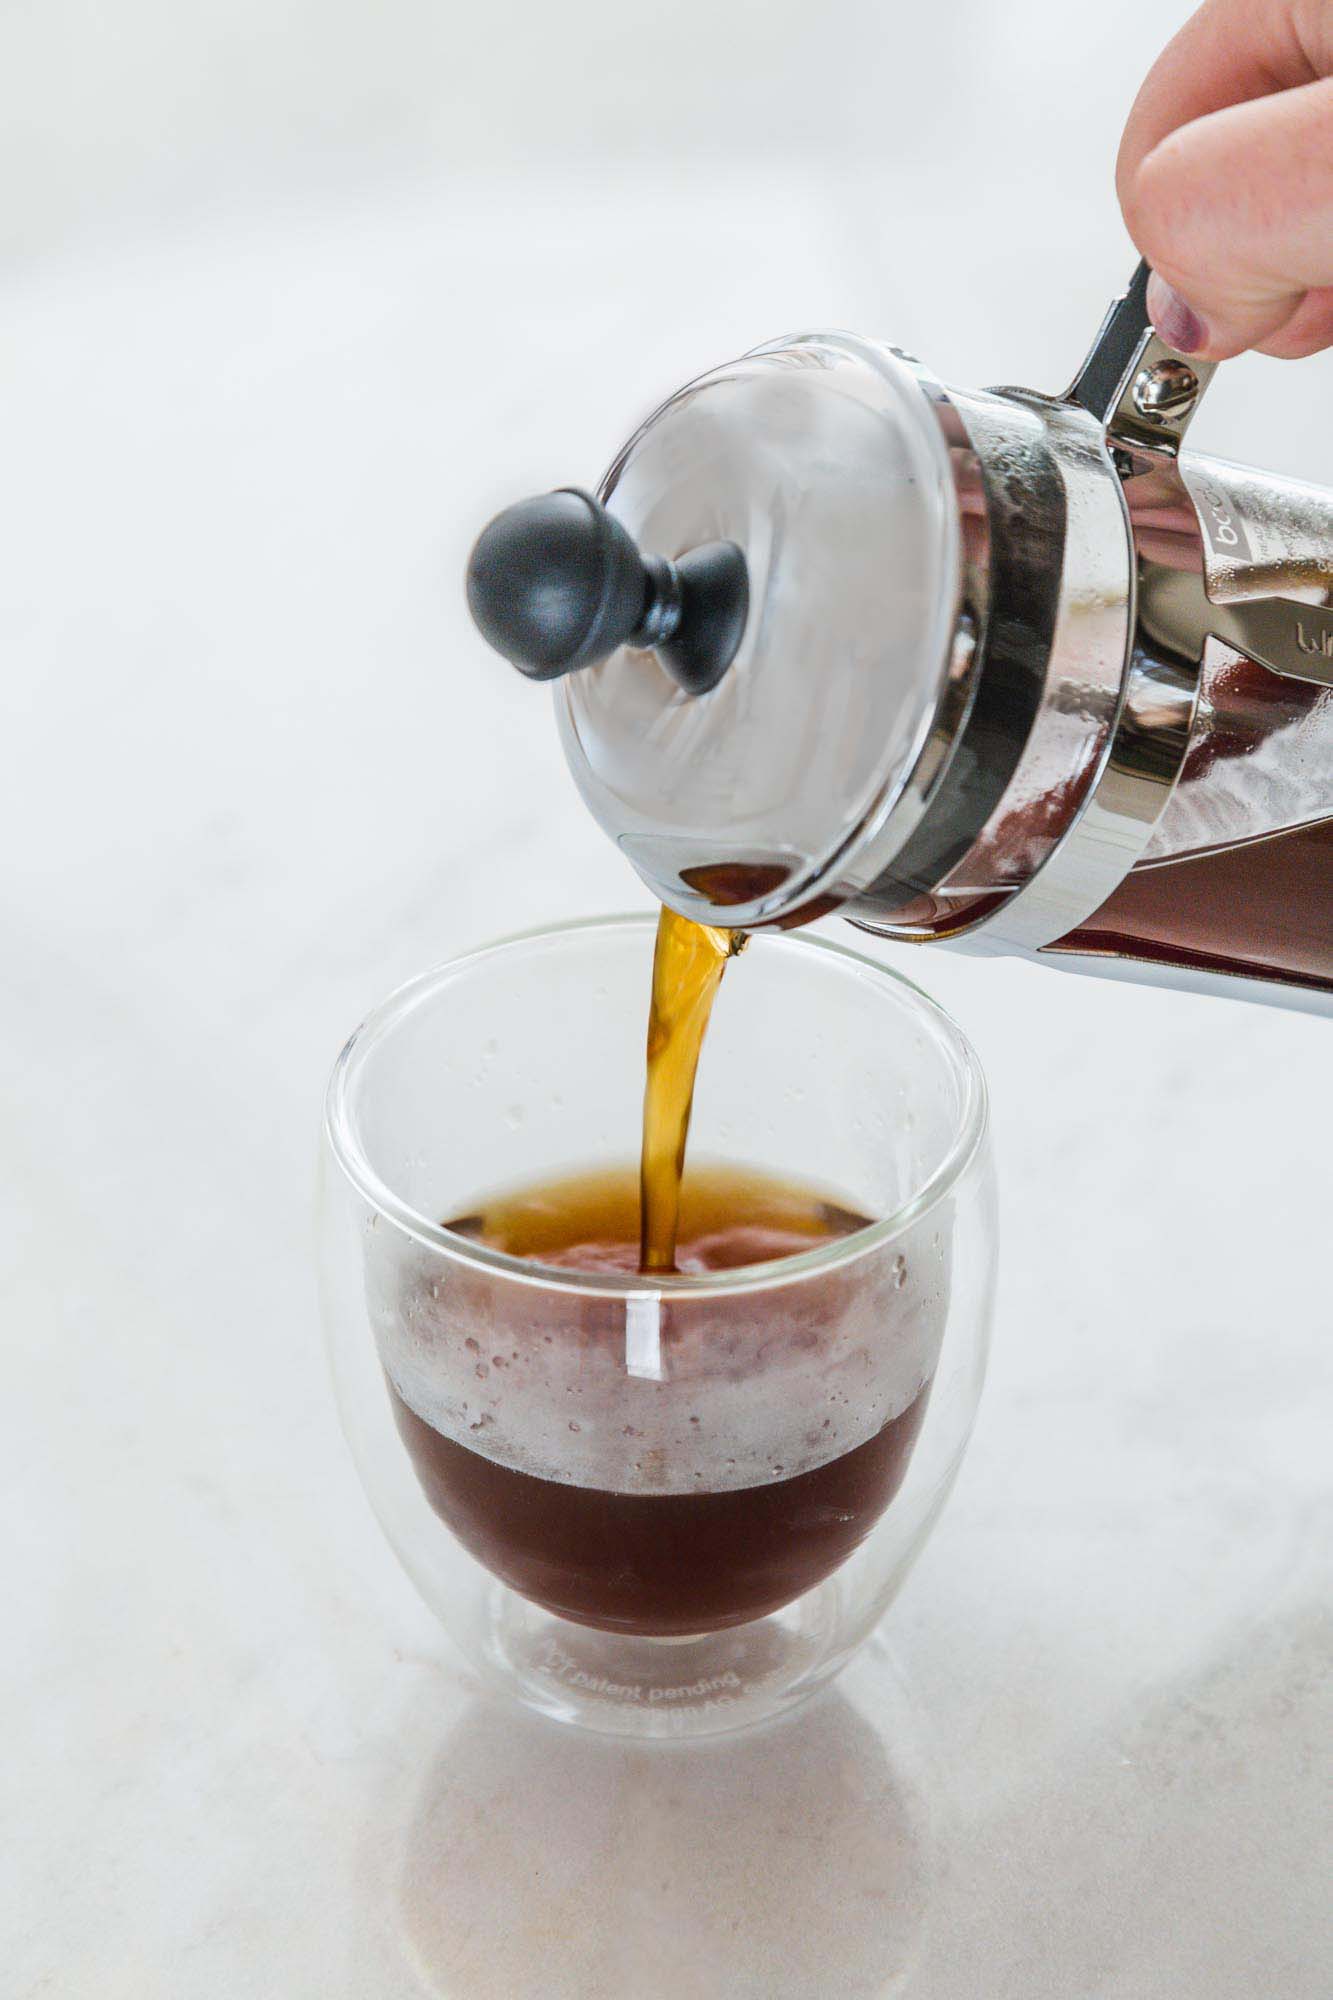
How to Use a French Press
littlesunnykitchen.com
5.0
(9)
Your folders
 252 views
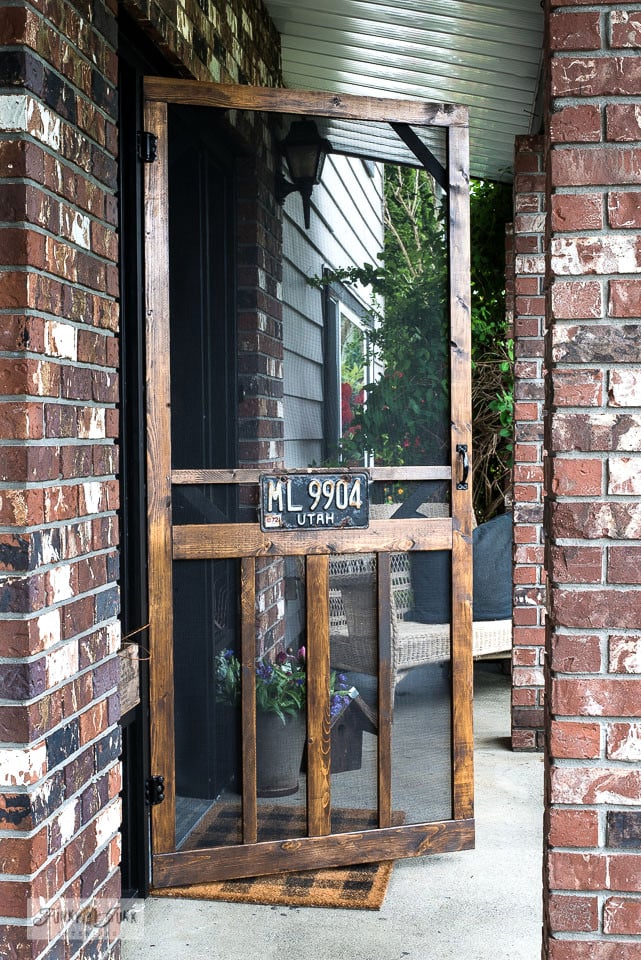
How to use a Kreg Jig
funkyjunkinteriors.net
Your folders
 124 views
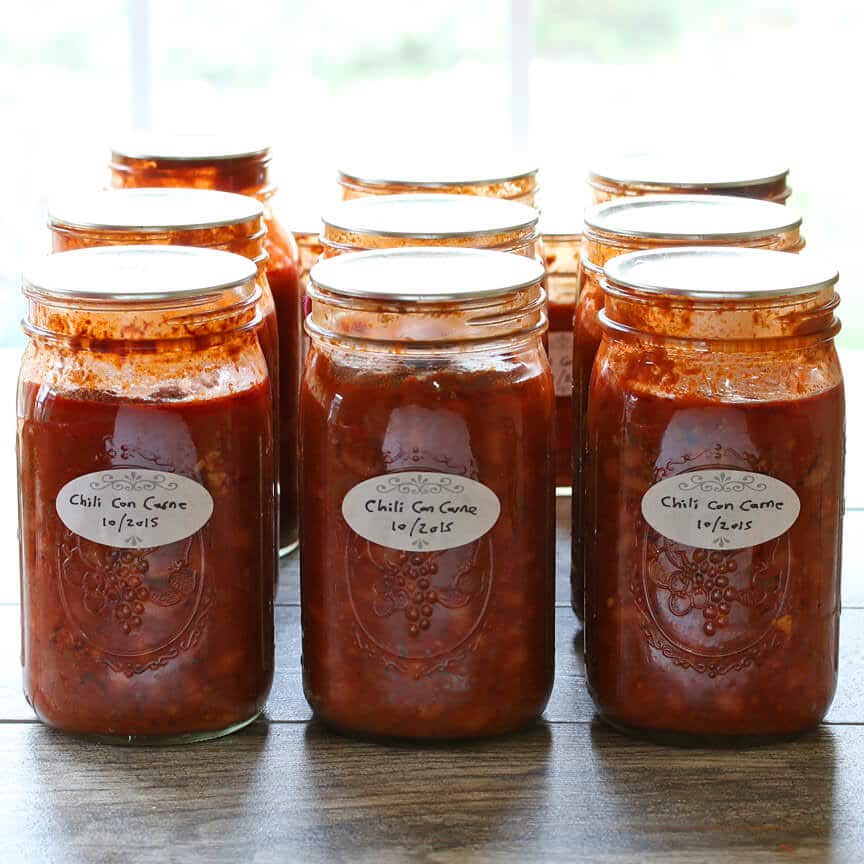
Pressure Canner Chili Con Carne
daringgourmet.com
4.8
Your folders
 238 views
How to Use a Flower Nail - Wilton
wilton.com
Your folders
 293 views
How to Use a Latch Hook Tool
dreamalittlebigger.com
Your folders
 233 views
How to use Lemongrass
singaporeanmalaysianrecipes.com
5.0
(18)
Your folders
 311 views
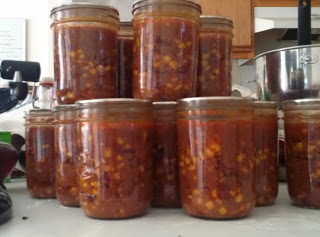
Taco Meat for the Pressure Canner
sbcanning.com
5.0
(5)
3000 minutes
Your folders
 387 views
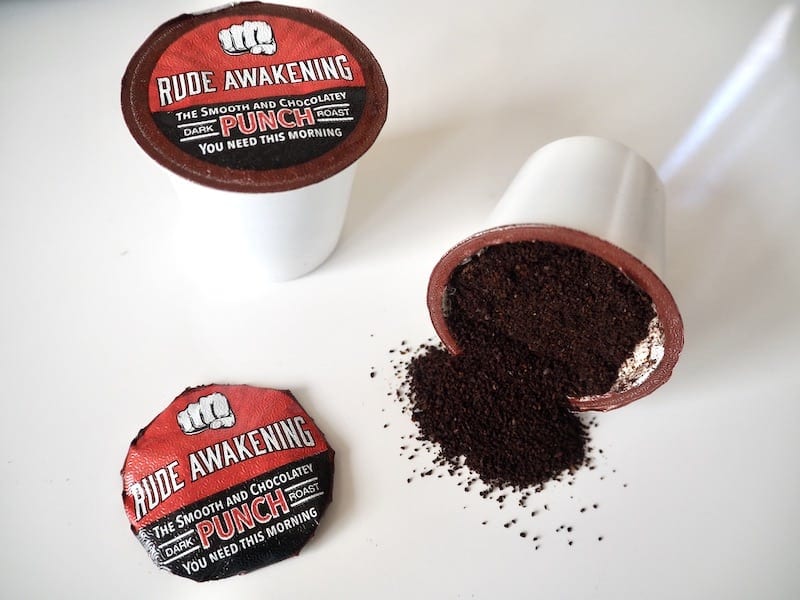
How to Use a K-Cup Without a Keurig...
coffeeaffection.com
5.0
(1)
Your folders
 192 views
How to use up olives
bbcgoodfood.com
Your folders
 267 views
How to Use Dried Mushrooms
thecookful.com
Your folders
 212 views
How to Use Hoisin Sauce
wikihow.com
93.0
(16)
Your folders
 268 views
How to Use Curry Leaves
wikihow.com
90.0
(12)
Your folders
 255 views
How To Use Dried Limes
endofthefork.com
5.0
(2)
Your folders
 264 views
How to Use Hemming Tape
blog.treasurie.com
Your folders
 170 views
How to Can Tomatoes - without a pre...
fuelingasouthernsoul.com
5.0
(3)
4 hours