Instant Pot Yogurt
5.0
(1)
Your folders
Your folders
Cook Time: 600 minutes
Total: 660 minutes
Servings: 12
Ingredients
Export 2 ingredients for grocery delivery
Instructions
Step 1
Add the milk to the insert of the Instant Pot. Place the lid on and then press the "Yogurt" button on the pressure cooker. "Boil" should appear on the screen. If it doesn't, keep pressing the "Yogurt" button until it does. After a few seconds, you will hear it beep, which indicates the process has started. During the boil phase, the Instant Pot brings the yogurt up to temperature, which is 180 degrees. This process will take one hour and the Instant Pot will beep once it is finished. The purpose of bringing it to 180 degrees F is to kill of microorganisms.
Step 2
To make sure the milk is up to temperature, use a kitchen thermometer to check the temperature. If it isn't quite 180 degrees yet, use the Saute function, until it is 180 degrees F.
Step 3
Once it has reached temperature, remove the Instant Pot insert from the outer part. Now we are going to let it cool to 110-115 degrees F. This takes about an hour and I simply put my thermometer into the pot and check on it every 15 minutes or so. After it has cooled, there will be a film of coagulated milk on the surface that you'll want to remove. Simply use a spoon to scoop it off.
Step 4
Now, it's time to add the starter. If using 1/2 gallon of milk, you'll want to use 2 tablespoons of yogurt, and if using 1 gallon, use 1/4 cup. Add the yogurt starter to a small bowl and then add 1/2 cup of the warm milk and mix until well combined and smooth. Add this mixture back to the large insert of milk and stir to combine.
Step 5
Return the insert back into the Instant Pot. Now it's time for the incubation period. The Instant Pot will keep the milk at 110 degrees F, and this is the time when it thickens. Place the lid on the Instant Pot and then press the "Yogurt" button until 8:00 appears. The incubation period can last between 4-12 hours long, but I have really had good luck with 8 hours. After 4 hours, check the yogurt to test its doneness. It will be done when it jiggles but is no longer runny.
Step 6
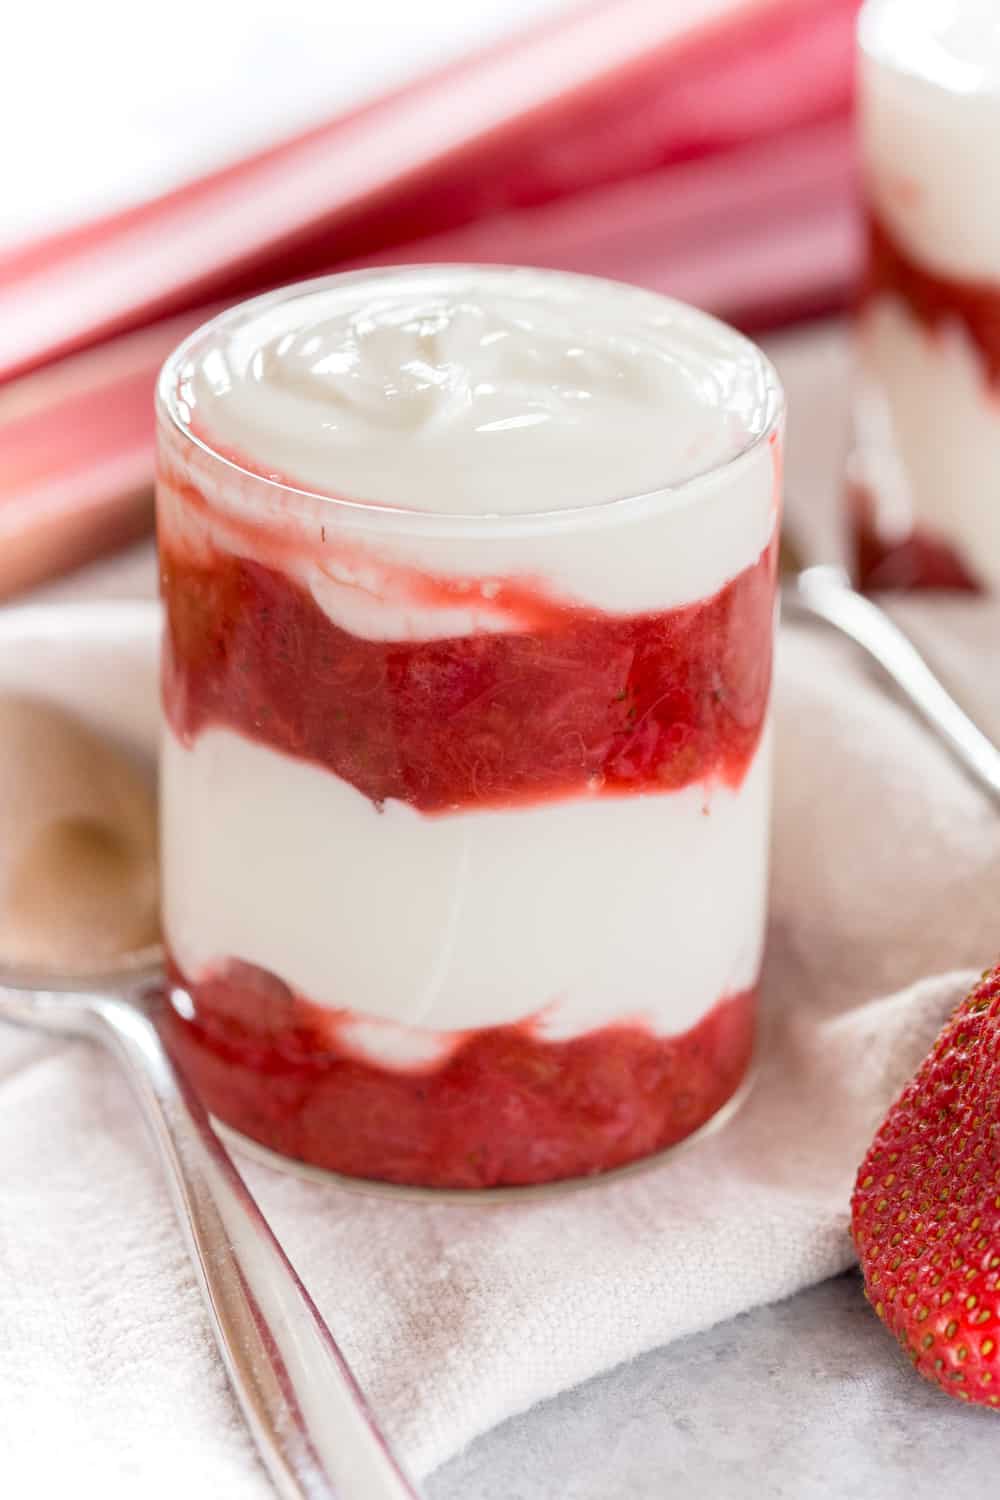
Once the incubation period is done, place the insert into the refrigerator to cool. Once it has cooled for a few hours, you can transfer it into individual jars. I like to store mine in large mason jars. If you want it a little thicker, you can always strain it through cheesecloths, for more of a Greek yogurt texture.
Step 7
Enjoy!