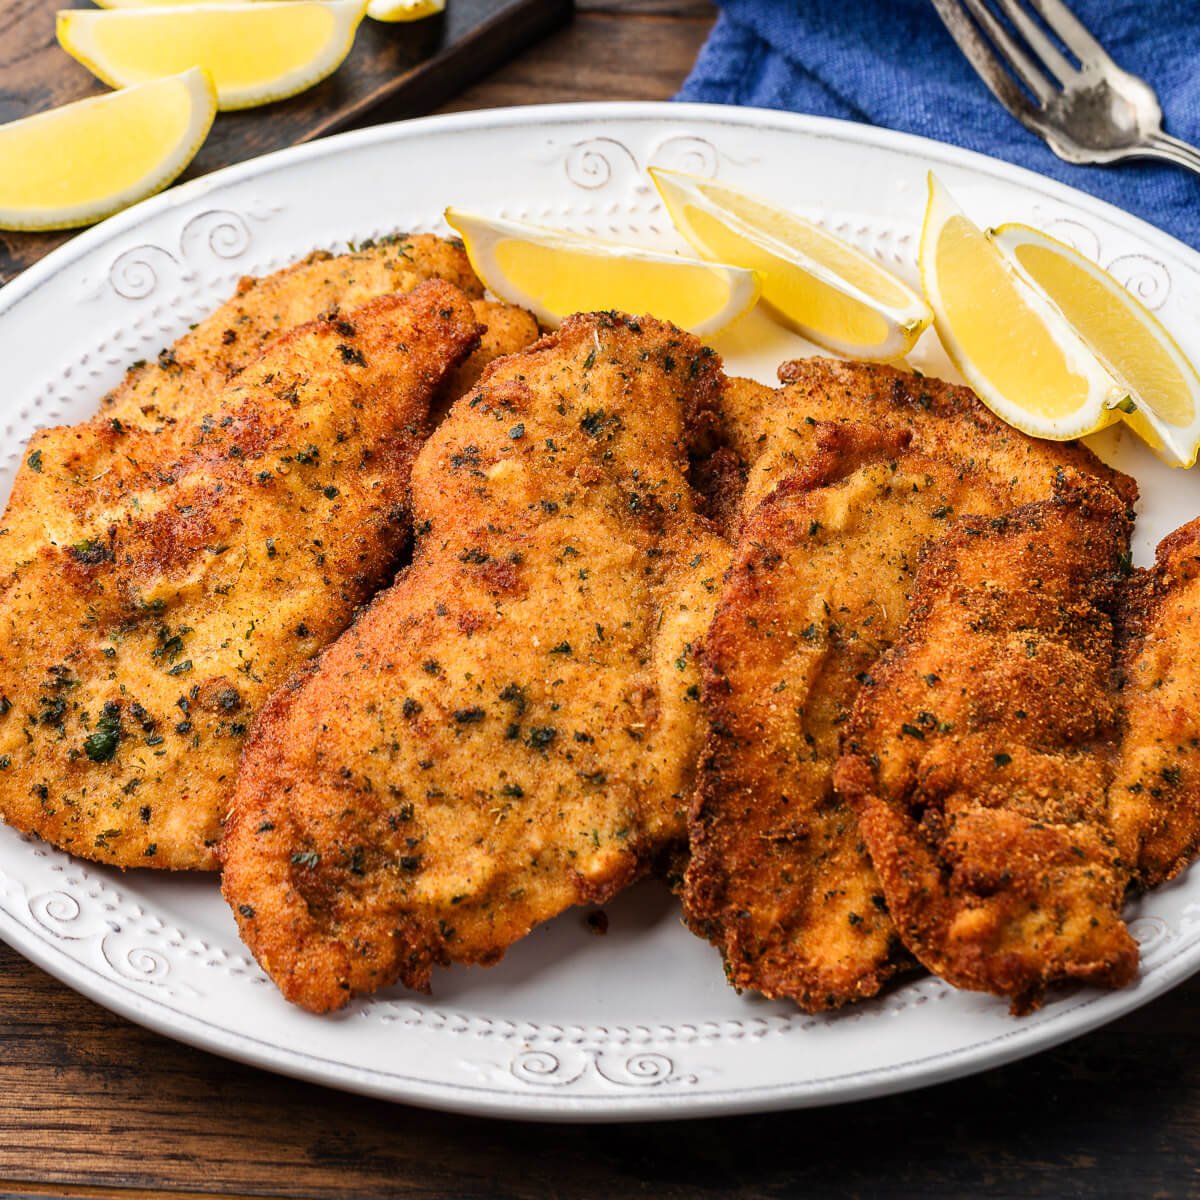
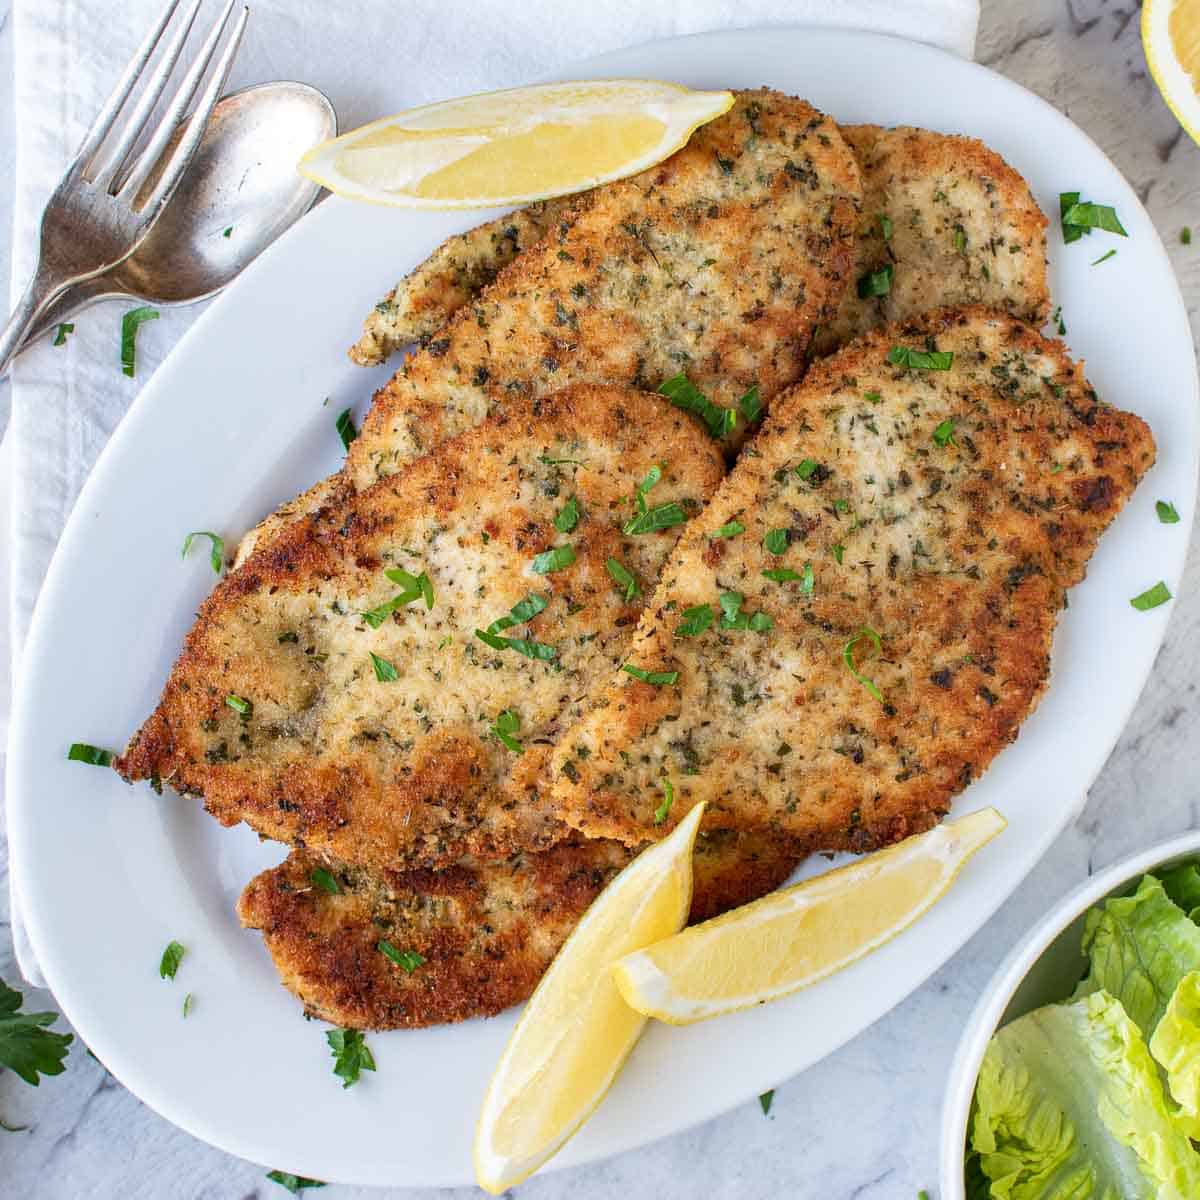
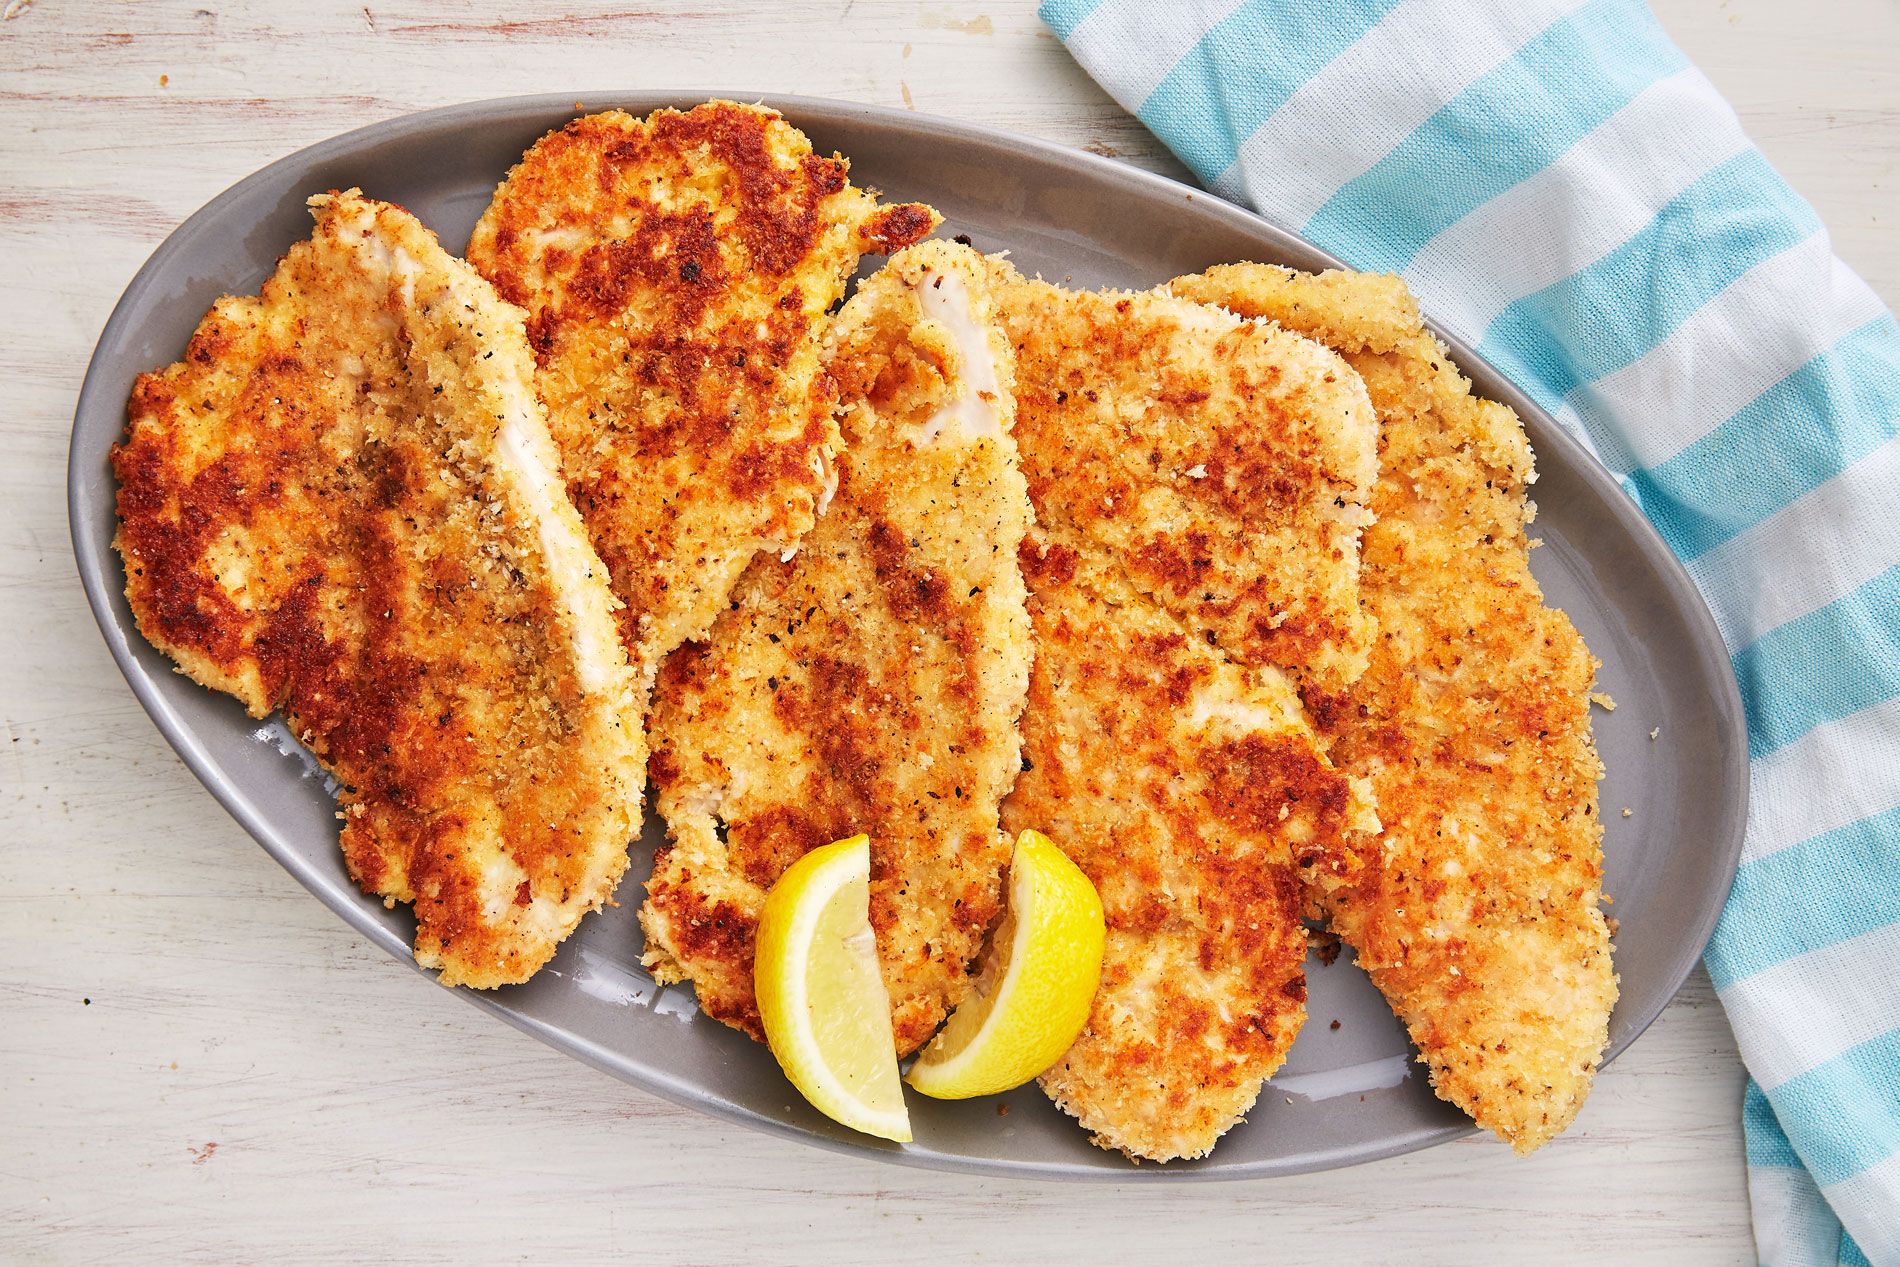
Italian Chicken Cutlets
5.0
(2)
Your folders
Your folders
Prep Time: 30 minutes
Cook Time: 30 minutes
Total: 60 minutes
Servings: 10

Ingredients
Export 13 ingredients for grocery delivery
Instructions
Step 1
Prep and gather all ingredients according to specifications above. Then, make the seasoned breadcrumbs by mixing all the breadcrumb ingredients together in a large bowl until well-combined. These can be made several hours or days in advance and held in the refrigerator in an airtight bag or container.(Please see the section above in the blog post for Step-By-Step instructions with photos.)
Step 2
Next, whisk the eggs, cheese, parsley and milk together in a large bowl until well-combined. Set this aside.
Step 3
Remove and discard all large pieces of fat from the chicken breasts. Then, carefully slice each chicken breast in half horizontally, through the center, using a sharp knife. You want to create two thinner pieces of breast meat–the knife should be parallel to the cutting board. (See photo above.)
Step 4
Then, place the pieces of chicken in between plastic wrap and use either a meat tenderizer/mallet or a rolling pin to CAREFULLY pound the breasts thinner–to approximately ½” thickness, at most. The cutlets should have relatively the same thickness all around. Don’t be too aggressive during this step, as it is easy to break the tender breast meat into an unrecognizable mush.
Step 5
Once the breasts are at the appropriate thickness, pat both sides dry with a paper towel and sprinkle both sides with some salt and black pepper. (NOTE: If the breast pieces are too large for you after being pounded, cut them down into smaller pieces, as desired.)
Step 6
Place the thin, seasoned chicken cutlet pieces in the reserved egg mixture, ensuring that each both sides of each piece is thoroughly coated. This can be done a few hours in advance of frying and held in the refrigerator.
Step 7
Then, set up a breading station by arranging the following: bowl of chicken in egg mixture, then shallow bowl (or sheet pan) of seasoned breadcrumbs, then a sheet pan. Using either your hand or a fork/tongs, transfer each piece of chicken from the egg mixture, one-by-one, to the breadcrumbs and thoroughly coat both sides, patting it down to ensure that the breadcrumbs adhere, then place the breaded chicken on a sheet pan. Continue doing this for all the chicken pieces. (NOTE: If you are using your hands for this, use one hand for the wet egg mixture and the other for the dry breadcrumb mixture to keep things neater and more streamlined.)
Step 8
Meanwhile, add enough oil to a large nonstick or stainless-steel skillet to cover the bottom of the pan by about ½”. Heat the oil over medium heat until bubbles form around a wooden spoon inserted in the oil. If the breaded chicken is placed in the pan before the oil is hot enough, it will absorb too much oil, become soggy and the breading may fall off.
Step 9
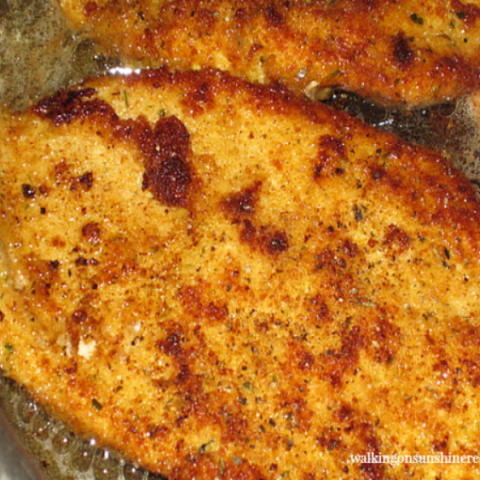
Gently shake off any excess breadcrumbs from each piece of breaded chicken. Then transfer each piece to the hot oil, one at a time, making sure to not crowd the pan or pile the chicken on. Fry a few pieces at a time–only as many as will fit in one layer. Fry until the chicken is golden brown on one side, then turn it over and do the same on the other side. This will take about 4 to 5 minutes per side. You will need to work in batches and may need to add additional oil during the frying process.
Step 10
The chicken cutlets are cooked once they’ve reached an internal temperature of 165℉ at their thickest part, which you can test with a meat thermometer. Once you’ve fried one or two, you will likely know when they are ready without using a thermometer.
Step 11
Once browned and finished, transfer the fried chicken cutlets to a rack placed over a sheet pan. This will help the chicken cutlets to maintain their crispiness rather than placing them on a paper towel.
Step 12
Sprinkle the cutlets very lightly with some salt, if desired. Then, they are ready to eat! In fact, I would be surprised if you didn’t try the first one that was ready–they are so good! Serve them as is or use them in any number of ways. See Serving Suggestions above for some great ideas. Buon Appetito!
Top similar recipes
Curated for youYour folders

 298 views
Italian Chicken Cutlets
pinchandswirl.com
5.0
(5)
20 minutes
Your folders
 275 views
Italian Chicken Cutlets
food.com
5.0
(10)
15 minutes
Your folders
 150 views
Italian Chicken Cutlets
sipandfeast.com
5.0
(10)
20 minutes
Your folders
 464 views
Crispy Italian Chicken Cutlets
recipesfromitaly.com
4.9
(21)
15 minutes
Your folders
 289 views
Italian Chicken Cutlets Recipe
marcellinaincucina.com
5.0
(19)
10 minutes
Your folders
 83 views
Italian Chicken Cutlets Recipe
marcellinaincucina.com
Your folders
 141 views
Italian Basil Chicken Cutlets
miarecipes.meevor.com
30 minutes
Your folders
 334 views
BEST Breaded Chicken Cutlets (Itali...
cucinabyelena.com
5.0
(1)
20 minutes
Your folders
 594 views
Breaded Chicken Cutlets - Italian S...
walkingonsunshinerecipes.com
4.5
(67)
15 minutes
Your folders
 189 views
Baked Italian Chicken Cutlets {30 M...
talkingmeals.com
5.0
(1)
25 minutes
Your folders
 101 views
Chicken Cutlets
spendwithpennies.com
5.0
(91)
15 minutes
Your folders
;) 83 views
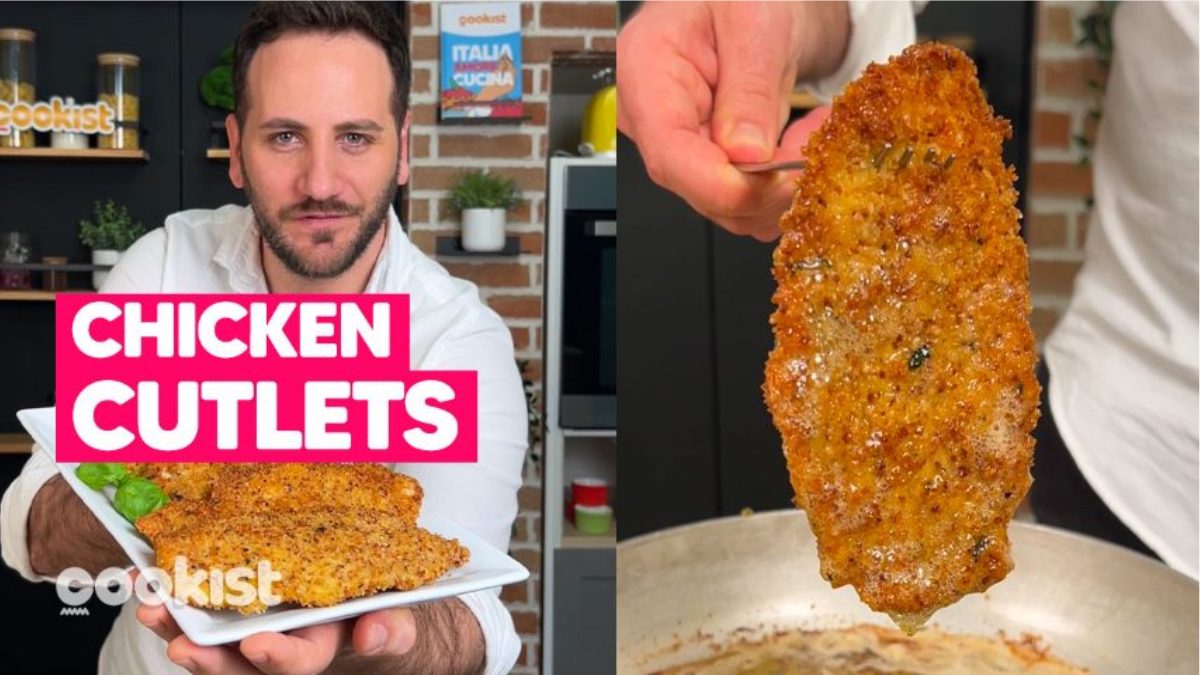
83 viewsItalian Chicken Cutlets: the 10 Min...
cookist.com
Your folders
 560 views
Parmesan Chicken Cutlets
bonappetit.com
3.8
(158)
Your folders
 206 views
Sunny Chicken Cutlets
recipereader.com
5.0
(1)
20 minutes
Your folders
 254 views
Breaded chicken cutlets
everyday-delicious.com
5.0
(1)
15 minutes
Your folders
 377 views
Crispy Chicken Cutlets
the-bella-vita.com
5.0
(10)
5 minutes
Your folders
 375 views
crispiest chicken cutlets
smittenkitchen.com
Your folders
 264 views
Parmesan Chicken Cutlets
delish.com
4.1
(12)
Your folders
 397 views
Breaded Chicken Cutlets
foodnetwork.com
4.7
(45)
40 minutes