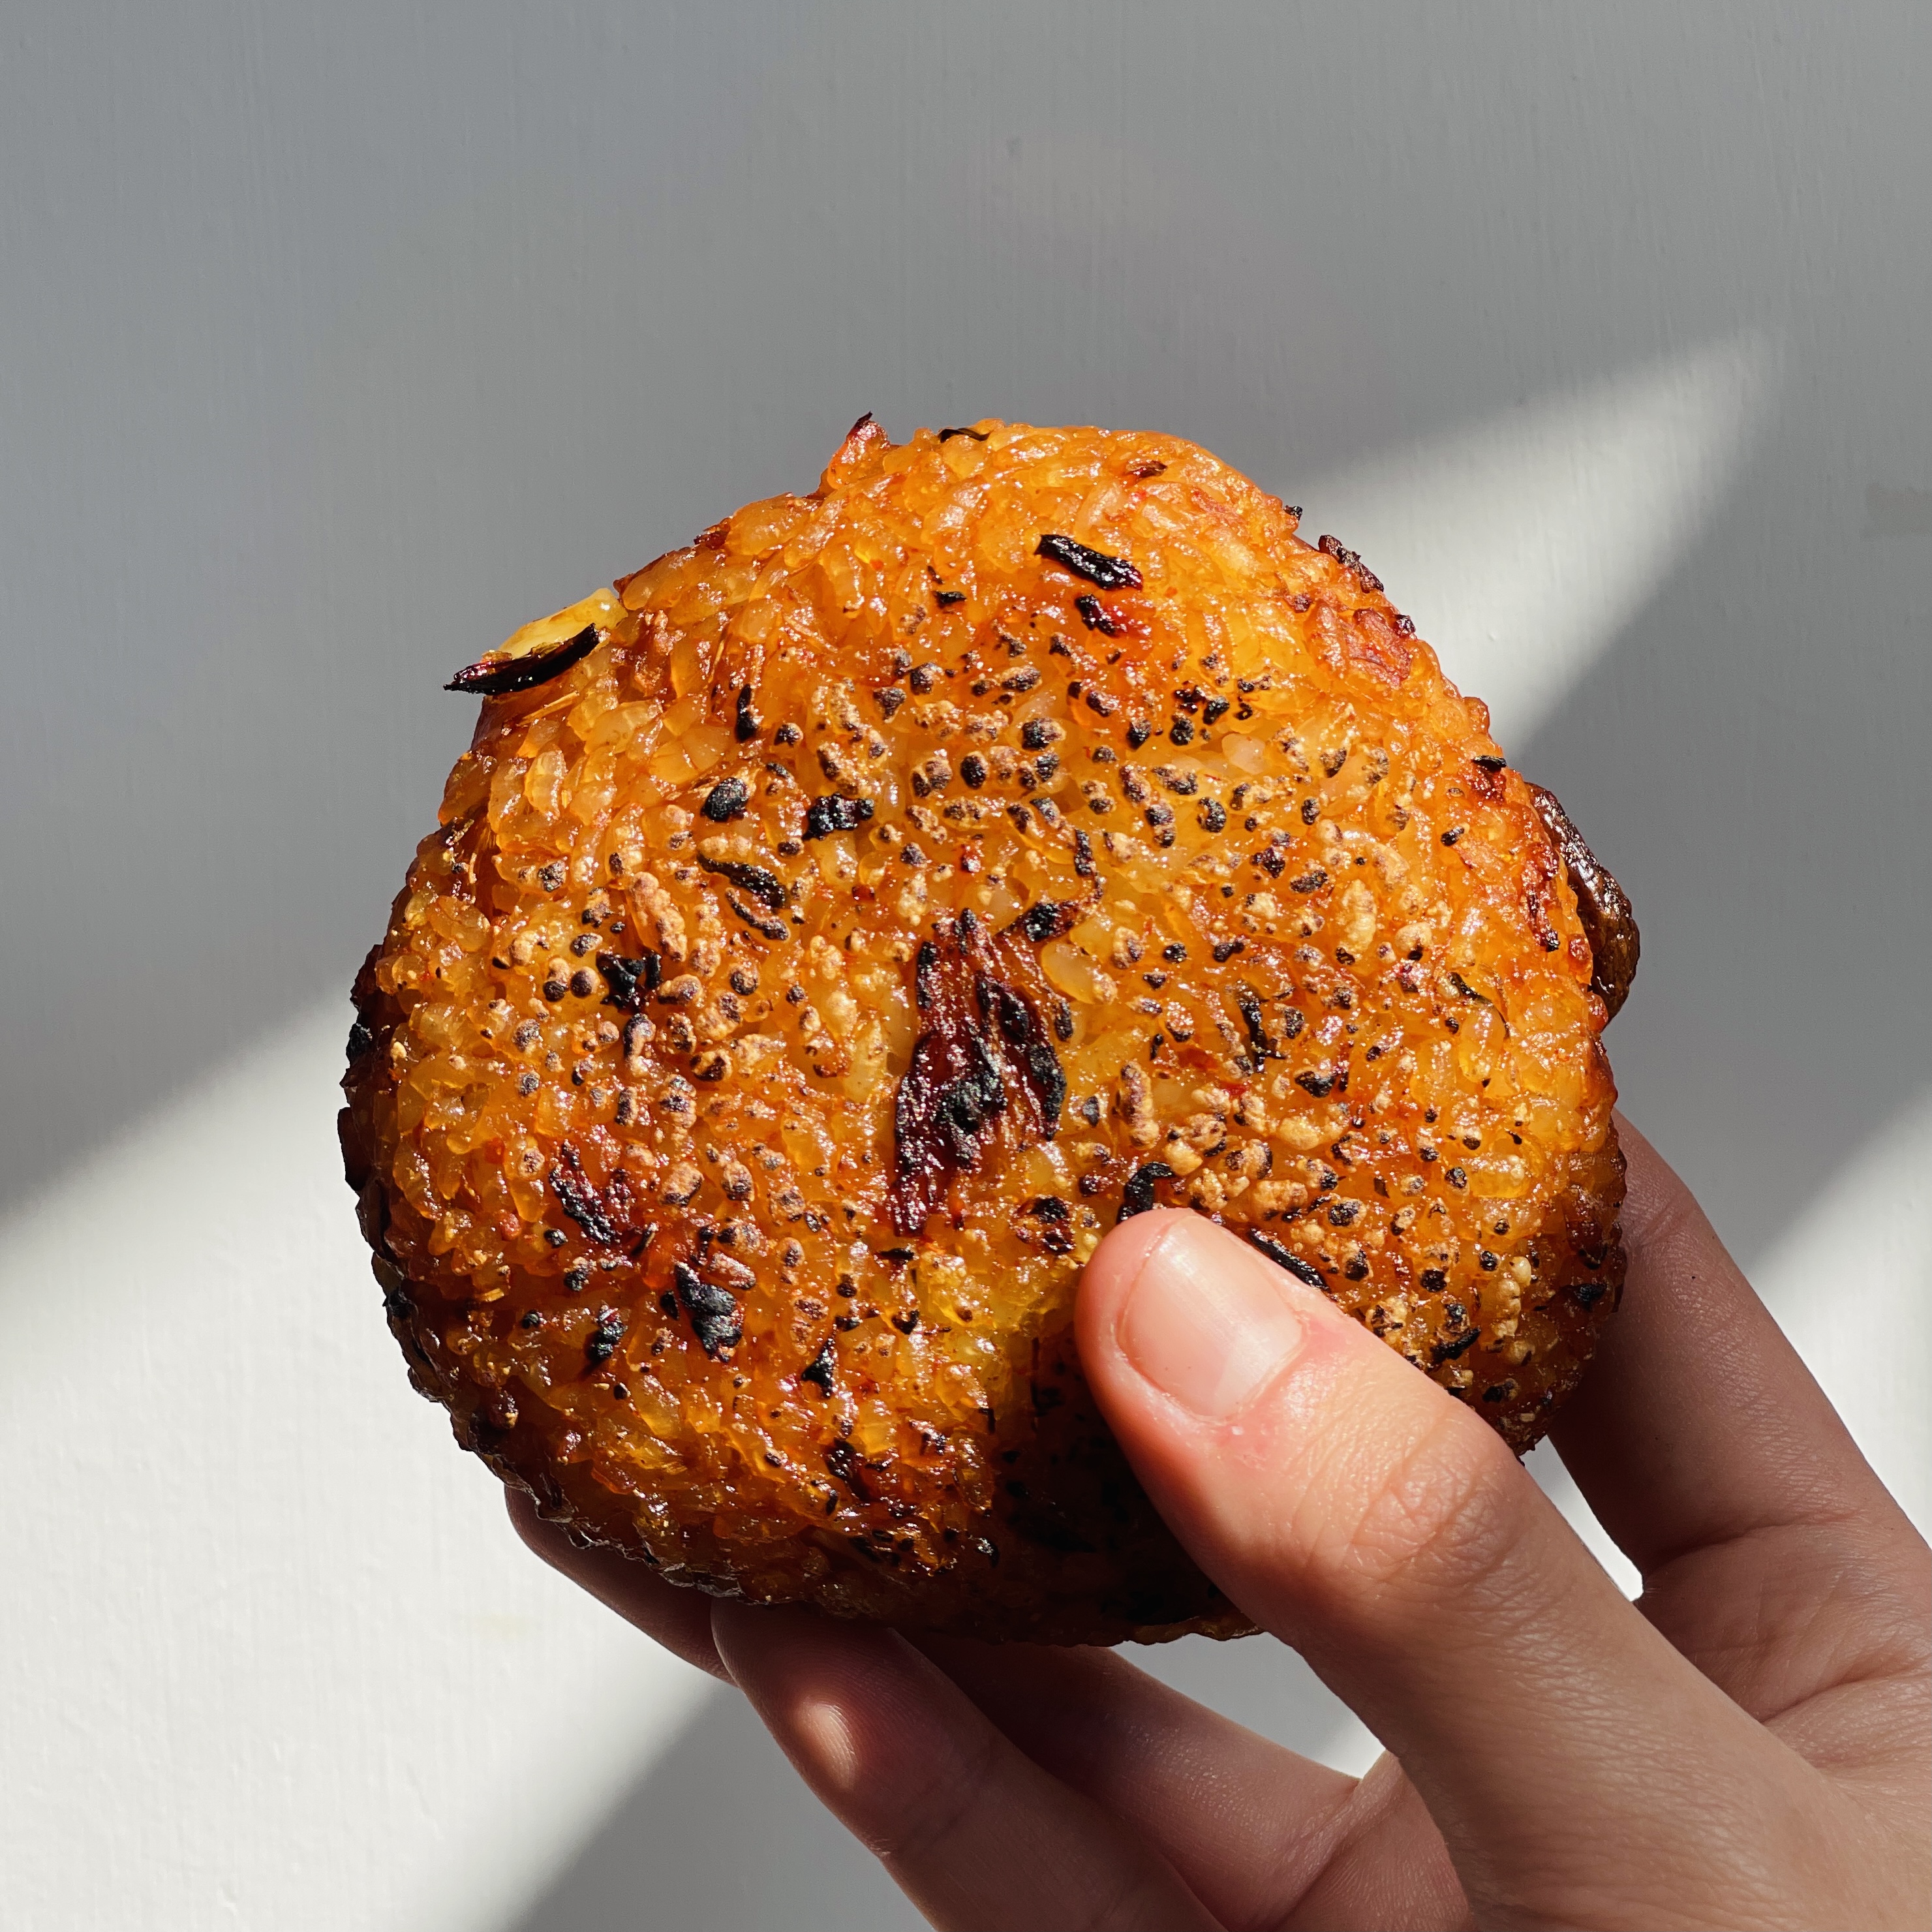
Kimchi Cheese Rice Balls
4.3
(238)
Your folders
Your folders
Prep Time: 20 minutes
Cook Time: 40 minutes
Total: 1 hours
Servings: 4
Author : Doobydobap

Ingredients
Export 8 ingredients for grocery delivery
Instructions
Step 1
Preheat your oven to 200C / 400F. For air fryer skip the preheating process.
Step 2
Pulse your kimchi in a food processor until a fine chop.
Step 3
Prepare the sauce. Mix gochujang, honey, light soy sauce, and dark soy sauce. This sauce is to season the rice and to give the rice balls a nice red color.
Step 4
In a nonstick pan, drizzle in the sesame oil. Heat the pan on medium heat and add your pulsed kimchi.
Step 5
Cook out the kimchi for 3-4 minutes until most of the moisture has evaporated. It’s important to make sure that the kimchi mixture is not too wet or it will make the rice balls fall apart.
Step 6
Once the kimchi has cooked out, add the prepared sauce.
Step 7
Cook the sauce and the kimchi until the sauce has thickened, for additional 3-4 minutes.
Step 8
Add the fillings to the rice. If the rice is freshly made, make sure to cool it down to room temperature so that some of the moisture has evaporated. Mix.
Step 9
Taste the rice mixture. Depending on the brand of kimchi / your preference, add more salt if needed.
Step 10
Scoop out ⅓ cup of the rice and lay it flat on your hands. I recommend using gloves as it can get a little messy, but if not, slightly wet your hands in water so that the rice does not stick.
Step 11
Add a tablespoon of mozzarella in the center.
Step 12
Put additional rice on top to help form the ball.
Step 13
Bring the sides together and roll into a sphere. Then, slowly shape the rice to your desired shape.
Step 14
Place the rice balls on parchment paper on a baking tray. Brush on sesame oil on the top for a golden crispy top. You can also individually wrap them and put in the freezer. These freeze extremely well and can be microwaved for a quick snack. I microwave these for about 3 minutes / air fry them at 400F for 30 minutes from when they’re frozen.
Step 15
For ovens, bake for 20 minutes on each side, for a total of 40 minutes. For an even crispier top, broil it for 30 seconds on each sides so that the rice puffs up like and for the extra crunch.
Step 16
For air fryers, bake for 20 minutes at 400F. For an even crispier finish, crank the heat to maximum with an extra brushing of oil.
Step 17
Enjoy!