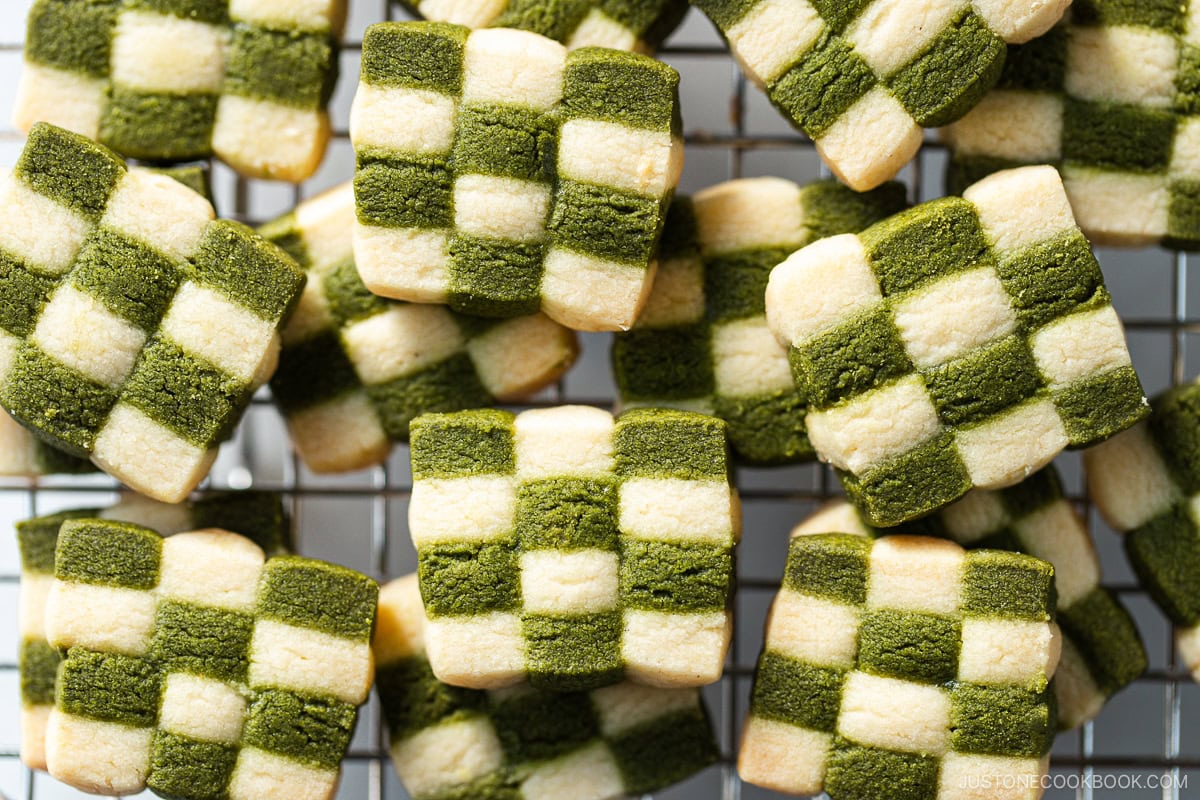
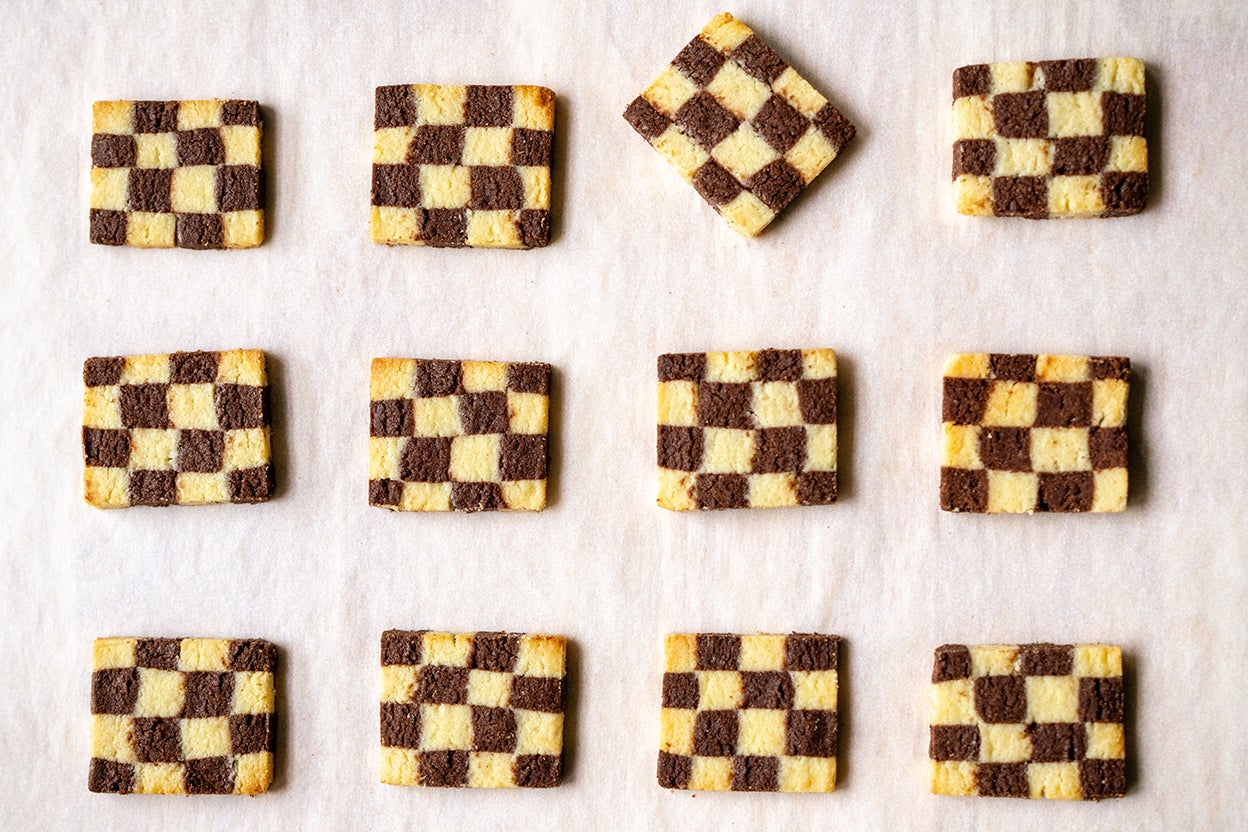
Matcha Checkerboard Cookies
4.7
(104)
Your folders
Your folders
Prep Time: 45 minutes
Cook Time: 15 minutes
Total: 60 minutes
Servings: 35
Ingredients
Export 6 ingredients for grocery delivery
Instructions
Step 1
Before We Start: Please remember that this recipe requires at least 2 hours of chilling time. I encourage dividing the baking process into morning and afternoon or two days (chilling overnight) to minimize the waiting periods. Gather all the ingredients. Allow the unsalted butter to soften to room temperature for 1 hour or longer. I highly encourage you to weigh your ingredients using a kitchen scale. For weights, click the “Metric“ button at the top of the recipe to convert the measurements. If you‘re using a cup measurement, please follow the “fluff and sprinkle“ method: Fluff your flour with a spoon, sprinkle the flour into your measuring cup, and level it off. Otherwise, you may scoop more flour than you need.
Step 2
You will also need a hand or stand mixer with whisk (and paddle) attachments or food processor, an aluminum baking sheet, 2 resealable (Ziplock) sandwich-size bags (about 6 x 6.5 inches, 15 x 16.5 cm), a rolling pin, and rolling pin guides (optional; I bought my acrylic rolling guides from Amazon).
Step 3
Separate the egg yolk from the egg white.
Step 4
Place the egg white in a small bowl, cover with plastic, and store it in the refrigerator. Place ½ large egg yolk in a small bowl and mix until smooth. Tip: To divide the yolk in half for one batch, I use a digital scale to weigh the egg yolk and calculate the precise weight of half.
Step 5
Place 7 Tbsp unsalted butter (at room temperature) in a bowl and press it with a silicone spatula until smooth. Add ½ cup confectioners’ sugar.
Step 6
Blend well with an electric mixer until the mixture turns fluffy and pale. Tip: Whipping the butter and sugar mixture adds air, and this makes the cookies crispier.
Step 7
Add ⅛ tsp Diamond Crystal kosher salt and blend until incorporated.
Step 8
Then, add ½ large egg yolk and continue mixing until smooth.
Step 9
Add 2 Tbsp almond flour and blend it until fully incorporated and smooth.
Step 10
With the silicone spatula, scrape down the bowl to collect the dough.
Step 11
Now, weigh the dough in a clean bowl over a kitchen scale (I use a digital kitchen scale). Weigh the total amount and divide it in half. My batch of dough is roughly 180 g, so each half weighed about 90 g. Place each half in separate bowls, one to make the plain dough and the other to make the green matcha dough.
Step 12
Sift ½ heaping cup cake flour into the bowl for the plain dough.
Step 13
Lightly mix with the spatula, gently folding the flour into the dough until just incorporated. Do not overmix.
Step 14
Once crumbly, press the dough together, shaping it into a ball and scraping the sides.
Step 15
Put the dough ball in a plastic resealable (ziplock) sandwich bag. Set aside.
Step 16
Using a hand whisk, mix 5 tsp matcha (green tea powder) into ½ cup cake flour until well incorporated. Tip: Pre-mixing makes it easier to blend in.
Step 17
Sift the matcha-flour mixture into the bowl with the other half of the dough.
Step 18
Gently fold the flour mixture into the dough with the spatula until just incorporated. Do not overmix.
Step 19
When crumbly, press it into a cohesive dough ball and put it in a plastic resealable sandwich bag.
Step 20
Release the air from the sandwich bag, seal, and roll the dough ball flat with a rolling pin.
Step 21
If you're using the rolling guides, place them on either side of the bag and roll flat. You could stack two disposable chopsticks (or something similar) as rolling guides. However, my recipe should work perfectly to completely fill the sandwich bags with cookie dough to a 5-mm thickness without the use of rolling guides.
Step 22
Using the rolling pin, evenly flatten the dough to 5 mm thick and about 6 x 6½ inches (15 x 16.5 cm) in size.
Step 23
Repeat rolling out the matcha dough using the same method.
Step 24
Roll out gently so the dough doesn't come out of the sealed bag. Now, place the bags of flattened dough in the refrigerator and chill for at least 1 hour.
Step 25
Remove the chilled and firm dough from the fridge. Using a sharp knife, cut open the left and right sides of one sandwich bag. Repeat with the other bag. Tip: Make sure your chilled dough feels solid before you begin. As the dough warms, it will soften. If the dough becomes too soft to handle, wrap it in plastic and refrigerate until firm. Then, continue with the recipe.
Step 26
Peel back the tops of the sandwich bags to uncover the dough, leaving the bags on the bottom as is.
Step 27
Lightly brush the matcha dough surface with beaten egg white. Pick up the plain dough with its plastic bag, then flip the plain dough onto the matcha dough. Apply gentle pressure to adhere. Then, peel away the plastic bag from the plain dough.
Step 28
Cut this layered dough in half. Brush one half with egg white.
Step 29
Matching the clean-cut sides, stack the other half on top so you have four layers of alternating colors. Apply gentle pressure to adhere.
Step 30
Measure and mark 1-cm intervals (just over ⅜ inch) with the tip of your knife along the top and bottom edges of the dough stack. These are cutting marks that you will use in the next step. I use a pastry board with measurements, but I highly recommend using a ruler here.
Step 31
Using the cutting marks as a guide, slice straight down with a knife to make long, layered strips that are each 1 cm thick. I was able to cut eight strips. Tip: Your dough strips might warm up and soften. If this happens, wrap them in plastic, place on a tray, and refrigerate until firm. Then, try again.
Step 32
Lay three strips flat on your work surface so you can see the colored layers of dough. Flip over the middle strip so the order of the colors is reversed from the left and right strips; see how it should look in the image below. Make a dough log with the three strips: First, brush egg white on the tops of the strips that will become the bottom and middle of your log (you don't have to brush the top strip). Then, stack the three strips to form a log. You can look at one end of the log to confirm you see a checkered pattern. Finally, press gently to adhere the strips without misshaping the log.
Step 33
Stack three more strips into a second log. Wrap the dough in plastic and chill in the fridge for at least 1 hour. Tip: If you want to freeze the dough logs to slice and bake at a later time, please see the To Store section for instructions.
Step 34
For the leftover two strips, I simply roll them into a ball, then roll it into a log. Alternatively, you could cut the strips in half crosswise and stack them to make short checkered logs. Either way, wrap the leftover dough log in plastic and chill.
Step 35
Preheat the oven to 350°F (175°C). Slice the chilled dough logs into cookies ¼ inch (7 mm) thick.
Step 36
Place on a baking sheet lined with parchment paper, and bake for 13–15 minutes, or until slightly browned on the bottom.
Step 37
The residual heat will brown the cookies more, so remove them from the oven when they are just a tad golden. Cool for 5-10 minutes on the baking sheet, then transfer the cookies to a wire cooling rack.
Step 38
Continue slicing and baking the leftover cookie dough. Tip: When you slice the dough log, rotate it to maintain the circle shape.
Step 39
Serve with your favorite beverage and enjoy!
Step 40
Once the matcha checkerboard cookies are completely cool, store them in an airtight container at room temperature for up to 1 week (I add a silica gel packet). To freeze, transfer the matcha checkerboard cookies to a freezer-safe airtight container or resealable freezer bag. Freeze them for up to 3 months. Thaw in the refrigerator overnight to enjoy. To freeze the cookie dough: Tightly wrap the checkered logs in plastic wrap and put them into freezer bags. Freeze for up to 3 months. Let them thaw in the refrigerator for 2 hours before slicing and baking.
Top similar recipes
Curated for youYour folders
 478 views
Checkerboard Cookies
cookiesandcups.com
5.0
(3)
10 minutes
Your folders
 284 views
checkerboard cookies
smittenkitchen.com
Your folders
 66 views
Sesame Checkerboard Cookies
omnivorescookbook.com
30 minutes
Your folders
 265 views
Mint Chocolate Checkerboard Cookies
sallysbakingaddiction.com
4.8
(18)
13 minutes
Your folders
 514 views
Red and Black Checkerboard Cookies
foodnetwork.com
5.0
(1)
50 minutes
Your folders
 261 views
Checkerboard Sablés
kingarthurbaking.com
4.7
(6)
16 minutes
Your folders
 281 views
Checkerboard Cake
sallysbakingaddiction.com
5.0
(11)
25 minutes
Your folders
 207 views
Matcha Shortbread Cookies
heynutritionlady.com
5.0
(4)
15 minutes
Your folders
 336 views
Matcha Gingerbread Cookies
tastingtable.com
4.6
(45)
10 minutes
Your folders
 409 views
Matcha Sugar Cookies
theclassybaker.com
15 minutes
Your folders
 184 views
Matcha Shortbread Cookies
myfoodandfamily.com
47 minutes
Your folders
 211 views
Matcha sesame cookies
halicopteraway.com
13 minutes
Your folders
 82 views
Matcha Sugar Cookies
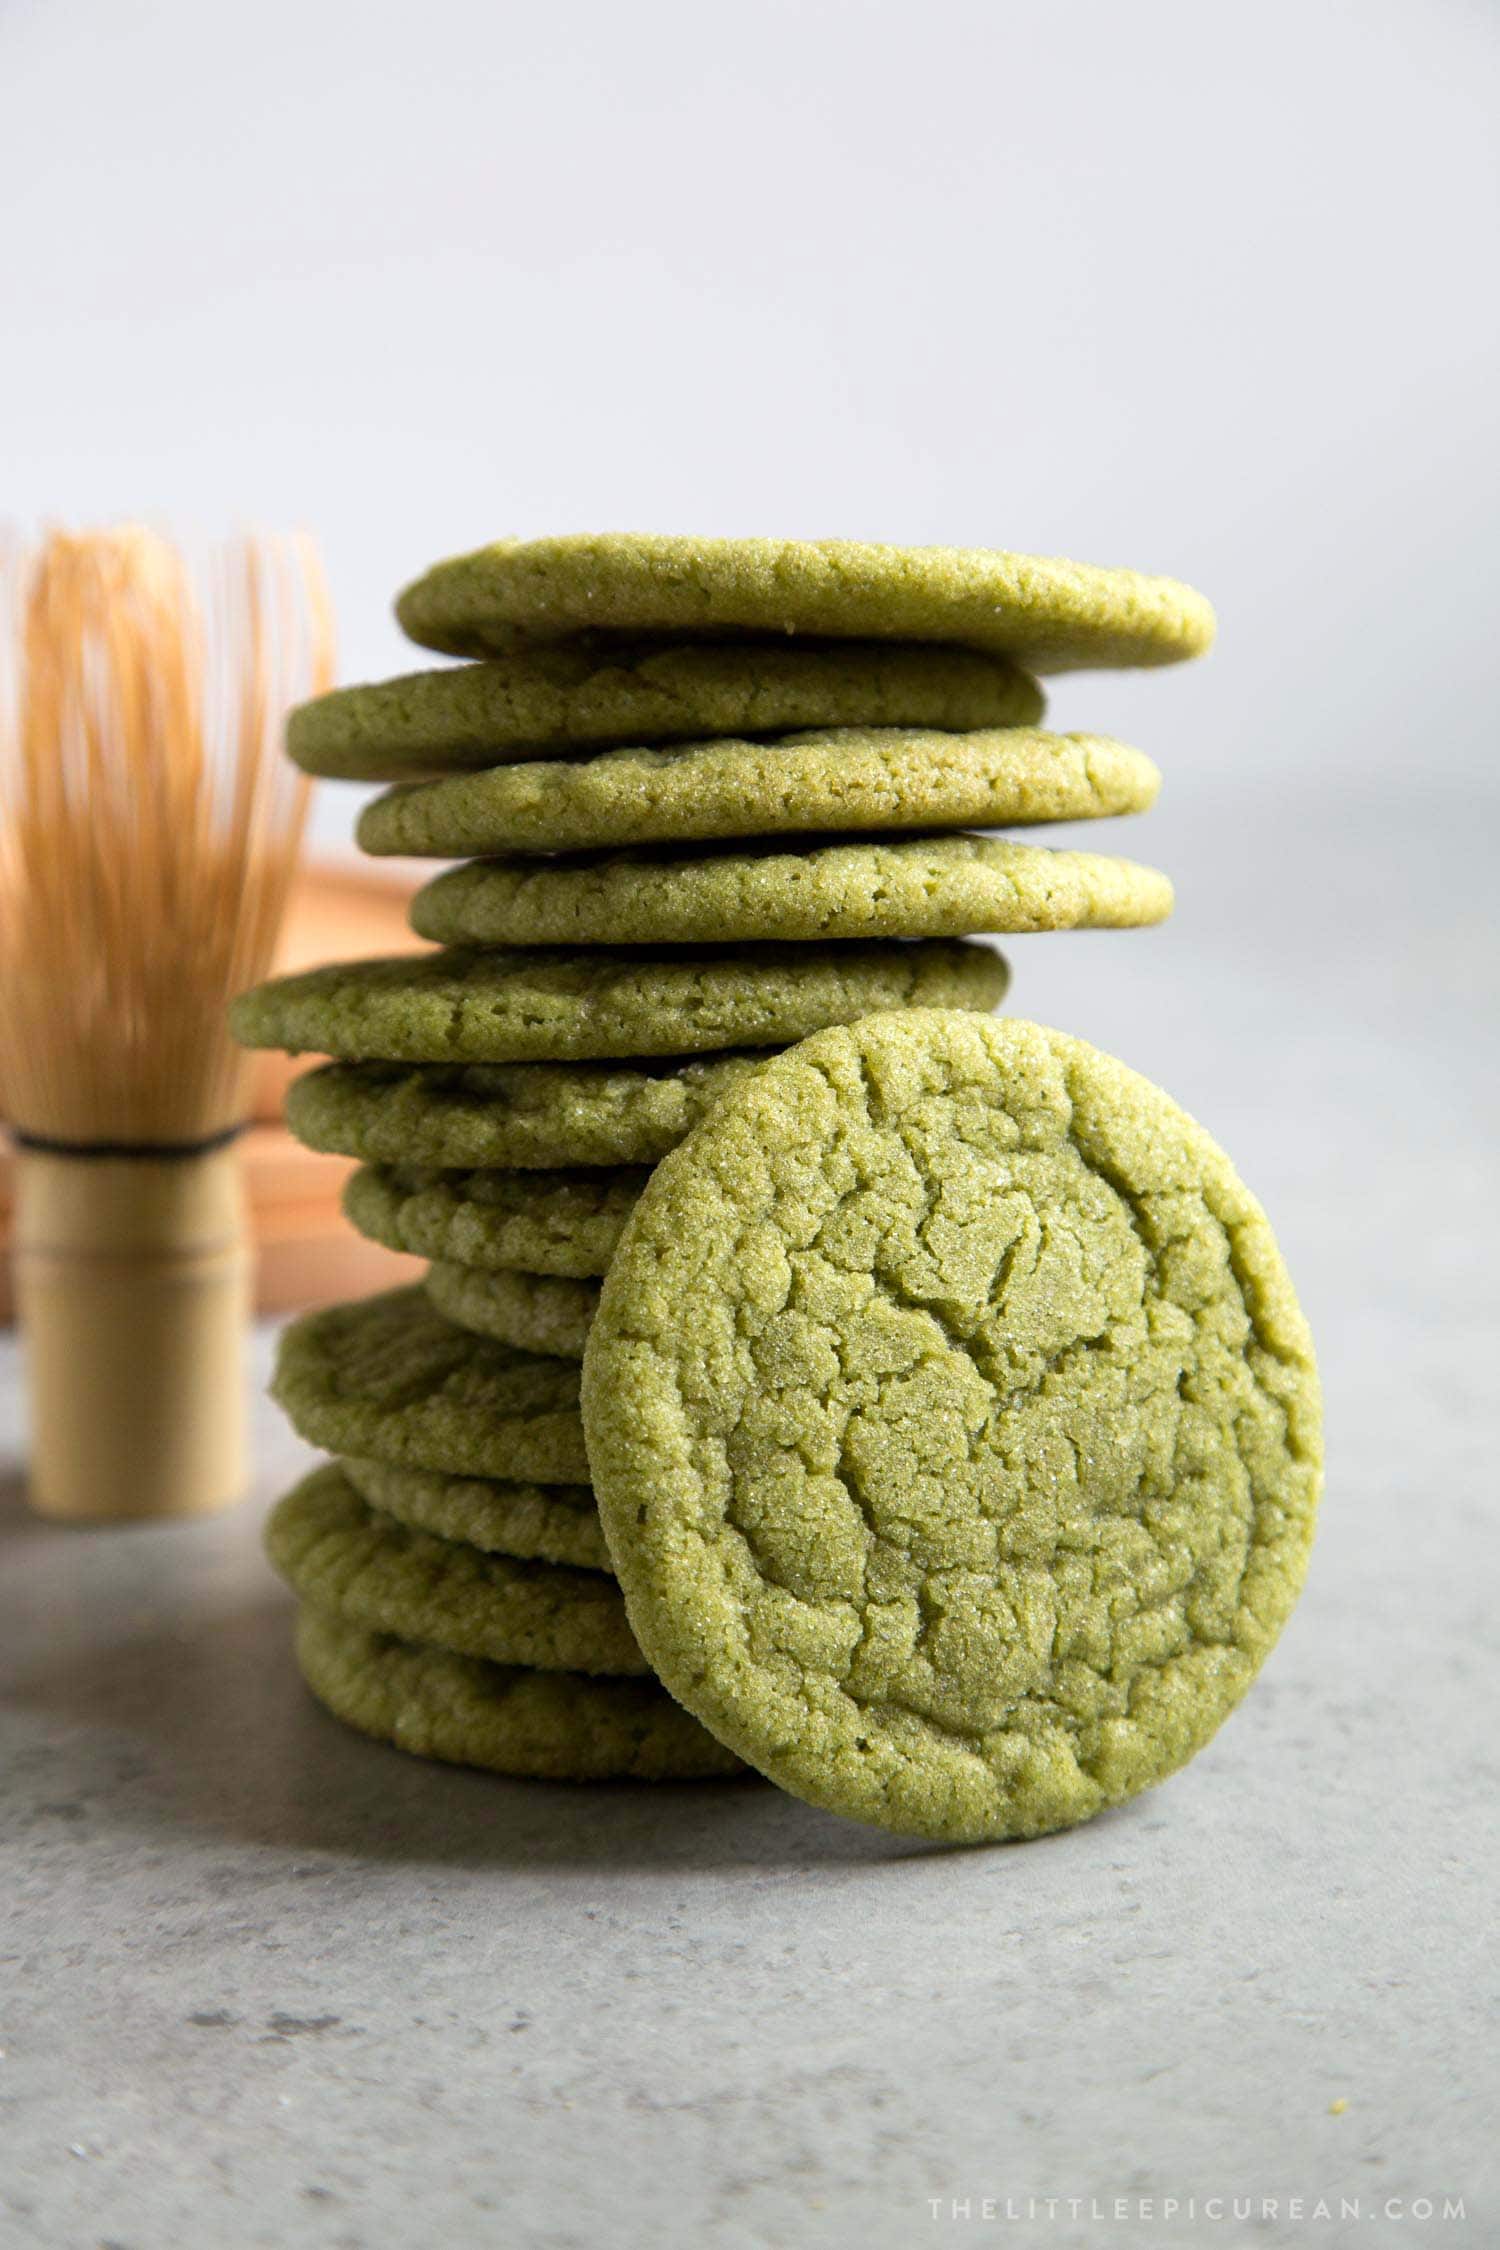
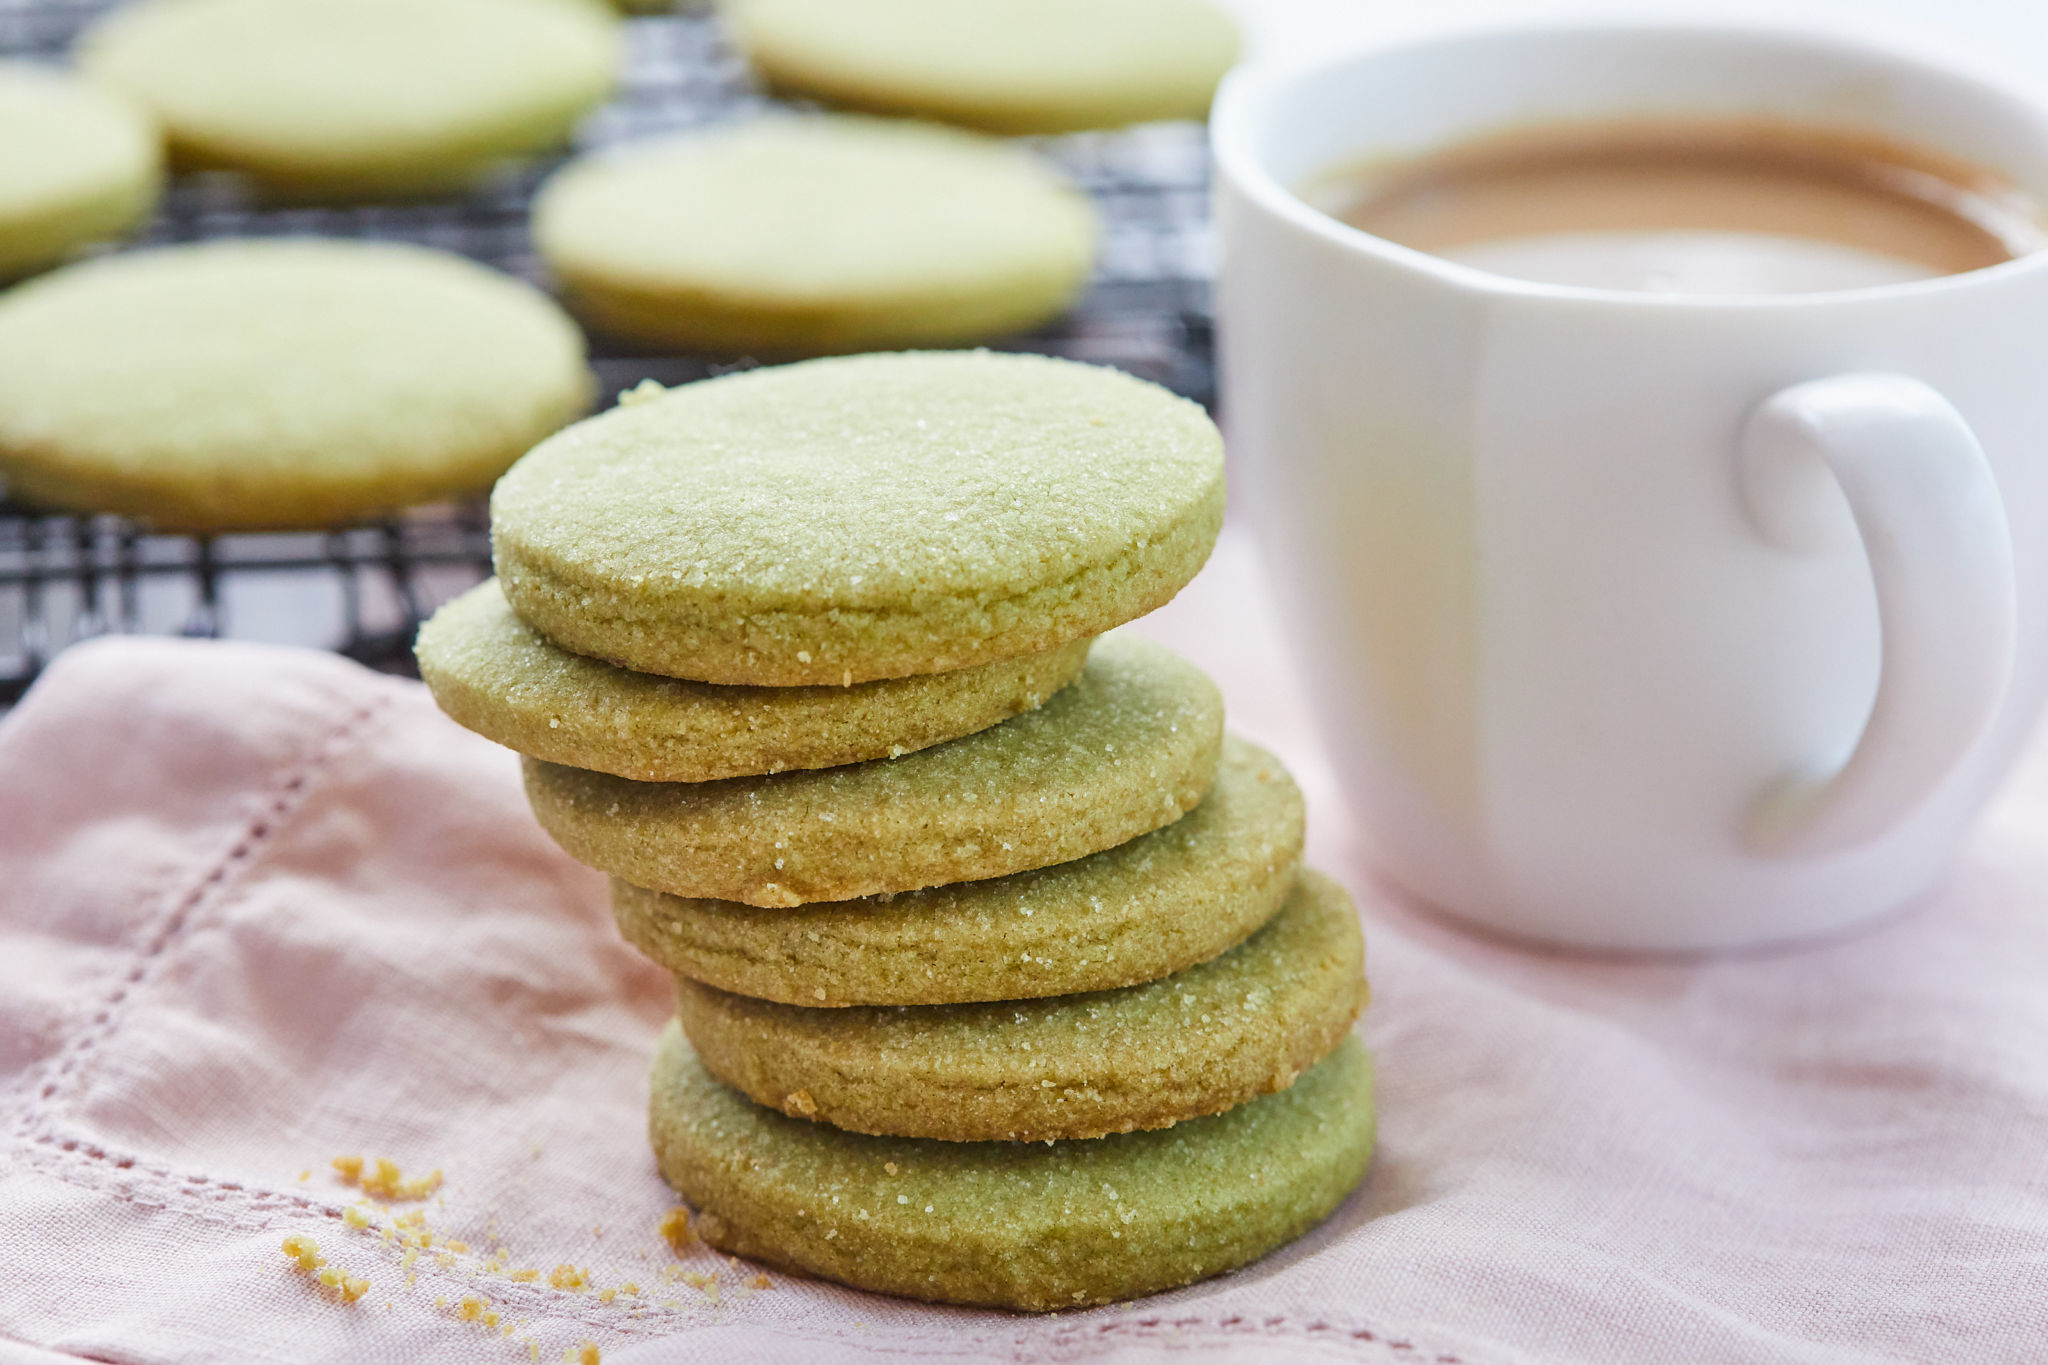
thelittleepicurean.com
4.4
(8)
15 minutes
Your folders
68 viewsMatcha sesame cookies
halicopteraway.com
5.0
(1)
13 minutes
Your folders
 75 views
Crispy Matcha Cookies
cooking-therapy.com
4.9
(16)
10 minutes
Your folders
75 viewsMatcha Sugar Cookies
thelittleepicurean.com
4.4
(8)
15 minutes
Your folders
 191 views
Chocolate Checkerboard Cake
bettycrocker.com
4.5
(33)
Your folders
 343 views
Vegan Matcha Sugar Cookies
shortgirltallorder.com
4.8
(59)
13 minutes
Your folders
 343 views
Matcha Shortbread Cookies Recipe
biggerbolderbaking.com
4.7
(14)
22 minutes