new classic wedding cake + how to
Your folders
Your folders
Total: 120
Servings: 14
Cost: $4.88 /serving

Ingredients
Export 12 ingredients for grocery delivery
Instructions
Make the brown butter cake layers: Heat oven: To 325 degrees F. Coat 3 9-inch cake pans with nonstick spray and line the bottoms with a fitted circle of parchment paper. Don’t have three? Don’t fret. I found no noticeable loss in cake quality when baking the layers one after the other, but you will need to divide you batter evenly.Brown the butter: Melt butter in a deep skillet or wide saucepan (I’ve been using this white coated one, which makes the color change easier to see) over medium/medium-high heat. Once melted, keep cooking the butter, stirring, until faint golden specks of brown appear at the edges and in the pan, then add the powdered milk. It will get lumpy; do your best to smash the lumps, don’t worry, though, we will get rid of any stubborn ones later. Remove from heat as it begins browning; butter will continue to toast in the hot pan. When it reaches a moderately deep brown/hazelnut color, pour into a bowl and let cool to lukewarm or room temperature.Make the batter: Place sugar, flour, salt, baking powder, and baking soda in the bowl of a stand mixer and combine with the paddle attachment on low for 30 seconds. Pour in the browned butter (and any sediment in the bowl) and continue to mix on a low-medium speed for 2 minutes. The paddle should beat any remaining brown butter lumps smooth. Scrape the bowl and paddle down, raise the speed to medium, and beat for another minute. With machine running, add buttermilk and mix until combined; scrape down bowl, all the way underneath, where butter-sugar-flour sediment will want to collect, promise. Add the eggs and vanilla and beat until thoroughly combined.Bake the cakes: Divide batter between three cake pans. Bake cake layers for 17 to 20 minutes, until a toothpick inserted into the center of each cake comes out batter-free. Rotate your cake pans during the baking time; most oven racks aren’t totally level and we want the layers to be. Let cool in pans for 5 minutes, before flipping out onto a cooling rack, removing the parchment paper, and flipping back onto another. Let cool completely. Do ahead: If you’re not assembling the cake today, wrap them in 1 to 2 layer of plastic wrap and freeze until needed.Make the salted butter caramel filling: Have everything ready (chopped butter, cream) and reach-able because this will go quickly. Pour sugar in a large skillet over medium-high heat and cook, without stirring, until sugar is partially liquefied, about 4 minutes. Whisk until all unmelted sugar disappears into the caramel and nudge the heat down to low. We are going to cook it a little darker, but it will go quickly from here. Cook until the sugar is deep amber, 1 to 2 minutes (you can test this on an instant read thermometer, 305 to 310 degrees but, I find it easier to eyeball — it can burn while you wait for the thermometer to finish climbing). Add butter, 1 tablespoon at a time, whisking until each piece melts before adding the next. Slowly drizzle in cream, whisking the whole time — if done slowly, the sugar should not seize up/re-solidify but even if it does, don’t worry, we will cook the caramel further.Return heat to a medium-high and cook until caramel reaches 245 degrees F, about another 5 to 7 minutes. Remove from heat and pour into a bowl and cool to room temperature. At room temperature, it will thicken to spreadable fudge consistency. You can speed this along in the fridge.Do ahead: If you’re not filling the cake today, refrigerate until needed, up to 1 week. It will be almost solid from the fridge. Microwave in 10-second bursts, stirring thoroughly between them, just until caramel softens slightly for spreading. No need to get it hot again, or the butter will want to separate.Make the vanilla bean custard frosting:In a medium saucepan, off the heat, combine sugar, cornstarch, and salt with a whisk. Add eggs, one at a time, whisk thoroughly between each addition to make sure no dry ingredients are stuck along the edges. Slowly pour in milk, whisking the whole time, followed by the vanilla bean paste. Bring saucepan to stove and cook over medium heat, whisking the whole time, until mixture begins to bubble. As soon as it does, set a timer for 1 minutes and continue whisking (it will get immediately thick and require some real muscle to do this but I believe in you) the entire time. The custard will take on a yellow color and be very thick. Remove from heat and whisk in vanilla extract. Scrape custard into a small bowl to cool completely, or the bowl of an electric mixer. Press a piece of plastic wrap against the surface to keep a skin from forming. If you’re not finishing the frosting today, refrigerate the custard until needed.When you’re ready to finish the frosting, scoop custard (cold from fridge is fine) into the bowl of a stand mixer (if it’s not there already) and use the whisk attachment to beat the custard for 2 to 3 minutes at medium-high, until pulverized and a little fluffy. Keeping the machine running, add the softened butter a few tablespoons at a time, whipping it throughly into the custard between each addition. Continue until you’ve used all of the butter and whip for 3 to 4 minutes after that, so the frosting is as fluffy as can be. Finally, run the machine at a lower speed for half a minute, just to make any very large holes smaller.Do ahead: The custard portion can be refrigerated until needed, up to 4 days. The completely frosting can be refrigerated for 3 days. Take it out a 1 to 2 hours before you need it (bringing it to a cool room temperature) and briefly rewhip it with the whisk attachment before using.Assemble the cake:If you cake layers are frozen, you can use them right away — no need to defrost first. If they’re at room temperature but difficult to work with because they’re so soft (this is more an issue with larger cake sizes than 9-inch), you might want to briefly semi-freeze them before getting to work. Cold cakes are easier to trim, frost, and move around. Assess your three cake layers for how much they match each other in size by stacking them. If the sides are very uneven and will require a lot of trimming to make them stack neatly (we want the sides to be a straight vertical line), do this now. If you have a cake circle, plate, or bowl that’s slightly smaller than the diameter of the cake, using this as a stencil to trim with can make it much neater. Then, place your first layer on a cake plate. If you have a revolving cake stand, use this too. Use a sharp serrated knife to level the cake — i.e. remove any doming for a perfectly flat top. Brush off any loose crumbs. Coat cake top with a thin layer of the buttercream. Place a big scoop of frosting in a pastry bag, or a sandwich bag with the corner snipped off and pipe a thick ring of frosting around the edges of the cake. Place cake layer in the freezer, just to solidify the frosting. While you’re chilling it, repeat this process on the second cake layer. If your salted butter caramel filling is at room temperature, you’re good to go. If it’s solid from the fridge, microwave it in 10-second bursts, stirring thoroughly between them, just until caramel softens slightly for spreading. No need to get it hot again, or the butter will want to separate out. You’re looking for a thick fudge-like consistency.Once the frosting on the first cake layer is chilled solid, spoon (in 1-tablespoon blobs) the salted butter caramel onto the cake top. Use an icing spatula or spoon to nudge it as flat as possible — it’s okay if this never looks even (see my photos for moral support) because it will smooth out as it sits between cake layers. 1/2 cup caramel for each cake layer should provide a perfect height of filling. Sprinkle the surface of the caramel lightly with flaky sea salt.Place the second cake layer (with a solidified frosting dam) on top and repeat this process. Place the third cake layer (still untrimmed) on top of the second layer of caramel. Press the layers firmly together from the top with your hands. Trim the top flat and even, as you did with the other layers. Your cakes should line up nicely with even sides because you already trimmed their circumference, but if any small amount needs shaving, do it now, being careful not to cut so much that you break the caramel filling dam you piped around the cake.Cover the top and sides of the cake with a thin layer of frosting — it’s fine if you can see the cake through it. This is called a crumb coat and its goal is to keep the crumbs out of the final frosting. Briefly chill your cake until this frosting is firm to the touch; I use the freezer, as usual.Cover the top and sides of the cake with a more generous layer of frosting, your final coat. If you’d like to create the sides you see in my photo, congratulations, this is the easiest way on earth to decorate a cake: With your cake on a revolving cake stand, or even a lazy Susan, give the cake a spin and gently press the edge of a small or medium offset spatula or butter knife against the cake and keep it spinning while you draw the knife up the sides. How to turn this celebration cake into a wedding cake: As I mentioned in the headnotes, this celebration cake is 3 to 3 1/2 inches tall, which is perfect for a regular party. For a wedding cake tier, you will want it taller, about 4 1/2 inches, before you add any flowers. (See our conversation up top about the size of cake slices.) To turn this 9-inch celebration cake into a 9-inch tier for a wedding cake, multiply every single cake ingredient by 1.5. The layers will be taller, about 1 1/4 inches tall. You will not, however, need to increase the salted caramel filling or the frosting because we’ll have enough leftover frosting that it can cover the extra 1.5″ of height. So, that’s a 9-inch cake tier. What if you want to make what I did, a 6-inch and 12-inch tier as well? Here we use my cake math. For a 6-inch tier with exactly the same height as the 9-inch tier (4 1/2 inches), you’ll want to halve this scaled up 9-inch recipe. For a 12-inch tier, you’ll want to double the 9-inch. For everything in between and/or over, I’ve described above how I do the math.
Top similar recipes
Curated for youYour folders

 183 views
Classic chocolate cake | New World
newworld.co.nz
55
Your folders
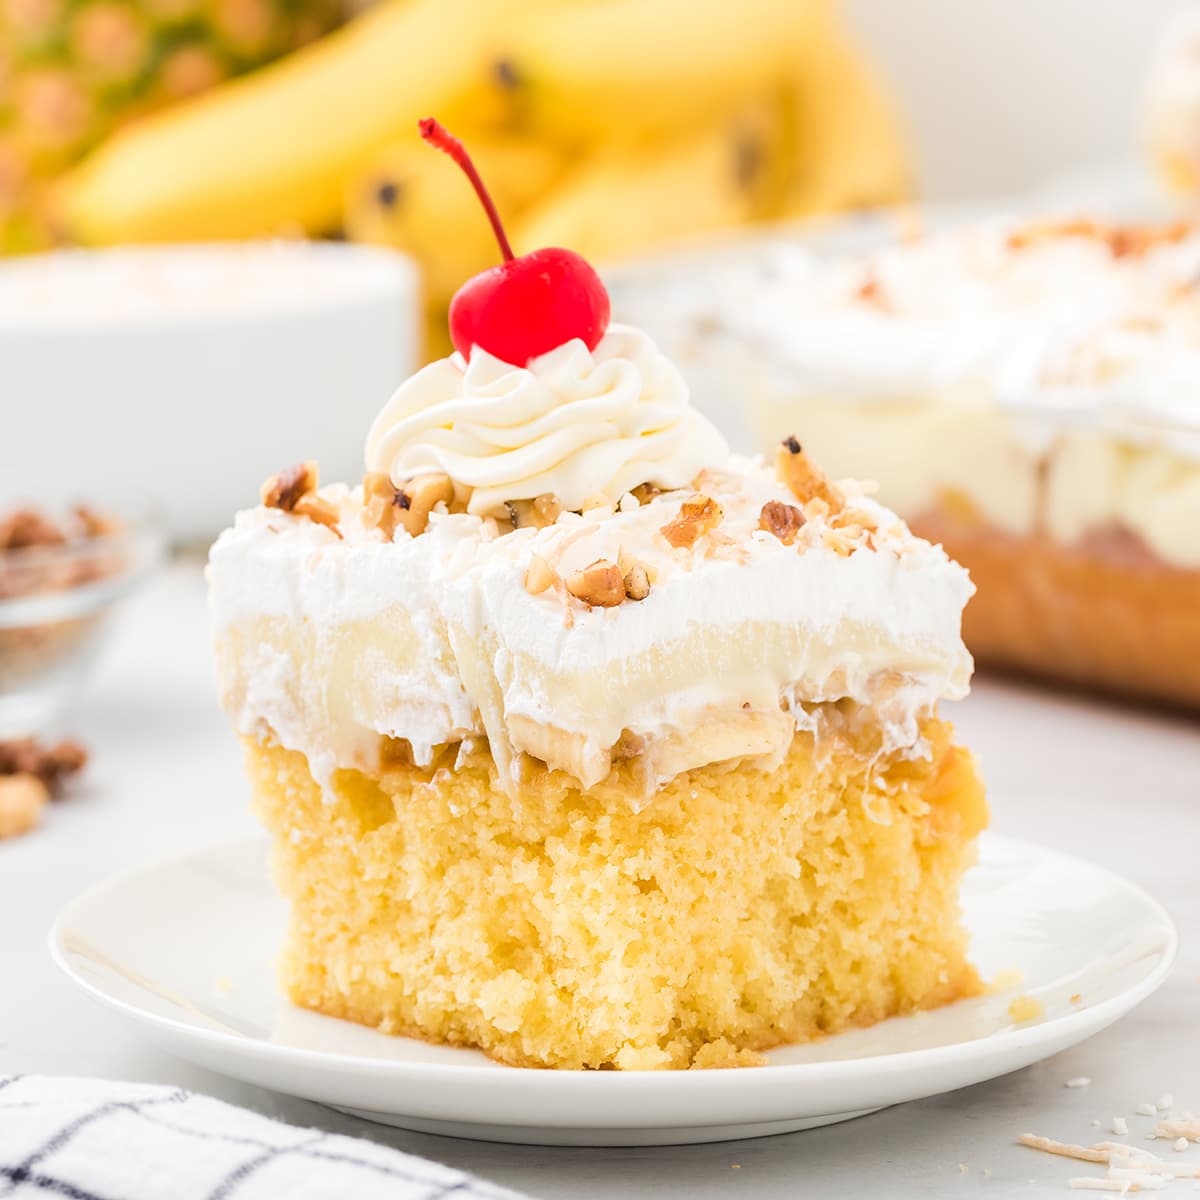
 229 views
Hawaiian Wedding Cake
princesspinkygirl.com
4.9
(17)
30 minutes
Your folders
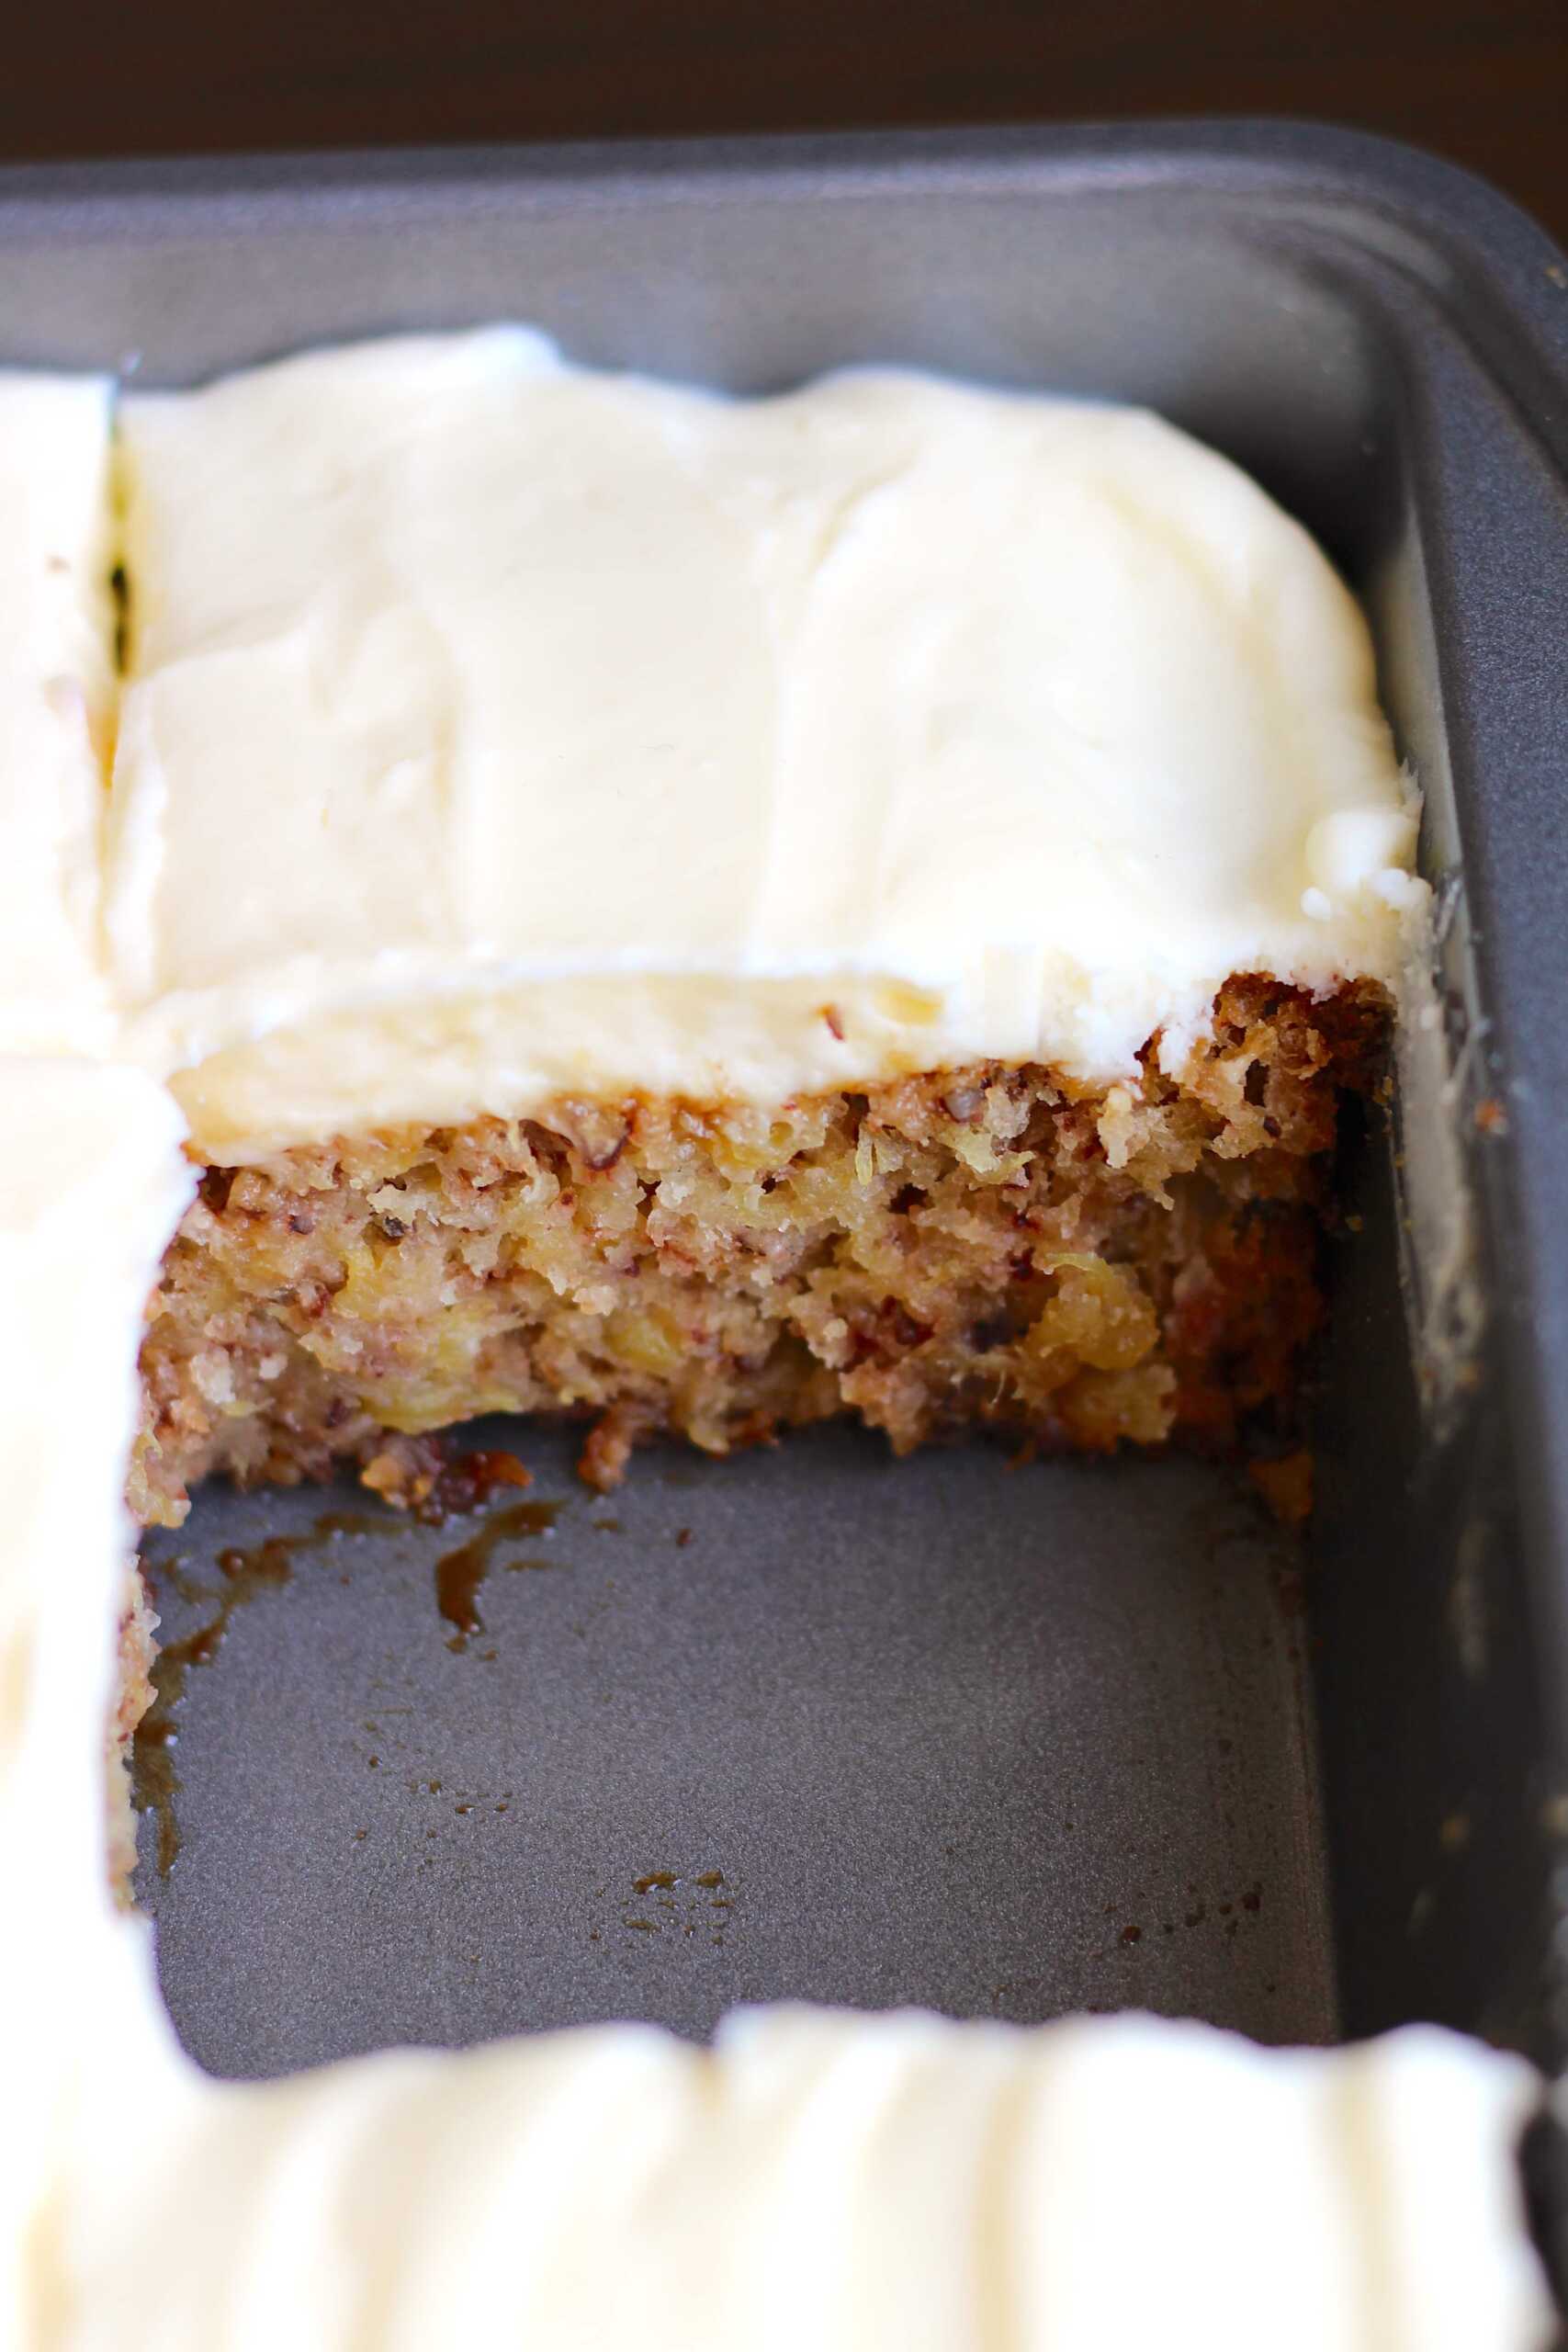
 329 views
Mexican Wedding Cake
12tomatoes.com
4.4
(9)
40 minutes
Your folders
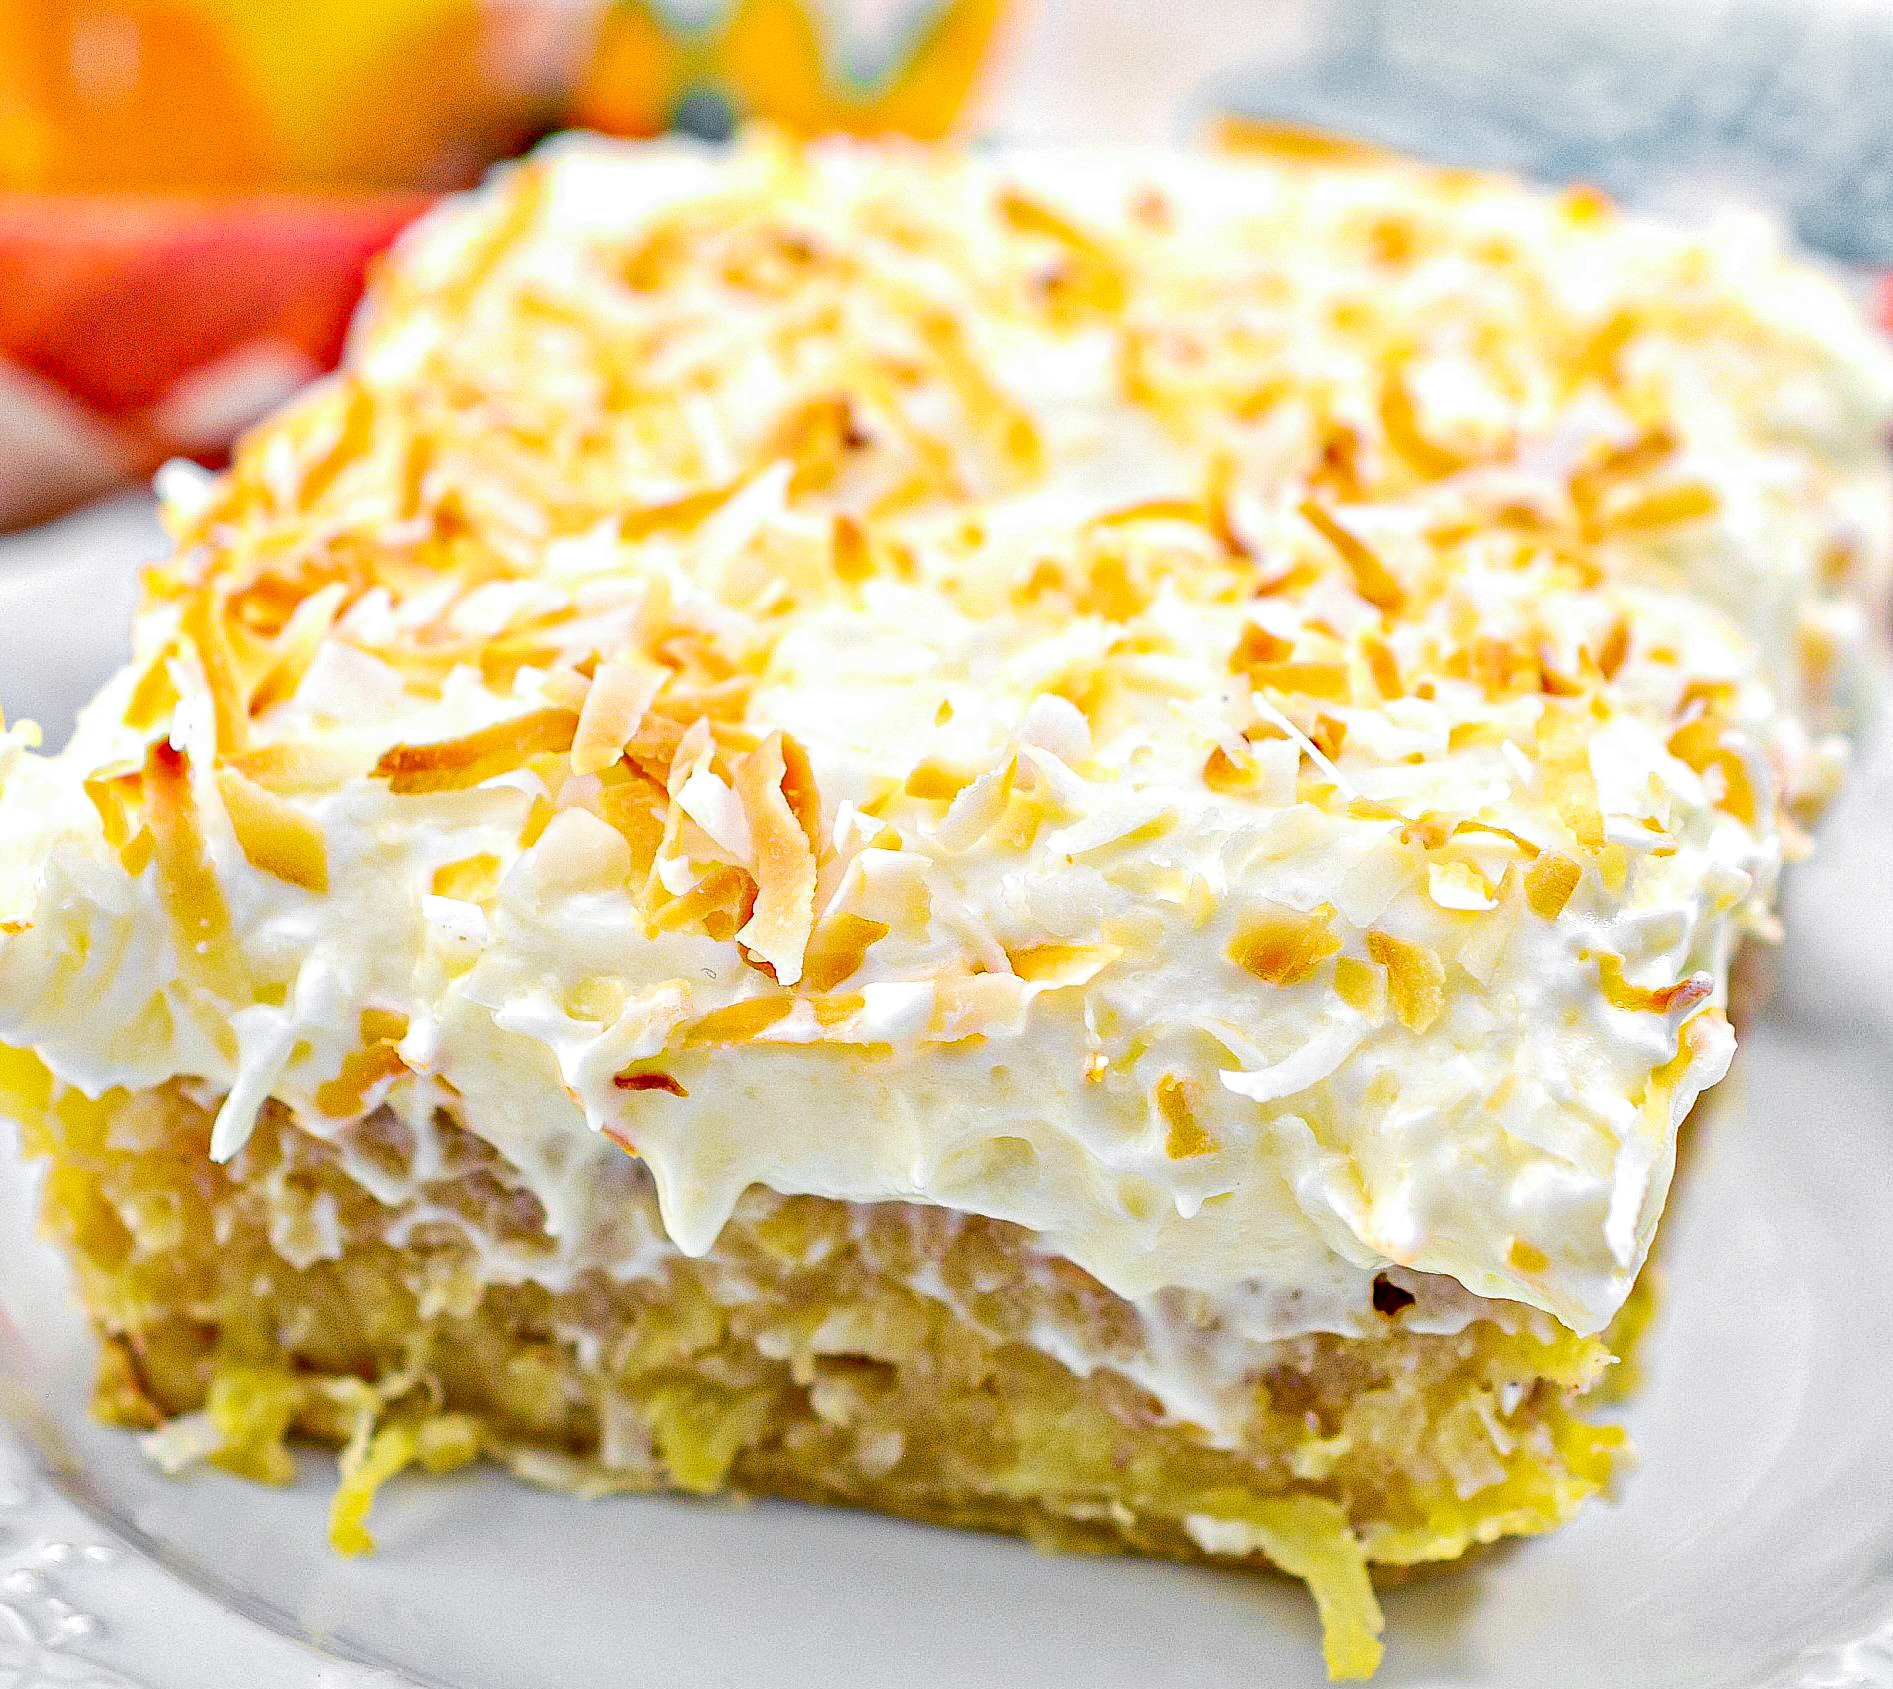
 200 views
Hawaiian Wedding Cake
sweetpeaskitchen.com
4.1
(15)
35 minutes
Your folders
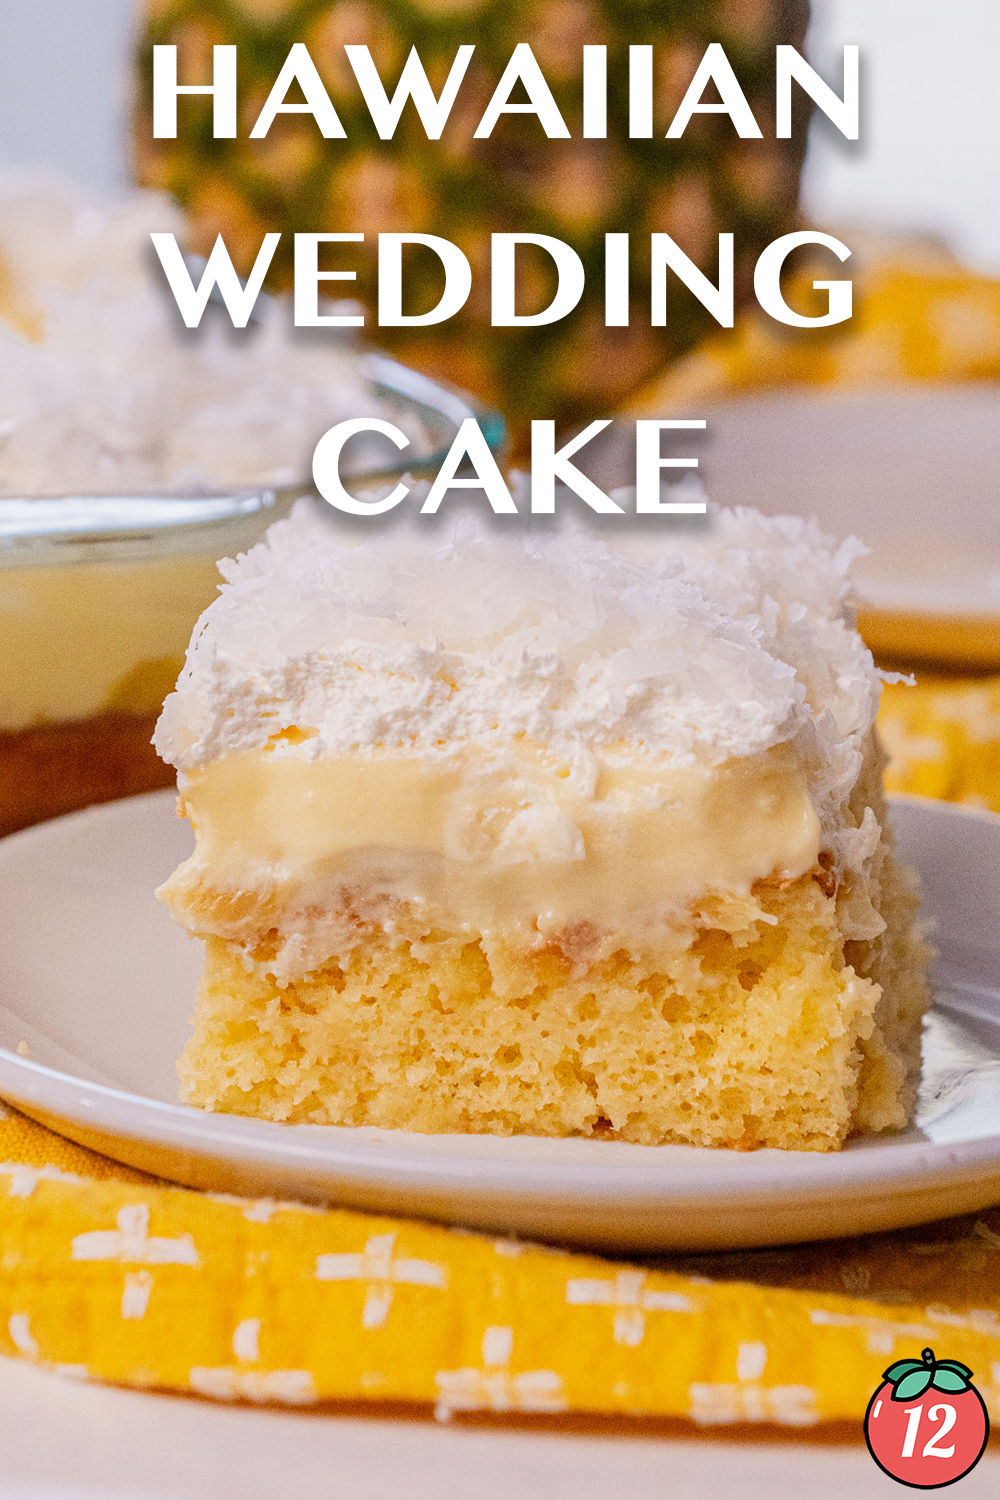
 227 views
Hawaiian Wedding Cake
12tomatoes.com
4.7
(47)
30 minutes
Your folders
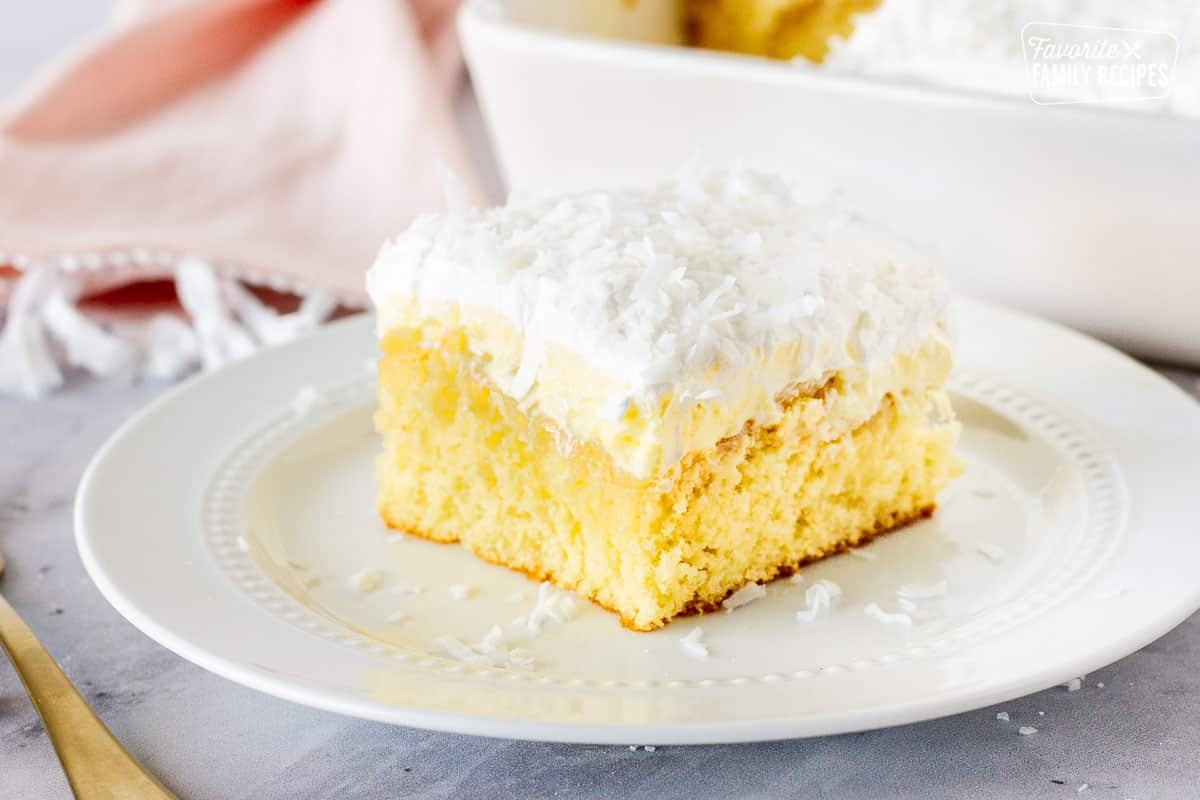
 185 views
Hawaiian Wedding Cake
favfamilyrecipes.com
4.9
(26)
30 minutes
Your folders
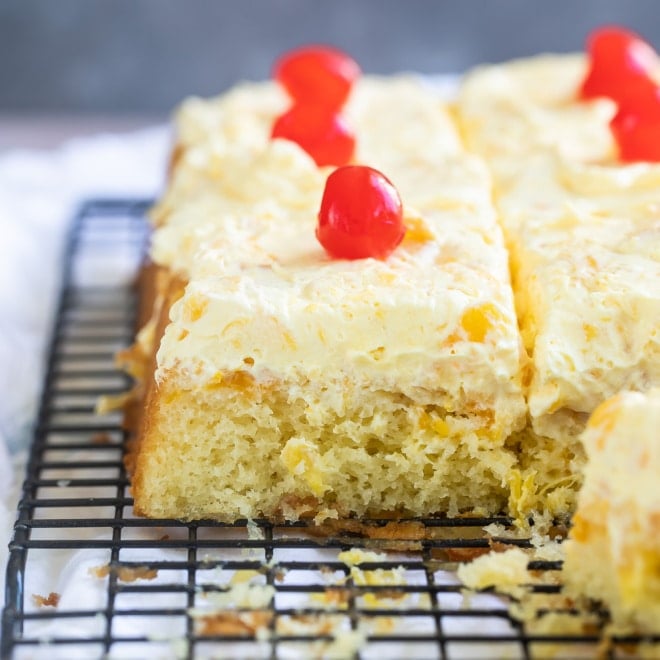
 197 views
Hawaiian Wedding Cake
culinaryhill.com
5.0
(70)
100 minutes
Your folders

 594 views
Naked wedding cake
funcakes.com
100.0
(100)
1 hours, 45 minutes
Your folders

 210 views
Wedding Cake Icing
allrecipes.com
4.5
(275)
Your folders
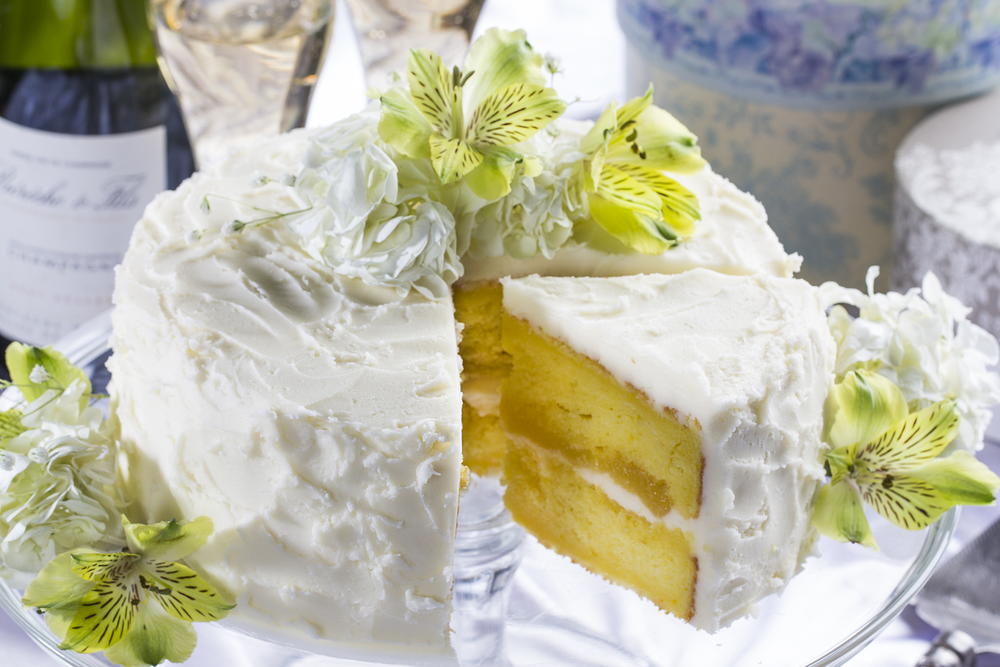
 145 views
Lemon Wedding Cake
mrfood.com
25 minutes
Your folders
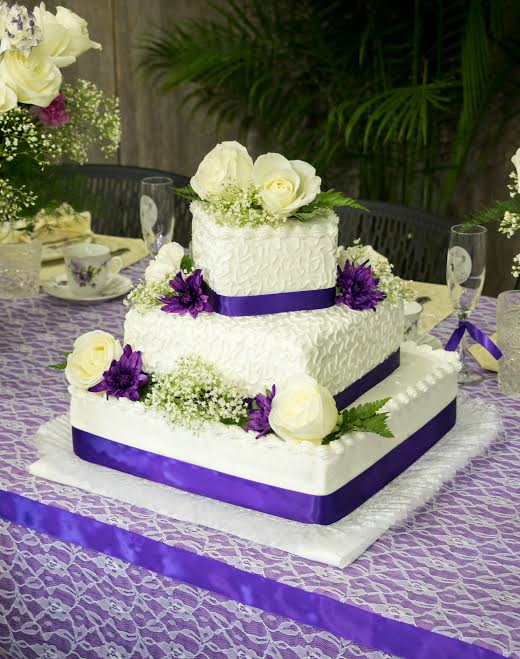
 245 views
Amish Wedding Cake
amish365.com
Your folders
 622 views
New Classic Meatloaf
foodnetwork.com
4.4
(38)
1 hours
Your folders

 264 views
New Classic Coleslaw
washingtonpost.com
Your folders

 248 views
New Classic Brownies
cooking.nytimes.com
5.0
(619)
Your folders

 242 views
How to Make Classic Meatloaf
allrecipes.com
Your folders

 300 views
How To Make Classic Croissants
finecooking.com
4.6
(71)
Your folders
 332 views
How to Freeze Cake
brooklynfarmgirl.com
5.0
(3)
Your folders

 586 views
Hawaiian Wedding Cake I
allrecipes.com
4.5
(84)
Your folders
 185 views
White Almond Wedding Cake
allrecipes.com
4.7
(975)
25 minutes