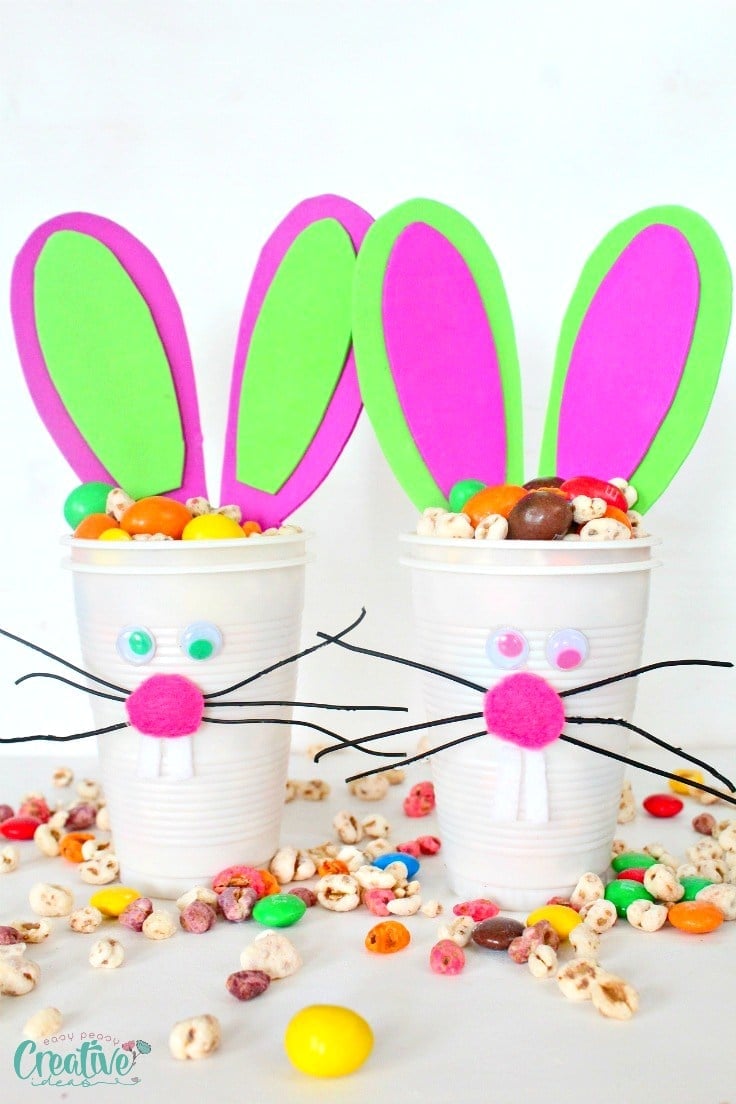
Paper Honeycomb Bunny
Your folders
Your folders

Ingredients
Export 4 ingredients for grocery delivery
Instructions
Step 1
Gather your supplies and materials.
Step 2
Print our free honeycomb bunny template.(We recommend printing the template on cardstock or copying the pattern onto cardboard for a sturdy template that’s easy to trace).
Step 3
Trace the ear template onto coloured cardstock and cut 2 pieces.
Step 4
Trace the bunny body onto the same colour of cardstock and cut 20 pieces.
Step 5
Fold each of the body pieces in half vertically.
Step 6
Open the fold and add 3 horizontal lines of glue to the right side: 1 at the top, 1 just a bit above the center, and 1 at the bottom.
Step 7
Fold in half again, pressing down to make it stick.Repeat for the rest of the pieces.
Step 8
Add 2 horizontal lines of glue to the folded shape: 1 at the neck area, and 1 in the middle of the body.
Step 9
Set one of the other folded body shapes on top. Line up the edges as you connect the 2 pieces of paper.
Step 10
Repeat this process until all the papers are connected.
Step 11
Make sure the edges are well lined up, then attach a couple of medium sized binder clips to keep the papers together as the glue dries. (It will take several hours for the glue to dry, but we prefer to leave it overnight.)
Step 12
Once the glue is completely dry, remove the binder clips and slowly open the papers to reveal a honeycomb shape.
Step 13
Add 2 lines of glue to one of the flat sides (the former top or bottom of the bundle).
Step 14
Bring the outside edges together, creating a rounded bunny shape. Secure the papers in place with small binder clips as the glue dries.
Step 15
Once the glue has completely dried, remove the binder clips, and add a small line of hot glue to the bottom of one ear.
Step 16
Put the ear in place on the top of the bunny’s head, sliding it between 2 of the papers. Repeat with the second ear.
Step 17
Add hot glue to a white pom pom and attach it to the bottom back of the bunny, creating a cotton tail.
Step 18
Your paper honeycomb bunny is complete!
Step 19
Have fun making honeycomb bunnies in all your favourite spring colours!
Step 20
Gather your supplies and materials.
Step 21
Print our free honeycomb bunny template.(We recommend printing the template on cardstock or copying the pattern onto cardboard for a sturdy template that’s easy to trace).
Step 22
Trace the ear template onto coloured cardstock and cut 2 pieces.
Step 23
Trace the bunny body onto the same colour of cardstock and cut 20 pieces.
Step 24
Fold each of the body pieces in half vertically.
Step 25
Open the fold and add 3 horizontal lines of glue to the right side: 1 at the top, 1 just a bit above the center, and 1 at the bottom.
Step 26
Fold in half again, pressing down to make it stick.Repeat for the rest of the pieces.
Step 27
Add 2 horizontal lines of glue to the folded shape: 1 at the neck area, and 1 in the middle of the body.
Step 28
Set one of the other folded body shapes on top. Line up the edges as you connect the 2 pieces of paper.
Step 29
Repeat this process until all the papers are connected.
Step 30
Make sure the edges are well lined up, then attach a couple of medium sized binder clips to keep the papers together as the glue dries. (It will take several hours for the glue to dry, but we prefer to leave it overnight.)
Step 31
Once the glue is completely dry, remove the binder clips and slowly open the papers to reveal a honeycomb shape.
Step 32
Add 2 lines of glue to one of the flat sides (the former top or bottom of the bundle).
Step 33
Bring the outside edges together, creating a rounded bunny shape. Secure the papers in place with small binder clips as the glue dries.
Step 34
Once the glue has completely dried, remove the binder clips, and add a small line of hot glue to the bottom of one ear.
Step 35
Put the ear in place on the top of the bunny’s head, sliding it between 2 of the papers. Repeat with the second ear.
Step 36
Add hot glue to a white pom pom and attach it to the bottom back of the bunny, creating a cotton tail.
Step 37
Your paper honeycomb bunny is complete!
Step 38
Have fun making honeycomb bunnies in all your favourite spring colours!
Top similar recipes
Curated for youYour folders
 220 views
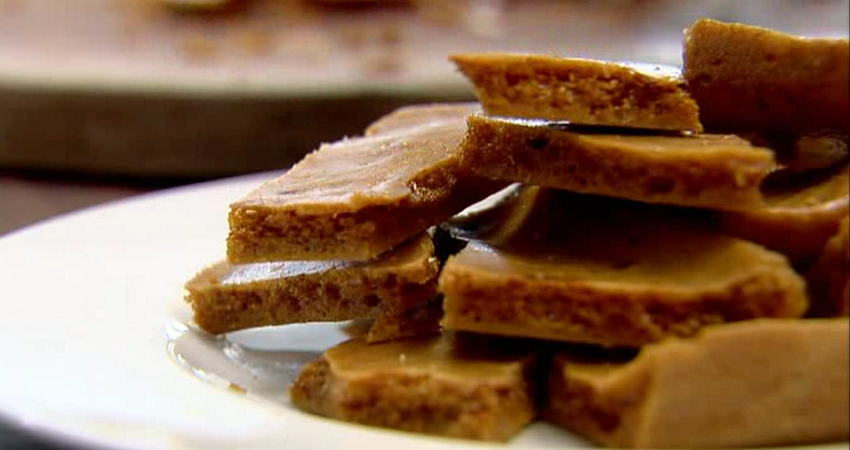
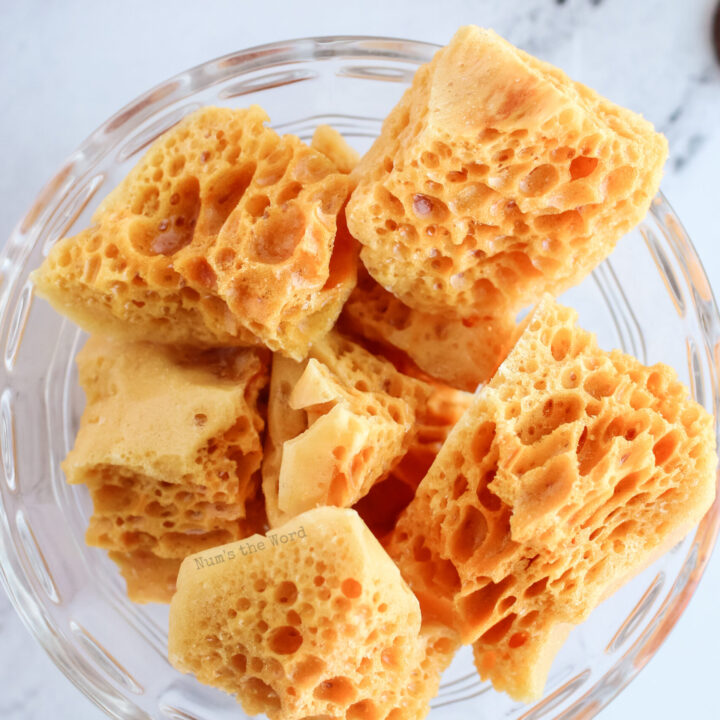
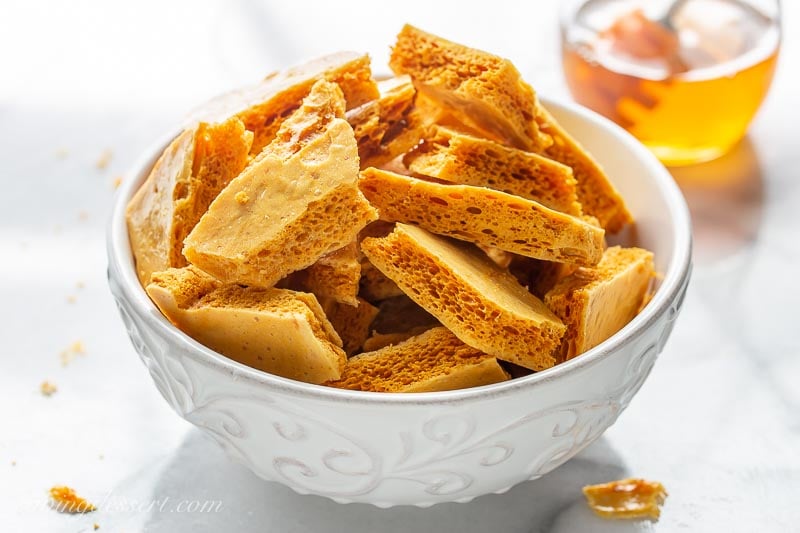
Honeycomb
bbc.co.uk
4.3
(4)
30 minutes
Your folders
 298 views
Easter bunny cupsEaster bunny cups
theseamanmom.com
Your folders
 555 views
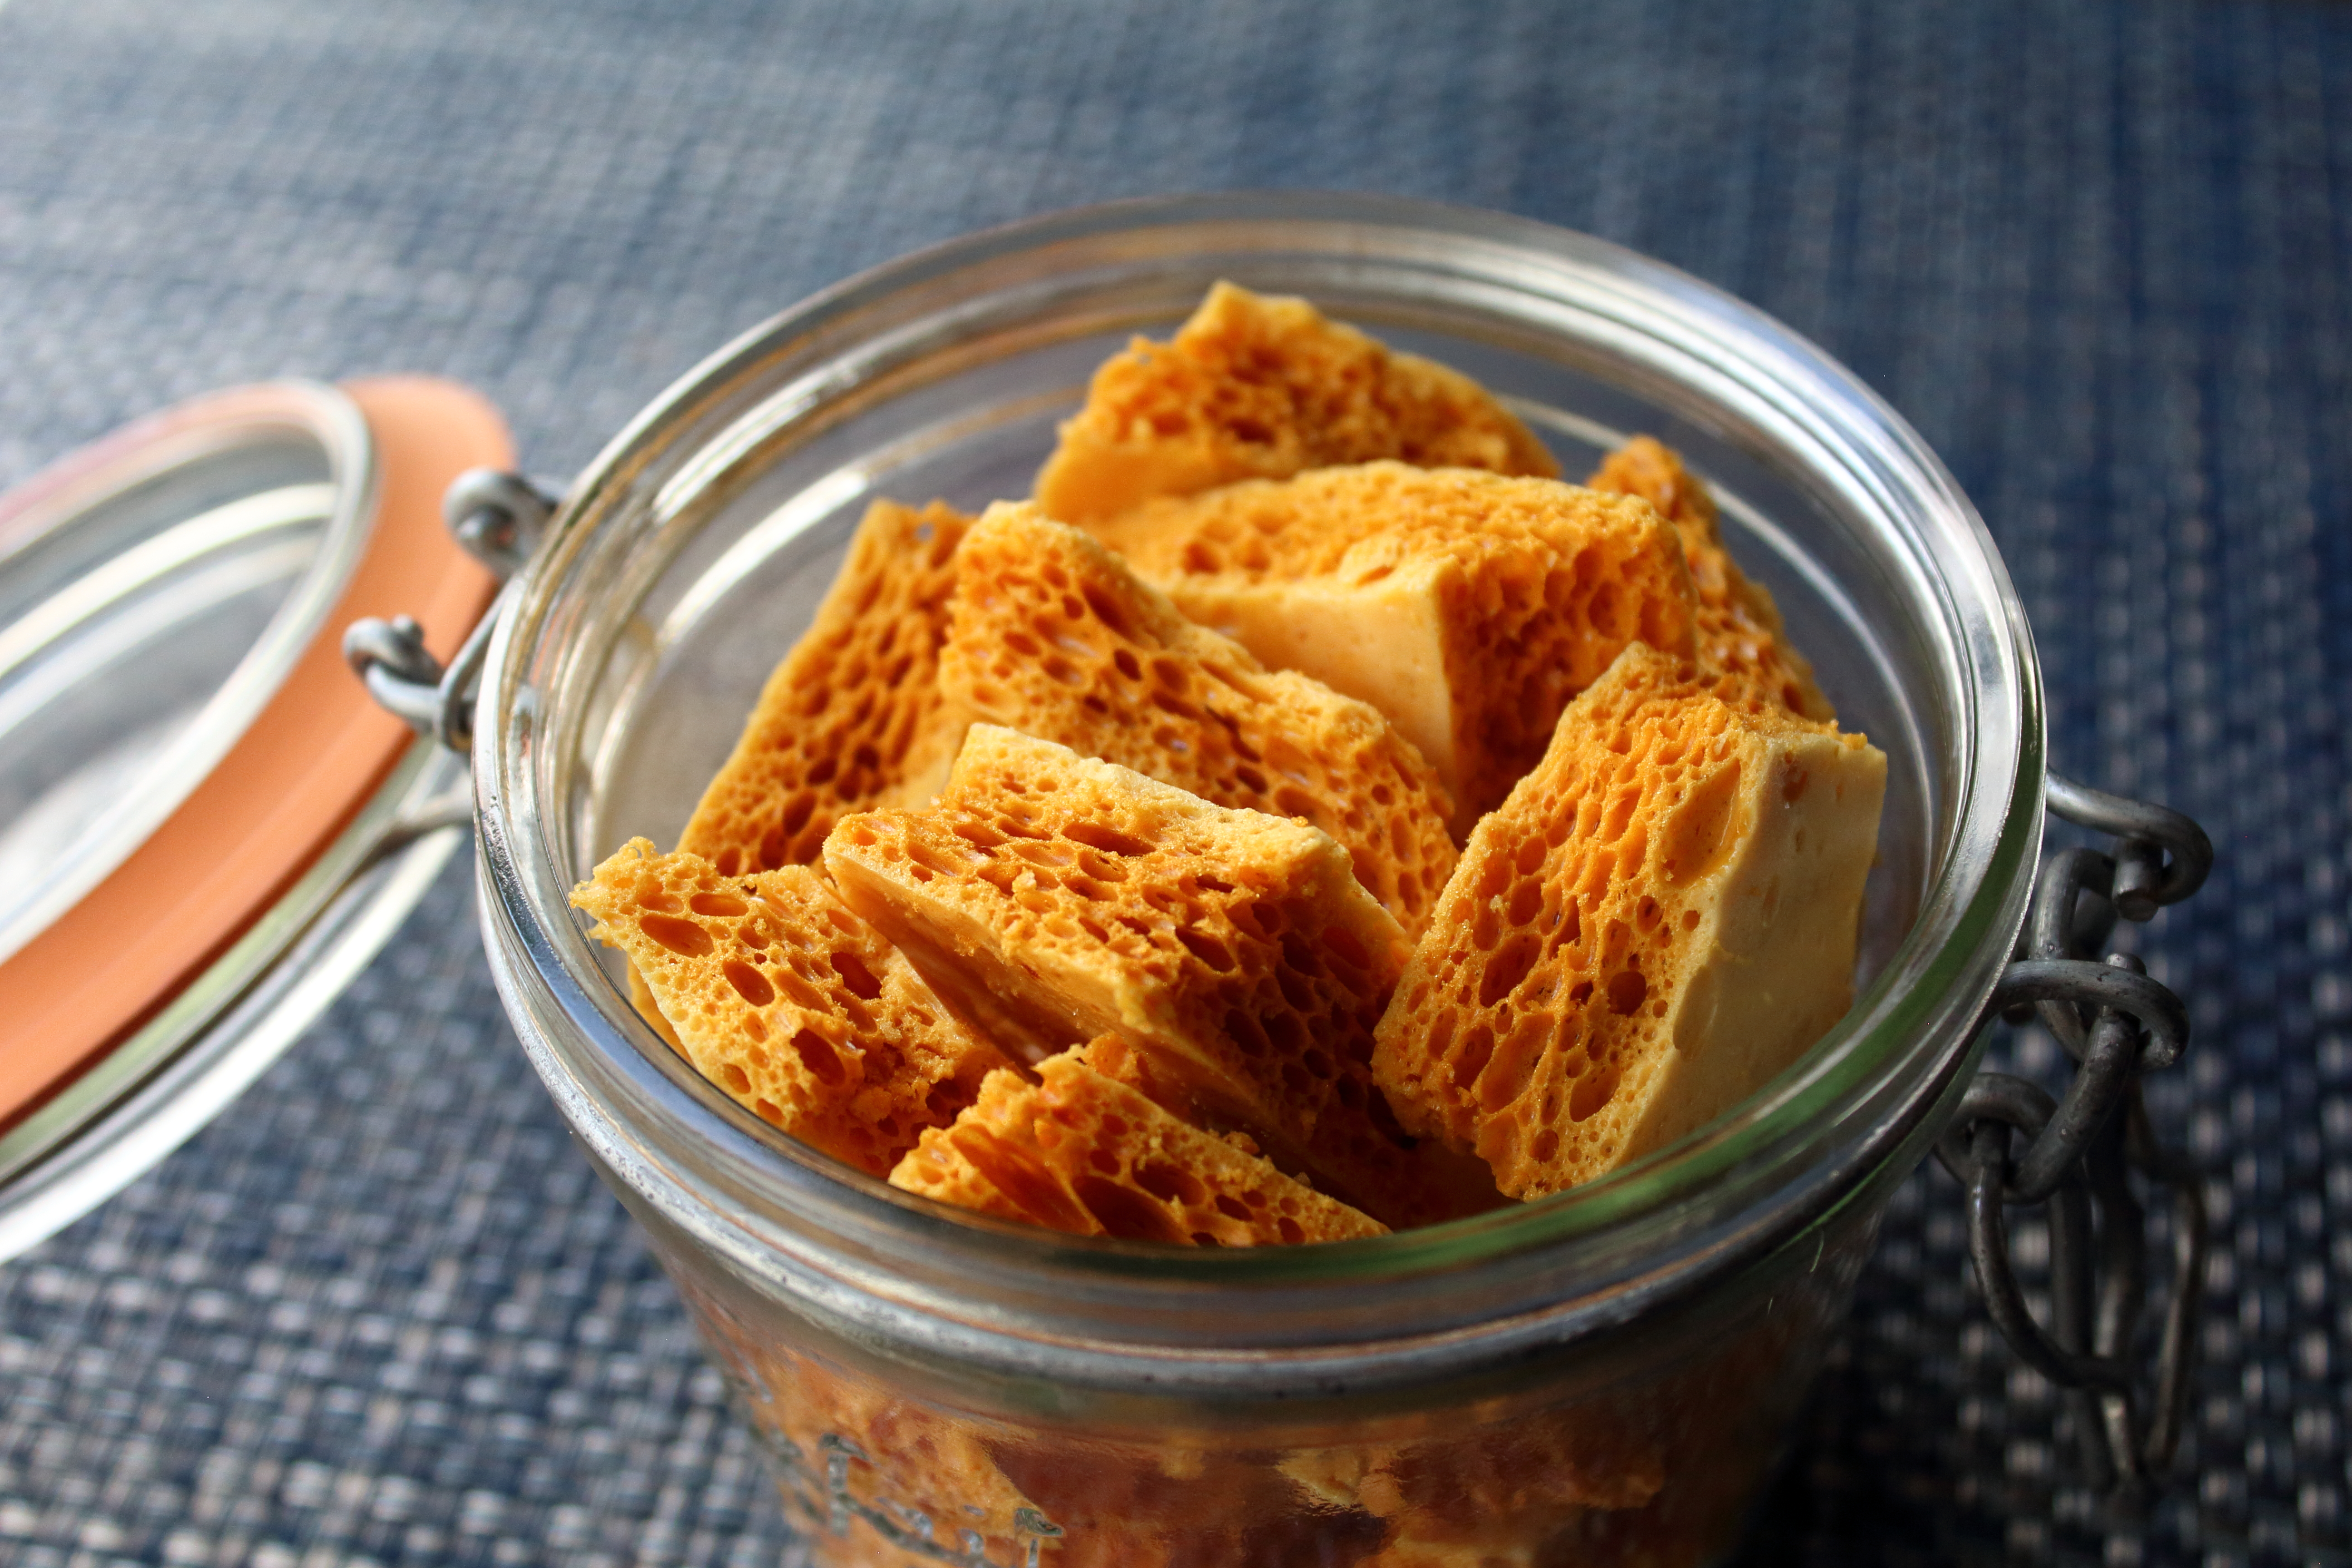
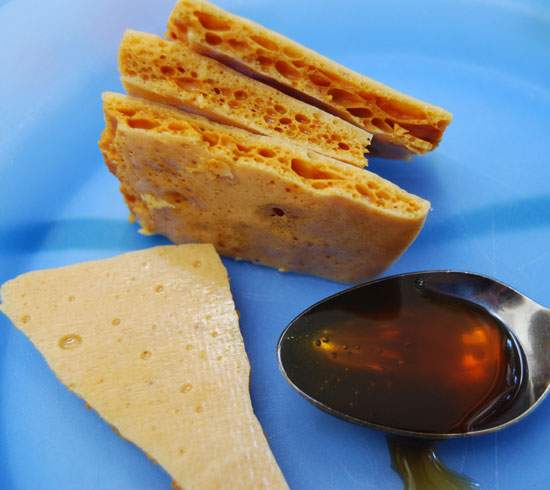
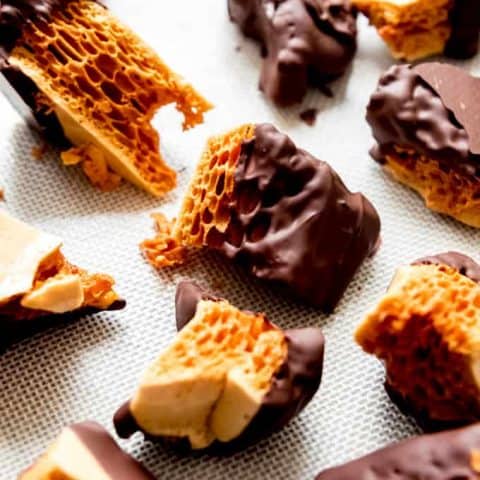
Honeycomb Toffee
allrecipes.com
4.3
(22)
10 minutes
Your folders
 736 views
Honeycomb Recipe
sugarspunrun.com
5.0
(22)
15 minutes
Your folders
 389 views
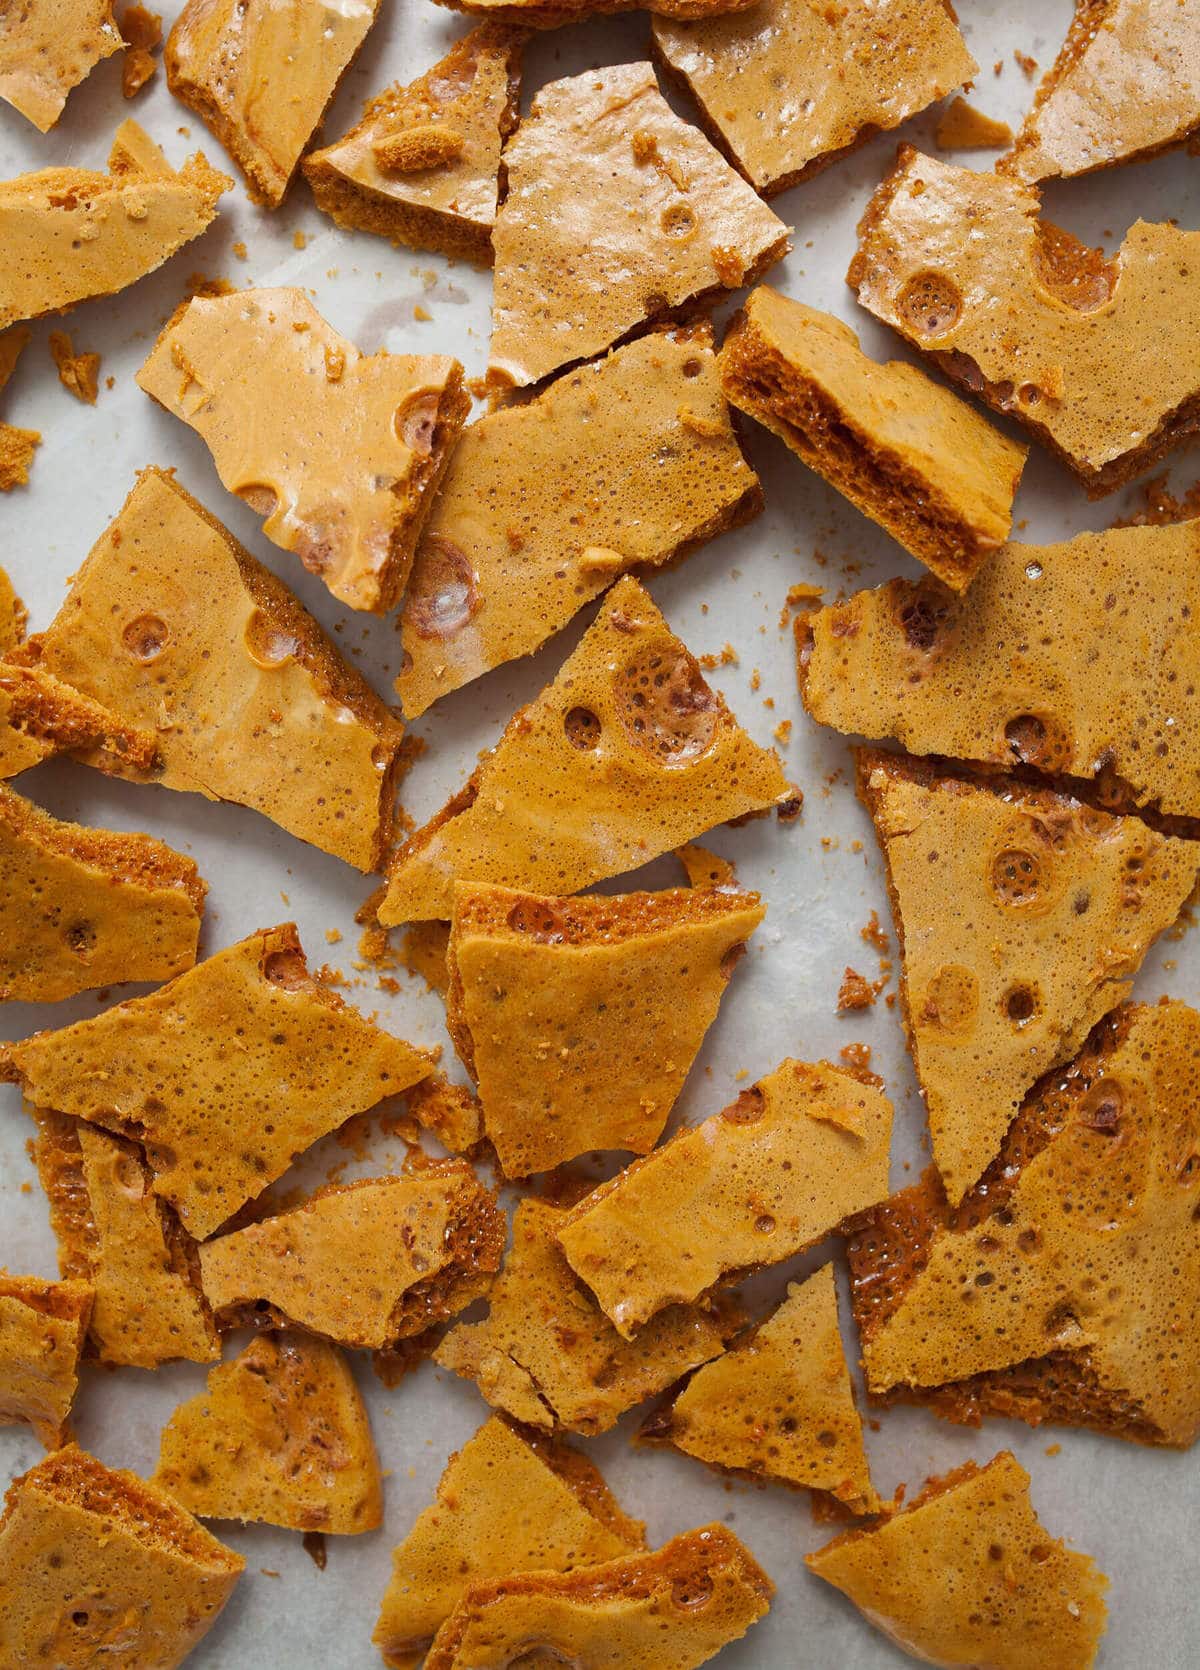
Honeycomb Brittle
marthastewart.com
3.0
(299)
Your folders
 202 views
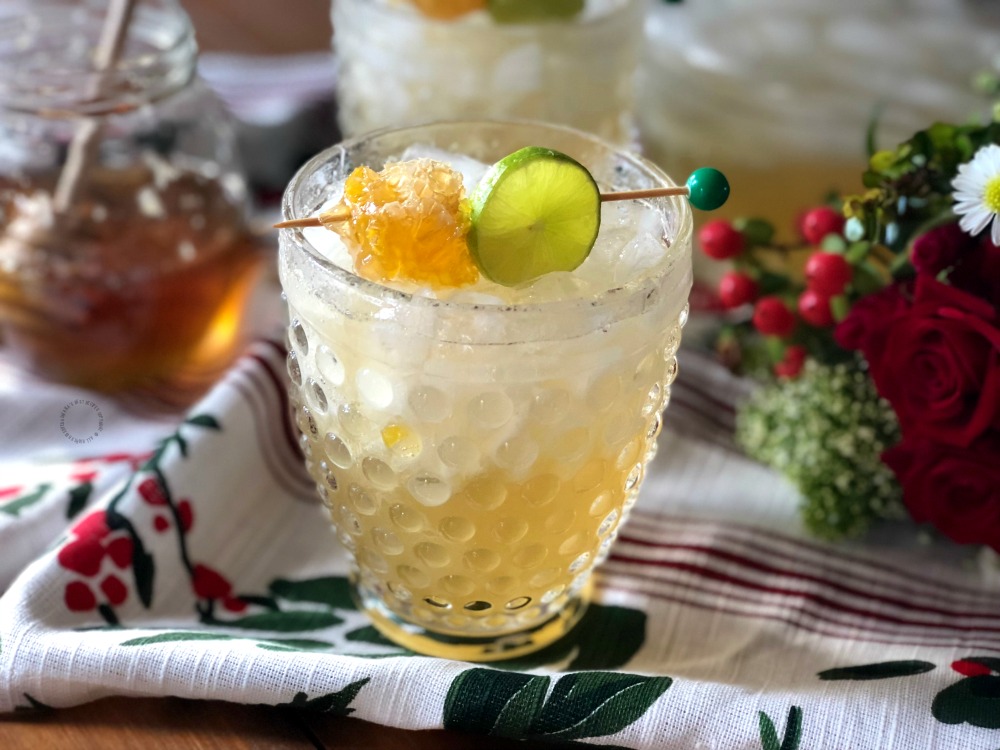
Honeycomb Margarita
adrianasbestrecipes.com
5.0
(1)
15 minutes
Your folders
 337 views
Honeycomb Candy
numstheword.com
4.3
(18)
20 minutes
Your folders
 209 views
Honeycomb Candy
frugalfamilyhome.com
3.2
(17)
40 minutes
Your folders
 203 views
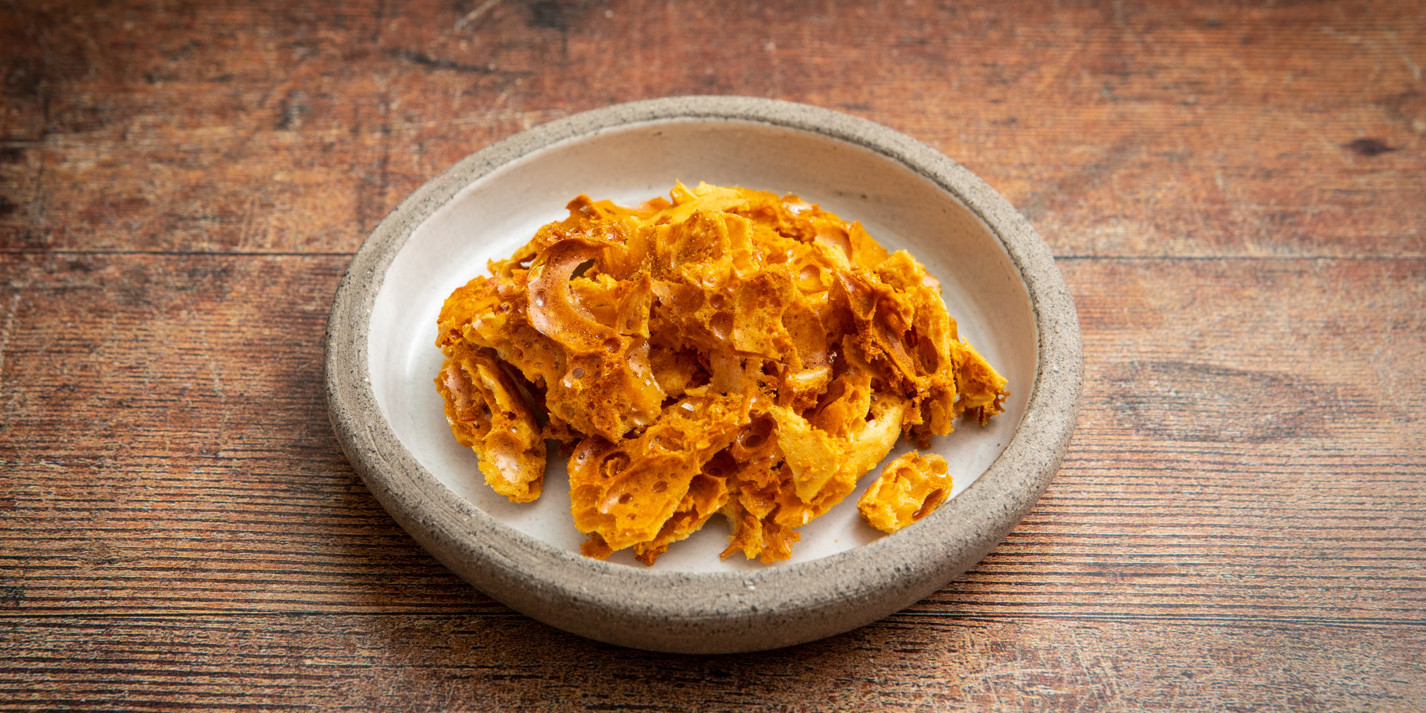
Honeycomb Garnish
greatbritishchefs.com
Your folders
 575 views
Honeycomb Candy
acozykitchen.com
4.7
(23)
5 minutes
Your folders
 361 views
Honeycomb Recipe
houseofnasheats.com
5.0
(6)
15 minutes
Your folders
 847 views
Honeycomb Candy
savingdessert.com
5.0
(2)
15 minutes
Your folders
 366 views
Honeycomb crunchies
bbc.co.uk
4.7
(3)
30 minutes
Your folders
 81 views
Honeycomb Cannelloni
heinstirred.com
40 minutes
Your folders
 35 views
Honeycomb Cake
thekitchn.com
Your folders
 311 views
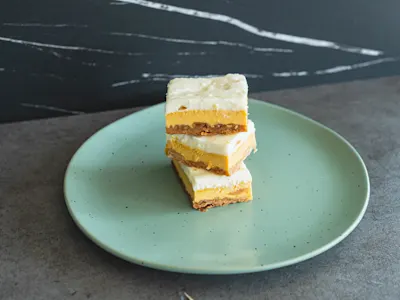
Bunny Bars
cookingprofessionally.com
5.0
(1)
9 hours
Your folders
 249 views
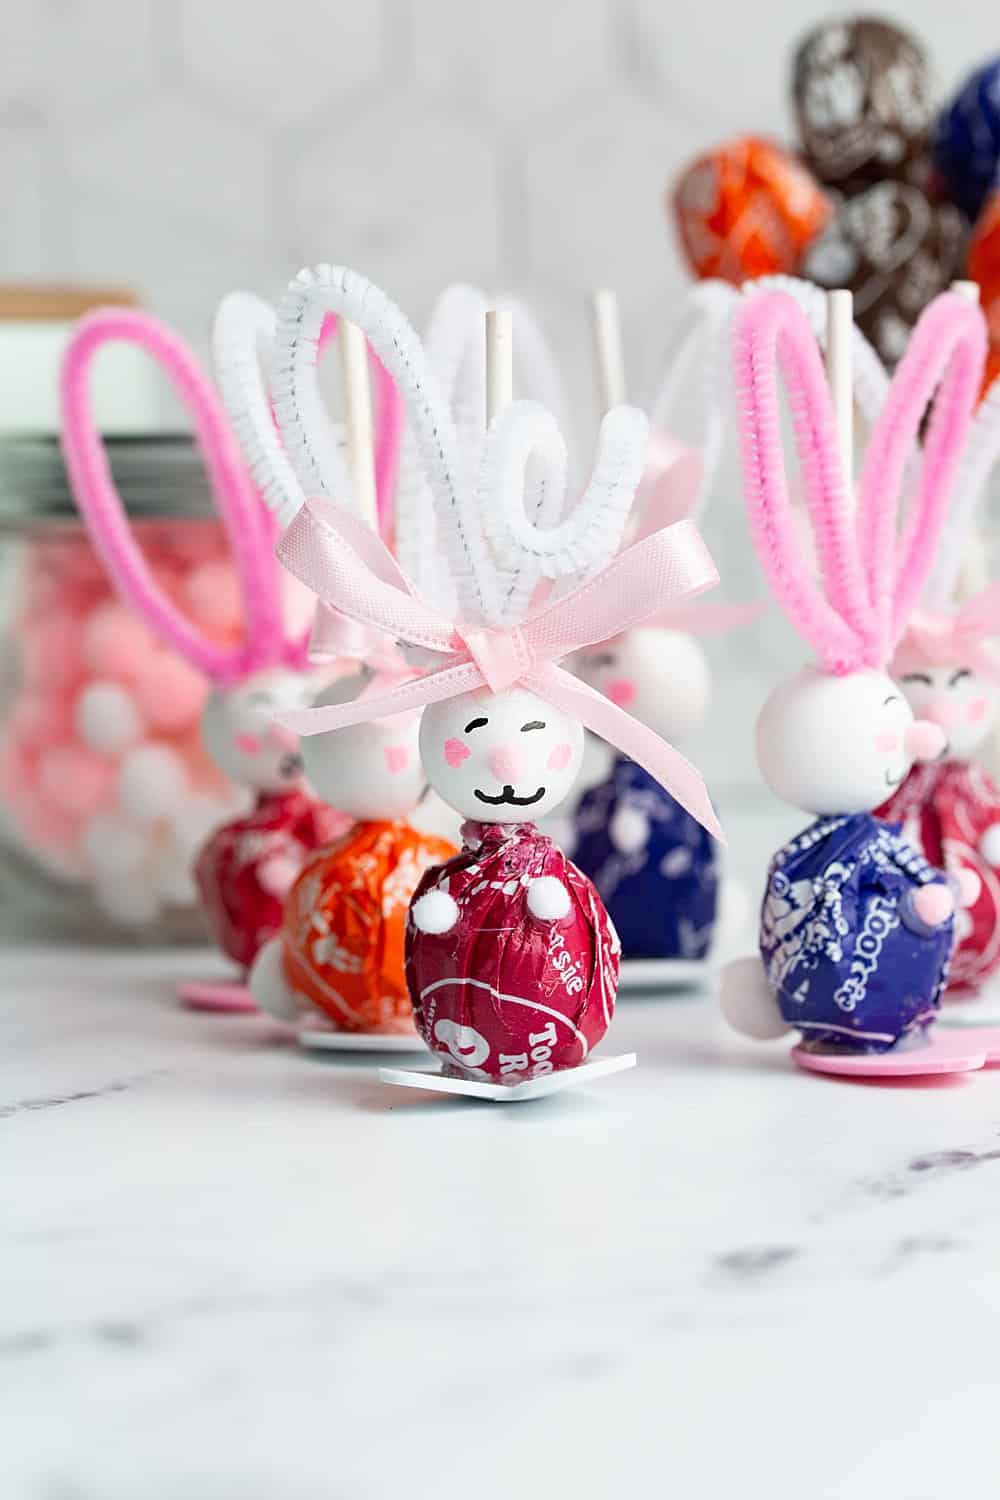
Bunny Lollipops
helloyummy.co
Your folders
 217 views
Bunny Bait
princesspinkygirl.com
5.0
(53)
Your folders
 250 views
Bunny Pretzels
myincrediblerecipes.com