Paper thin soft chewy, Sonoran-style flour tortilla
Your folders
Your folders
Servings: 10.5
Cost: $1.01 /serving

Ingredients
Export 2 ingredients for grocery delivery
Instructions
Step 1
In microwave or on stove, heat water to 140~150F/60~65C. In a stand-mixer with dough-hook, mix bread flour, sugar, sea salt and hot water on low speed until it comes into a cohesive dough. Increase the speed to medium-high and knead for another 10 to 15 minutes, until the dough is elastic and smooth. It should pull away cleanly from the sides and bottom of the bowl, but sticks right back when the machine stops. If it's too dry, add a teaspoon more water, and if too wet, add a teaspoon more flour. Knead for an extra 5 minutes for each addition. Add 2 tbsp of lard (or other types of fat you're using) into the bowl, and knead on medium-high speed for another 10 minutes, until the dough again pulls away cleanly from the side and bottom of the bowl, but sticks back when the machine stops. Adding the fat later instead of in the beginning, gives the dough more chance to develop more gluten formation. Cover the bowl and let rest for at least one hour. You can also keep it in the fridge overnight.
Step 2
Meanwhile, melt the remaining 2 tbsp of fat in a small pot and whisk in 2 tsp of flour. Continue to cook on low heat until the flour is light brown in color, about 5 minutes. Let cool completely.
Step 3
(The following instruction is tailored to making 13-inches/33 cm tortillas. If you don't have a griddle or skillet that big, you'll need to adjust the numbers accordingly). Once the dough is rested, transfer it onto a lightly floured surface and divide into 8 equal portions (if you're making smaller tortillas, you'll need to divide into higher even numbers, like 10 portions for 12 inches skillet, or 12 portions for 10 inches skillet, so on so forth). Shape each portions into smooth balls and arrange them in the chronological orders they are handled (this allows each dough to have equal resting time between handling).
Step 4
Now go back to the first two balls, dusting with flour as needed, and roll each one out into 6 inches/15 cm wide disks. Generously brush the fat-flour mixture on one of the disk all the way to the edges, leaving zero margin, and place the other one on top. Set the stack on the side, and repeat with the rest of the dough balls, again arranging them in the chronological order they are handled. You'll have 4 stacks in total.
Step 5
Now go back to the first stack you made, dusting with flour as needed, and roll it out as thinly as you can, which will be about 13 inches/33 cm (smaller if you're using smaller skillet and smaller portions of dough). It's very important that you keep flipping it back and forth so the the two stacked tortillas are rolled out evenly in thinness. As explained in the video, this technique allows you to create super thin tortillas without any special skills. Because you're rolling out two stacked tortillas together as thinly as possible, and when they cook and separate, you get two tortillas that are only 1/2 the thickness of what you can typically get.
Step 6
Brush the fat-flour mixture lightly on the surface of the griddle or skillet, which should be hot enough that it starts to smoke when the fat hits (if you're using cast-iron, it'll need to be preheated on medium-high heat for about 5~10 minutes). Gently place the tortilla on top. The griddle or skillet should be hot enough that it only takes about 10 seconds for the first side to take on tiny brown spots but not burning it. Flip it back and forth while pressing on it with a spatula, until the tortillas starts to puff up all around and have little blistered brown spots on both sides. Transfer onto a plate or basket and cover with a damp towel. Repeat with the rest.
Step 7
Once cool enough to handle, simply separate the two tortillas from each other, which should be very easy. This technique will leave one side of the tortilla un-blistered, which I think is fine because they are soft, chewy and flavorful as is. If you want char on the other side, too, I would strongly advice NOT to toast the other side on the griddle as this will dry it out. Instead, torch only the back side lightly with a blow-torch until there are tiny black dots here and there, which adds good charcoal flavor to it, too. This is a great way to re-heat the tortilla as well if you are making them a couple hours ahead of time. But I would not recommend making then longer than couple hours ahead. Fresh tortillas are still the best.
Top similar recipes
Curated for youYour folders

 1716 views
Sonoran-Style Flour Tortillas
cooking.nytimes.com
4.0
(575)
Your folders
 406 views
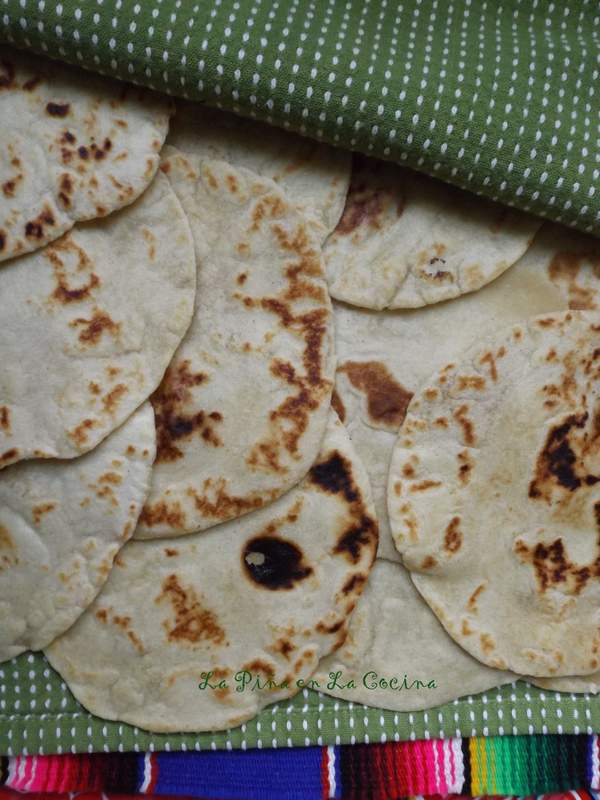
Soft Flour-Corn Tortilla
pinaenlacocina.com
4.6
(9)
35 minutes
Your folders
 183 views
Sonoran Style Hot Dog
foodnetwork.com
3.8
(11)
35 minutes
Your folders

 285 views
Sonoran-style Flat Enchiladas (Sono...
thebusyabuelita.com
15 minutes
Your folders
 352 views
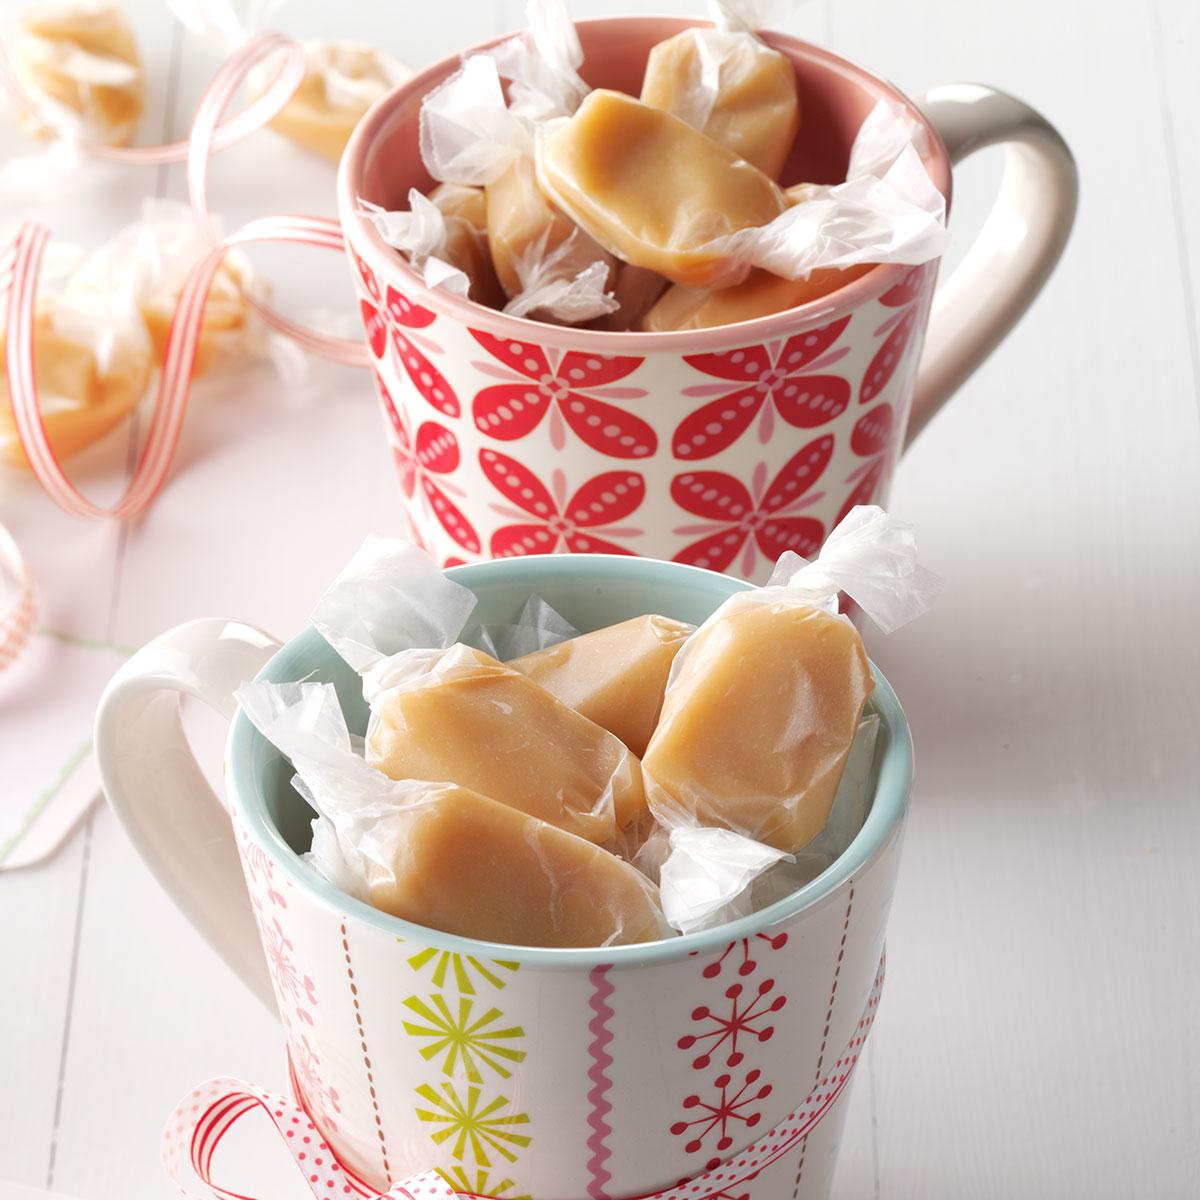
Soft 'n' Chewy Caramels
tasteofhome.com
4.7
(7)
30 minutes
Your folders
 276 views
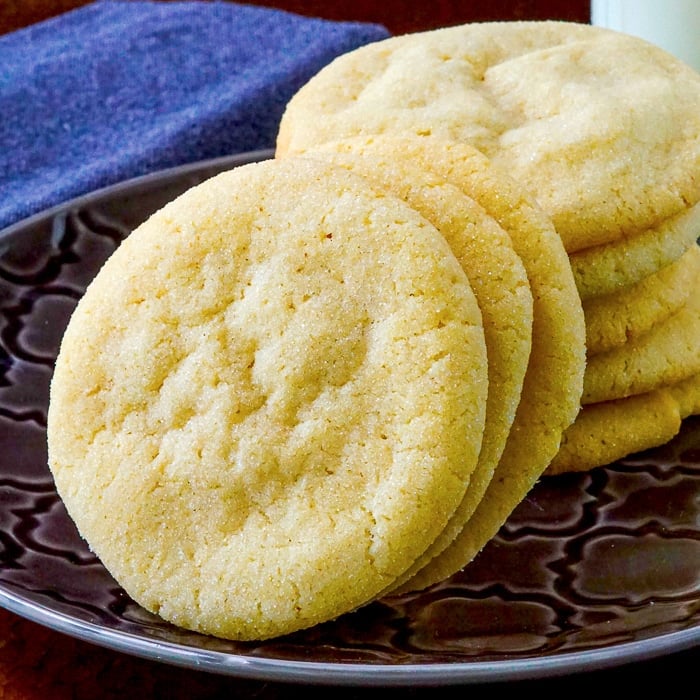
Soft Chewy Sugar Cookies
rockrecipes.com
4.5
(17)
10 minutes
Your folders

 490 views
Chewy Soft Sugar Cookies
endofthefork.com
5.0
(4)
8 minutes
Your folders
 549 views
Soft and Chewy Nougat
jamiegeller.com
10 minutes
Your folders

 254 views
Soft & Chewy Gingerbread Cookies
abeautifulmess.com
5.0
(6)
10 minutes
Your folders
 54 views
Soft & Chewy Gingerbread Cookies
abeautifulmess.com
Your folders

 136 views
Soft and Chewy Snickerdoodles
scratchpantry.com
20 minutes
Your folders
 46 views
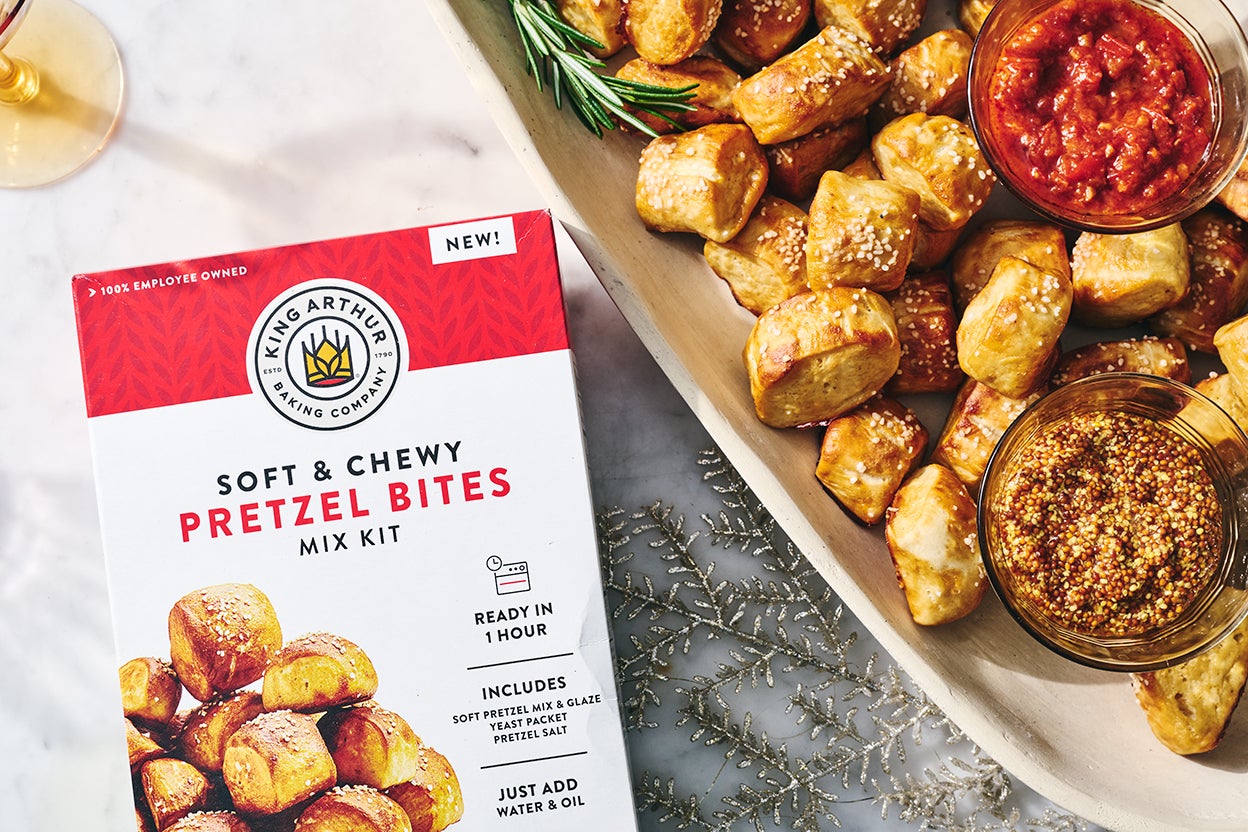
Soft & Chewy Pretzel Bites
kingarthurbaking.com
5.0
(3)
20 minutes
Your folders
 66 views
How to make Paper-Thin Strudel Doug...
lilvienna.com
4.9
(157)
Your folders

 596 views
Fried Flour Tortilla Chips
allrecipes.com
4.9
(16)
10 minutes
Your folders

 229 views
Flour Tortilla Chips - DaVita
davita.com
Your folders

 242 views
Homemade Flour Tortilla Recipe
natashaskitchen.com
5.0
(51)
10 minutes
Your folders

 250 views
Homemade Flour Tortilla Recipe
holajalapeno.com
4.6
(27)
20 minutes
Your folders

 220 views
Easy Homemade Flour Tortilla
thebusyabuelita.com
4 minutes
Your folders

 215 views
Whole Wheat Flour Tortilla
foodandwine.com