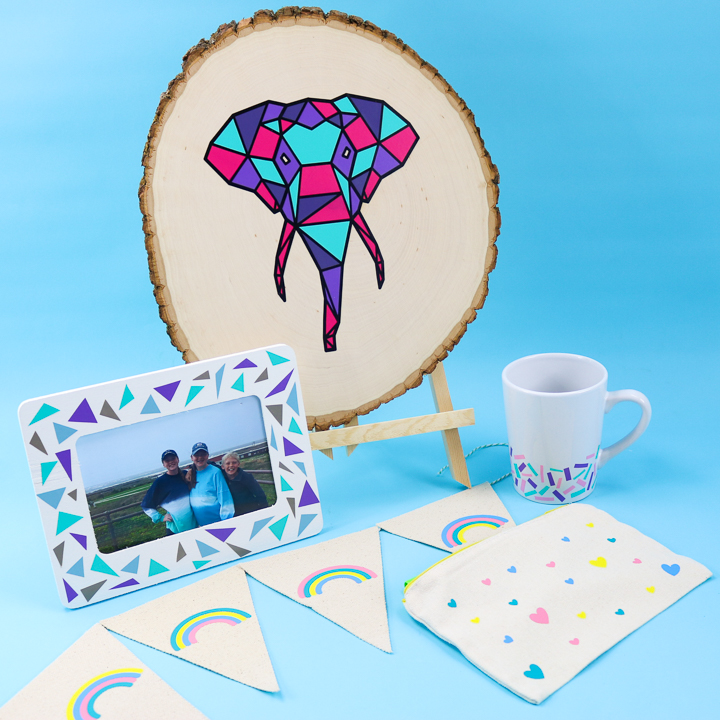
Scrap Vinyl Picture FrameScrap Vinyl Picture FrameSprinkles Coffee MugVinyl Geometric ArtHeart Zipper Pouch and Rainbow Banner
Your folders
Your folders
Total: 190
Ingredients
Export 16 ingredients for grocery delivery
Instructions
Step 1
Start by painting the wood frame in any color you choose. Allow to dry completely before continuing. This same technique can be used on a wide variety of surfaces so don't think you are only limited to frames.
Step 2
Then gather any scrap vinyl that you have laying around. The colors just need to work well together as well as in your home's decor. This one is perfect for those small, tiny pieces that are around the edges of the projects you cut on your Cricut.
Step 3
Use your scissors to cut the scrap pieces into small triangle pieces. You want these to be varying sizes and shapes.
Step 4
Once the paint is dry, start peeling the backing from the triangles and sticking them to the painted frame.
Step 5
Continue all the way around the frame adding your random triangles in various colors.
Step 6
Once you are happy with the look, your terrazzo inspired photo frame is complete!
Step 7
Start by painting the wood frame in any color you choose. Allow to dry completely before continuing. This same technique can be used on a wide variety of surfaces so don't think you are only limited to frames.
Step 8
Then gather any scrap vinyl that you have laying around. The colors just need to work well together as well as in your home's decor. This one is perfect for those small, tiny pieces that are around the edges of the projects you cut on your Cricut.
Step 9
Use your scissors to cut the scrap pieces into small triangle pieces. You want these to be varying sizes and shapes.
Step 10
Once the paint is dry, start peeling the backing from the triangles and sticking them to the painted frame.
Step 11
Continue all the way around the frame adding your random triangles in various colors.
Step 12
Once you are happy with the look, your terrazzo inspired photo frame is complete!
Step 13
This is also a project that is perfect for those small areas around the projects you cut on your Cricut. Save all of those tiny bits and cut them into strips.
Step 14
Then cut them into confetti pieces. You can just do these steps with scissors.
Step 15
Apply the sprinkles of vinyl to your coffee mug by peeling away the backing paper and sticking into place. You will want to make sure to use permanent vinyl for this. I have found that it works best on coffee mugs. You can see my comparison here.
Step 16
Just continue around the bottom of your mug until you are happy with the look. Your cute confetti coffee mug is complete and it just uses pieces you might have thrown out anyway!
Step 17
First, you will need to cut the geometric shape itself from black vinyl. You can find the cut file by going to my Cricut Design Space profile and scrolling to "Cricut Ideas Using Scraps" or you can search geometric in Cricut Design Space for a ton of options. I do recommend one with thick lines to help hide your vinyl edges. NOTE: The triangles that the Cricut cut out of this elephant head are perfect to use for another terrazzo inspired frame like the one above.
Step 18
Once your piece is weeded, it is time to start using those small scrap pieces to fill it in. You will need to cut a piece to fit each of the shapes. I like using my Cricut BrightPad for tracing things like this but you can use another light source or even a window.
Step 19
Trace around each shape with a pencil then use scissors to cut it out. You want your cut lines to fall approximately in the middle of the black lines but the cuts do not have to be perfect because this is fairly forgiving.
Step 20
Continue these same steps until you have scrap pieces cut for each shape. You can use as many colors as you want here. I will also note that for super small shapes, I just used one color to cover multiple places in order to keep it simple.
Step 21
Now it is time to get this transferred to our wood slice. The first thing I recommend is to turn your pieces upside down to the side in the same order they go on your elephant. Do this backward as it will make more sense once you have your vinyl on the transfer tape. So the pieces on the right-hand side of the elephant are now on the left once turned upside down.
Step 22
So, once you have everything ready for the transfer tape, it will look something like the image below.
Step 23
You will then need to put the elephant onto the transfer tape. You can see more about working with transfer tape here. Then add each of the vinyl scrap pieces by peeling away the backing and putting it STICKY SIDE UP onto the transfer tape.
Step 24
Repeat with all of your vinyl pieces until you are left with something that looks like the image below. These should all have the sticky side out so it is ready to add to your wood slice.
Step 25
Place on your wood slice, burnish down well with a scraper, and start peeling back the transfer tape to reveal the design on your wood slice.
Step 26
Then go over the entire thing with a scraper again once the transfer tape has been removed.
Step 27
Your geometric vinyl art is ready to put anywhere in your home!
Step 28
My top things to cut from small scraps are rainbows and then various shapes like hearts, circles, hexagons, and more. All of these easily nest in Cricut Design Space and you can cut them while you are cutting your project. Then just throw the random shapes in a zip topped bag to use however you want. Rainbows are great because they nest well and you can do non-traditional colors as well. For instance, in the pieces shown, I was able to nest four various rainbows and 5 hearts on each tiny scrap piece.
Step 29
You can find the cut file in my Cricut Design Space profile and scrolling to "Cricut Ideas Using Scraps". You will need to move the pieces once you hit "make it" to nest the way I have shown. If you didn't know, you can move the pieces on the mat before cutting. You can also use SnapMat for locating cuts when working with multiple scrap pieces. Be sure to mirror your cut and place the shiny side down on the mat for iron-on. Then weed away all excess material.
Step 30
Then cut the carrier sheet so you have individual pieces and place them on your projects. I am randomly adding the hearts to the pouch. For the rainbows, I made each of them in a different order to optimize my material as I was dealing with small scraps.
Step 31
You can then start pressing your designs. I did the zipper pouch with the hearts first. Be sure to look up the time and temperature for the iron-on you are using on the Cricut Heat Guide. Then you can follow our guide here for the application.
Step 32
Once you press and allow to cool, remove the carrier sheets from each heart to complete your zipper pouch.
Step 33
The rainbow is a bit more complicated as the various colors touch. You will need to press each one separately. I find that starting with the largest is the best.
Step 34
Just press each of the layers from the front for the recommended time, allow to cool and remove the carrier sheet. Add the next layer and cover BOTH layers with carrier sheets before repeating the pressing process. You want to repeat this for all of the rainbow layers. Once you have them all in place, remove all of the carrier sheets and turn over to press from the back.
Step 35
Repeat the same process for as many flags as you want in your banner.
Step 36
Turn over the flags and attach each to twine using a bit of hot glue at the top.
Step 37
Then your banner is complete and ready for your home's decor.
Top similar recipes
Curated for youYour folders

 334 views
T Shirt Vinyl
thecountrychiccottage.net
Your folders
 128 views
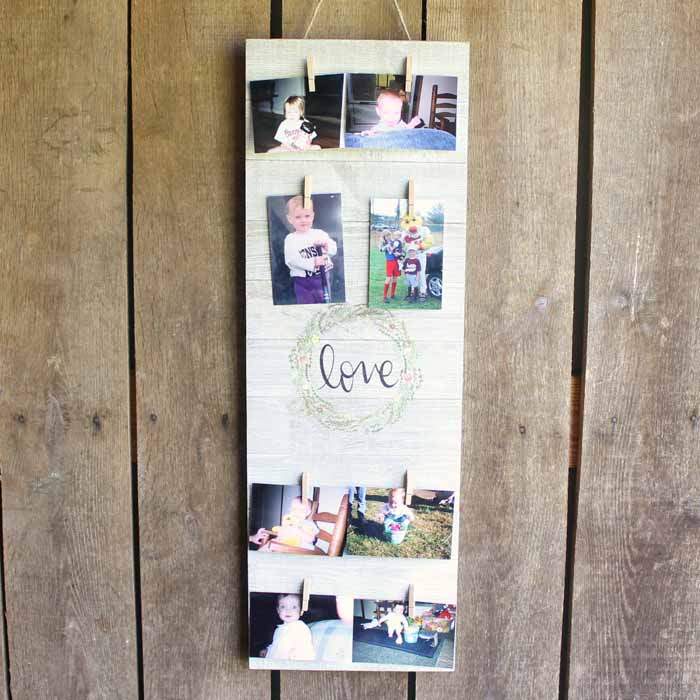
Clothespin Picture Frame
thecountrychiccottage.net
Your folders
 101 views
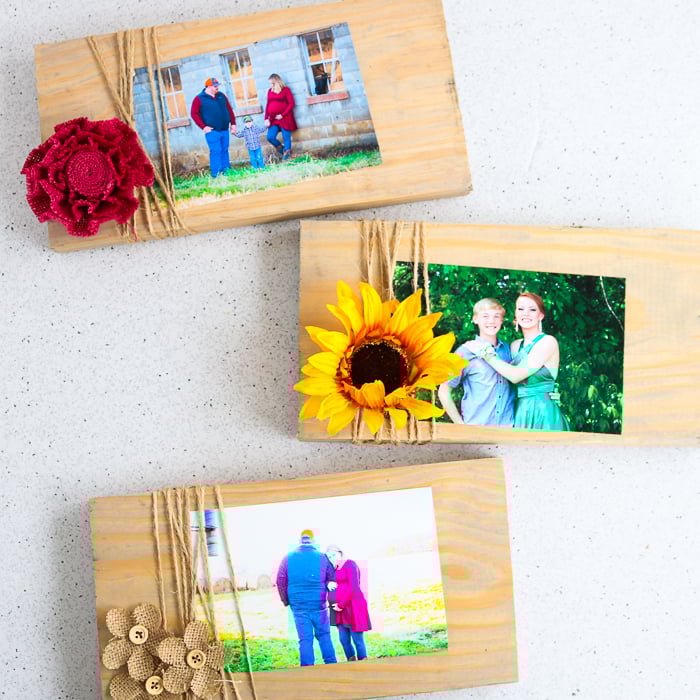
How to Make a Picture Frame from Sc...
thecountrychiccottage.net
Your folders
 101 views
How to Upcycle an Old Picture Frame...
firstdayofhome.com
Your folders
 303 views
How to Use Cricut Printable Vinyl
thecountrychiccottage.net
Your folders
 144 views
The Banner Roar
makemeacocktail.com
1.6
(104)
2 minutes
Your folders
 163 views
Apple Scrap Vinegar
zerowastechef.com
Your folders
 116 views
Veggie Scrap Focaccia
blog.misfitsmarket.com
5.0
(2)
Your folders
113 viewsVeggie Scrap Focaccia
blog.misfitsmarket.com
5.0
(2)
Your folders
 38 views
How to install a zipper
abeautifulmess.com
Your folders
 183 views
Kitchen Scrap Mushroom Stock
ohmyveggies.com
1 hours, 15 minutes
Your folders
 220 views
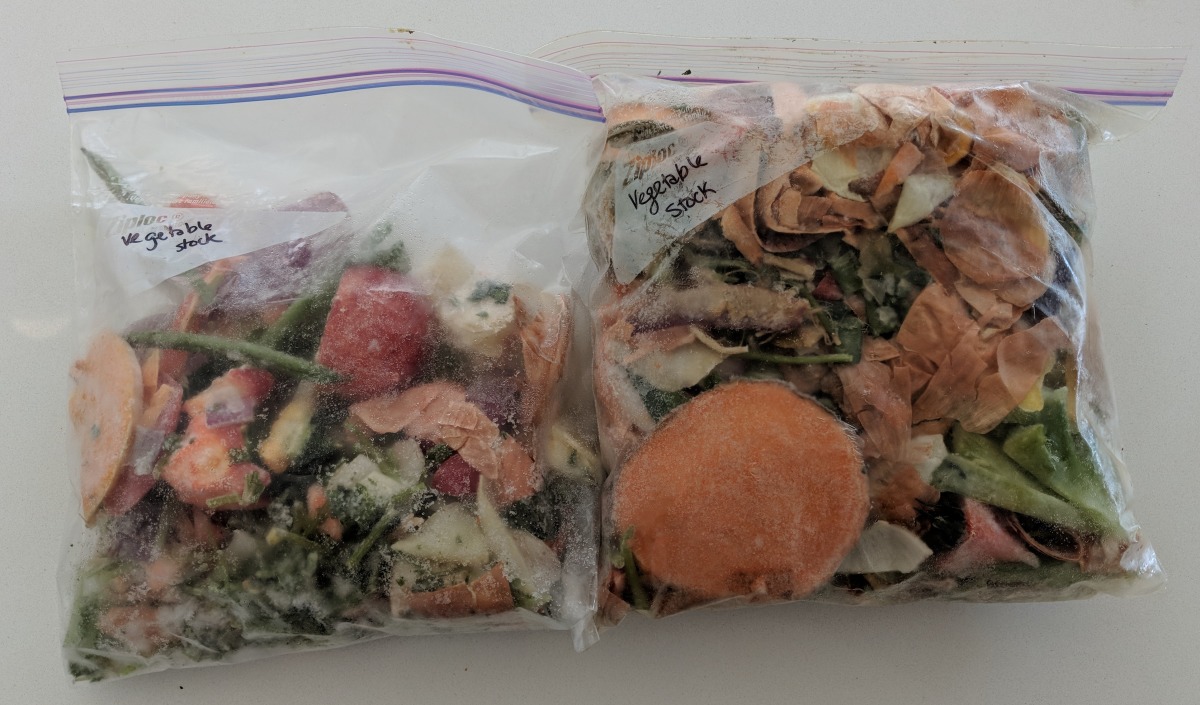
Roasted Vegetable Scrap Stock
food.com
1 hours, 20 minutes
Your folders
 156 views
Colored Denim Scrap Wreath
craftsbyamanda.com
Your folders
 67 views
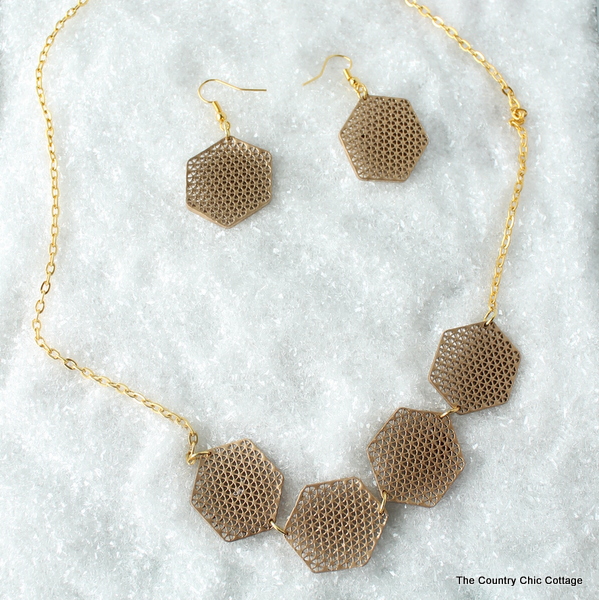
Geometric Lace Jewelry Using Shrink...
thecountrychiccottage.net
Your folders
146 viewsFish in a Pouch
foodnetwork.com
5.0
(1)
Your folders
 239 views
Turkey Bratwurst Grill Pouch
eazypeazymealz.com
5.0
(1)
20 minutes
Your folders
 137 views
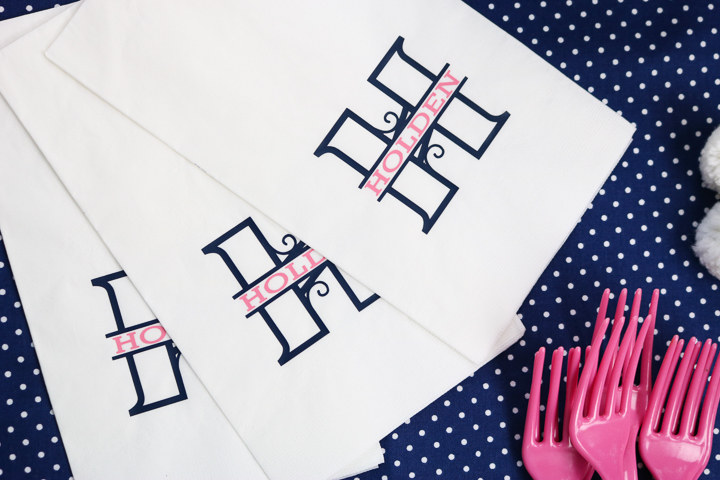
How To Make Custom Napkins Using He...
thecountrychiccottage.net
Your folders
 143 views
Travel Pouch | Curlsmith – Curlsmit...
curlsmith.com
Your folders
131 viewsTravel Pouch | Curlsmith – Curlsmit...
curlsmith.com